Ever wished you could teleport yourself to a different location? Well, your iPhone can't physically take you there, but it can certainly make it seem like you're somewhere else. Changing the location on your iPhone isn't as daunting as it sounds. In fact, it's a process that can be mastered in a few simple steps.
Whether you're looking to access region-specific apps, protect your privacy, or simply fool your friends, changing your iPhone's location can come in handy. Don't worry, you don't need to be a tech whiz to pull this off.
Why Change Your iPhone's Location?
Ever wondered why change your iPhone's location? It's not just a feature for tech-gurus or pranksters. Many iPhone users change their location for a handful of valid and beneficial reasons.
The web has evolved, and it's more regional than you might think. Many websites and apps offer content based on the region you're in. It's why when you want to access region-specific apps or content blocked in your current location, playing around with your iPhone's location comes in handy.
Take for instance popular streaming services like Netflix or Hulu. Their content varies across different geographical locations. If you want to enjoy shows or movies not available in your country, simply shifting your iPhone's location can solve the problem.
Another reason could be protecting your privacy. Everyone cherishes privacy, even more so in this era when it's increasingly under threat. With the use of applications that track or predict your location, your privacy could be compromised. Changing your location on iPhone provides an additional layer to ward off these invasive applications.
Not forgetting, it can also be a fun tool to play pranks on friends. Imagine your friends thinking you're on vacation in Bali while you're just relaxing on your comfy couch.
These are just a few examples on the long list of benefits for this trick. The location-based features and constraints of iPhone are vast and varied, so it's quite beneficial to master the art of changing location. Don't worry, even if you're not tech-savvy, these are easy steps, we'll help you navigate through this neat adventure.
Method 1: Using a VPN

Let's dive into the first method of changing your location on an iPhone: Using a Virtual Private Network (VPN). A VPN, simply put, is a service that routes your Internet traffic through servers located in different parts of the world. This tricks websites and apps into believing you're accessing them from that specific location.
Your first step would be to choose a reliable VPN service. There's a wide array of VPN services available in the market; some of them are free, and others are premium. But remember, it's crucial not to compromise on your security and privacy. Pick a service known for its strong encryption methods and no-log policy, even if it means shelling out a few dollars.
Once you've chosen a VPN service, go ahead and download the app from the App Store. Install it onto your iPhone. The VPN should then prompt you to choose a server location. Browse through the list of available locales, and select the country you want to appear as if you're browsing from. VPN acts as a disguise, making your iPhone believe it's somewhere it's not. This way, you can access region-specific content that you wouldn't ordinarily be able to access.
One such example is streaming platforms. They are notorious for varying content from one region to another. Netflix US might have a different selection of shows than Netflix UK. With a VPN, with a server set in the US, you’d be watching Friends in no time.
This method of modifying your geolocation also comes in handy to preserve your privacy. While you're connected to a VPN, your real IP address stays hidden. This makes it more difficult for pesky prying eyes to track your online activities.
So far, we've covered the basics of how to use a VPN to change your location on an iPhone. In the following sections, we'll go over other techniques. Remember, though, each approach has its pros and cons, and what works best will entirely depend on your specific needs.
Method 2: Using Location Spoofing Apps
Going beyond VPN and honing in on more specific location-changing strategies, we take a look at the second method: using location spoofing apps. These software utilities are specially designed to camouflage your actual location, a tactic quite similar to VPN, yet wrapped with distinct functionalities and outcomes.
For instance, Location Spoofer. It's a popular spoofing app for iOS, known for its easy-to-use interface and reliable performance. You'll simply need to install the app and select a desired location on the map. It's as simple as that!
Apps like iSpoofer also play a key role in your location-changing pursuit. It not only changes your location but it provides customized speed and adds more game-centric features. If you're an avid Pokemon Go player seeking to access location-based features globally, this will be your buddy.
Wondering about the cost, aren’t you? Well, these apps generally come with both free and premium versions. The deciding factor will be the level of functionality you wish to engage. And remember, these apps might require you to jailbreak your iPhone. It’s a trade-off between functionality and security, so tread with caution depending on your needs.
Another significant point is that using spoofing apps may go against the policies of some apps or services, so be wary of these implications too.
Method 3: Using Developer Options
Switching gears now, let's explore another method to change your iPhone's location, and that is through Developer Options. This process demands technical knowledge – so if you're comfortable with that, this is an option worth considering.
You might wonder, why Developer Options? The fact is, it allows access to advanced settings that can aid in the manipulation of your iPhone’s location data.
Steps to Enable Developer Options on Your iPhone
To start off with, you'd need to activate Developer Mode. This setting doesn't naturally appear in the iPhone. You'd need to surrender a little effort to bring it about. Here's a markdown table outlining the step-by-step process to activate it:
| Step | Procedure |
|---|---|
| 1 | Open settings on your iPhone. |
| 2 | Navigate the General section. |
| 3 | Click on About. |
| 4 | Go down to the Version section and tap the version number seven times. |
Once you've managed to enable Developer Options, you can then proceed to spoof your location. Again, a word of caution, manipulating developer-options require in-depth technical knowledge and can cause device issues or instability if done incorrectly.
You might consider exploring other simpler and reliable options like VPN or spoofing apps which have been discussed earlier. After all, the aim here is to strike a balance between your needs and the level of risk you’re willing to take. And featuring in this is your technical prowess – if it's up to mark, messing with developer options can turn out to be a rewarding endeavor.
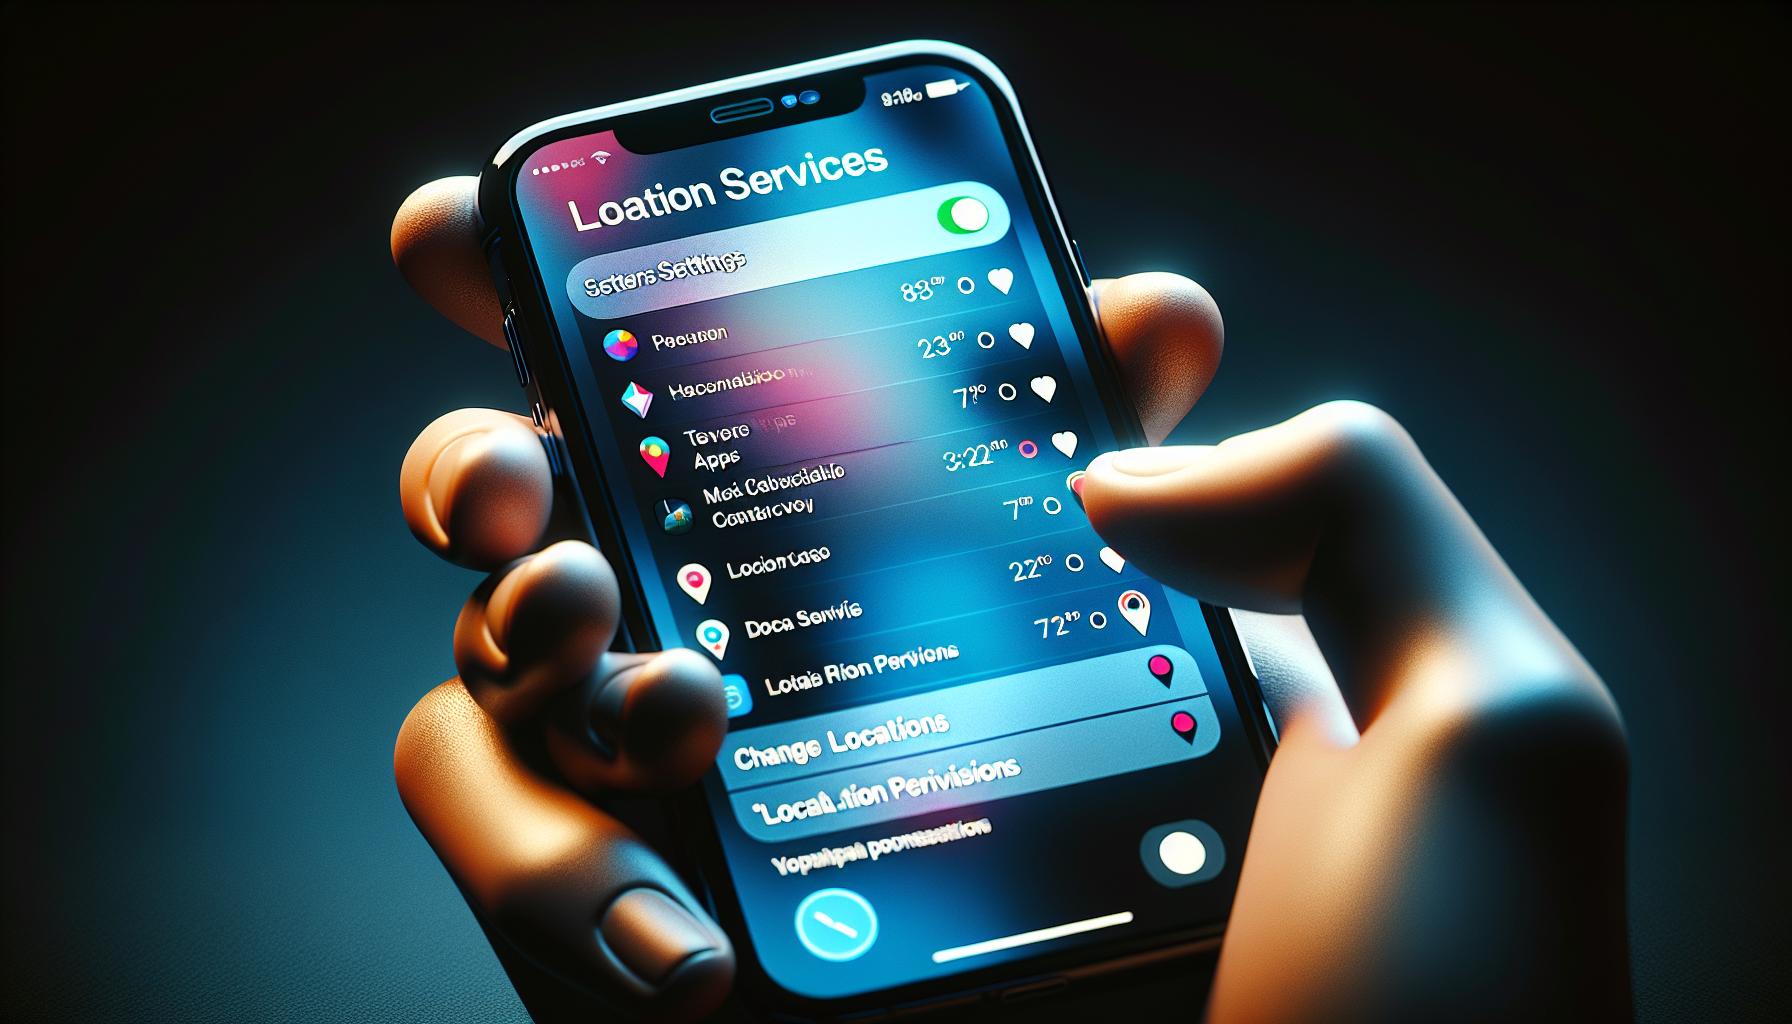
Method 4: Modifying Location Services for Specific Apps

Modifying the Location Services for specific apps is another technique you can utilize. It gives you the power of altering access to location data on a per-app basis. This way, you can restrict apps that don't require location data, while allowing the essential ones to access it.
It's no rocket science. Let's take you through the process.
Step 1: Open Settings
Start by tapping the Settings icon on your iPhone's Home screen. Scroll down the menu and look for the Privacy option - it's usually towards the bottom.
Step 2: Access Location Services
Once you're in the Privacy menu, you'll find an option called Location Services at the top. Click to open it.
Step 3: Manage App Permissions
In the Location Services menu, you'll see a list of all the applications installed on your iPhone. Each app will have its own set of permissions displayed next to it, related to location access. Here, you can modify the access level for each app according to your preferences - choose between Never, Ask Next Time, While Using the App, or Always. Please remember to be selective and cautious while modifying these settings as it might affect app functionalities.
Step 4: Save Your Changes
Once you've made your changes, just exit back to the Home screen. The new app permissions will be automatically saved and will take effect immediately. You don't have to perform an iPhone restart or use any additional tools.
There you have it - managing app-specific location settings made easy! By mastering this method, you can ensure your location data is used only by the apps that truly benefit from it, enhancing your security and privacy.
Next, we'll move towards exploring even more advanced ways to control your iPhone's location settings, like using third-party software. But remember, every step in this journey requires careful consideration of the after-effects.
Conclusion
So, you've learned how to change your location on your iPhone. You've mastered the art of tweaking Location Services for specific apps, and you're now in control of who gets to see your location data. This not only enhances your privacy but also optimizes your phone's battery life. Remember, it's crucial to be careful when adjusting these settings - you don't want to hinder your apps' functionalities. As you continue to explore the world of iPhone customization, you'll find even more ways to personalize your device. Look forward to our next section where we'll dive into more advanced techniques, like using third-party software, to further manipulate your iPhone's location settings. Keep exploring, keep learning!
1. What is the primary focus of the article?
The article primarily focuses on teaching iPhone users how to change Location Services settings for individual apps, emphasizing the importance of discretion due to potential impacts on app functionalities.
2. How can one modify Location Services for specific apps on an iPhone?
To modify Location Services for specific apps, users need to navigate the settings on their iPhone. The article provides a detailed, step-by-step instruction guide on how to do this effectively.
3. Do changes to Location Services affect app functionalities?
Yes, improperly modifying Location Services settings may potentially impact an app's functionalities. It is therefore advised to be cautious when changing app permissions.
4. Is there a way to restrict certain apps from accessing location data?
Yes, the article explains how iPhone users can alter the access of apps to location data, allowing some apps access while restricting others based on their needs.
5. Will the article discuss further ways to change location services?
Yes. The article concludes by mentioning the upcoming segment's focus would be on more advanced methods like the usage of third-party software.


