Ever find yourself swamped with unwanted emails on your iPhone? It's a common issue, and you're not alone. But don't worry, there's a solution to your dilemma. This guide will walk you through the process of blocking those pesky emails that keep flooding your inbox.
In this digital age, it's crucial to manage your online communication effectively. Knowing how to block emails on your iPhone not only declutters your inbox but also saves you time. With a few simple steps, you can regain control of your email experience. Let's dive in and learn how to keep those unwanted emails at bay.
The Importance of Blocking Emails on iPhone
In an era where digital communication is a dominant part of our lives, email misuse has become a prevalent issue. Spam, junk mail, or promotional emails can flood your inbox, affecting your productivity. This is where email management, specifically blocking unwanted emails on your iPhone, plays a crucial role.
An inundated inbox can be more than an inconvenience; it can create stress and eat into your valuable time. Have you ever spent hours trying to declutter your inbox, separating the wheat from the chaff? Imagine regaining those lost hours just by knowing how to block unwanted emails. You'd save time since you'll no longer have to sift through irrelevant mails, leaving you more focused on what truly counts. You'd also lower your risk of malware or phishing attacks often masked in spam emails.
Moreover, there's a tangible benefit with respect to privacy. Junk emails often carry trackers that observe your activities and behavior. Blocking emails on your iPhone sets a barrier against such privacy invasions.
In the next section, we'll delve into the exact methods to block emails on your iPhone.
After all, time, focus, privacy - these aren't just abstract ideas, they're the basis of a streamlined, efficient life in the digital age. By mastering the art of blocking emails on your iPhone, you're taking a firm step towards enhancing your digital experience, boosting your productivity and safeguarding your privacy.
Understanding the Process of Blocking Emails on iPhone

First and foremost, it's essential to understand what blocking an email on your iPhone means.
When you block a sender's email, your iPhone redirects their messages to the 'Junk' folder instead of your inbox. This invisible filter works in the background, sparing your precious inbox from further clutter. The change isn't retrospective; it only affects new incoming emails from the blocked sender. So, you'll have to manually delete old unwanted emails that are already in your inbox.
Knowing this, it's clear that blocking emails on your iPhone isn't an instant solution to a clean inbox. However, it's the key step towards managing your digital communications effectively.
Let's dive into the actual process of blocking emails on your iPhone. Apple's Mail app allows you to block specific email addresses with ease. You can access this feature under the 'settings' option in your iPhone.
To successfully block emails, you will:
- Launch the 'Settings' app on your iPhone
- Scroll down and tap 'Mail'
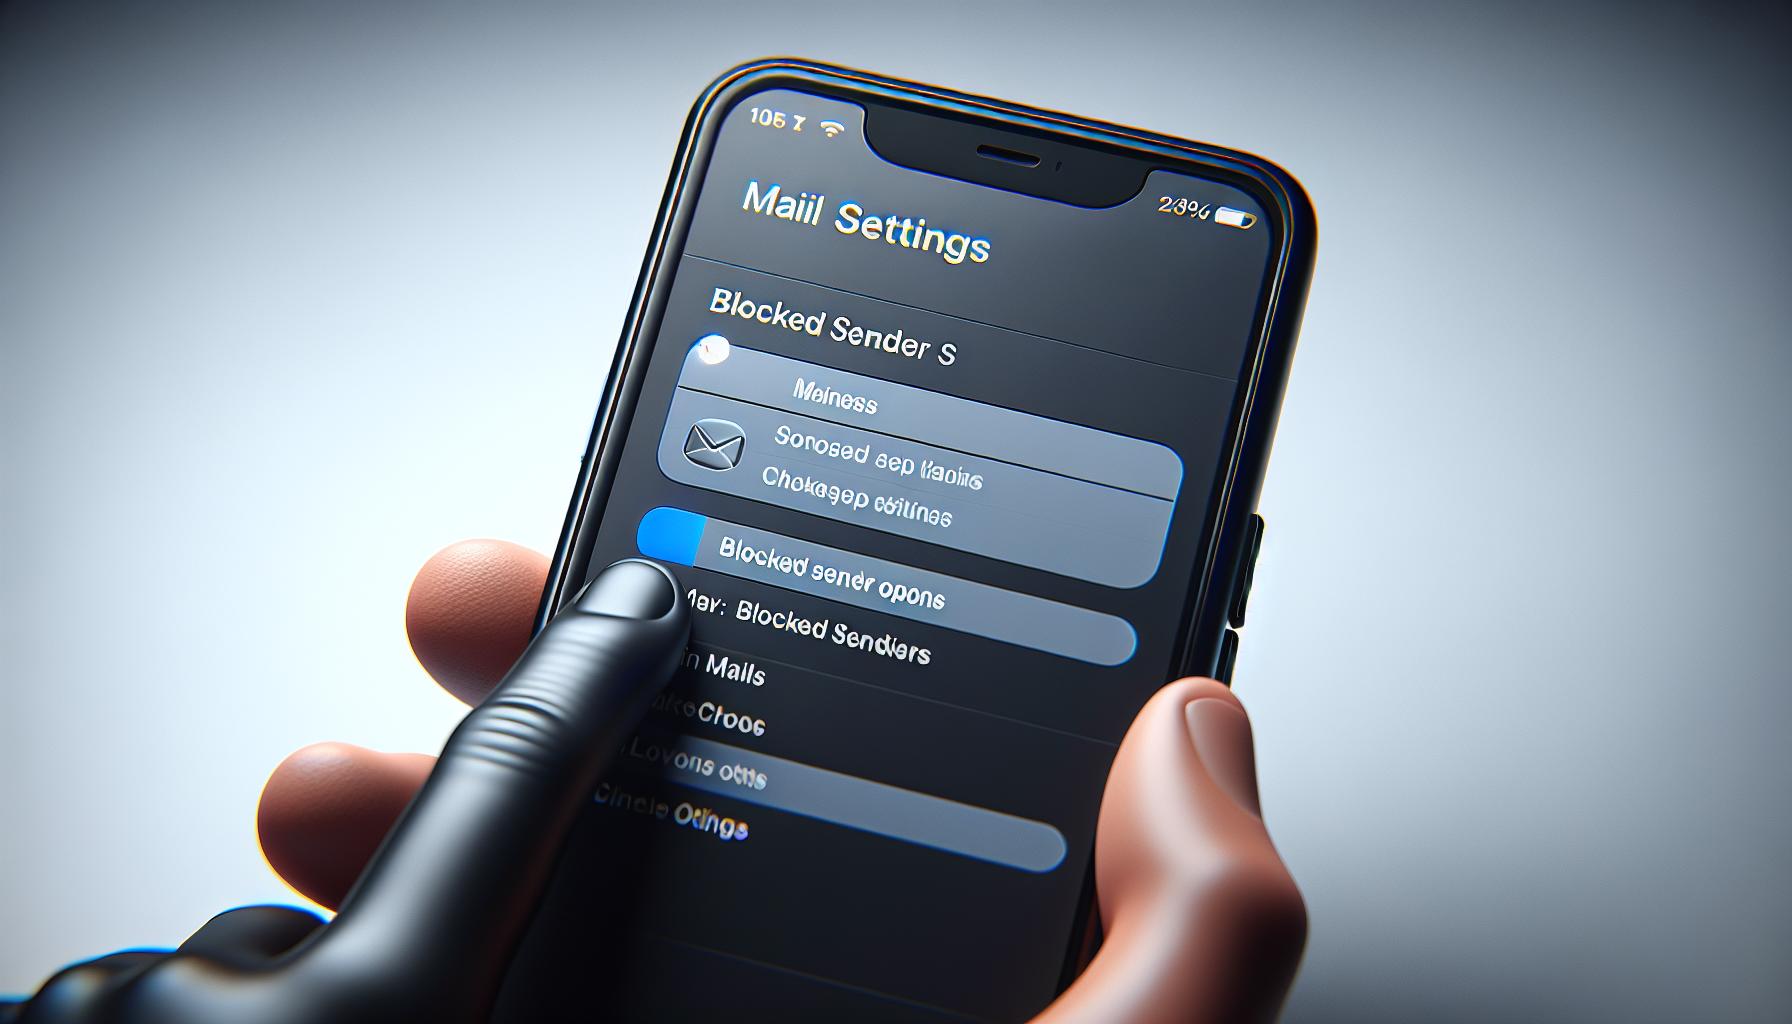
- Select 'Blocked Sender Options...'
- Tap 'Add New...' and type in the email address you wish to block
- Finally, tap 'Done'
By now, you've successfully added a new email address to your block list. These emails will now automatically be directed to your junk folder, allowing you to focus on important messages.
Remember, this process doesn't stop the sender from mailing you altogether. It simply redirects their emails away from your primary inbox.
With your newfound knowledge and these straightforward steps, you're ready to assert control over your inbox. Blocking any nuisance emails and focusing more on important conversations has never been so effortless!
Migration from an overflowing inbox to a manageable one begins with understanding this process. Blocking emails on an iPhone is an easy, personal decision that makes a world of difference. Keep in mind, it's part of a larger strategy towards effective email management.
Equipped with this information, managing your email becomes less daunting. You're developing the skills to maintain a balanced, streamlined inbox that works in service of your personal and professional needs.
Step 1: Access the Mail App on Your iPhone

Your iPhone already has a useful tool for managing unwanted emails - its very own Apple Mail App. So, let's begin the process straight away.
Wake up your iPhone and navigate your way to the Mail App. You're looking for an icon that looks a lot like a postage stamp. It's mostly white with a blue letter 'M' in the center. M for Mail. Spotting and clicking this icon brings up your Apple Mail App.
Hang on a minute. Is your Mail App filled with unread emails? If so, don't worry. It's quite common these days and you're definitely not the only one. Remember, the journey to a cleaner, more organized inbox starts with this crucial first step. You've got to start somewhere and accessing the Mail App is your starting line.
Being comfortable around the Mail App is essential. It's where you'll be doing the bulk of your inbox management from now on. After launching the app, you'll see your mailbox(es) overview. Your list of inboxes might include All Inboxes, VIP, and other custom categories. Don't be overwhelmed. We'll be focusing on All Inboxes, the spot where most of your emails land.
Scroll through your All Inboxes to familiarize yourself with the layout and functionality. From there, you can view, respond to, delete or archive your emails without having to open each email individually. You're receiving a lot of emails every day, and mastering the Mail App can save you precious time.
Together, with the accessible Mail App, you'll soon be well on your way to a clean, clutter-free inbox. Stay with us, in the following sections we'll walk you through the more defined steps of how to block emails using this very App. Before you know it, you'll be saying a firm, confident goodbye to those pesky unwanted emails.
Step 2: Locate the Unwanted Email Sender
At this point, you've already unlocked the potential of your Apple Mail app and taken the first step towards a Spam-free inbox. Now, it's time to dive deeper. In this section, we'll help you master the art of identifying those pesky email sources. The search begins!
Your iPhone is full of unfortunate emails that you can't seem to get rid of. Don't worry! Apple Mail has you covered! It lets you locate and isolate these offenders within a few taps.
Start by launching the Mail app from your device. Spotlight Search is your friend here. You can use it by swiping down on the home screen and typing 'Mail' into the search box.
Once you're in the app, you must navigate to your inbox. It's often the first screen you are greeted with once you open Apple Mail, but if you've ventured elsewhere in the app, you'll need to tap 'Mailboxes' at the top left of the screen, then 'Inbox'.
Now for the search. Scan your inbox to find an unwanted email from the sender you wish to block. Perhaps it's a persistent marketer or maybe an old acquaintance you'd rather not hear from - we won't judge!
Tap the email to open it. You'll spot the sender's email address right at the top. Next to the email address, you'll see a small arrow. Go ahead and tap on that to expand the details. Your journey to a clutter-free inbox is well on its way!
Stay tuned as we lead you to Step 3: Blocking the Unwanted Email Sender. Together, we'll reclaim control over your digital space.
Step 3: Block the Email Sender
Now that you've pinpointed the unwanted sender in your Mail app, it's time to take action. It's easier than you might think.
1. Open the Email: Find and open an email from the sender you'd like to block. This will allow you to get to the sender's details.
2. Tap on the Sender's Details: At the top of the email, you'll notice the sender's name and email address. Tap on this, and a menu of options will pop up.
3. Select 'Block this Contact': In the drop-down list, find the 'Block this Contact' option. This is your golden ticket to a cleaner inbox.
After you've clicked this, your iPhone will ask you for confirmation. This is just to ensure you really do want to block them - you don't want to accidentally cut off a valuable contact!
As soon as you hit the confirm button, voila, that sender is blocked!
Emails from this sender will be redirected straight to your junk inbox. Remember, even though blocked emails go directly to your junk folder they are not deleted. If you ever need to revisit them, you know where to find them.
More importantly, you’ve now turned your inbox into calmer, clutter-free zone. Winner!
But wait, it's not over yet - there's still more you can do.
The next steps will explore how to manage blocked senders and how to unblock them if you make a mistake or change your mind. Because if there's one thing that's for sure, it's that technology should always work for you, not against you.
As we proceed through this journey, it's clear that the power is in your hands to manage your digital space. So don't just sit there! Get stuck in and reclaim your inbox, one click at a time.
Step 4: Manage Blocked Senders on Your iPhone

Once you've got the hang of blocking unwanted senders, it's equally important to manage your blocked list effectively. Even if your focus is on keeping your inbox clean, you might find yourself needing to unblock someone or double-check who you've blocked. As a savvy iPhone user, you're in the driver’s seat when it comes to managing your blocked sender's list.
To view your blocked list in Apple Mail, you can simply open your settings and go to Mail > Blocked. Here, you'll come face to face with the offenders who had been cluttering up your inbox. It's a satisfying feeling to see the peace you've reclaimed.
But what if you blocked someone mistakenly, or perhaps you're ready to give a blocked contact another shot? Here's how you can fess up and fix it.
- Go back into the same Mail setting, and you will see a button marked "Edit" on the top right corner of the screen.
- Once you tap on "Edit," you'll be able to remove the blocked status from a sender.
To give you a clear idea, let's create a markdown table for the list of steps you should follow:
| Steps | Instructions |
|---|---|
| 1 | Go to Settings > Mail > Blocked |
| 2 | Tap on 'Edit' on top right corner |
| 3 | Select the blocked sender you wish to unblock |
| 4 | Then confirm your action to remove the blocked status |
Remember: If you decide to unblock an email, future mails from this sender won't be directed to your junk folder anymore - they'll land straight in your main inbox.
Tips to Effectively Block Emails on Your iPhone

Smart management of your emails starts with effectively blocking unnecessary emails. With Apple Mail, you have the power to take control of your inbox. Here's how:
- First, make it routine to check your blocked list and clean it up if necessary. A cluttered blocked list can become unwieldy, making it difficult to manage. You don't want to lose track of what you're blocking out.
- Secondly, avoid blocking emails too hastily. Sometimes, you might accidentally block important emails. Hence, before hitting that block button, make sure it's an email you definitely won't need.
- Next, get into the habit of checking your junk folder. Emails from blocked senders go here, but you never know - there may be essential ones that find their way there too.
Using keywords to filter your emails is another useful tip. This email filter feature helps sift out certain emails before they clutter your inbox.
| Feature | Benefit |
|---|---|
| Keyword Filtering | Less Clutter |
Try to use unique words that you know unwanted senders frequently use in their subject lines or bodies of their emails. Be meticulous while choosing these keywords, ensuring they're not commonly used ones, else valid emails may get misplaced.
Remember, blocking and managing your emails should always aim at keeping spam at bay without discarding important information. With Apple Mail, you're equipped with tools to reclaim control over your inbox.
Lastly, put to practice these tips to effectively manage your blocked emails. They're straight to the point and align with the goal – to let you enjoy a clutter-free inbox.
Conclusion
So, you've gained the know-how to block emails on your iPhone effectively. It's all about managing your inbox and keeping it free from clutter. Regularly checking your blocked list and being careful with your blocking choices are key. Don't overlook your junk folder either - it's worth a quick scan to ensure no important emails have slipped through. And remember, keyword filtering is your friend when it comes to reducing unwanted mail. With these tips in your arsenal, you're well on your way to a spam-free inbox. So, go ahead and apply what you've learned. Your inbox will thank you.
Frequently Asked Questions
How can I effectively block emails on my iPhone?
You can effectively block emails on your iPhone using the Apple Mail app. The article suggests regularly checking and cleaning up your blocked list and being cautious about which emails you block to avoid missing important information.
What should I do after blocking emails?
After blocking emails, it's important to regularly check your blocked list and clean it up. Also, be sure to check your junk folder periodically to ensure that important emails haven't been inadvertently blocked.
Can I filter my emails by keywords?
Yes, the Apple Mail app allows you to utilize keyword filtering. This feature helps you reduce email clutter by blocking or sorting emails based on specific keywords.
Why is managing blocked emails important?
Managing blocked emails is essential to maintain a balance between blocking unwanted spam and not discarding important information. Regularly reviewing your blocked list can help you achieve this.
How can I maintain a clutter-free inbox?
By effectively blocking emails, regularly checking your blocked and junk folders, and using keyword filtering, you can maintain a clutter-free inbox. Practicing these tips consistently will help you keep your inbox organized and free of spam.


