Ever wished you could capture what's happening on your iPhone screen? Maybe you want to record a gameplay, create a tutorial, or save a video clip from the web. Well, you're in luck! Your iPhone has a built-in screen recording feature that's easy to use.
In this guide, we'll walk you through the steps to add the screen record function to your iPhone's Control Center. It's a simple process, and once you've set it up, you'll be able to start and stop recordings with just a couple of taps. Whether you're a tech newbie or a seasoned pro, you'll find this feature incredibly useful. So, let's get started and dive into the world of iPhone screen recording.
Why Screen Recording on iPhone is Useful
Imagine the possibilities. Screen recording on your iPhone isn't just about capturing your gameplay or immortalizing an epic fail on your favorite app. It becomes your tool for better communication, learning, and sharing.
Screen recording broadens your scope for creativity. For instance, you want to explain a complex process to a colleague or a friend? With screen recording, you'll create a tutorial in a snap without needing to write lengthy emails or messages. You capture the sequence of steps right on your phone halfway across the globe. It's as real-time as it gets.
Screen recording is your gateway to save web-based videos. You've found a fascinating video online, but there's no download option. Screen recording swoops in to your rescue. Now, relaxing videos, educational content, or that amusing cat video are all accessible whenever you want, even offline.
Do you love to blog or vlog? Screen recording steps up your content game. Easily demonstrate mobile tips, app rundowns, or social media trends directly from your screen to your audience. You'll not only save time but also provide valuable content your followers will appreciate.
Not only for personal use, businesses find screen recording beneficial. A customer has a problem with their app navigation? No problem. Record the process on your end and send it to them. It reduces misunderstandings and assures your customers you're there to help.
Here's a fun fact: Screen recording isn't a drain on your iPhone's resources. It's a feature created with optimization in mind, not impacting your phone's performance much even when you're recording HD videos.
But beyond all the practical reasons, screen recording gives you the freedom to explore your iPhone on a whole other level. So, as you set up your screen recording feature, prepare yourself to dive in and take advantage of its versatility.
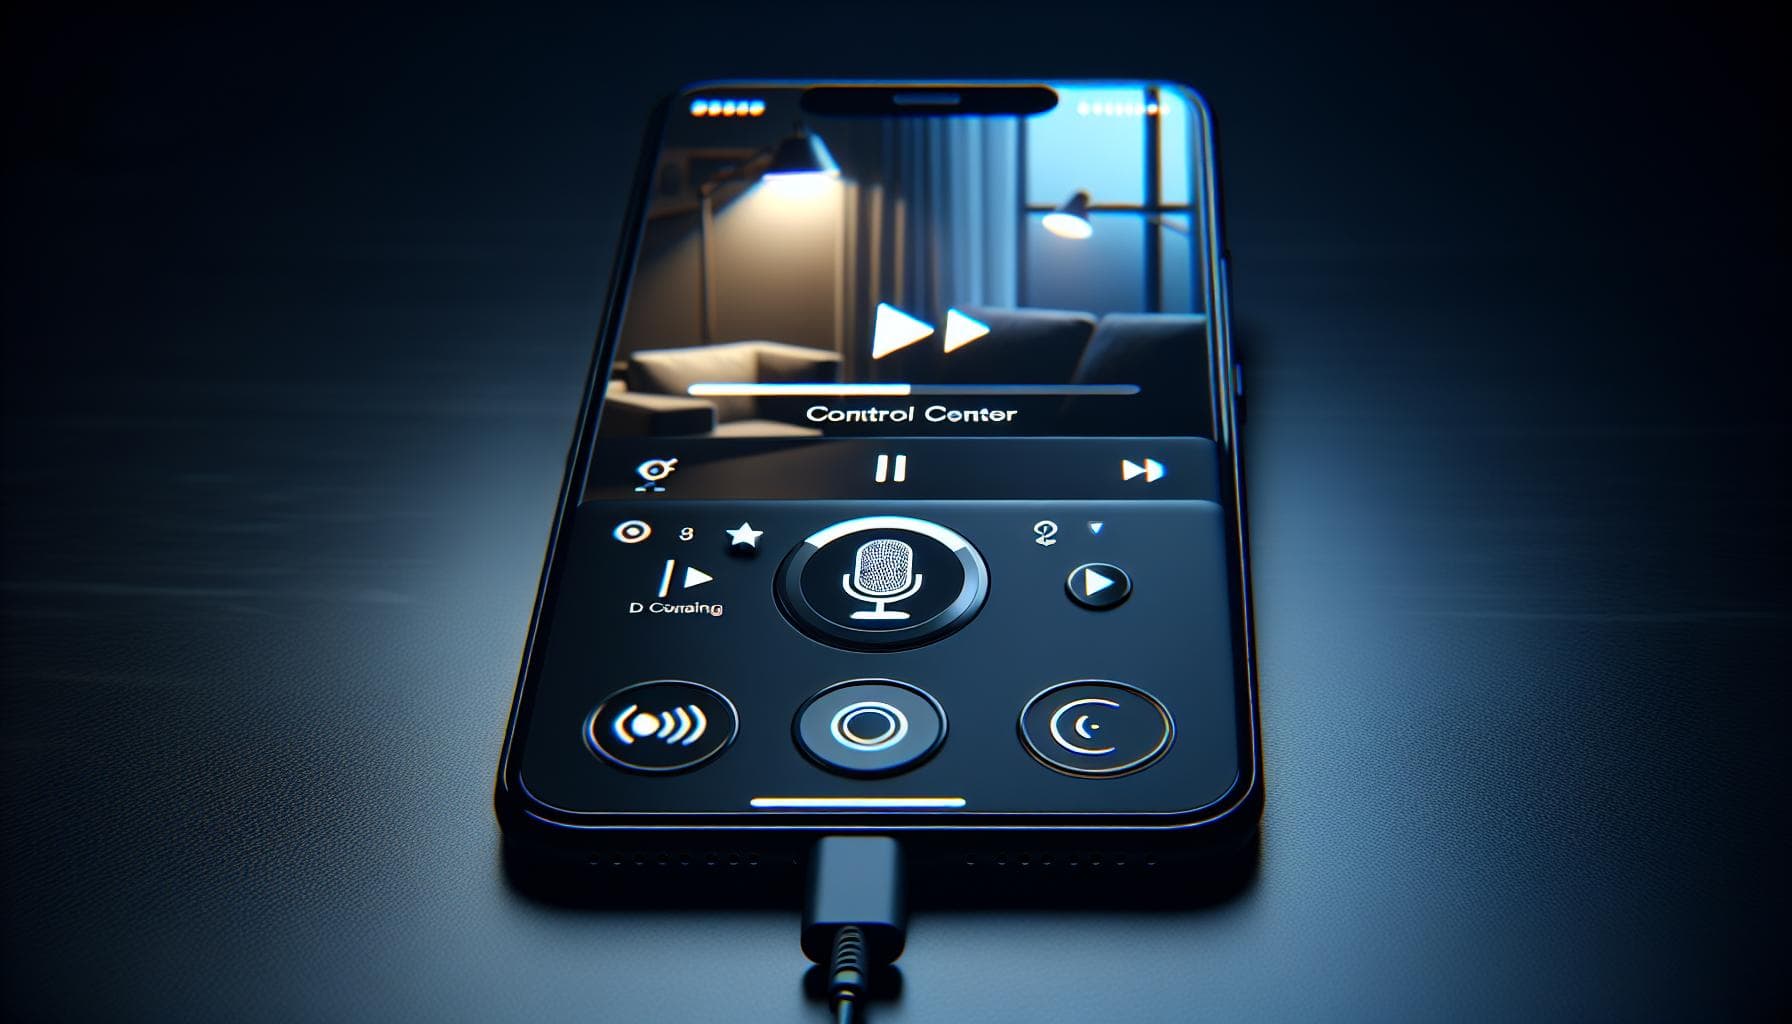
Step 1: Accessing Control Center

Before you can start your screen recording journey, the first thing you'll need to do is understand how to access your iPhone's Control Center. It's the hub that houses a multitude of quick-access settings - screen recording being one of them.
Depending on the model of your iPhone, the actions to access the Control Center may differ. For iPhones with a Home button, such as the iPhone 8 and earlier, you'll access the Control Center by swiping up from the bottom of the screen. However, for more recent models like the iPhone X or newer, the Control Center can be accessed by swiping down from the upper right corner of the screen.
Getting familiar with your Control Center interaction is essential since it's the gateway for you to add screen record on your iPhone.
You might be wondering. What if the screen recording option isn’t visible in your Control Center? In the following sections, we'll guide you on how to customize your Control Center to include screen recording.
By understanding these steps, you're one step closer to maximizing your iPhone's potential and enhancing the way you communicate, learn, share your experiences, or reach your customers.
Step 2: Adding the Screen Record Function
So, you've made it this far. You've managed to successfully navigate your way to the iPhone's Control Center. Now, it's time to add the screen record function to your phone's quick access controls. Maybe your Control Center's already cluttered with a plethora of features and finding the screen recording button's like hunting for a needle in a haystack. Or, your Control Center feels eerily empty without the screen recording feature. Either way, you'll learn how to add this essential function in a snap.
Let's say you're on your main screen. First thing's first, dive into your iPhone's settings. After fishing out the 'Settings' app from the horde of apps you've got installed on your phone, tap 'Control Center'. Now, you'll see a laundry list of functions that you can add to or remove from your Control Center. Keep scrolling until you find 'Screen Recording'.
- Once you see 'Screen Recording', tap on the green Plus symbol (+) next to it. Just like that, you've added the Screen Recording function to your iPhone Control Center.
But wait, the journey doesn't end here. Once the Screen Recording feature is in your Control Center, you might want to prioritize how this function appears relative to all the other buttons. After all, ease of access is what you're aiming for.
- Right under the 'Include' heading in the 'Control Center' menu, you'll find 'Screen Recording'. Long press on the three lines icon next to it and then wiggle so you can rearrange it according to your preference.
With these steps, you've not only added the screen record function but also personalized it to your liking. Here's the thing, though – adding the function's only useful when you know how to use it to its maximum potential. So, brace yourself for the next phase of this guide, where you'll learn how to utilize this screen recording feature to its full extent.
Step 3: Starting and Stopping Screen Recording
By now, you've added the screen recording function to your iPhone's Control Center. Great job! But that's only half the signal. The journey to becoming a screen recording pro begins with knowing how to start and stop the recordings.
To start a screen recording, you'll want to access the Control Center. On models with Face ID, swipe down from the top right corner of your screen. On models with a home button, swipe up from the bottom of the screen. You'll see the newly added Screen Recording button. Ready? Tap on it.
A three-second countdown begins giving you enough time to close the Control Center and navigate to where you want the video to start. Your screen is being recorded when you see a red bar or a red time indicator at the top of your screen.
Important tip: You can even capture audio while your screen records. Just long-press the Screen Recording button before you start recording and tap on Microphone Audio.
But what's starting without stopping, right? To stop screen recording, simply tap on the red bar or time indicator. A permission box pops up asking you to confirm if you want to stop recording. Tap "Stop".
Alternatively, you can also stop a recording by heading back to the Control Center and hitting the Screen Recording button once more.
There's another notable feature. You can trim your recording. Once you've stopped your recording, your screen recording will be automatically saved in Photos. Go there. Tap the video and then tap 'Edit'. Use the yellow sliders on either side of the video timeline to trim your recording.
By this stage, you're not simply a screen recording learner. You're becoming a master in action. The next part of the article will explore how to share and manage your screen recordings. Remember, screen recording is an art and you're the artist. Make the most of it. Enjoy the exercise. See you in the next section.
Tips and Tricks for Screen Recording on iPhone

Your quest on how to start and stop screen recording on an iPhone doesn't stop there. More features and techniques can make your screen recording endeavors even more impressive. Let's deep dive into the tips and tricks that'll further enrich your screen recording skills.
Experiment with Screen Recording Settings
Don't shy away from exploring the screen recording settings. From these settings, you can choose various options that cater to your unique recording needs. Do you want to record audio or prefer to keep it silent? Just navigate to Settings > Control Center > Customize Controls > Screen Recording and choose according to your requirement.
Leverage Do Not Disturb Mode
Imagine restoring a game level after 15 minutes of intense play and suddenly, a pop-up notification hijacks your screen. Sound frustrating, right? It's wise to switch on Do Not Disturb mode while screen recording. It'll keep notifications at bay, ensuring that interruptions won't mess up your masterpiece.
Beware of Battery Drainage
Screen recording consumes a significant chunk of your iPhone battery. If it's possible, consider recording when your iPhone is connected to a power source. This way, you won't have to stop in the middle of recording due to low battery.
Conclusion
Now you're equipped with all the know-how to add screen record on your iPhone. It's about more than just hitting a record button. You've learned how to delve into the settings, customizing them to fit your needs, including the option to record audio. Remember to engage Do Not Disturb mode for an interruption-free recording session. And don't forget, keep your iPhone plugged in while recording to prevent any unwanted battery issues. With these tips in your arsenal, you're ready to capture all the on-screen action with ease and precision. Happy recording!
Frequently Asked Questions
How can I customize the screen recording settings on my iPhone?
The article explains that you can customize settings by exploring the screen recording options in your iPhone settings. This allows you to choose whether you want to record audio or not, among other things.
What should I do to prevent interruptions during screen recording?
To prevent interruptions during screen recording, the article suggests utilizing the 'Do Not Disturb' mode on your iPhone. This ensures no calls or notifications disrupt the recording process.
How can I avoid battery drainage while recording?
The article strongly recommends recording with your iPhone connected to a power source. Performing resource-intensive tasks such as screen recording can quickly drain your device's battery if not connected to power.


