Ever found yourself in a situation where you're asked to share your Wi-Fi password but can't remember it? Or maybe you're just tired of spelling out that lengthy, complex password every time someone visits. Well, if you're an iPhone user, you're in luck. Apple's built-in feature allows you to share your Wi-Fi password in a few quick steps.
This feature, introduced in iOS 11, is a game-changer for those moments when you need to quickly share your Wi-Fi without revealing or even remembering the password. It's secure, simple, and saves you from the hassle of finding that piece of paper where you scribbled down your password. So, let's dive in and learn how to share your Wi-Fi password on your iPhone.
Enable Wi-Fi Password Sharing
You've landed in the right section if you're looking to activate the Wi-Fi password sharing feature on your iPhone. iOS 11 and beyond have made it quite easy to share your network credentials with close contacts without ever revealing the actual password.
Swiftly navigate to the Settings app on your iPhone. You'll find a tab labeled Wi-Fi. Once you're on the Wi-Fi settings page, ensure your network is connected. If not, do so! Remember, the person you're planning to share the password with must be on your 'Contacts' list. So if they aren't, simply add them before proceeding.
Delve a little deeper into the settings. Locate the General tab, and select AirPlay & Handoff. Here, you'll need to toggle on Handoff. This setting ensures seamless transition of tasks between your Apple devices, which is key to Wi-Fi password sharing.
Once you've enabled Handoff, you're ready to test the functionality. Have your friend, who’s on your contacts list, choose your Wi-Fi network on their own device. As they try to connect, an automatic prompt will appear on your screen, asking if you'd like to share your Wi-Fi.
This feature doesn't merely throw your doors open to any character holding an iPhone. It's secure! The user requesting access must be in your contacts. But what happens when you want to share your Wi-Fi details with a room full of friends? That's the beauty of this tool; it won't blink an eye! That's the simple and tactical advantage of iOS 11’s Wi-Fi password sharing feature.
Keeping this knowledge up your sleeve could save you from scrambling through dusty drawers in search of that elusive scrap of paper with your Wi-Fi password scrawled on it. It's not just about being organized, it's about using technology to its fullest.
Check Compatibility
Before diving into "how to share Wi-Fi password on iPhone", it's crucial to ensure your device compatibility. Not all devices are compatible with this feature. Likewise, not all iOS versions support this unique convenience. Only iOS 11 and later versions facilitate this functionality.
A question that might pop up is - what iPhones can share Wi-Fi passwords? Well, all iPhones starting from iPhone 5s support this feature, considering they've been updated to iOS 11 or beyond. In addition, iPads that run on iOS 11 or newer versions can also avail of this feature.
For devices like iPhones, iPads, and iPod Touch, ensure they are running on iOS 11 and subsequent versions. On the other hand, Apple computers need MacOS High Sierra or further updates for utilizing this feature.
Furthermore, compatibility also extends to the receiving device. The Wi-Fi password sharing feature is facilitated only between Apple devices and won't work with Android or Windows platforms.
Another compatibility factor to bear in mind is iCloud. Both sharing and receiving devices need to be signed in to iCloud. The email ID used for iCloud should also be in the contact list of the sharing device, further fortifying the feature's security. In terms of Bluetooth, both devices should have Bluetooth turned on for the sharing operation.
Here's a quick overview of the compatibility specifics:
| Compatibility Aspect | Requirement |
|---|---|
| iPhone Compatibility | iPhone 5s and Later Models |
| Operating System | iOS 11 and Above for iPhone and iPad, MacOS High Sierra and Above for Mac |
| Cross Platform Support | Not Supported for Android or Windows |
| iCloud Requirement | Both Devices Signed in to iCloud |
| Bluetooth Requirement | Both Devices Bluetooth Enabled |
With these compatibility checks in place, you're ready to engage with the Wi-Fi password sharing feature. Proceed confidently, knowing your devices align with the criteria.
Add Contacts to Your iCloud Contacts
Now that you've understood the prerequisites for using the Wi-Fi password sharing feature, let's delve a bit deeper and explore one of the critical requirements - adding contacts to your iCloud. Remember, it's not just about compatibility but also about having the necessary setup.
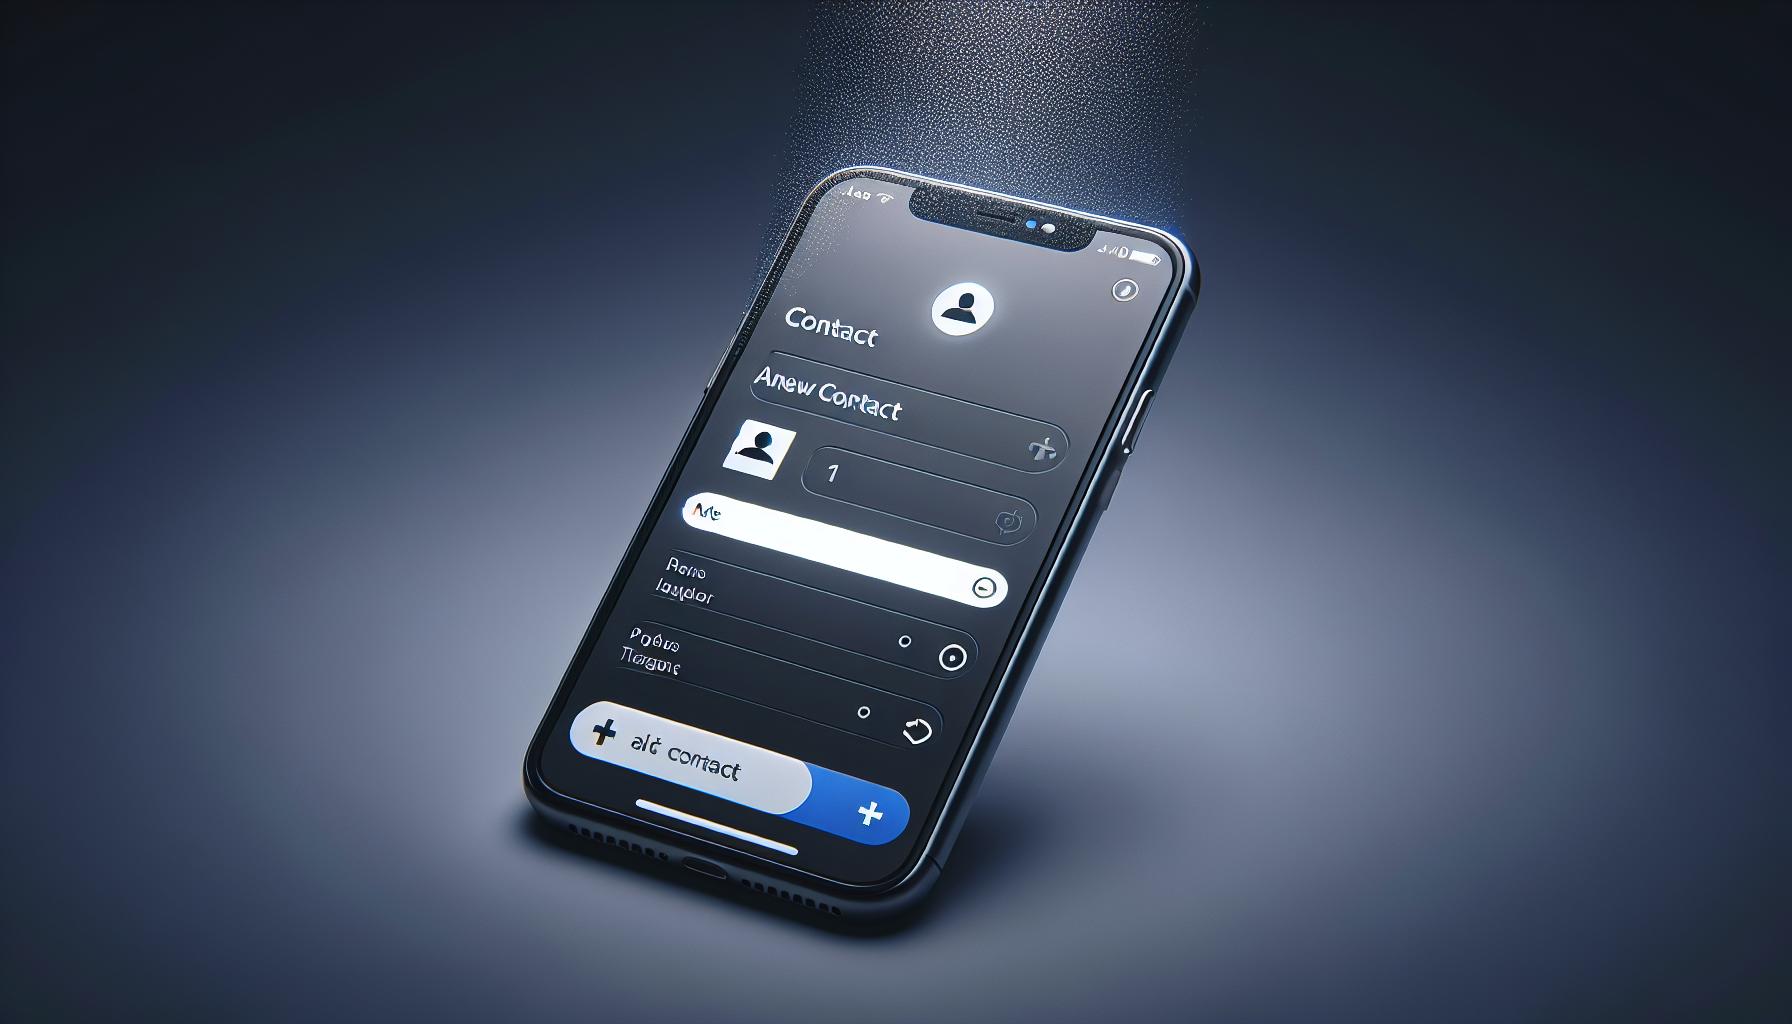
For Wi-Fi password sharing to function, the contact intended for sharing must be in your iCloud Contacts. Here's a smooth, easy-to-follow guide on how to achieve that on your iPhone:
- Open your Contacts app - its icon resembles a silhouette of a person on a brown background.
- In the bottom-right corner, tap on the "+" button, signifying the addition of a new contact.
- Fill out the necessary fields - First Name, Last Name, and importantly, the email address that is associated with their Apple ID.
- Once satisfied with the details, tap "Done" in the top-right corner.
You've now successfully added a contact on iCloud.
However, iPhone is smart. You can also import your previously connected contacts directly into iCloud to eschew manual work. To import from connected email accounts such as Google or Yahoo:
- Navigate to Settings.
- Tap on [your name] then, iCloud.
- Scroll to Contacts and toggle it on.
- Merge if prompted.
Voila! Your iPhone will start importing your contacts from connected email accounts straight into iCloud.
Wi-Fi password sharing on iOS operates a step ahead. Two-way iCloud contact addition is the key. Meaning, you should be on their iCloud Contacts list, just as they should be on yours.
You're halfway through your journey! What does this mean for you? You have another crucial step down, and you're one stride closer to unlocking the full potential of this feature. After this, let's shift our focus to enabling Bluetooth and Wi-Fi for both of the devices.
Connect the Sending Device to the Wi-Fi Network
Let's move forward with the process. We've already reviewed the importance of having two-way contact addition in iCloud. We've also gone through the steps to add contacts, import them from connected email accounts, and enable Bluetooth and Wi-Fi on both devices. Now, it's time to connect the sending device to the Wi-Fi network.
Before you can share your Wi-Fi password, your device must be connected to the Wi-Fi network you want to share. If you're trying to share a password for a network you're not connected to currently, you'll need to make that connection first. Remember, iOS 11 and later versions support this feature. Here's what you need to do to connect.
Open your iPhone's settings and look for the Wi-Fi option. When you find it, tap on it. This will open the network page showing you a list of available networks. Identify your Wi-Fi network and simply tap on that. At this point, enter your password if required. Once you've entered the password correctly, tap join to connect to the Wi-Fi network.
It's important to note that your device will remember your Wi-Fi password. So, if you've connected to this network before, it will reconnect automatically. In such cases, you do not need to enter the password or tap join again.
After doing this, make sure both the sending and receiving devices are physically close. Also, ensure that both devices have their Bluetooth and Wi-Fi enabled. This is a crucial step for the Wi-Fi password sharing feature to function effectively. The upcoming steps will guide you through the password sharing process. Let's keep going.
Connect the Receiving Device to the Wi-Fi Network
Once you've made sure the sending device is connected, it's time to focus on the receiving end. The receiving device's role is equally essential in the process of Wi-Fi password sharing on iOS 11. So, let's jump right into it.
First things first, turn on both Wi-Fi and Bluetooth on the receiving device. Remember, this is not an optional step; it's a mandatory one. These two features need to be enabled to unlock the Wi-Fi password sharing magic.
Next, navigate to Settings and tap on Wi-Fi. An available Wi-Fi networks list will appear on your screen. You have to select the same network that the sending device is connected to. Tap on that specific Wi-Fi network, and a password prompt will pop up.
Here's where it gets interesting.
Instead of typing the password, simply position the receiving device close to the sending device. In a while, a Wi-Fi Sharing pop-up should appear on the sending device's screen. This pop-up won't appear if the receiving device isn't in close proximity to the sending device!
Now you might ask, "What if I don't see a pop-up?" Simple. Check the proximity of the devices and the enabling of Bluetooth and Wi-Fi on both. If it's all set and still you're not getting a pop-up, try restarting both devices and repeat the process.
This upcoming part will guide you on how to approve the password sharing request, ensuring your devices get connected without any hitches. So, stay tuned for more on how to seamlessly share your Wi-Fi password using iOS 11.
Once you've got both devices setup and properly positioned, the password sharing begins. Here's where the magic of iOS 11's Wi-Fi password sharing shines. Gone are the days of manually entering long, complex passwords.
First off, on the receiving device, a pop-up will shortly appear after choosing the network. It'll state "[Sender's name] would like to share the Wi-Fi password for '[Network name].'"
Don't panic if it doesn't appear immediately. Patience is a virtue as it can take a few seconds to pop up. If there's no pop-up, double-check to make sure you've closely followed all the mentioned steps.
Once this pop-up graces your screen, all you need to do is hit the 'Accept' button. Just like that, your device will be connected to the Wi-Fi network. No need to type in anything or remember any password.
In case an authorization dialogue box appears, you need to authenticate it using your Touch ID, Face ID or by entering your device passcode. This is an important security measure put in place by iOS to prevent unauthorized access to your network. Apple surely takes security seriously!
Remember, this feature isn't exclusive to iPhones and iPads. You can share passwords with any iOS or macOS devices. So next time you've got guests visiting with their Apple devices, sharing your Wi-Fi password will be as easy as a few taps.
Lastly, keep in mind that this feature only works if both devices have their Wi-Fi and Bluetooth enabled and are in close proximity. Minimal movement might interfere with the process so make sure to keep your devices steady.
This guide will continue with more information on how to navigate through various pop-ups during the procedure. Stay tuned and keep exploring the features of iOS 11 with us.
Manually Enter Wi-Fi Password
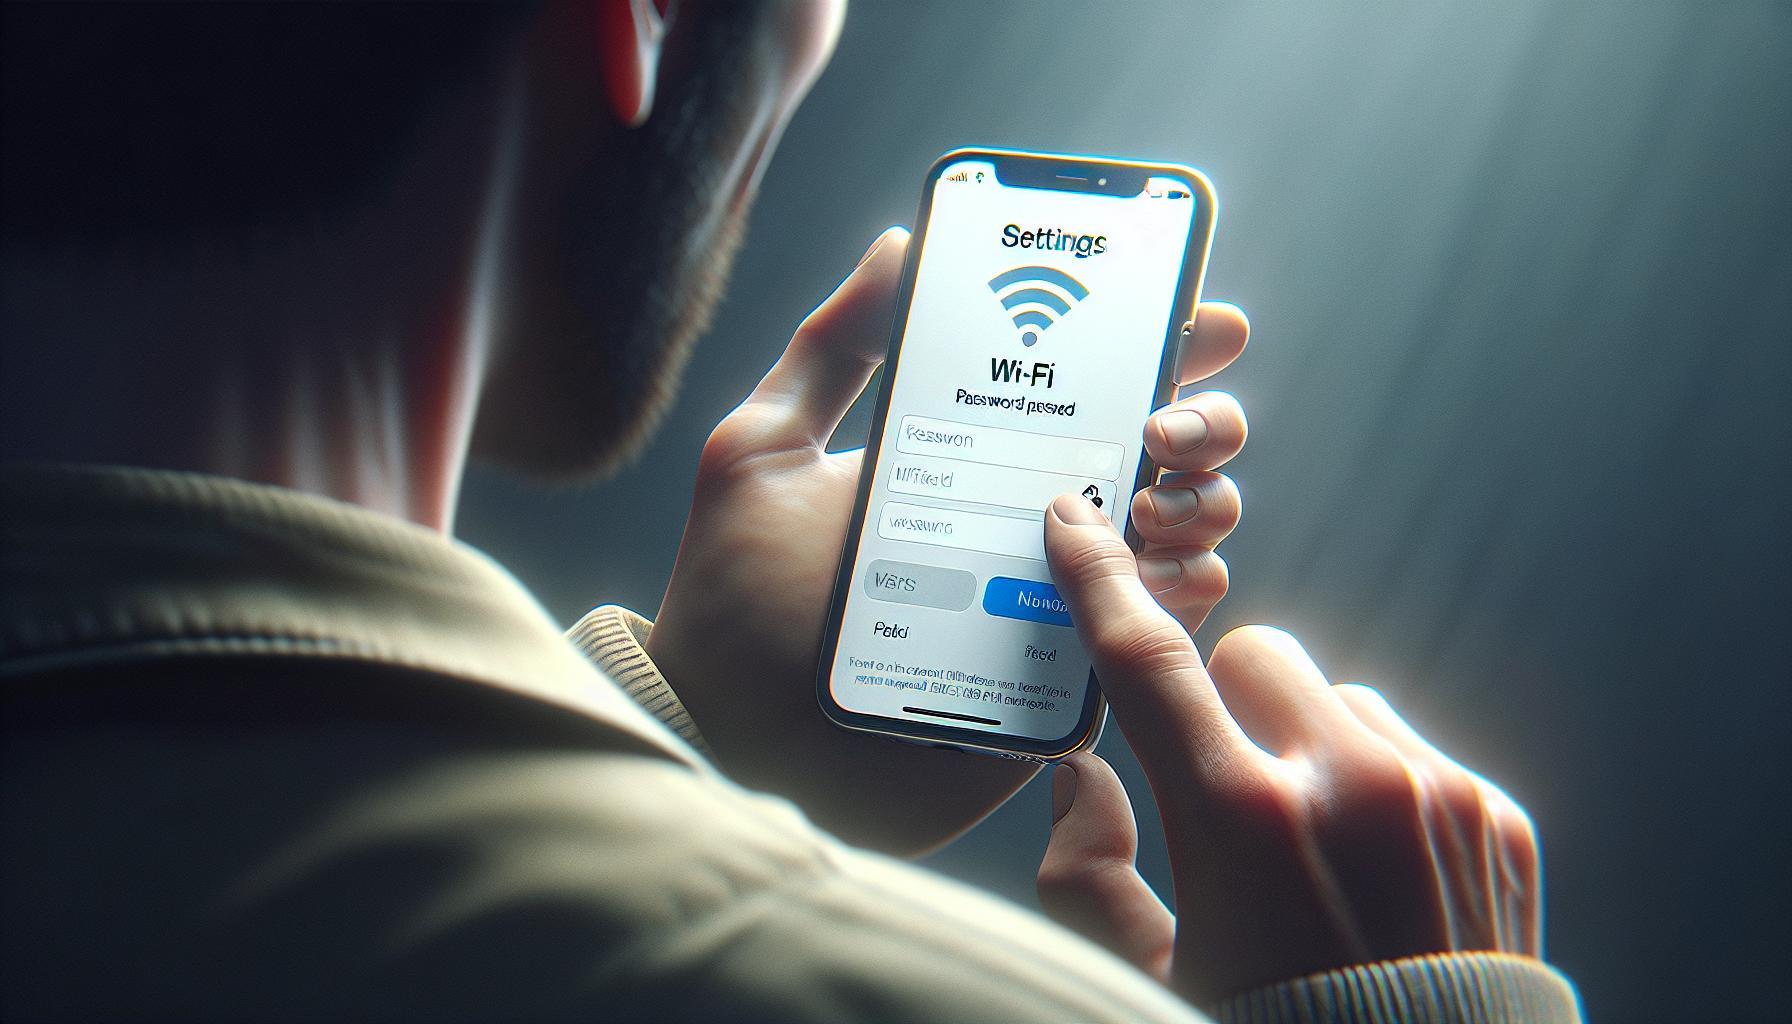
So, you've reached midway along the process and your device isn't quite getting the hang of it. Don't fret! The good old way of manually entering the password still works like a charm.
Establishing Wi-Fi connectivity may seem quite complicated, but really it's not. All it takes: a network name and a password. You'll find the name at the back of your router, and the password usually comes with it. In case you've changed your Wi-Fi password to something more memorable, jot it down on a piece of paper.
Here's how to manually set it up:
- Unlock your iPhone or iPad and access the Settings app.
- Inside Settings, select the Wi-Fi category.
- Your phone now starts searching for all available Wi-Fi networks in close proximity. Find yours and tap on it.
- A prompt appears asking for the network's password. Key in the exact password - remember, it's case-sensitive.
So what if your device didn't prompt you to share your Wi-Fi password or failed to recognize one? You've just learned that manually entering it works all the same. But before anything, ensure both your devices have Wi-Fi and Bluetooth enabled, and they're within close range.
Once you've input the correct password, your phone automatically connects to the Wi-Fi network. It's as simple, convenient, and efficient as it sounds. So there's no need to worry if automatic password sharing doesn't work.
Remember, this feature is not exclusive to iPhones and iPads. Other operating systems may have a similar setup - so it's worth checking out your device settings.
Don't view the lack of convenience in manual password entries as a drawback - look at it as an additional security measure. Manually entering passwords can sometimes be a more secure practice, especially if you're in a public space.
Conclusion
You've now got the tools to share your Wi-Fi password on an iPhone, or manually set up the connection if needed. It's not just a convenience, but also a security measure in public spaces. Remember, this isn't an iPhone-exclusive feature. Other devices may offer similar setup options. So, next time you're asked for your Wi-Fi password, you'll know exactly what to do. It's all about making your digital life a bit easier and safer.
Frequently Asked Questions
What does the article suggest if automatic Wi-Fi password sharing doesn't work on iOS 11?
The article suggests that users can manually enter the Wi-Fi password if the automatic process doesn't work on iOS 11.
How do I manually set up the Wi-Fi connection on my iPhone or iPad?
The article provides step-by-step instructions on how to manually set up the Wi-Fi connection on an iPhone or iPad.
Is manually entering a Wi-Fi password safer than allowing automatic password sharing?
Yes, the article suggests that manually entering a Wi-Fi password can act as an additional security measure, particularly in public spaces.
Is this manual Wi-Fi setup feature exclusive to iPhones and iPads?
No, according to the article, this feature is not exclusive to iPhones and iPads. Other operating systems may also have a similar setup for manual Wi-Fi login.
