Ever been in a situation where your iPhone keeps buzzing with notifications during a meeting or while you're sleeping? It's not only annoying but can also be disruptive. Fortunately, there's a solution - the iPhone's Do Not Disturb feature.
This feature is a lifesaver when you need some peace and quiet. It helps you silence calls, alerts, and notifications when you don't want to be disturbed. But how do you put your iPhone on Do Not Disturb?
What is Do Not Disturb on iPhone?
You're no stranger to those pings, dings, and bloops that your iPhone uses to alert you to incoming calls, messages, or other notifications. But if you're in a meeting or trying to catch some sleep, those sounds can suddenly seem intrusive or downright annoying.
That's where your iPhone's Do Not Disturb feature steps in to save the day.
Do Not Disturb is a built-in feature of your iPhone. Its purpose? To silence your device when you need it to remain quiet. Turning on this feature mutes your phone's ringer and vibrations, effectively making your iPhone silent. But don't worry - it's not a full-on mute. Critical alerts, like your alarm, will still manage to ring through.
During the active Do Not Disturb mode, you won't see popup notifications, calls, or alert sounds. So it's perfect for times when you're hitting the hay, need to focus on a task, or simply can't be disrupted.
What's great is that it doesn't entirely cut you off from the world. The feature is highly customizable. You can allow certain numbers through, or choose to receive calls only from specific people. There are also features to let repeated calls through (a useful feature in case of emergencies!) and to set a Do Not Disturb schedule for specific times, like bedtime.
So, with Do Not Disturb, your iPhone knows when to hold 'em (the alerts, that is). Now that you've learned what Do Not Disturb is, let's discover how to activate it.
How to access the Do Not Disturb feature on iPhone

You've learned what the Do Not Disturb feature is and understand its functionality. Now, it's time to get your hands on it. No need to dig deep into your iPhone's settings in search of the feature. It's easily accessible and can be activated in just a few steps.
First thing's first, unlock your iPhone. The process starts from the home screen. From there, you land in the Control Center. An easy swipe from the bottom of the screen to the top takes you there. For iPhones with Face ID, a swipe down from the top right corner is the way to go.
The Control Center houses numerous options and one of them is the Do Not Disturb feature. You'll see the familiar crescent moon icon. Tapping on it activates the Do Not Disturb mode. When it's on, the crescent moon icon will appear in the status bar.
And there you go!
But what if you want more control over the feature? To customize the settings? You can do that from the Settings App.
From the home screen, find and tap on the Settings app. Scroll down until you see Do Not Disturb, it's sandwiched between Notifications and Screen Time. You'll find a whole array of customization options waiting for you there.
There's more to explore with this feature. In the next section, we'll delve into detailed tips and tricks to make the most of your iPhone's Do Not Disturb feature.
How to enable Do Not Disturb temporarily
Once you're familiar with navigating to the Do Not Disturb feature, it's time for a deep dive into setting it up temporarily. Pulling out your phone in a meeting, only to silence it hastily when it rings, is a thing of the past.
Quick-Access Manual Setup
You’re at a movie or attending an important meeting. It’s not the best time to receive a call or notification.
- Access the Control Center by swiping down from the top-right corner of your screen.
- Look for the crescent moon icon — it represents Do Not Disturb
- Simply tap it. When the icon is highlighted, you've successfully enabled the feature.
Remember, Do Not Disturb isn’t just about silence. This feature ensures all notifications are silenced, so your day isn’t interrupted at the wrong intervals.
Scheduled Setup
Imagine if your device knew exactly when to quiet down without prompt. It's every busy bee's dream, and it's possible with Do Not Disturb's scheduled setting.
- Open the Settings app.
- Tap on Do Not Disturb
- Turn on the Scheduled toggle
- Here, you are able to set your preferred downtime hours, based on your daily activities.
Typically, people set it up for normal sleeping hours — for instance, from 10 PM to 7 AM. During these hours, Do Not Disturb will automatically activate and silence the influx of notifications.
This is all about incorporating Do Not Disturb into your day-to-day life. You now know how to manually and temporarily enable the feature. But, there's always more to learn in the digital realm. The rest of this piece will focus on managing contacts with Do Not Disturb.
How to schedule Do Not Disturb
Keeping pace with your busy routine and ensuring maximum productivity can sometimes become a challenging task. An essential tool you can leverage to balance your tech life is learning How to schedule Do Not Disturb on your iPhone.
To begin, navigate to the Settings on your iPhone. Scroll down till you find the "Do Not Disturb" option. Once you've opened the "Do Not Disturb" settings, look for the "Scheduled" option. Ensuring maximum ease, this feature will enable you to set specific hours where your phone will automatically go on "Do Not Disturb" mode.
It's time to customize. Enable "Scheduled" by tapping the switch next to it. Once it's green, it signifies that the feature has been turned on. A new option will appear beneath labeled "From To". Here, you can set specific downtime hours according to your preference. It could align with your working hours, study time, or even your bedtime. That way, you're assured of peace and quiet during critical focus times.
Furthermore, there's an option called "Bedtime Mode" within the Do Not Disturb settings. Activating Bedtime Mode darkens the lock screen and silences any incoming calls or notifications, ensuring a peaceful sleep.
Take note of this process:
- Navigate to Settings
- Find and select "Do Not Disturb"
- Enable the "Scheduled" option
- Set your preferred downtime hours
- Turn on "Bedtime Mode" for a silent sleep
Mastering the use of "Do Not Disturb" scheduling can minimize interruptions and ensure productive time or a restful sleep with no distractions. So that's how it's done. With your iPhone in hand, you're ready to take control of your digital life. Coming up next, let's decipher managing contacts with Do Not Disturb.
Customizing Do Not Disturb settings

Having covered Do Not Disturb scheduling, you're now a step closer to mastering your iPhone's features. But let's not stop there. The iPhone's 'Do Not Disturb' function offers more advanced features worthy of exploration. Materializing your knowledge on customizing specific settings for calls, texts, and notifications will offer you an optimized, tailored-to-you experience.
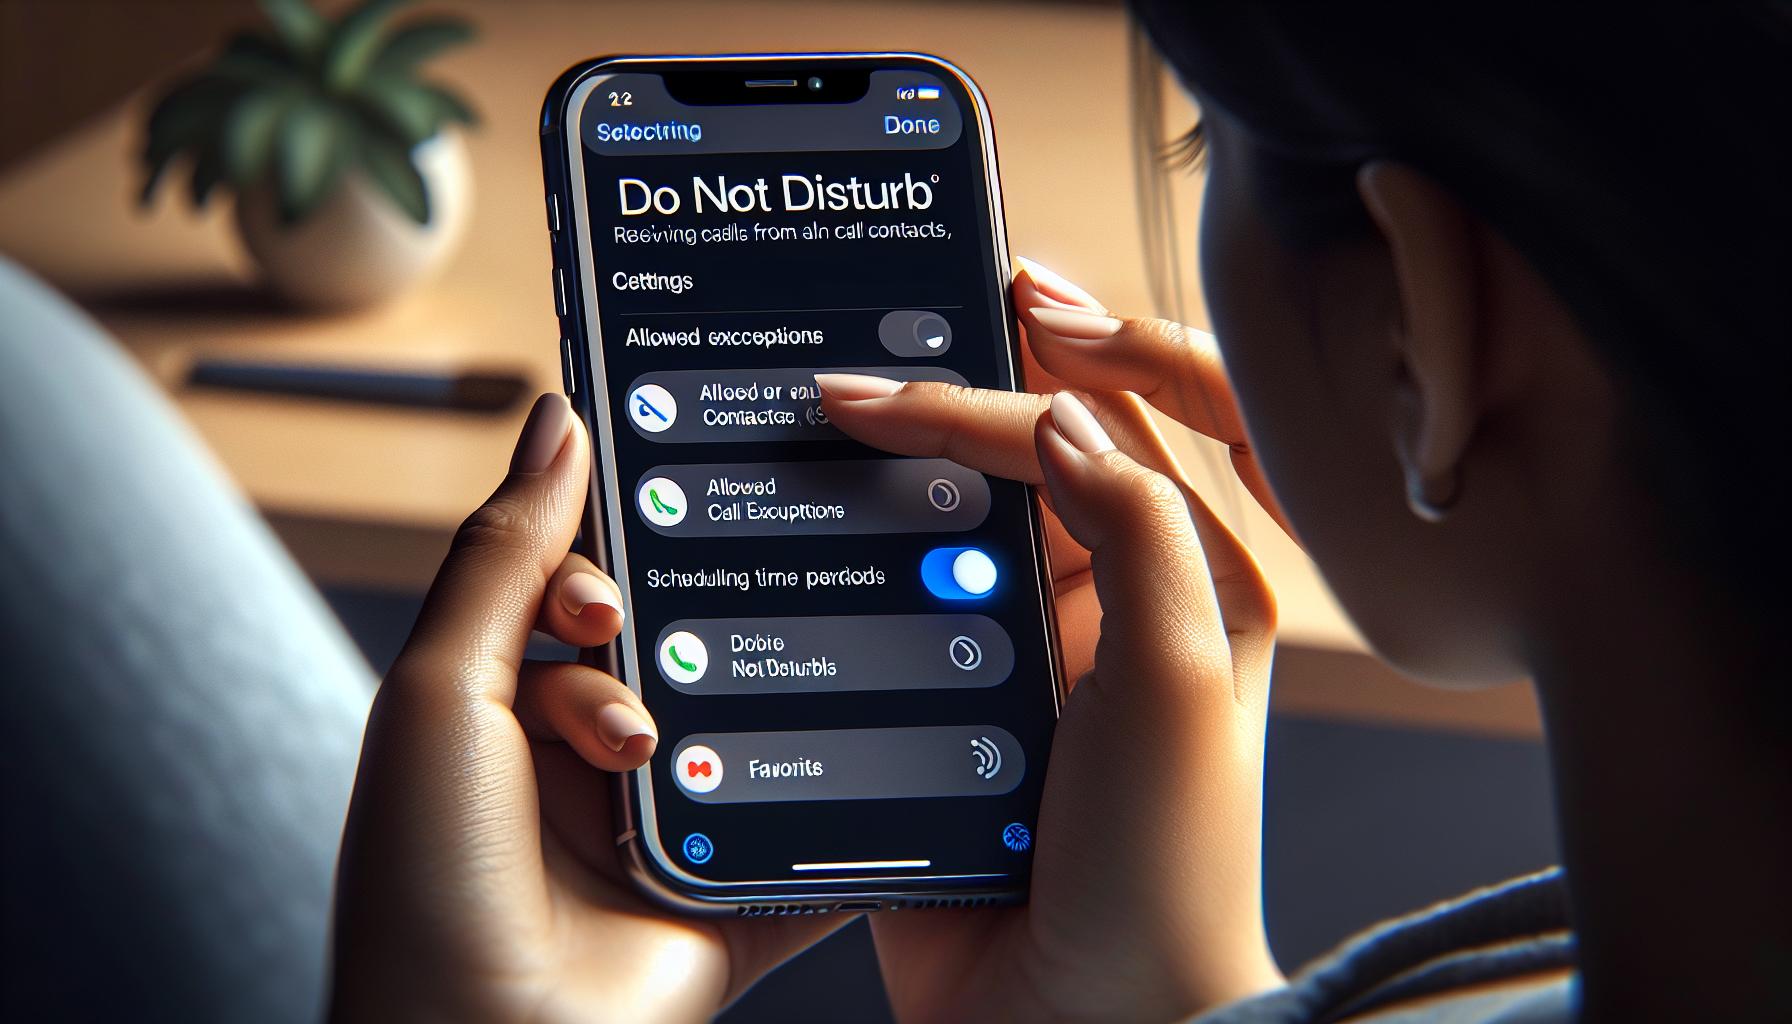
There are instances when you wouldn't want to be completely in isolation from all calls or notifications. Emergencies occur, critical calls roll in, and crucial messages pop up. Your phone differentiation between important and insignificant calls is an invaluable feature. Do Not Disturb settings customization enables you to set exceptions for specific contacts.
Venturing into the iPhone 'Settings' app, you'll notice 'Phone', 'Messages', and 'FaceTime' options under the 'Do Not Disturb.' Here are the options available to you:
- Allow Calls From – This selection lets you choose who can call you when DND is on.
- Repeated Calls – An option allowing a phone call to come through if the same number calls back within three minutes.
- Scheduled – This toggles whether or not you want DND to be enabled at certain times.
- Silence – This feature silences calls and notifications at all times or only when the device is locked.
Understanding how to customize these features further harnesses and maximizes the potential of your iPhone. It's a great way of efficiently managing your time and productivity without totally severing your connections to the outside world.
As you continue to refine your preferences, consider the different aspects of your day-to-day life. Reflect on when you require absolute silence, and when certain exceptions might be beneficial. This alignment between your device and your lifestyle will continue to enhance your iPhone experience.
Conclusion
Mastering the Do Not Disturb feature on your iPhone doesn't have to be a daunting task. Now you're equipped with the know-how to set exceptions for specific contacts and manage other settings to suit your needs. Remember, it's all about balancing productivity with staying connected. You've got this. Just a few tweaks here and there can make a world of difference in your daily routine. So go ahead, give your iPhone's Do Not Disturb feature a personal touch. You'll be amazed at how it can help you manage your time effectively.
Frequently Asked Questions
How can I customize the Do Not Disturb settings on my iPhone?
You can do this by setting exceptions for specific contacts under the Do Not Disturb settings. This will allow important calls to come through even when this feature is enabled.
Can I allow repeated calls when Do Not Disturb is on?
Yes, you can. This is another option available in the Do Not Disturb settings.
How can I manage to silence calls and notifications at specific times?
You have the option to silence calls and notifications at all times or only when the device is locked in the Do Not Disturb settings.
Can customizing Do Not Disturb settings help manage my time and productivity?
Absolutely, by manipulating these settings, you can control disruptions hence boosting your productivity and managing your time without completely disconnecting from the world.
Does the Do Not Disturb feature let me disconnect entirely from the outside world?
No, the Do Not Disturb feature doesn't make you completely disconnect. You can customize settings to allow certain contacts and repeated calls to get through.


