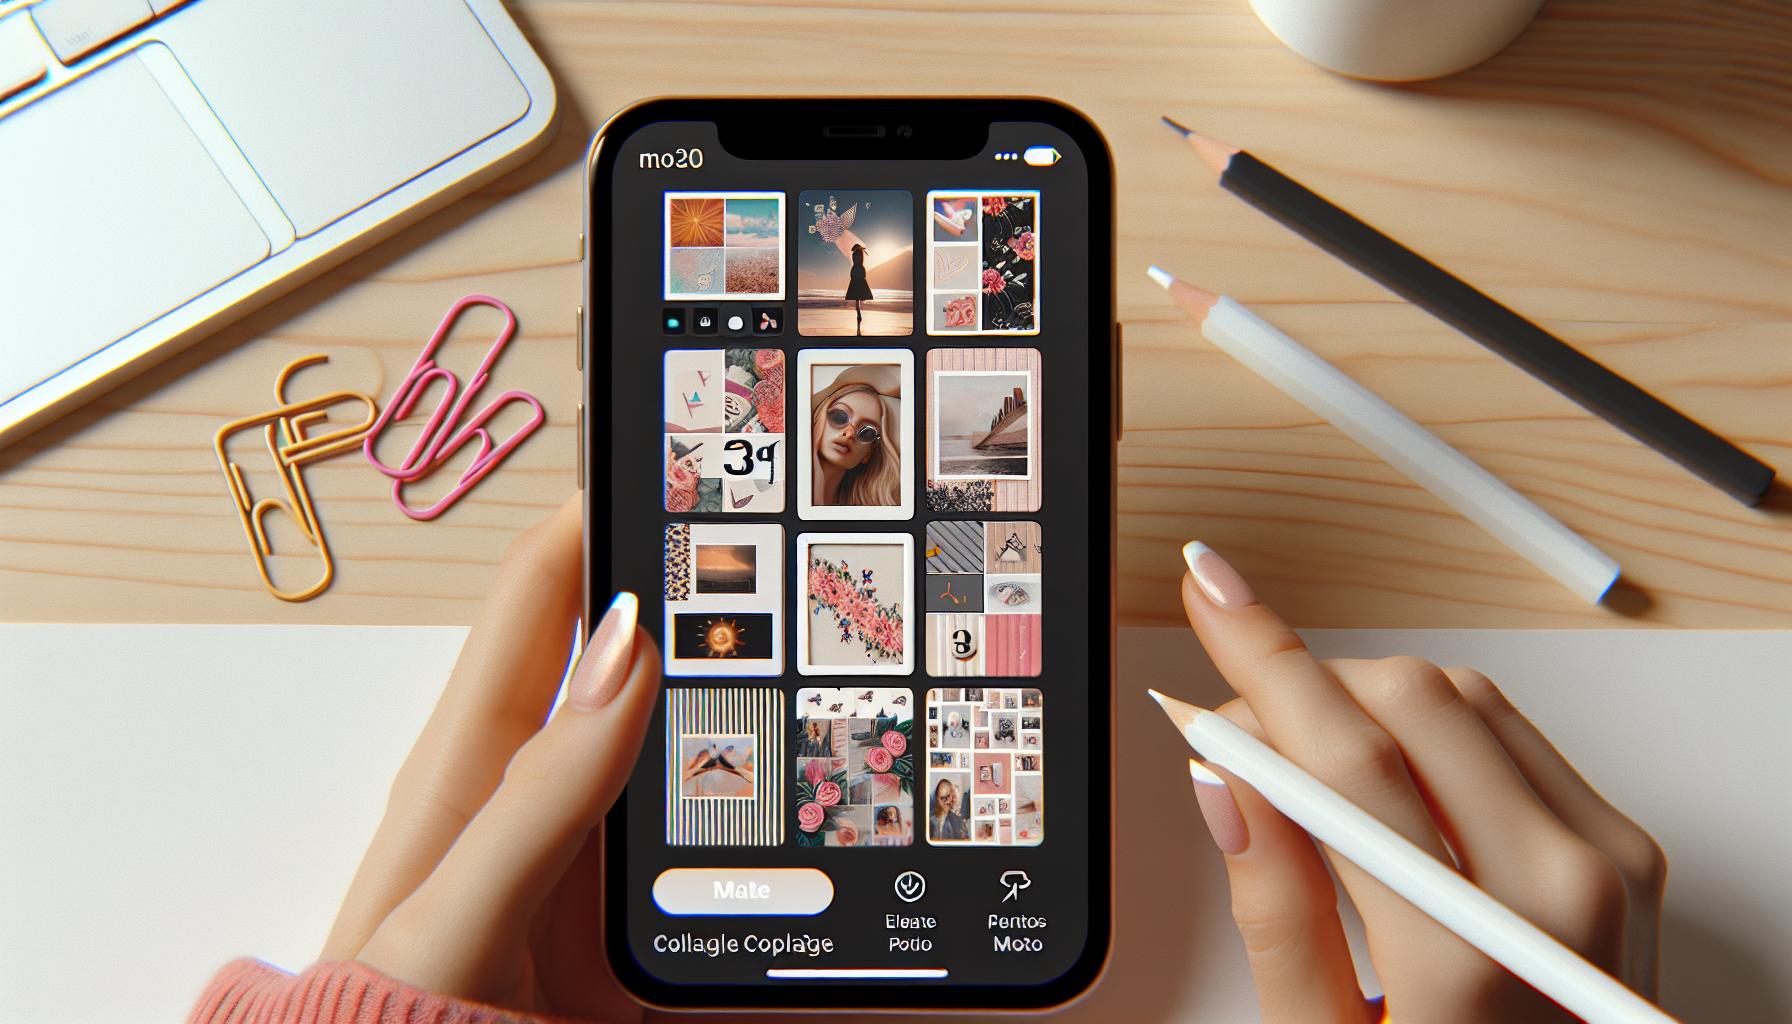
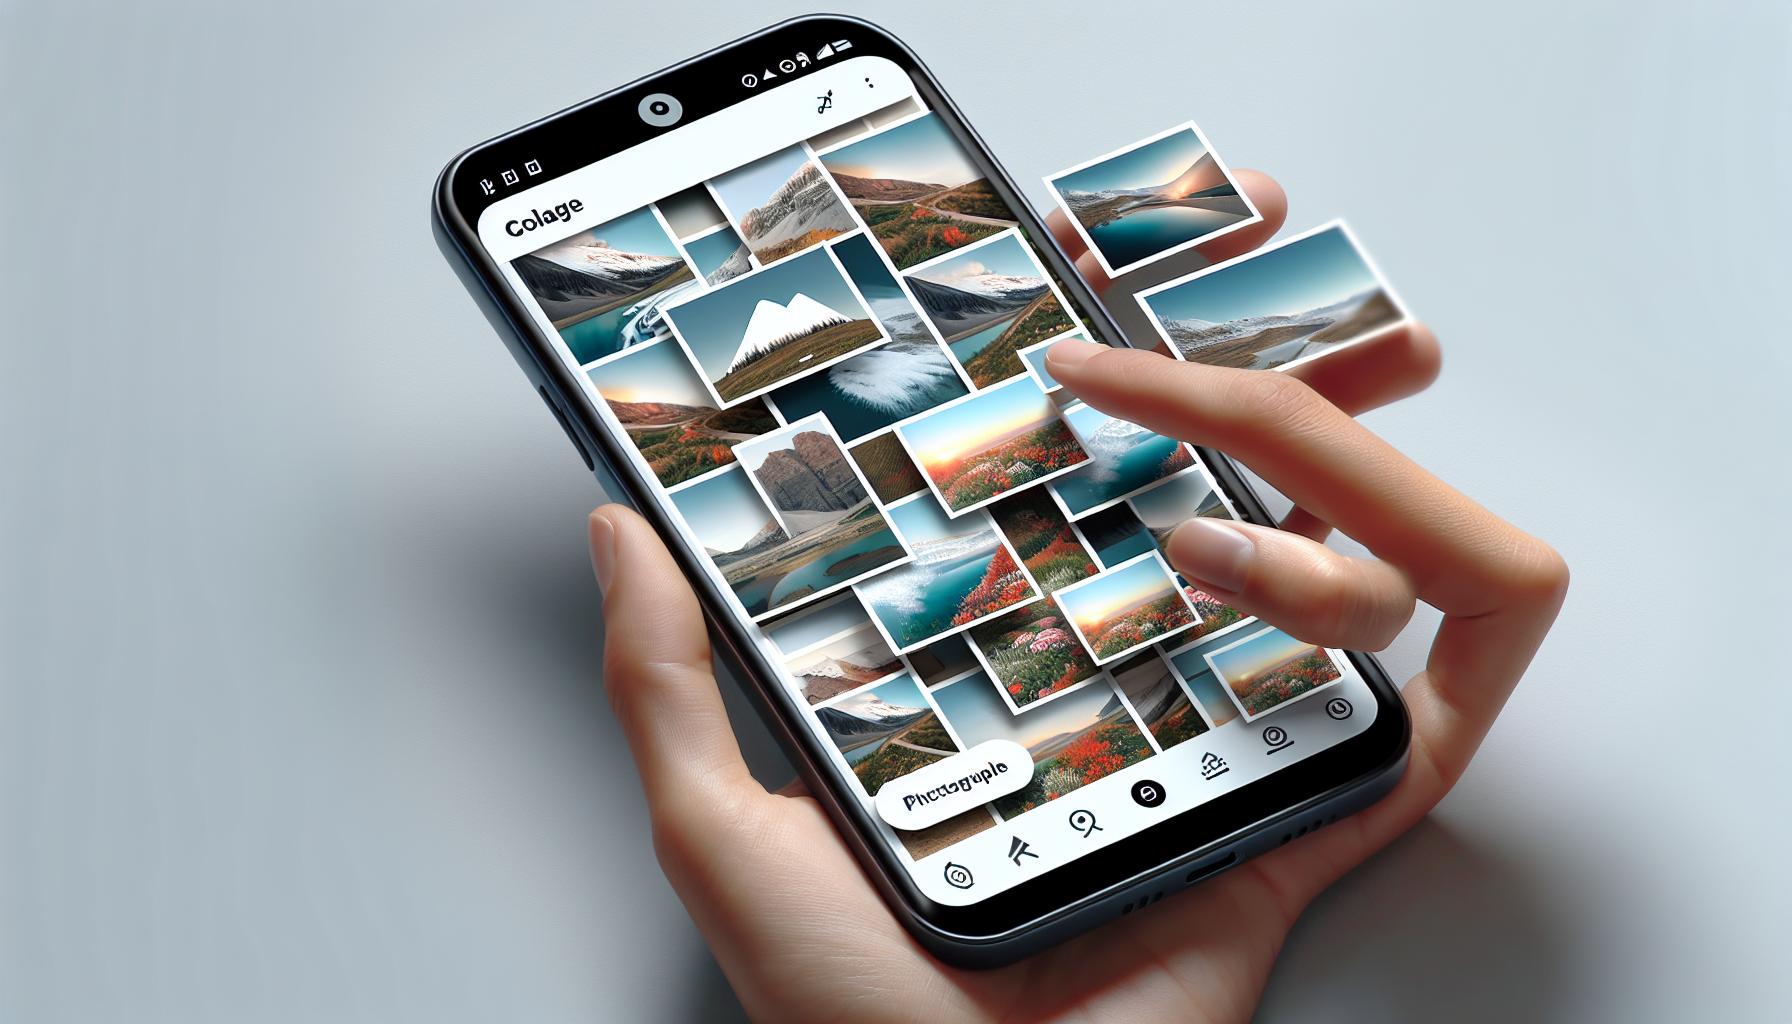
Ever wanted to create a stunning collage on your iPhone, but didn't know where to start? You're in the right place! This guide will walk you through the process, step by step. It's easier than you might think, and you don't need any fancy apps or software to get started.
Creating a collage on your iPhone is a great way to showcase your favorite photos, create fun memories, or even design unique wallpapers. Whether you're a seasoned iPhone user or a newbie, you'll find this guide handy. So, let's dive in and start creating your first iPhone collage.
Setting Up Your iPhone
Before diving into the collage making process, let's ensure your iPhone is all set for the task. These days, iPhone's pre-installed apps can effortlessly assist you, thereby making third-party apps unnecessary.
Initially, we'll focus on two apps namely Photos and Markup. Tucked away in your device already, these apps are your tools for photo manipulation and editing.
To ensure quick access to your photos, think about organizing them into albums in your Photos app. Here's how:
- Open your Photos App
- Head over to the Albums tab at the bottom
- Tap the "+" button
- Then choose New Album
Further, modifying or editing images in the Photos app itself is incredibly straightforward. A common basic task such as cropping can be achieved by:
- Selecting the photo you want to crop
- Tapping on the Edit button
- Choosing the crop tool
The Photos app also offers other editing options like filters, light adjustment, and color toning capacities.
Your iPhone also harnesses a valuable app called Markup. It empowers you to draw or doodle on the selected photos, insert texts or signatures, magnify a portion of the image, and more.
- Open the image you want to edit.
- Click the "Edit" button and hit the "…" (ellipsis) button.
- Tap Markup.
By effectively using these pre-installed apps, you can create visually appealing collages without the need for any other software or app. After setting up your iPhone rightfully, not only will you be taking your creativity to the next level, but you'll also be mastering these built-in tools. From organizing pictures to manipulating them, the iPhone provides an all-in-one platform for you to forge imaginative picture collages.
The next segment will take you through the steps of creating your first collage on your iPhone. Stay tuned, because you're well on the way to becoming a proficient iPhone collage creator.
Gathering Your Photos

Before you start making a collage, you'll want to select and gather your photos. Sorting through your images on your iPhone can be a fun part of the process. As you hunt for the perfect images, you'll likely rediscover forgotten moments, and relive memories that add a personal touch to your collage.
To simplify the task, consider creating separate albums for different events or themes in your Photos app. For instance, if you're thinking about designing a collage that captures your last holiday, create an album dedicated to it. Not only will this make the collage-creation process more manageable, but it'll also help in maintaining a coherent theme for your collage.
To create a new album, go in your Photos app and tap on "+". Give a name to your album and start adding your desired photos. Remember, developing a clear vision for your collage beforehand aids in the selection process.
The next step concerns the quality of your images. An appealing collage necessitates high-quality photos. Be sure to choose high-resolution images that will not pixellate or distort when zoomed in. Using high-quality images ensures your collage is crisp, clear, and aesthetically pleasing. If you're unsure about an image's resolution, you can check the details in the Photos app by tapping on the photo and swiping up.
By the completion of this phase, you should have all your selected photos neatly organized within a dedicated album ready to be used for your collage. This setup makes your collage creation a breeze, enabling quick access to your photos when you move on to the collage construction stage using the built-in Markup app.
Organizing and preparing your photos is the first big step towards creating your collage. Now, with this task completed, you're ready to move on to the more creative aspects of assembling your photo collage on your iPhone.
Choosing a Collage App

Having gathered and organized your photos in separate albums, using your Photos app, the next big step is to choose a collage app. Remember, the goal is to create a visually appealing collage, and your chosen app plays a significant part in this process.
Numerous collage-making apps are compatible with iPhone, but the best one for you highly depends on your specific needs. Fotor, Canva, and Adobe Spark Post, for instance, are some of the popular names when it comes to iPhone collage apps.
Fotor is renowned for its wide range of design templates and stunning visual effects to enhance your collage's overall look. Canva, on the other hand, is celebrated for its user-friendly interface and versatility, offering various collage shapes beyond the traditional rectangular or square templates. Lastly, Adobe Spark Post is the go-to app for those seeking a professional touch, with its comprehensive selection of fonts and editing features.
However, it's often best to test a few apps before settling down on one. Most of them offer basic features for free, with premium features available at a cost. Figure out what works best for you. Whether you prefer a simple, intuitive design, or fancy advanced editing options, there's an app out there that matches your preference.
Remember, high-quality photos are paramount for a visually striking collage. Once you've decided on your collage app, go ahead, and put those stunning photos of yours into action. The journey towards creating your stellar collage is well underway.
| App | Pros | Cons |
|---|---|---|
| Fotor | Wide range of templates, visual effects | Not all features are free |
| Canva | User-friendly, versatile designs | Fewer editing options than some other apps |
| Adobe Spark Post | Professionally-oriented, array of fonts and editing choices | More complex interface, not everything is free |
Avoid rushing the process and take time to explore different apps. With patience and practice, you'll find the perfect collage app suited for your needs.
Selecting a Collage Template

Once you've chosen a collage app that suits your needs, it's crucial to select the right collage template. Templates are the backbone of your collage as they determine the layout. Every app comes with a variety of templates and each offers a different feel and style. Carefully consider the visual impact of the layout and how it can enhance or even detract from your photos.
Exploring the template options in each collage app is a key step in this process. For example, Fotor offers funkier layouts with the ability to customize borders and background colors. Canva is known for their stylish and professional-looking templates that cater to a more sophisticated aesthetic. If you're inclined towards minimalistic designs, Adobe Spark Post might be the one for you as it offers clean and modern templates.
Consider the number of photos you want to include in the collage. Some templates fit multiple photos, while others suit one or two images better. It's worth noting that overcrowding your collage can make it appear cluttered, while too few photos may not convey the story you want to tell.
Lastly, consider the purpose of the collage. Are you creating it for personal memories or for a professional platform? Perhaps you're putting together a visual story or a mood board? The templates you choose should align with these purposes.
As you explore templates, remember not to rush the process. It's all about playing with different layouts until you find one that complements your content beautifully. Trial and error is part of the process as you work your way towards collage perfection. Even in template selection, your creative journey is ever-evolving.
Customizing Your Collage
After you've chosen a collage app and selected your template, the fun truly begins: customizing your collage. In this section, you'll learn how to make your digital creation truly your own.
The first thing you might want to do is add your photos. Drag and drop your selected images into the collage template in your chosen app, Fotor, Canva, or Adobe Spark, all of which offer intuitive interfaces. Feel free to play around with the placement of your pictures until you're satisfied.
Editing your images is another fundamental step that you mustn't overlook. Do your photos need a crop or a filter? Maybe a brightness boost? Adjust the color levels using your app's built-in tools for the perfect finish. Remember: good contrast and balanced colors draw the eye and make for a compelling collage.
You should also consider adding text elements. Whether it's a quote, a headline, or a simple label, text can give context to your collage, create narrative, and provide a personal touch. Explore the variety of fonts on your collage app - some may have a host of typography options at your disposal.
Next, focus on the spacing and borders around your images. White space can provide a clean, modern look, while tighter spacing can lend a traditional feel. It's a matter of personal taste, but taking note of these detailing options makes for a polished look.
One last thing: don't forget to add some embellishments if you want to give your collage a unique flavor. Stickers, emojis, shapes, patterns, and doodles are just some of the decorative elements you can incorporate.
So, you have the tools you need - it's time to unleash your creativity and customize your collage to perfection. There's no right or wrong way to do it, only your way. Enjoy the process and watch your masterpiece come to life!
Adding Effects and Filters

Not to forget, effects and filters. They are the magic ingredients that can transform your collage from cute to stunning with a single tap. Whether you're after a vintage look or something more glossy and glamorous, there's a filter out there just waiting for you.
Most collage apps on your iPhone come packed with a variety of filters and effects. They're intended to spin a new persona to your already-beautiful photos. From monochrome to sepia, pop-art to cool blue effects, the list is almost endless.
But how do you choose and use these effects? Here's how:
- Firstly, select the photo you'd like to manipulate in your collage. A toolbar, generally located at the bottom of the screen, should appear.
- Next, tap on the 'effects' or 'filters' option. It usually comes symbolized with a magic wand icon or a palette.
- You'll see a variety of filters and effects. Scroll through them, try them out and see how they change the look of your photo.
It's not all about applying an effect or a filter, though. Some apps enable you to adjust the intensity of the filter. This means you can tweak it until it's exactly how you want it.
Let's not forget about combining effects. Indeed, some filter combinations create different moods and tones, taking your creation to new visual heights.
Not sure where to start? Try a black and white filter for a classic, timeless look. Or go for a brightly colored filter to make your collage pop and stand out.
Be adventurous. Experiment with various effects and see what works for you. Practice makes perfect. Your imagination is the only limit here.
Remember. The aim is to create a collage that's totally unique to you. Enhancing your photos with different effects and filters is one way of achieving this. Enjoy the process. Play around with different styles until you find what suits you best.
Don't overdo it! There's just a line between an artistic collage and an over-enhanced mishmash. Filters are tools, not crutches. Let your photos speak for themselves, but never be afraid to add a little swagger.
Adding Text and Stickers
Now that you've got the hang of using filters and effects, let's move on to Adding Text and Stickers to your collage. This step may seem simplistic but can bring a special touch to your creation, just like icing on a cake. Add a message, a quote, or even a witty comment. It's your collage, after all.
Let's start with the text addition process. On most collage apps, you'll find a text symbol that you need to click on to begin. Tap on the screen where you'd like the text to appear and start typing. Remember, you can always change the size, color, and font to best fit your collage's aesthetic. Don't be scared to get creative and play around with different font styles. Do keep in mind that the text should not overshadow the visuals. It's meant to complement them.
Let's talk about stickers. Who doesn't love stickers, right? To choose a sticker on your collage app, usually, there's a smiley or a sticker icon in your toolbar. Tap on it and explore your options. From emojis and hashtags to custom designs, there's a whole world of stickers out there waiting for you to discover. And you know what? A well-placed sticker can really elevate the mood of your collage. Just remember - the stickers should enhance, not distract, from your images.
| Step | Instruction |
|---|---|
| 1 | Open your collage in the app. |
| 2 | Tap the text symbol. |
| 3 | Click on the screen where you want the text. |
| 4 | Type in your message. |
| 5 | Adjust the size, color, and font as needed. |
| 6 | Tap the sticker icon. |
| 7 | Choose a sticker that enhances your images. |
| 8 | Drag and drop the sticker on the desired spot. |
There's no right or wrong here, it's all about expressing yourself through your collage. So why don't you fire up that collage app and start Adding Text and Stickers to your heart's content?
Arranging and Rearranging Photos

Now that you've learned how to add text and stickers, let's dive into arranging and rearranging your photos. This step is crucial and gives life to your collage.
On your iPhone, locating and selecting the desired photos is the start of the process. Head over to your photo library, browse through your visual memories and select the images you wish to include in your collage. Once your photos are selected, they'll appear in your editing platform.
With the canvas laid out in front of you, the power to set the tone of your story lies in your hands. This is where experimentation with arrangements comes in. Would you like a linear narrative or a more haphazard, chaotic approach? It's entirely up to you. The collage app allows you to drag, drop and swap photos until you're happy with the arrangement.
Don't be daunted if you have numerous photos. The beauty of the collage format lies in its allowance for plenty of images. It's not about homogeneity, but celebrating diversity and dynamism. So, don’t be afraid to mix horizontal and vertical photos.
Want a pro tip? Try balanced compositions, like arranging darker photos on one side and balancing them out with lighter ones on the other. This strategy can create a dynamic visual effect. Likewise, you can also play with scale by placing smaller images next to larger ones.
Throughout the arrangement process, keep in mind that the intention here is to tell a story. Whether it's a journey through the past year, capturing an event, or simply showcasing a theme, you’re curating your photos to communicate an idea. Can you create visual movement as the eye scans the collage? Can you highlight a particular picture as the focus point? Answering these questions might guide your arranging and rearranging steps.
Whether using symmetry, contrast or harmony, this segment in the collage-making process allows plenty of creative liberties. Forget rigid rules, the goal is to create a captivating collage that intertwines seamlessly with the text and stickers you've added. This isn't just a collection of images. It's a personal narrative given visual form.
Saving and Sharing Your Collage

Once you're satisfied with your collage, it's time to save and share it. On your iPhone, saving can be as simple as tapping the "Save" button, usually represented with a downward-facing arrow or a floppy disk icon.
If you can't locate the "Save" button, navigate to "File" on the menu and select "Save As". The iOS environment automatically saves the image to your Photos app. You can find it in your camera roll or in the "Recently Added" section, making it easy for you to access and share with friends and family.
Sharing your collage isn't all that complicated either. If you're keen on sharing, using in-built social sharing features available on most collage-making apps might be the best choice for you. Tap on the "Share" button, which should be visible once you've saved your work. You'll be presented with convenient means of sharing via popular platforms like Instagram, Facebook, and Twitter to name a few.
However, there's more to sharing than just social media. You can also directly send your collage to friends and family through Messaging apps like Whatsapp or iMessage. A collage can make an alluring wallpaper for your phone. If you're looking at this option, ensure your collage's dimensions fit your screen resolution. You wouldn't want your masterpiece cropped out or distorted by your device's aspect ratio.
Your collage should tell a story, and now it's ready to be circulated. Whether you share it with your online following or use it as a personalized present for someone special, the creativity and effort your collage exhibits will undoubtedly shine through.
Remember, save frequently during your creation process! Losing your progress because of an unexpected shutdown or battery drain isn't something you'd want to deal with. Keep that in mind as you continue to explore the diverse and exciting world of photo collage making.
Conclusion
You've got the tools and the know-how to create stunning collages on your iPhone now. Remember, it's about more than just piecing together random images. Your collage should weave a captivating story, be it for your social media audience or as a unique gift. Don't forget to save your work regularly to avoid any loss and adjust the dimensions if you plan to use it as a wallpaper. With a tap on the 'Save' button or by using the 'Save As' option, your masterpiece will be safely stored in your Photos app. Sharing your creation is a breeze too, with built-in sharing options for platforms like Instagram, Facebook, and Twitter. Or why not surprise someone by sending it directly via Whatsapp or iMessage? Enjoy the process and let your creativity shine.
How can I save my collage on an iPhone?
On an iPhone, you can save your collage by tapping the "Save" button or by going to "File" and selecting "Save As". The image will then be saved to your Photos app.
Most collage-making apps offer social sharing features which allow you to share your collage on platforms like Instagram, Facebook, and Twitter. You can also send it directly to friends and family through messaging apps like Whatsapp or iMessage.
Can I use my collage as a phone wallpaper?
Yes, you can use your collage as a phone wallpaper. However, you must ensure that the dimensions of the collage are suitable for your screen resolution to avoid distortion of the image.
What should my collage tell or represent?
Ideally, your collage should tell a story or represent something meaningful to you. They can be shared with your online following or even serve as a personalized present.
Should I save my work frequently while creating a collage?
Yes, it's a good practice to save your work frequently during the process of creating a collage. This is to prevent loss of progress in case of any unexpected incidents like app crash or power outage.


