Ever found yourself in a situation where you needed to change your iPhone passcode but didn't know how? Don't worry, you're not alone. It's a common issue that many iPhone users face.
Whether you're looking to boost your phone's security or simply can't remember your old passcode, changing it is a straightforward process. In this guide, we'll walk you through the steps to change your iPhone passcode with ease.
Remember, a strong passcode is your first line of defense against unauthorized access to your iPhone. So, let's get started on how to change your passcode to keep your personal information safe and secure.
Reasons to Change Your iPhone Passcode
Understanding why you might need to change your iPhone passcode isn't always crystal clear. Turns out, there are several compelling reasons to consider an update throughout your device's life cycle.
One key reason to change your passcode is if you suspect that someone else has managed to guess or discover your current one. Maintaining phone security is integral to protect your personal and sensitive information. If another person has your passcode, they could easily access your emails, banking details, or other confidential data stored on your iPhone. It's clear that a compromised passcode requires immediate action, with the obvious solution being to create a fresh, secure passcode.
Keeping the same passcode for an extended time is also not recommended. Familiarity can often lead to share your passcode with the bank's cashier, your kid, or friend. You never know who might retain this information and put your data at risk. Switch up your passcode regularly to avoid this vulnerability.
Next, consider a change when your current passcode seems too evident or easy. If you've used something simple like "1234" or "0000", others may quickly guess your passcode. The best practice is to use a code more complex and unique. In this scenario, don't waste time! Go straight ahead on your device to change that passcode.
So you see, reasons for changing your iPhone passcode are abundant and often very necessary. Protection is the underlying theme here. The next section will guide you on how to change your iPhone's passcode, ensuring that your device's contents stay where they should - in your control.
Remember: your iPhone is a gateway, not only to your digital life but to your real-life data, finances, and identity. Always prioritize security, keep your secrets secret, and continue reading for more tips and instructions.
How to Change Your Passcode on iPhone
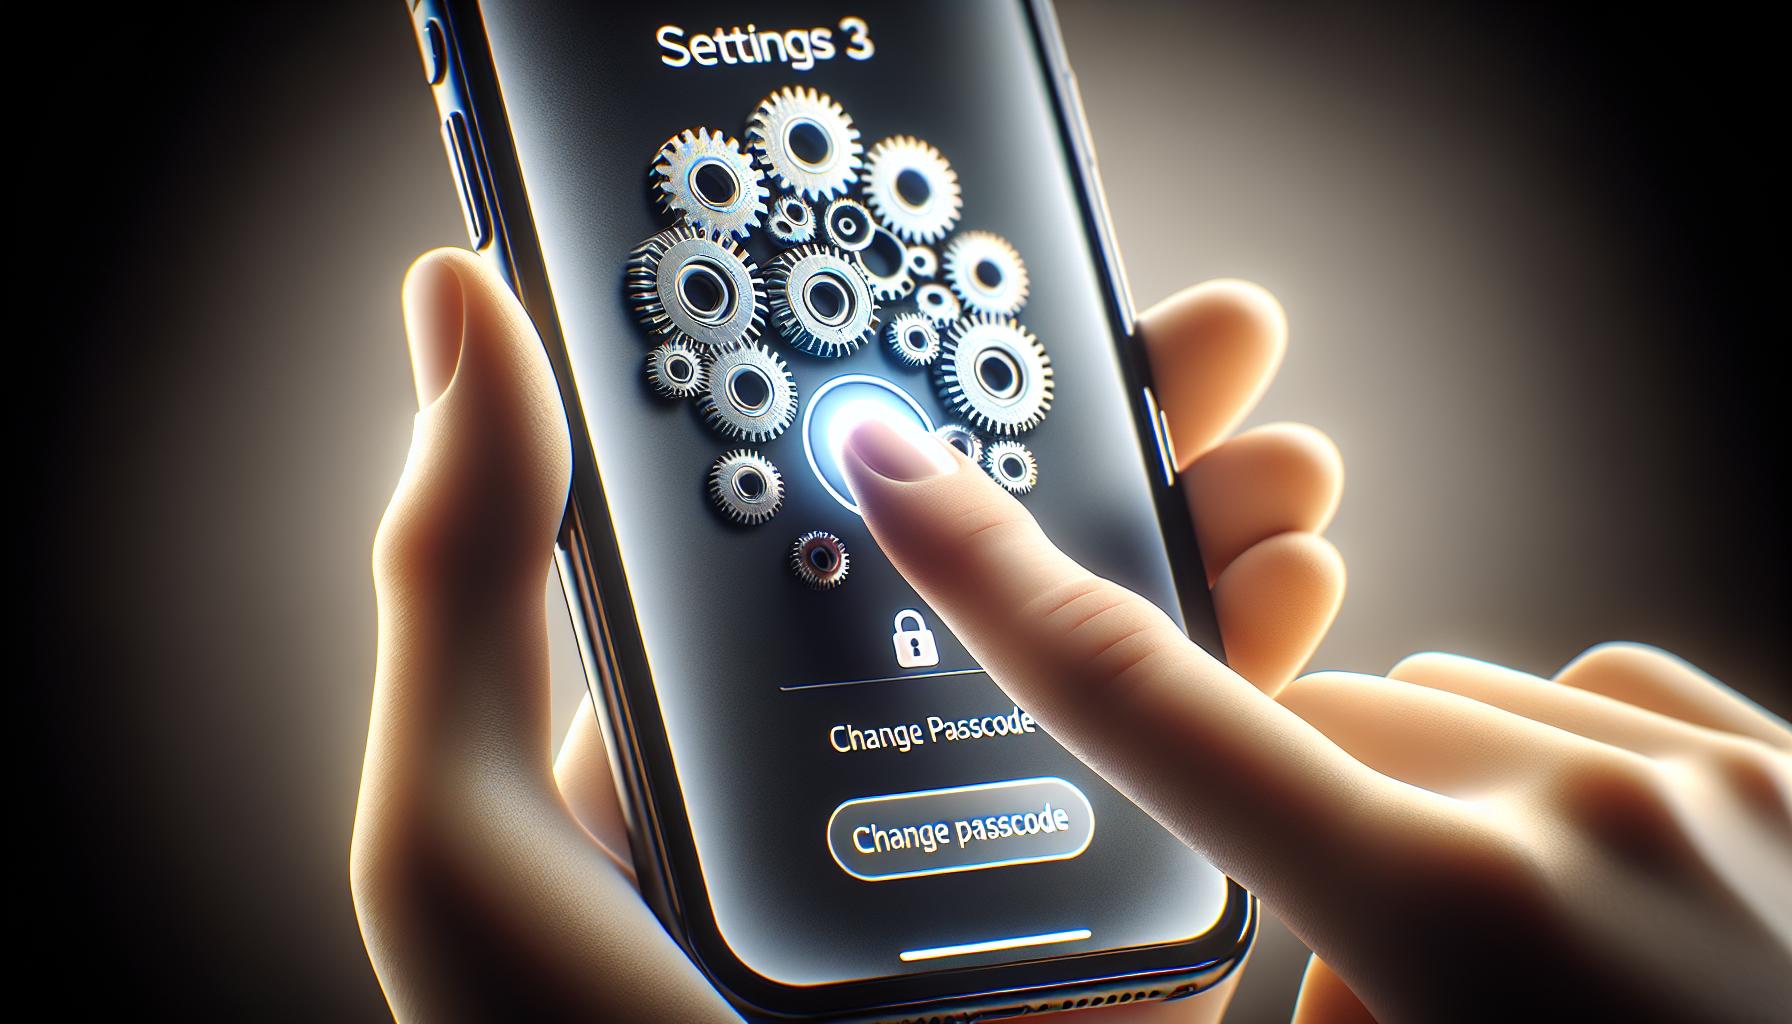
In keeping with the commitment to secure your iPhone, it's valuable to acknowledge the steps involved in changing your passcode. It's a fairly simple process which doesn't require any technical expertise.
Start by going to your iPhone settings where you'll find a plethora of options. It's in this mix that you'll locate the "Touch ID & Passcode" or "Face ID & Passcode" option, depending on your iPhone model. Upon selecting this, you'll have to input your existing passcode for the necessary authorization. That's one hurdle down!
Now you're in the right place, look for the "Change Passcode" option. Clicking on this takes you to another screen where you'll enter your old passcode once again. Then, you'll be prompted to key in your new passcode.
Wish to enhance your passcode security? Consider moving from the standard four-digit passcode to six digits or even an alphanumeric version. To switch, press on the Passcode Options just below the New Passcode field. There you'll select "Custom Alphanumeric Code," "Custom Numeric Code," or "4-Digit Numeric Code."
Impenetrable security often calls for more complex passcodes. An additional layer of privacy you might consider is to turn off the "Simple Passcode" option which allows the use of longer, more complex passcodes.
Remember to hit "Done" after setting your new passcode to finalize the change. With your new passcode secured, your iPhone's defense mechanism against unauthorized access just scaled up a notch.
Though these strategic steps may seem minor, they are vital in fortifying your iPhone security. Don't just breeze past these options in your settings. Make time to explore and understand how they can contribute to boosting your phone's protection. Savor the confidence that comes with enhanced privacy, knowing you're not an easy target for cyber exploits. Innovation has made these options readily available, so why not exploit them for your own digital safety? Cordially invited is your attention to ensure that you routinely change your passcode, it's all in your hands.
Step 1: Open the Settings App

Step by step, you're on your way to fortify iPhone security. So, here's your first move: get into the Settings app. With a sea of apps on your screen, it's easy to lose sight of it. Look for an icon that's gray with gears; that's your gateway to altering the iPhone passcode.
Unlike other smartphone interfaces, iPhones keep their features neatly tucked away. The Settings app is your one-stop-shop for any alterations you need to make. Tap it, and you have begun the journey. The process of changing your passcode, once you know your way around, is as easy as pie.
As soon as you're in, look straight down. You'll land on the 'Face ID & Passcode' or 'Touch ID & Passcode' options, depending on the models of your iPhone. Before we dive in, heartening is to know that iPhones offer a range of security options. This includes simple four-digit passcodes, six-digit passcodes, or custom alphanumeric codes. So, there's ample room for you to level up your game.
Dialing up the intensity of your passcode sure goes a long way in beefing up security yet do not underrate the first step: accessing the Settings. This step, although it seems insignificant amid encryption and biometrics, is crucial to the process of passcode change. Therefore, remember, it all begins with a simple tap on the Settings app.
Let's proceed further, shall we?
Step 2: Tap on "Touch ID & Passcode"
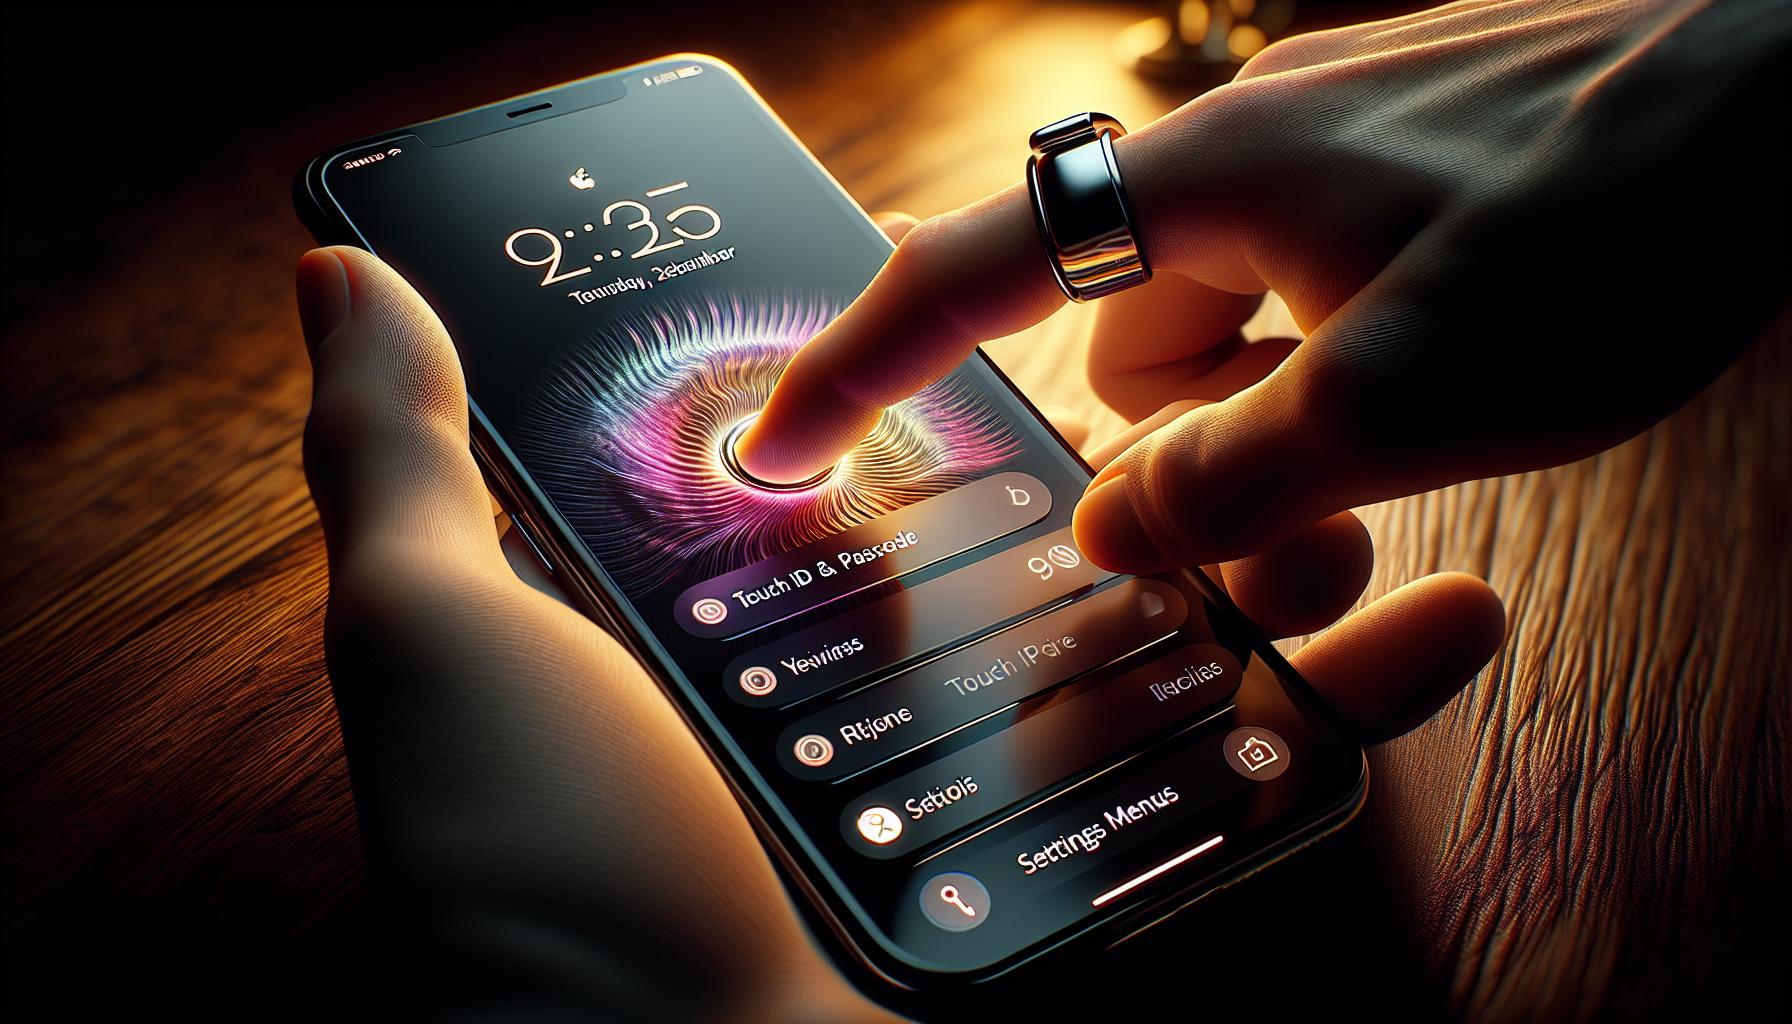
Once you've opened the Settings app on your iPhone, the next move is to tap on "Touch ID & Passcode". This option is within plain sight in the Settings menu. It's designed to handle all the iPhone's authentication settings, including passcodes and biometrics such as Touch ID or Face ID, depending on your particular iPhone model.
Navigating to "Touch ID & Passcode" is your gateway to making critical changes that affect your iPhone's security. Here, you're granted the ability to change your passcode, alter touch ID settings, and manage other security features offered by the iPhone.
After tapping on "Touch ID & Passcode", your iPhone will prompt you for your existing passcode. It's a security measure to ensure that you, the rightful owner of the phone, are initiating these changes. So, go ahead and key in your current passcode. This will unlock the array of security options that iPhone offers for you to explore and adjust.
Alterations made through the "Touch ID & Passcode" settings don't just affect your passcode. They also apply to how your iPhone interprets fingerprint data or facial recognition. Therefore, making informed and secure choices here can add an extra layer to your iPhone's guard against unauthorized access.
As noted earlier, the process of changing your passcode entails more than merely inputting a new set of numbers. Your iPhone offers you the opportunity to create a far more complex passcode through alphanumeric codes or a longer numerical code. Such options empower you to enhance your phone's security and suit your personal preference.
Once you tap on "Touch ID & Passcode", you're one step closer to achieving a more secure iPhone. Understanding how to navigate these iPhone settings grants you greater command over your phone security. Your next key task -- setting the new passcode -- is coming next.
Step 3: Enter Your Current Passcode
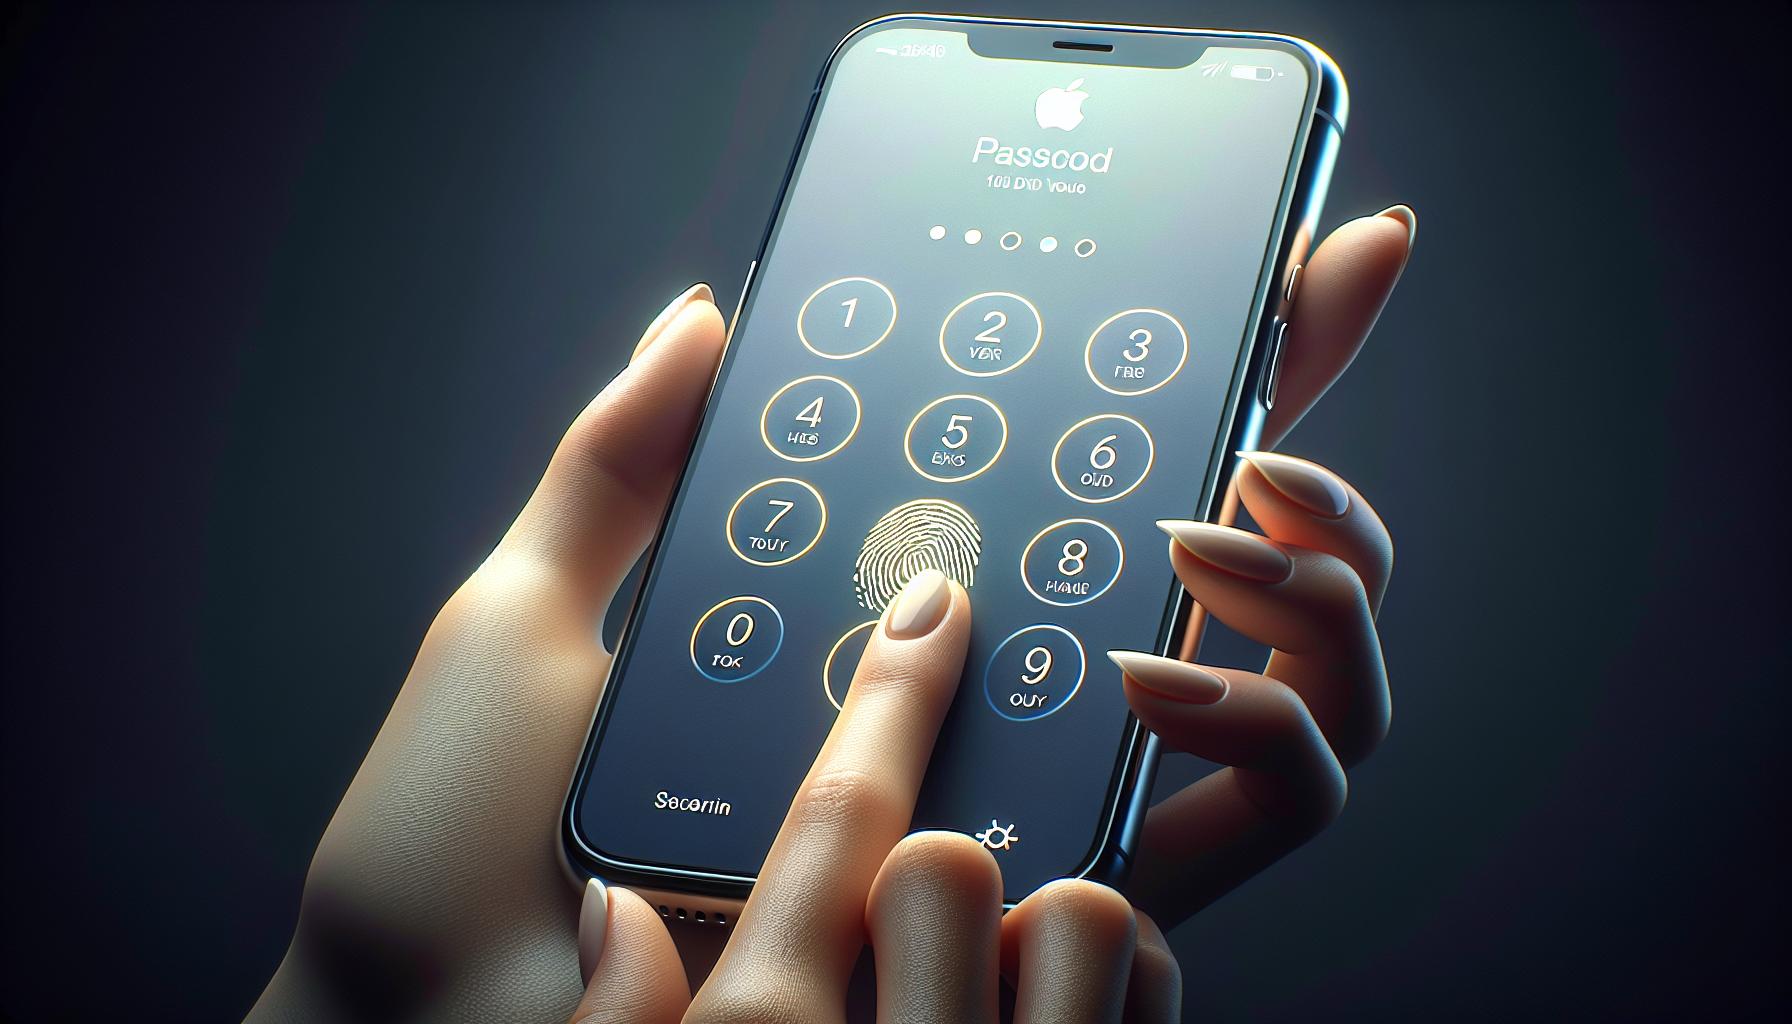
Now that you've made it to the Touch ID & Passcode section, it's time to input your current passcode. It's an important step designed to ensure the rightful owner is making changes.
You'll find an option that asks for your existing passcode. Enter the passcode carefully to proceed. In case you've misplaced it, there's still hope: iOS devices include features for resetting passcodes that you've forgotten. However, it's far better to remember your passcode at all times to avoid potential issues.
Once you've confirmed your existing passcode, your iPhone will unlock an array of options to help adjust your passcode settings. It's like a hidden room only you have the key to, unearthing bespoke security settings to fortify your iPhone's defenses.
Keep in mind that your passcode isn't just a barrier against unwanted access. It's also a crucial element in how your iPhone processes and interprets biometric data. Be it your fingerprints or facial data, the correlation with the passcode is paramount.
When you choose to update or change your passcode, remember it also affects how your iPhone comprehends your unique biometric data. Tinkering with these settings can potentially strengthen the interoperability between your passcode and biometric data.
The world is perilous and safeguarding your iPhone's access points with a strong, memorable passcode can help protect your personal data from being compromised. By consciously taking these steps, you're contributing to the broader fabric of digital safety.
In the next section, we'll address other aspects of iPhone passcode settings that are equally essential and consequential, including: how to turn off the simple passcode, set an alphanumeric code, and customize the auto-lock timer. Stay with us to further unlock the potential for increasing your iPhone's security.
Step 4: Tap on "Change Passcode"
Now that you've navigated through your iPhone settings and entered your current passcode, it's time to progress to the next phase. Within the Touch ID & Passcode settings, search for the option labeled "Change Passcode". Tap on it.
This is no random selection. This choice provides a clear pathway to customize the way you secure your iPhone. It's a step closer to fortifying your digital fortress. It's all about enhancing your iPhone's safety and usability.
You'd be thinking, why all this focus on changing the passcode? Well, you're not just changing numbers or characters for the sake of it. Changing your passcode regularly is an effective way to keep your privacy intact. It can forge an extra layer of protection against any foul play.
And now, moving onto Step 5, your iPhone will prompt you to re-enter your current passcode before proceeding. This is Apple's way of ensuring that it's really you who's initiating the change. Found yourself forgetful? You'll have the option to reset your passcode after a few unsuccessful attempts. Here's a note though: the 'Erase data' function will permanently remove all data after 10 unsuccessful attempts.
Wondering how often to change your passcode? There isn't a set standard, but it's a good practice to change it every few months. It's all about your comfort, necessity, and the emphasis you put on your digital privacy. Next up, we'll focus more on the different types of passcodes you can set on your iPhone, offering a unique blend of security and practicality.
Step 5: Enter Your New Passcode
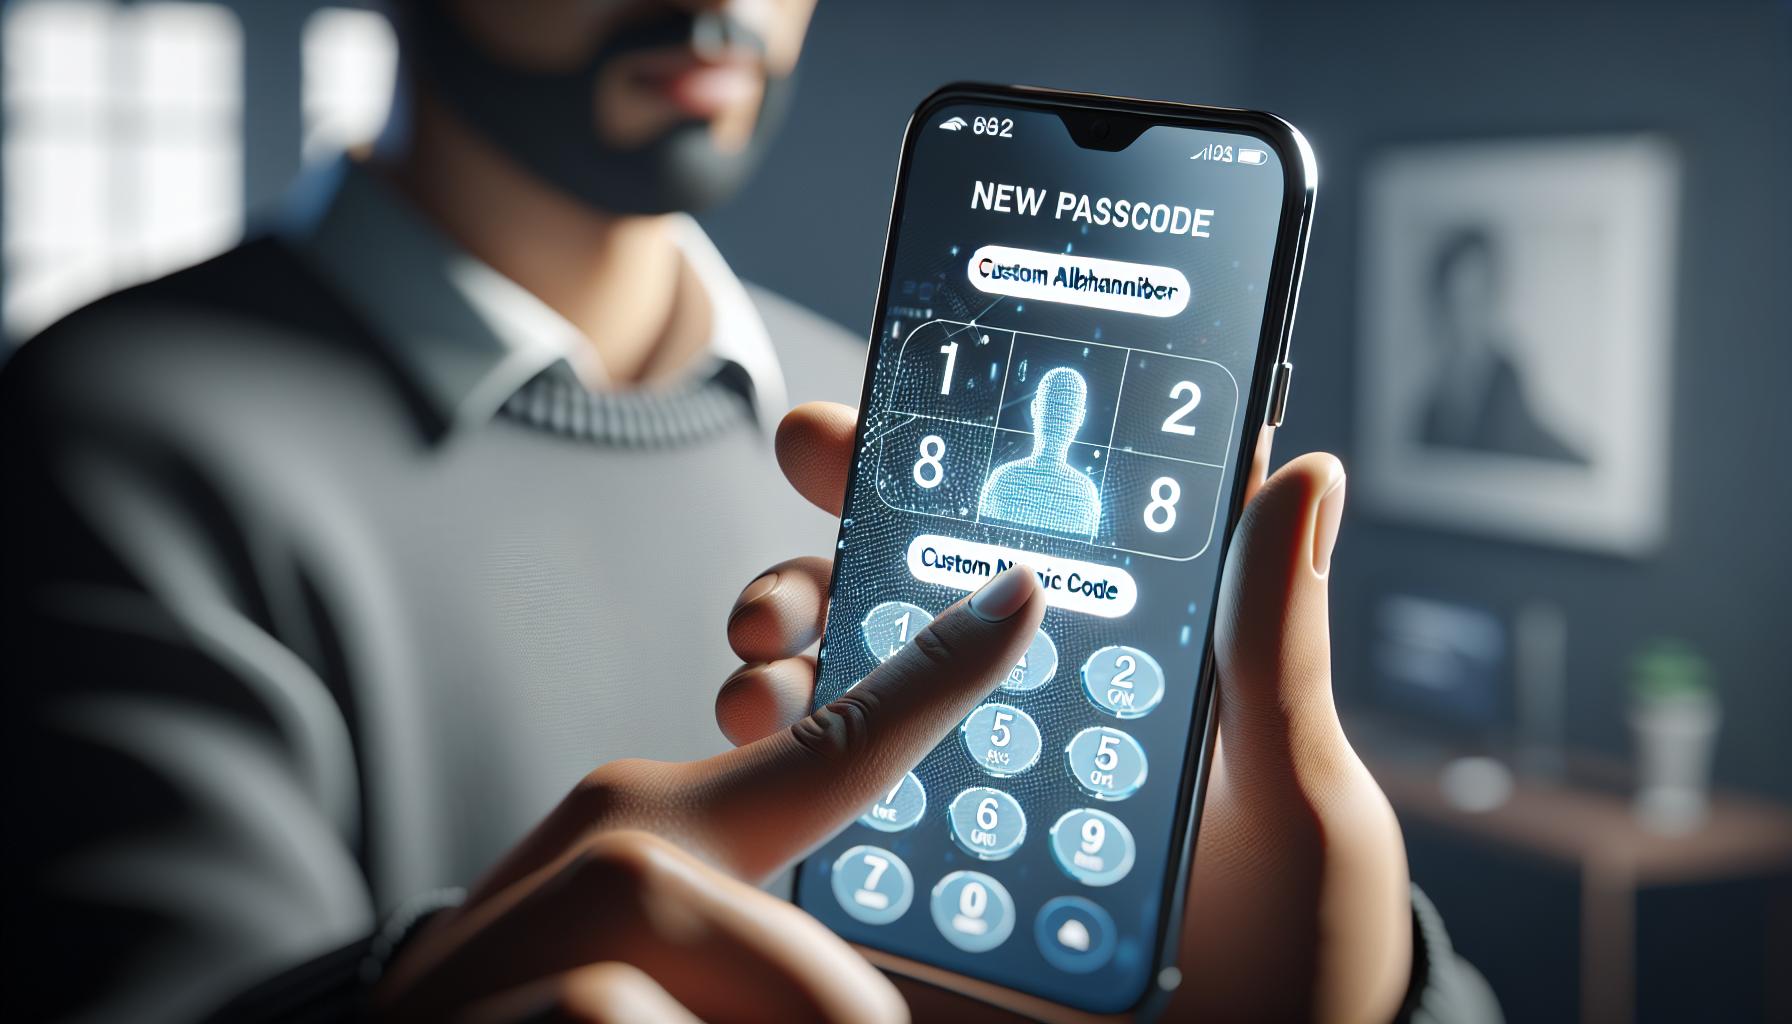
Now that you've successfully navigated to the Change Passcode section and re-entered your current passcode, it's time to input your new passcode. This vital step in the passcode change process allows you to create a fresh line of defense against unlawful access.
Be prepared to enter your new passcode twice. The iPhone will first ask for your new passcode then prompt you to verify it by entering it a second time. This confirmatory step is Apple's way of ensuring that you've entered your desired passcode accurately. Remember, an error in entering the new passcode could lead to lockout situations, a scenario to be avoided at all costs.
Consider adding complexity to your passcode. Don't shy away from utilizing the Custom Alphanumeric Code option, which invites you to create a robust password blending letters and numbers. Using the Custom Numeric Code option lets you invent a more extended numeric password outside the limit of the standard 4 or 6 digit codes. Food for thought, an extended code is tougher to crack enhancing your phone's security, making it a fortress of privacy.
With Apple's design, you can switch between these passcode types freely until you've settled on the one that balances ease of use and security for your needs. Remember, it's not just about creating a passcode; it's about crafting a secret key that safeguards your device and all the vital data it holds.
Moving forward, don't forget to regularly alter your passcode. This habitual change uplifts iPhone security to new heights, shielding you from potential foul play.
In our forthcoming section, we'll delve into the final steps of the process: completing the passcode change and exploring precautionary measures you could take, like the Erase Data feature. Stick with us to learn how to wrap up this security protocol effectively, keeping hackers at bay.
Step 6: Confirm Your New Passcode
Setting up a new passcode on your iPhone involves not just choosing a new code, but also confirming it. Have you ever wondered why it's necessary to input your new passcode twice? It's a smart move designed by Apple to ensure accuracy. Because accuracy is vital when changing passcodes, if you can't reproduce your passcode, all the action in the world won't help recover your data.
You've entered your new code once, now it's time to do it again. As you key in your new code for the second time, be mindful of each digit. Make sure you're entering the same password you decided on. One wrong digit could lock you out of your device in the future. It can be frustrating if you don't remember exactly what you entered the first time. Hence, take a moment and input the passcode mindfully.
After entering your passcode twice, your iPhone will verify both inputs. If they match, you'll notice a brief message on the screen indicating that your passcode has been changed. If not, your iPhone will request the new passcode be reentered. Your careful attention during this process, combined with your chosen passcode complexity, can help ensure your device's optimum security.
Don't be surprised if sometimes your iPhone asks for your passcode more often than usual. It's not unusual for your device to require your passcode even after a short period of inactivity, such as when you haven't unlocked your iPhone for more than 48 hours.
Once you're able to confirm your new passcode on the iPhone, you'd have successfully completed Step 6. But your journey towards enhancing your iPhone's security doesn't end here. Look out for our next steps, where we explore even tougher measures that can be taken in order to completely fortify your device's security. We'll take you through the Erase Data feature, which can become your ultimate weapon in safeguarding your data against any potential compromises.
Tips for Choosing a Strong Passcode
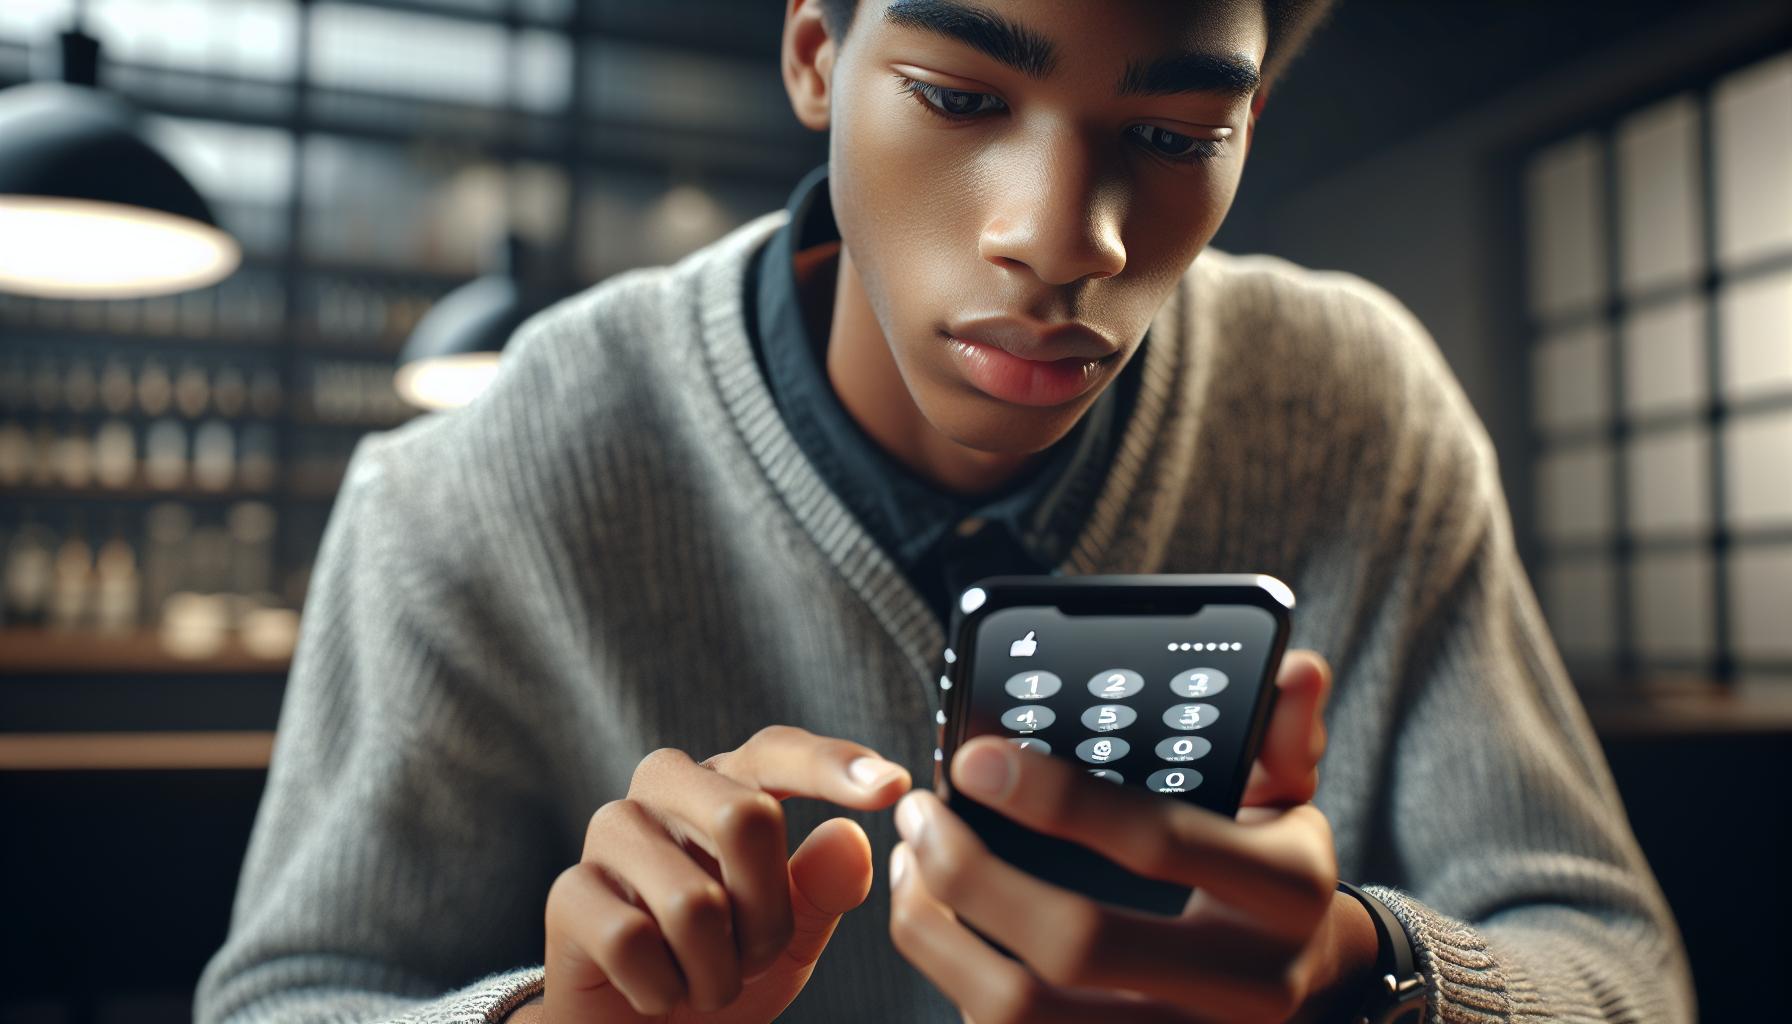
Now that you're familiar with the steps to change your iPhone passcode, it's time to delve deeper into the art of creating a strong, uncrackable code. You might already know a thing or two about this, but strengthening your knowledge can go a long way in fortifying your phone’s security.
Your passcode safeguards your private info stored on the device - it's your first line of defense against unauthorized access. The tougher your passcode, the stronger your defense. So, let’s dive into some key guidelines to keep in mind when creating a robust passcode.
Firstly, go for length. The more digits in your passcode, the more difficult it is for snoopers to guess it. You may opt for a six-digit code instead of the standard four or even push it to an alphanumeric passcode comprising letters, numbers, and symbols for an additional layer of security.
Secondly, never use easily guessable numeric combinations like "123456", "000000" or personal data such as your birth date. They may be easy for you to recall, but they're also the first options a hacker would attempt.
Thirdly, vary it up. Don’t recycle your old passcodes. In case your prior passcode ever did fall into the wrong hands, reusing it just makes the hacker’s job easier.
Finally, try not to use commonly used passcodes. According to a study, common passcodes such as "111111", "123123", or "password" are widely used. Check out this list for more examples:
| Common Passcodes | Frequency of Use |
|---|---|
| "123456" | 22.3% |
| "111111" | 7.1% |
| "123123" | 3.2% |
| "password" | 1.8% |
Next up, you'll learn about the importance of enabling the Erase Data feature for absolute security.
Conclusion
You've now mastered how to change your iPhone passcode, giving your device an extra layer of security. Regularly updating your passcode and opting for longer or alphanumeric codes can make all the difference in safeguarding your precious data. Remember, it's about striking the right balance between creating a passcode that's hard for others to guess but easy for you to remember. Don't shy away from using the double confirmation step—it's there to protect you from any potential data loss. Your iPhone might ask for your passcode more frequently, but that's just another layer of security. Keep these tips in mind and you'll be well on your way to ensuring your iPhone is as secure as it can be. Up next, let's explore the Erase Data feature and why it's crucial for absolute security. Stay tuned!
Frequently Asked Questions
Why should I regularly change my iPhone passcode?
Resetting your passcode regularly helps ensure your iPhone's protection. By routinely changing your passcode, you increase the difficulty for potential intruders, keeping your personal data safe.
Why is it necessary to confirm my new passcode twice?
The double confirmation is beneficial as it prevents future data loss and secures your iOS device. If the new passcode is entered wrong the first time, you will know immediately, and the risk of forgetting the passcode is minimized.
What is the advantage of using a longer or alphanumeric passcode?
Longer and alphanumeric passcodes are inherently more secure as they provide a vast range of possible combinations, making it highly challenging for hackers to crack your passcode.
Why do I need to avoid predictable or commonly used passcodes?
Predictable or standard passcodes are usually the first combinations intruders will attempt. Therefore, choosing an uncommon or unique passcode enhances your iPhone's security significantly.
What benefit does the 'Erase Data' feature provide?
The 'Erase Data' feature provides an extra layer of security. If anyone enters incorrect passcodes ten times in a row, the feature will erase all data on your iPhone, effectively keeping your information away from unauthorized hands.


