Looking to elevate your Apple TV experience? You're in the right place. Let's take a deep dive into how to use a VPN on your Apple TV.
A VPN, or Virtual Private Network, is a must-have for anyone seeking to unlock a world of content. It's your ticket to bypassing geographical restrictions and enjoying your favorite shows and movies from anywhere in the world.
Why Use a VPN on Apple TV
If you're an Apple TV user, you may be taking full advantage of your device's capabilities. Yet, there's more you can do. By using a VPN (Virtual Private Network), you have the chance to enhance your viewing experience drastically.
Diving into the many benefits, to start with, a VPN is a fantastic tool for bypassing geographic content restrictions. Many streaming services as Netflix, Hulu, or BBC iPlayer have varying libraries based on the viewer's location. For instance, a show available in the US might not be in the UK. That's where a VPN comes into play. It masks your IP address, making it seem as if you're accessing the web from a different location. Thus, you can unlock new content, enhancing your streaming experience.
Another crucial aspect of using a VPN is the level of privacy it provides. Internet Service Providers (ISPs) are notorious for tracking browsing habits and selling data to advertisers. When you're using a VPN, your browsing data is encrypted, making it invisible to your ISP. In essence, a VPN adds an extra layer of security, protecting your private data.
A VPN can also help you avoid ISP throttling. Throttling is the intentional slowing down of internet speed by ISPs. They often apply it when they detect heavy data usage, like streaming on Apple TV. Since a VPN encrypts your data, your ISP can't tell when you're streaming, hence no throttling. As such, you'll enjoy consistent streaming speeds, refusing to compromise on quality.
Lastly, a VPN could also fetch you better deals. Some digital stores display varying prices for the same product, depending upon the viewer's location. By using a VPN to change your apparent location, you could compare prices and nab the best deal. Simply put, a VPN could save you money.
For someone who cherishes their privacy, loves exploring different content, and wouldn't mind saving a few bucks, using a VPN on Apple TV sounds like a no-brainer. Helping to unlock its full potential, it turns a regular streaming session into a superior, cinematic experience. You can certainly get more from your Apple TV with a VPN. Every binge-watch becomes an opportunity to traverse the global content landscape, right from the comfort of your living room.
Setting Up a VPN on Apple TV
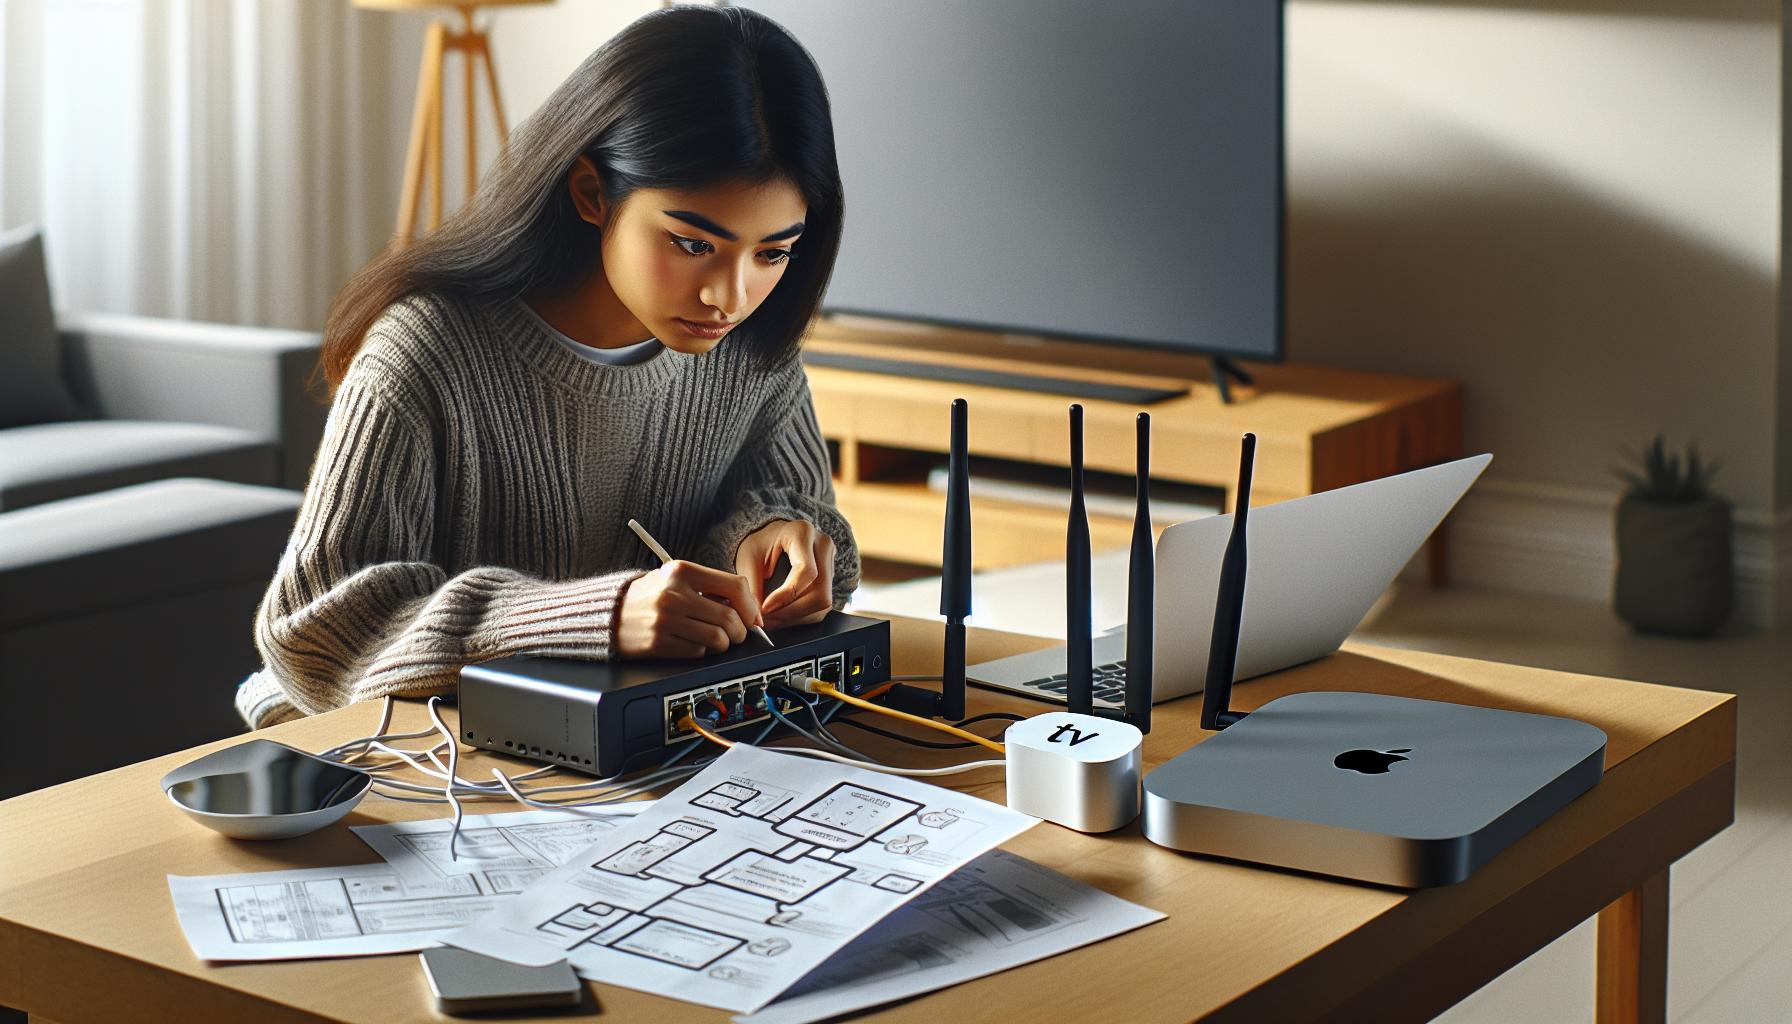
Wondering how to set up a VPN on your Apple TV? Let's walk through it step-by-step.
But before we start, don't forget that you'll need a VPN service. Many reliable VPN services can work with Apple TV. ExpressVPN, NordVPN, CyberGhost, and Surfshark are noteworthy examples. Once you've picked the VPN of your choice, follow these steps.
First off, create a VPN account. Head to your chosen VPN's official website, select a plan that suits your needs, and sign up. After the sign-up process, you should have your login credentials. Top tip - Remember to jot down these details – they're critical.
The next step is installing the VPN on your router. Yes, you heard it right. Apple TV doesn't directly support VPN apps, so the workaround is to install the VPN on your router. Every VPN has a different installation process, but generally, you'll have to configure it manually on your router's settings. Here are the general steps:
- Access your router settings through your web browser.
- Look for the VPN section and enter your VPN's details.
- Save and apply the changes.
Your Apple TV should now be able to tap into the VPN via your router.
But what if you don't have a VPN-compatible router? There's a workaround for this too! You can share your VPN connection from your Windows or Mac computer. It's a little more technical, but we'll guide you through it. For sharing your VPN connection from a windows computer:
- Open Network and Sharing Center
- Go to 'Change adapter settings'
- Right-click on your VPN icon, and select 'Properties'
- Select the 'Sharing' tab and check 'Allow other network users to connect...'
- From the dropdown, select the connection you want to share your VPN with
Method 1: Set Up VPN on Apple TV Using a Wi-Fi Router
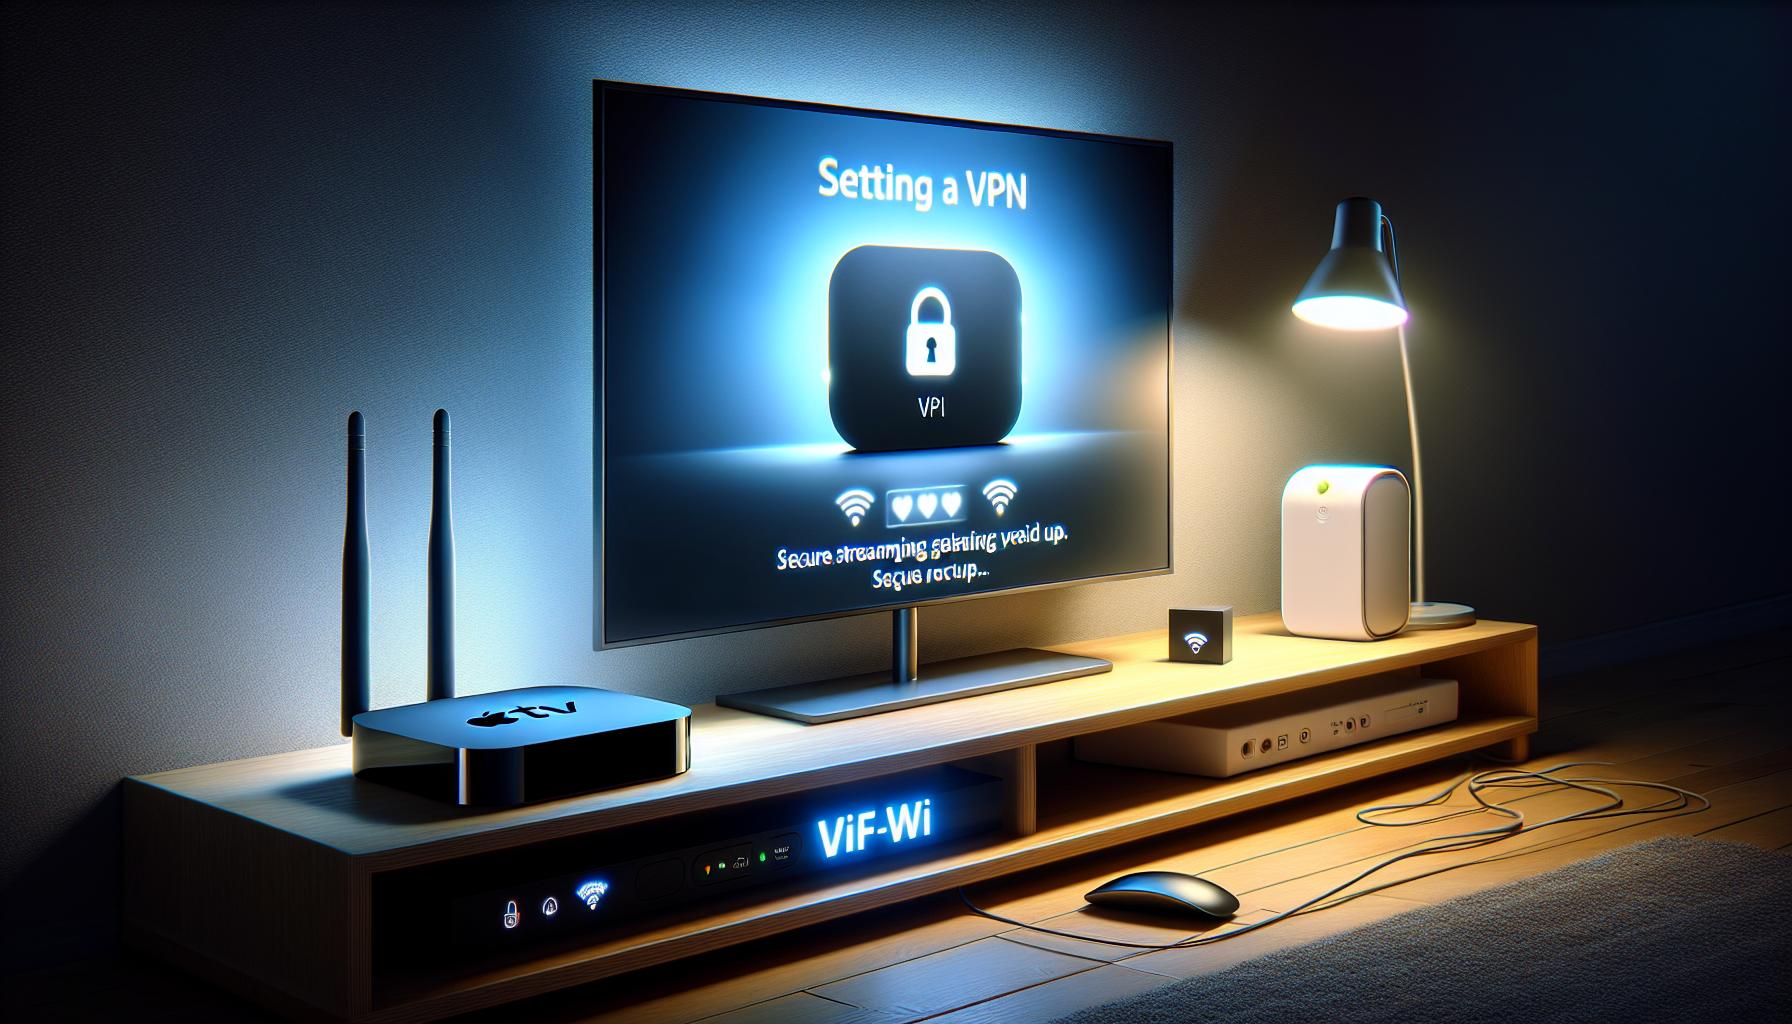
Once you've selected your preferred VPN service, you're ready to dive into the setup process. This method revolves around installing the VPN directly on your Wi-Fi router. By going this route, all devices connected to your home network, including your Apple TV, are protected by the VPN.
Firstly, sign into your VPN account on your computer or mobile device. Go to your settings and look for an option to set up the VPN on a router. The exact instructions can vary from one VPN service to another. ExpressVPN, NordVPN, CyberGhost, and Surfshark all provide detailed guides. If you don't find the router setup option within your VPN settings, you might need to visit the support section of their website. It helps to have the user manual for your router handy as well.
Secondly, after successfully installing the VPN on your router, it needs to be configured. Again, this step will differ depending on your VPN service and the make and model of your router. Refer back to the router guide supplied by your VPN service for instructions. A big plus of this setup is that once configured, you won't have to worry about connecting your Apple TV to the VPN every time you use it. It'll stay connected as long as your router is on.
One major advantage of using a router to set up a VPN on your Apple TV is the ease of connection. You won't have to go through the hassle of connecting your Apple TV to the VPN every time you want to watch geo-restricted content. Plus, all online activity from your Apple TV is automatically encrypted, giving you an anonymous and secure streaming experience. Remember, the setup process might take some time to get used to, but once it's done, it's a breeze to maintain.
Method 2: Set Up VPN on Apple TV Using Network Sharing
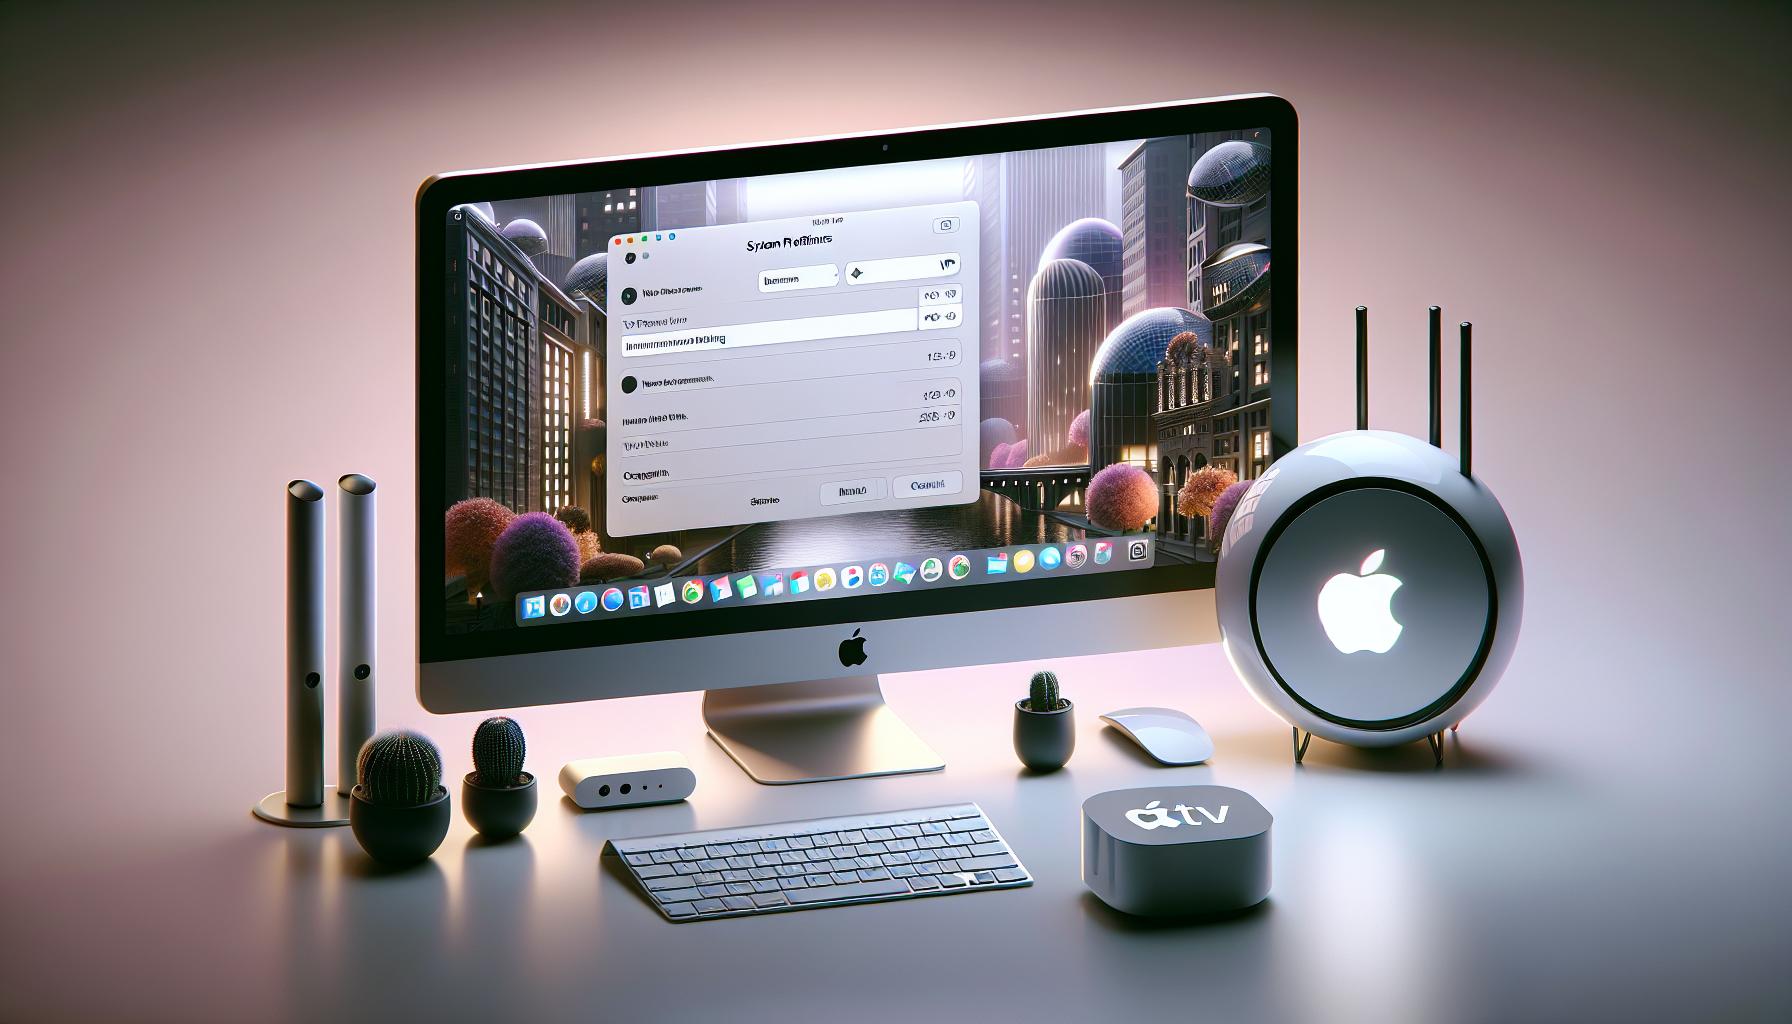
Another approach to connect your Apple TV via VPN is by leveraging network sharing. This option essentially extends the VPN from your PC or Mac to your Apple TV. Here's how it's done.
To share your network from your Mac via VPN, there are a few simple steps to take. First, make sure that your Mac is set up with a VPN already. Check your VPN service provider's website to find a guide on setting up a VPN on your Mac. Once you've confirmed that your VPN is ready and running, the next step is sharing the internet from your Mac to your Apple TV.
Go to the Apple menu on your Mac and pick the System Preferences option. Click on Sharing and choose Internet Sharing from the list on the left side. Here, you can see an option where you can select a network to share.
Choose Wi-Fi in the Share your connection from drop-down menu. Pick the Ethernet option to share your connection with devices that are connected to your Mac via Ethernet.
After you've selected your preferred sharing settings, you've got one last step. Check the box next to Internet Sharing on the left side. Your Mac will then alert you that turning this feature on will share your internet connection with other devices. Accept the warning, and you're all set.
For Windows users, there are similar steps to follow. Ensure you have a VPN running on your PC first. Then, head over to the Network and Sharing Center. Here, you can select Change Adapter Settings, choose your VPN and select Properties. Shift to the Sharing tab and enable the Allow other network users to connect through this computer's internet connection option.
And voila. That's all you need to do. Remember: Depending on your network, there might be multiple devices connected. Securely streaming on Apple TV via VPN has never been easier.
Configuring the VPN on Apple TV
After you have set up a VPN on your Wi-Fi router or shared it from your Mac or PC, the next step is to configure the VPN on your Apple TV. New to this? Don't worry, we'll guide you through every step.
To start off, head into the Apple TV settings. Choose 'General' and then 'Network'. Navigating through these steps is simple enough, but keep an eye on the instructions to avoid any missteps.
Next on the list, an important task: choose 'Wi-Fi' at the top. Apple TV should present a list of networks. From these, select your VPN-enabled network if you're going via your Wi-Fi router or your shared network from your Mac or PC.
Please take note: At this stage you must ensure that your VPN service is active and connected on the device sharing the VPN connection.
In case there's a password involved, punch it in. Enter the password with absolute precision. Passwords can be tricky and the smallest mistake could lead to a fail.
Once you have successfully selected your VPN network, your Apple TV will automatically connect to it. When it does, all your Apple TV traffic will funneled through the VPN, providing you the comfort of a secure and anonymous browsing experience.
Here's a helpful tip! Remember to test your connection once you're linked up. You can do this by trying to access a geo-restricted service, or you can just fire up your favorite streaming site.
Lastly, don't rest on your laurels. Make it a habit to check your VPN regularly. Updates in settings can sometimes disrupt connections, and you wouldn’t want to be caught off guard. Stay observant, stay connected.
#SBATCH: Setting up VPN on Apple TV
| Steps | Instructions |
|---|---|
| Navigate to Settings | Choose 'General' and then 'Network' |
| Select Network | Choose 'Wi-Fi' |
| Choose your Network | Select your VPN-enabled network |
| Enter Password (if needed) | Key in with accurate precision |
| Test your Connection | Ensure your Apple TV traffic is secure |
Perfecting these steps requires a little patience and consistency with practice. But once you get the hang of it, it's smooth sailing. After you've successfully installed your VPN, explore, enjoy, and embrace the vast digital universe on your Apple TV, worry-free.
Selecting the Best VPN for Apple TV
Remember, not all VPNs are created equal. Your needs for Apple TV might differ from someone else's and as such, you need to select a VPN that best fulfills those needs. Let's delve into the specific factors you ought to consider when selecting a VPN for your Apple TV.
First and foremost: speed. Speed is paramount not only for streaming seamlessly but also for maintaining HD quality. Look for a VPN that offers unlimited bandwidth and fast server speeds to prevent buffering.
Secondly, you need to think about server locations. To bypass geo-blocking, you need a VPN with a wide array of servers around the world. Go for a VPN that offers diverse server locations to unlock a greater variety of content on your Apple TV.
Privacy should also be a concern. Ensure your chosen VPN maintains a strict 'No Logs' policy to keep your data and online activities private.
Moreover, choose a VPN that's user-friendly. Complex VPN interfaces can be a pain and might make the setup process on Apple TV more difficult. You're looking for a smooth, straightforward setup and usability.
Last but not least consider the cost. Here’s a simple breakdown of the factors above:
| Factor to consider | What to look for |
|---|---|
| Speed and Bandwidth | Unlimited bandwidth and high server speed |
| Server Locations | Wide array of server locations |
| Privacy | Strict 'No Logs' Policy |
| User Experience | Easy setup and use |
| Cost | Affordable with good value |
With these considerations in mind, you can make an informed decision on the best VPN for your Apple TV.
Testing the VPN Connection
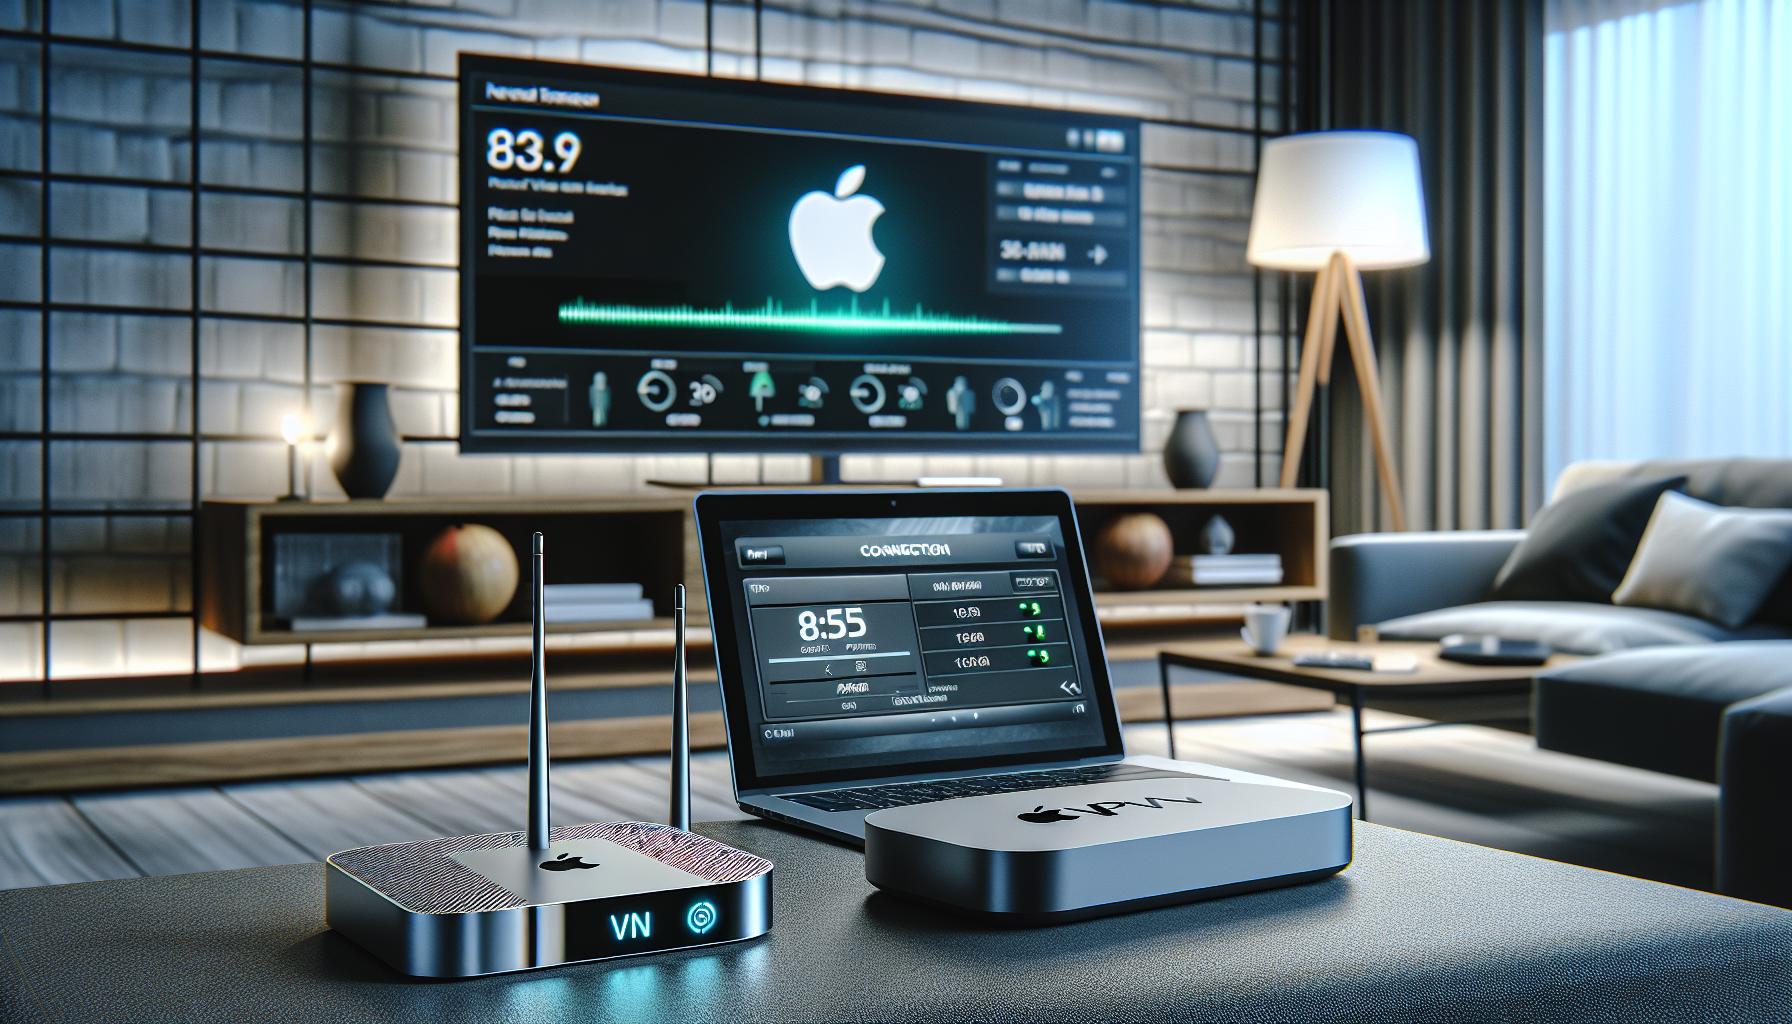
Now that you've configured a VPN on your Apple TV, it's essential to test your VPN connection. You must ensure that it's working as desired to guarantee you're getting the full range of services for which you've signed up. This process will confirm your VPN's functioning, the speed, and whether it's indeed providing you with the security and privacy you need.
There are several methods to conduct this test. An efficient way is using an online service, like SpeedTest.net. Ensure your VPN is turned on and visit the site on your connected device, not necessarily on the Apple TV. Observe the reported location and the speed. If the location matches your selected VPN location and the speed is satisfactory, you can be confident that your VPN connection is functioning well.
Remember, momentary speed drops are common while using VPN, as your data has to travel an extended path. However, if you often experience severe lag or buffering, it may indicate that your VPN isn’t up to the mark. It should be noted that using a VPN with multiple server locations can help improve this aspect, providing flexible options to work around any slow server issues.
To ensure long-term efficiency of your VPN, it's worthwhile to regularly run these tests. This practice will not only assure you of its consistent performance but also alert you of any potential issues before it affects your streaming experience.
Furthermore, confirm that your privacy is intact by checking if your IP address changes when the VPN is connected - any good online IP checker can verify this information. If your IP address isn’t masked or changed, it's likely that there's an issue with your VPN connection.
In addition to performance, you might also want to keep tabs on customer support services of your VPN provider. You never know when you’ll need help, and responsive, effective customer service is invaluable when you're dealing with technical setbacks.
Testing your VPN connection is a practical step that can significantly enhance your streaming experience on Apple TV. Keep in mind that you can always switch providers if your current VPN isn’t meeting your needs.
Enjoying Geo-Restricted Content on Apple TV

Once you've got your VPN configured and tested, you're all set to take advantage of what it primarily offers - unlocking geo-restricted content. It's one of the major reasons people turn to VPNs for Apple TV.
Apple TV channels that you can now enjoy would include Netflix, Amazon Prime, BBC iPlayer, and Hulu among others. Each of these channels enforce regional restrictions due to licensing constraints, which means you're missing out if you're staying, for instance, outside of US, UK, Canada, or Australia.
With your VPN, you have the freedom to switch among server locations. Simply select the country from where you want to access content. Want to catch up the latest season of Doctor Who on BBC iPlayer? Well, you'd better set your VPN to a server in the UK.
Remember, each content provider has its own set of geo-restrictions, which may mean having to switch between different server locations. A tip here - always choose servers closest to your location to maintain the optimum streaming speed.
Ever noticed a decline in stream quality even with a fully configured VPN running? This could be due to bandwidth throttling by your ISP especially during peak hours. But here's the good news - a VPN can help dodge this problem, ensuring you experience stable, high-quality streams during your binge-watching sessions.
Considering the vast content world that just opened up for you with the VPN, you may want to keep track of which server locations work best for specific channels. This can be achieved by keeping a simple database or list tagging the optimal locations for your go-to channels.
Here's something to keep in mind - streaming platforms are not always on the sidelines. They're consistently devising ways to identify and block VPN traffic. If you find out one day that you're unable to access a certain channel, don't panic! It could simply mean that the particular VPN server has been identified and blocked. But don't worry, merely switch over to another server and you should be back enjoying your favorite content.
With the tips outlined here, you should be well on your way to enjoying the extensive, myriad world of Apple TV content - unrestricted and seamless. Explore, experiment, and find your perfect VPN settings for an uninterrupted viewing experience on Apple TV.
Troubleshooting VPN Connection Issues on Apple TV
Despite meticulously following all the setup steps and configuration guidelines, it's highly likely that you'll sometimes encounter hitches with your VPN connection on Apple TV. This could be due to a multitude of reasons such as network issues, outdated software, or a temporary glitch from the VPN provider. Thankfully, these problems are typically easy to resolve with a bit of troubleshooting. Here we provide some practical steps to mop up these pesky issues, allowing you to get back on track with your superb viewing experience.
Firstly, if your VPN isn't connecting at all, ensure your Internet connection is stable. A quick test on another device will ascertain this. If the issue isn’t with your Internet service, try resetting your router. It's always beneficial to start with the simplest solutions and eliminate obvious culprits. Remember, it's completely okay to give your gadgets a little reset; they sometimes need it!
If the connection problem persists, it's worth verifying that your VPN credentials are correct. An input mistake while typing passwords and usernames is more common than you'd imagine. When you've checked and confirmed your VPN credentials are correct and the VPN still won't connect, you might want to reinstall the VPN software or app. Sometimes, certain system updates aren't compatible with previous VPN software versions, causing connection issues. Hence, reinstalling the VPN could potentially fix the problem.
For more technical disruptions like frequent disconnections or slow speeds, don't hesitate to reach out to your VPN provider's customer support. They should guide you on optimal server options, configuration settings, or even extend additional remedies based on the issues you're experiencing. Making full use of your VPN provider's support service can effectively resolve most connection dilemmas.
If you're using your VPN to access geo-restricted content and suddenly can't, it might be because the streaming service has managed to block your VPN's IP address. A good workaround for this issue is to switch to different server locations until you find one that works. It's a likely solution since known VPNs regularly change their servers' IP addresses to thwart streaming services' blocking efforts.
With these troubleshooting tips in your playbook, tackling VPN connection issues on Apple TV should be a breeze. Don't forget— persistence is key! Keep exploring various solutions; the perfect fix for your connection hiccup is just around the corner.
Conclusion
So there you have it. You're now well-versed in setting up and troubleshooting a VPN on your Apple TV. Remember, it's not just about setup but also about regular checks and fine-tuning. Your choice of VPN plays a vital role, so consider factors like speed, server locations, and user experience. Don't forget the importance of testing your VPN's performance and the value of good customer support. Unlocking geo-restricted content is a major perk, but stay aware of the constant tug of war between VPNs and streaming platforms. Lastly, don't be deterred by occasional hiccups. With a bit of patience and persistence, you'll find the right solution for a seamless, secure, and unrestricted viewing experience. Happy streaming!
1. How can I set up a VPN on my Apple TV?
Setting up a VPN on Apple TV involves downloading and installing the VPN app, inputting your VPN credentials, and selecting the server location that best suits your needs. Regularly check and update your VPN settings for optimal performance.
2. What should I look at when choosing a VPN?
Consider factors like speed, available server locations, privacy, user experience, and cost. Excellent customer support is also crucial; if your current VPN isn't satisfactory, consider switching providers.
3. How can I check if my VPN is working properly?
Test your VPN's location and speed using online services like SpeedTest.net. Regularly run these tests to check for any IP address changes when the VPN is connected.
4. How can a VPN help me access geo-restricted content on Apple TV?
VPNs allow you to switch between different server locations, bypassing geo-restrictions from various content providers like Netflix, Amazon Prime, BBC iPlayer, and Hulu. Remember, each content provider has its specific set of geo-restrictions.
5. How can I overcome bandwidth throttling?
A VPN can help overcome bandwidth throttling by ISPs. It's useful to keep track of server locations that work best for specific channels. Note that streaming platforms are always looking to identify and block VPN traffic.
6. What steps can I take if I'm experiencing VPN connection issues on Apple TV?
For VPN connection issues, check your internet connection, reset the router, verify VPN credentials, and reinstall the VPN software. If a specific geo-restricted content isn't accessible, try switching server locations. Don't hesitate to contact customer support for assistance.
