Ever found yourself navigating through a cluttered Apple TV interface, wishing you knew how to uninstall those unused apps? Well, you're not alone. It's a common issue that many Apple TV users face, and the good news is, it's not as complicated as you might think.
In fact, just a few simple steps can make all the difference. Whether it's an app that's no longer serving its purpose or a game you've grown tired of, removing them can help streamline your Apple TV experience. So, let's dive right into how you can declutter your Apple TV by uninstalling those unwanted apps.
How to Uninstall Apps on Apple TV
Getting to grips with deleting apps can revitalize your Apple TV experience. When the screen isn't crowded with unused applications, navigation becomes simpler and more enjoyable.
Uninstalling apps on your Apple TV is simple and straightforward. Whether it's a game you've completed, a streaming service you've subscribed to, or an app that you seldom use, removal follows the same process. Let's go through it step-by-step:
- Start on your Apple TV Home Screen. This is where you'll see all your apps displayed.
- Navigate to the app you want to uninstall. Don't click on it yet; instead, hover over the app.
- On your remote, press and hold the touch surface until your apps start to jiggle. This means you've activated the mode where you can delete apps.
- While in jiggle mode, swipe to the app you want to delete and press the Play/Pause button on your remote.
- A menu pops up with various options. Choose
Deleteto remove the app completely.
Remember, deleting an app also deletes any associated data. If you've saved any preferences, game scores, or other app-related information, it'll be gone permanently unless the app's cloud service has stored it. Make sure you think about this before making a final decision.
You can always reinstall any apps you've deleted if you change your mind later. Every purchased or free app remains in your App Store history. Consult App Store support if you have a problem finding an old app.
Managing your apps effectively enhances your Apple TV experience, providing you with more space and less clutter while maneuvering through your entertainment hub. It also helps speed up your device as fewer apps mean less strain on its processing power. So, take some time and clean up your Apple TV, ensure it's ready to deliver top-tier entertainment.
Give it a try! Get to know this process better, develop a knack for letting go of unused apps, and watch how this simple action transforms your Apple TV experience.
Step 1: Accessing the App Store

Finding your way around Apple TV is a breeze once you've gotten the hang of it. Your first step in managing the apps on your device is accessing the App Store. It's here where you'll see all of the apps currently installed.
In the same manner you'd navigate to watch your favorite TV show, use your remote to move through the Apple TV's menu. You'll find the App Store icon on your home screen, usually at the top of the screen next to other core services like the Apple Music and the iTunes movie store.
Once you've highlighted the App Store icon with your remote, click it. Now you're in the App Store! Here, you'll see a list of apps ready for you to browse: purchased apps, downloaded apps, and so forth.
Wait, is the App Store not on your home screen? It happens from time to time. If it's not there, you'll have to add it. From the Settings menu, choose Main Menu and locate the App Store. Highlight it with the cursor and select 'Show' to add it to your home screen.
Once you see the App Store on your home screen, click on Purchased. This opens up a window showing all apps that you've downloaded on any linked Apple device, including your Apple TV. Here, you'll find all apps you've ever downloaded, whether they're on your TV currently or not.
Feel free to explore within the App Store. Familiarizing yourself with the App Store interface would be beneficial before moving on to the next step. It makes for a smoother experience when it comes to managing unused apps.
Remember, the goal is not just to uninstall apps, but to create a streamlined, user-friendly experience with your Apple TV. Every step in this process, including learning how to navigate your device and its digital storefront, contributes to that goal. The next section will take a deep dive into how to identify which apps are taking up unnecessary space on your device, so stay tuned.
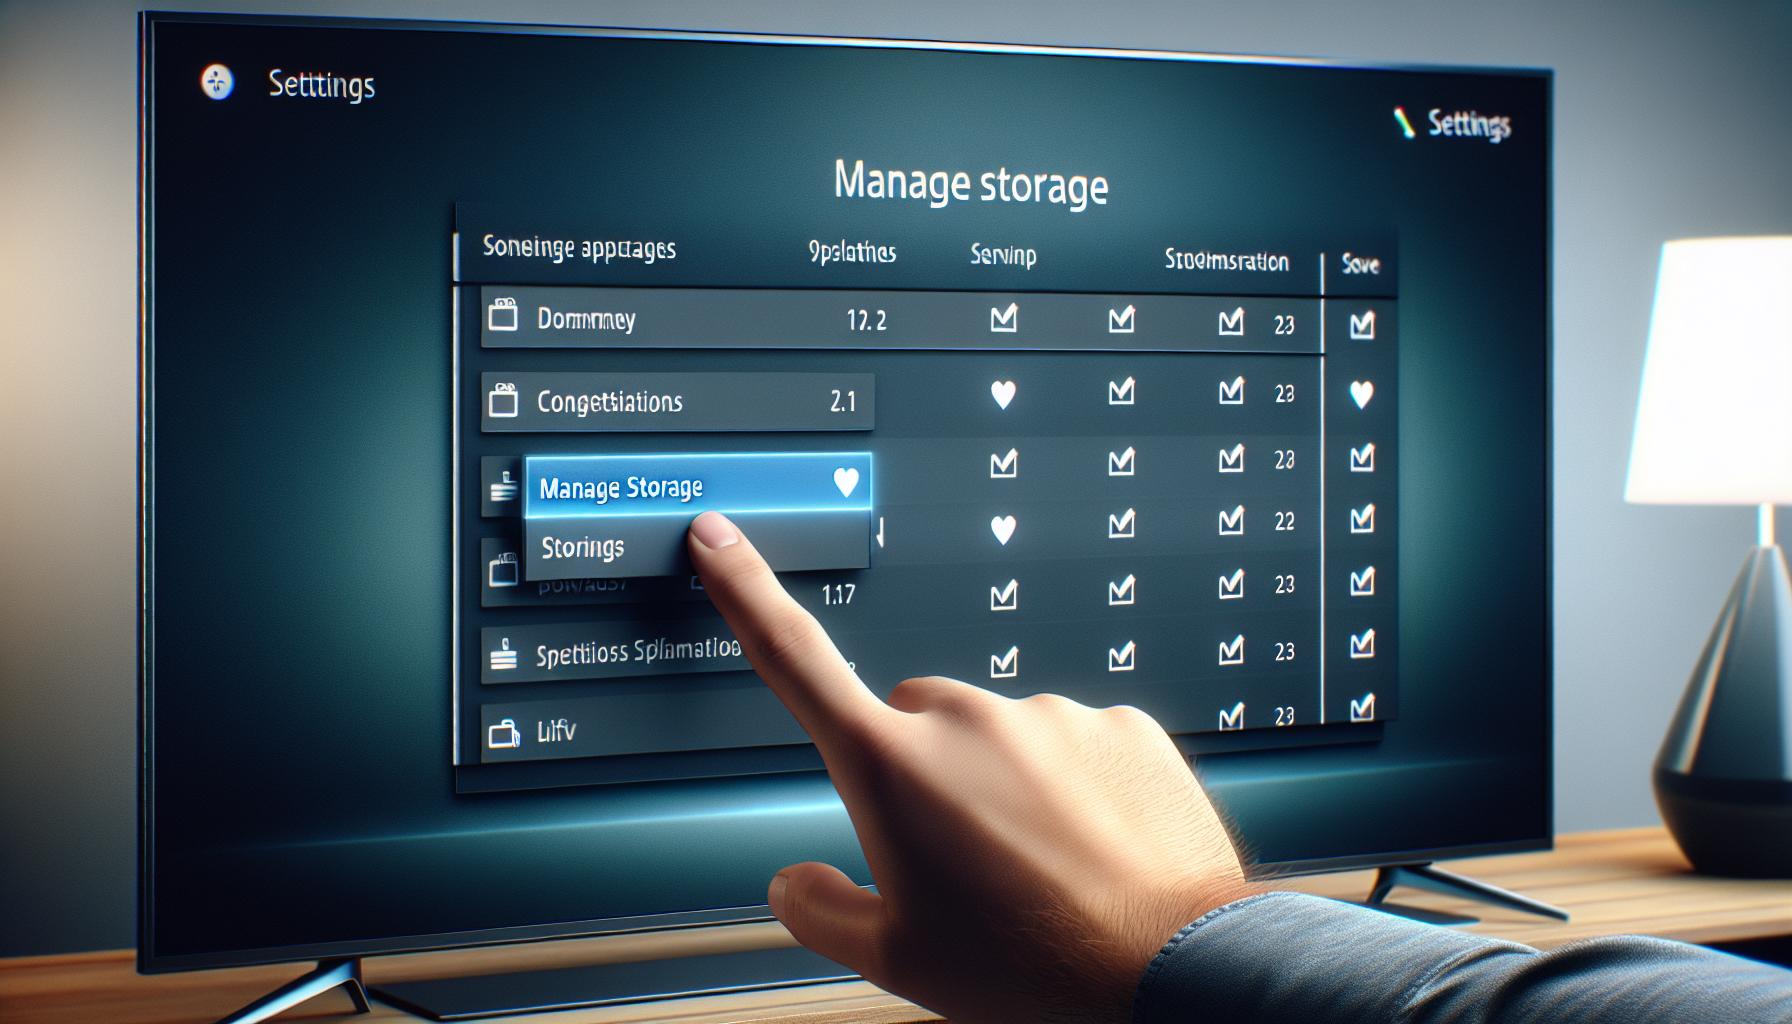
Moving on from getting yourself well-equipped with the App Store interface, we're diving into the actual process. So, power up your Apple TV and let's get started!
Firstly, with your Apple TV remote, navigate to the home screen. It's from this home screen where we'll leap into the labyrinth of installed apps. Make sure you’re using the touch surface of the remote to scroll to any direction possible, this will help you to cover every nook of your Apple TV screen.
Once you’re on home screen, judiciously wander until you find the Settings option. Select it and poke your way into the General section. Eager to find your installed apps?
Wait Hold on! They're just lurking in the Manage Storage option. Yes, that’s where your apps feast on your device’s storage. Just grasp your remote tightly, click Manage Storage, and be ready for an app census.
There they are! A list of apps — novice and veteran, useful and nonessential. You’ll see each app's name along with the amount of storage it's gobbling up.
A table depicting a typical view of the Manage Storage screen could look like:
| App Names | Storage Occupied |
|---|---|
| Netflix | 350 MB |
| Hulu | 220 MB |
| Amazon Prime | 400 MB |
Now that you're in the right place, it's time to cast a critical eye over these storage eaters. Remember, every bit of space in your Apple TV is precious. Take note of the space that different apps occupy. Gauge the ones that are in-use frequently versus the ones that aren’t, and the games that might be causing bloat.
At certain times, you might face a few tasks that were simple at first glance but later turned into conundrums, but don't worry. Understanding your Apple TV settings is like learning to ride a bicycle, you'll never forget once you've grasped the basics. So, keep exploring and broadening your Apple TV savvy. Next, you'll explore how to remove these space-hogging apps and free up your Apple TV. Be ready to say goodbye to the unused ones.
Step 3: Selecting the App to Uninstall
Now that you've identified the apps hogging space, it's time for action.
Perform the same way you would when picking the tastiest piece from a box of chocolates: make your choice count. Which apps are rarely used? Which ones are gobbling up storage? Go through the list. This is where your previous effort in understanding the storage data comes in handy.
Swipe down the list of apps in the 'Manage Storage' section on your Apple TV. Look for the app that you've decided to let go. Keep your eye on the storage size listed beside each app. While you're at it, don't skip garbage apps; those are the apps that take up storage space but don't add any value to your experience.
Once you've spotted your target, focus your cursor on it. Simply scroll down to the app, and it will be highlighted. Remember, these highlighted apps are the ones marked for uninstallation.
Excited about reclaiming your storage space? Nevertheless, bear in mind that your apps contain data and settings that will be permanently erased. Hence, evaluate whether you might need them in the future. Giving it a moment's thought won't hurt.
Be wary of hasty decisions. It's just like when you're at a clearance sale; you don't want to buy something only because it's cheap or uninstall an app just because it's large. Look at the frequency of use and the app's utility in your daily routine. The equation is simple: apps that are rarely used and occupy more storage are prime candidates for removal.
You're almost there. The subsequent section will teach you to finally press that delete button and sign the death certificate for the space-hogging apps.
Step 4: Uninstalling the App
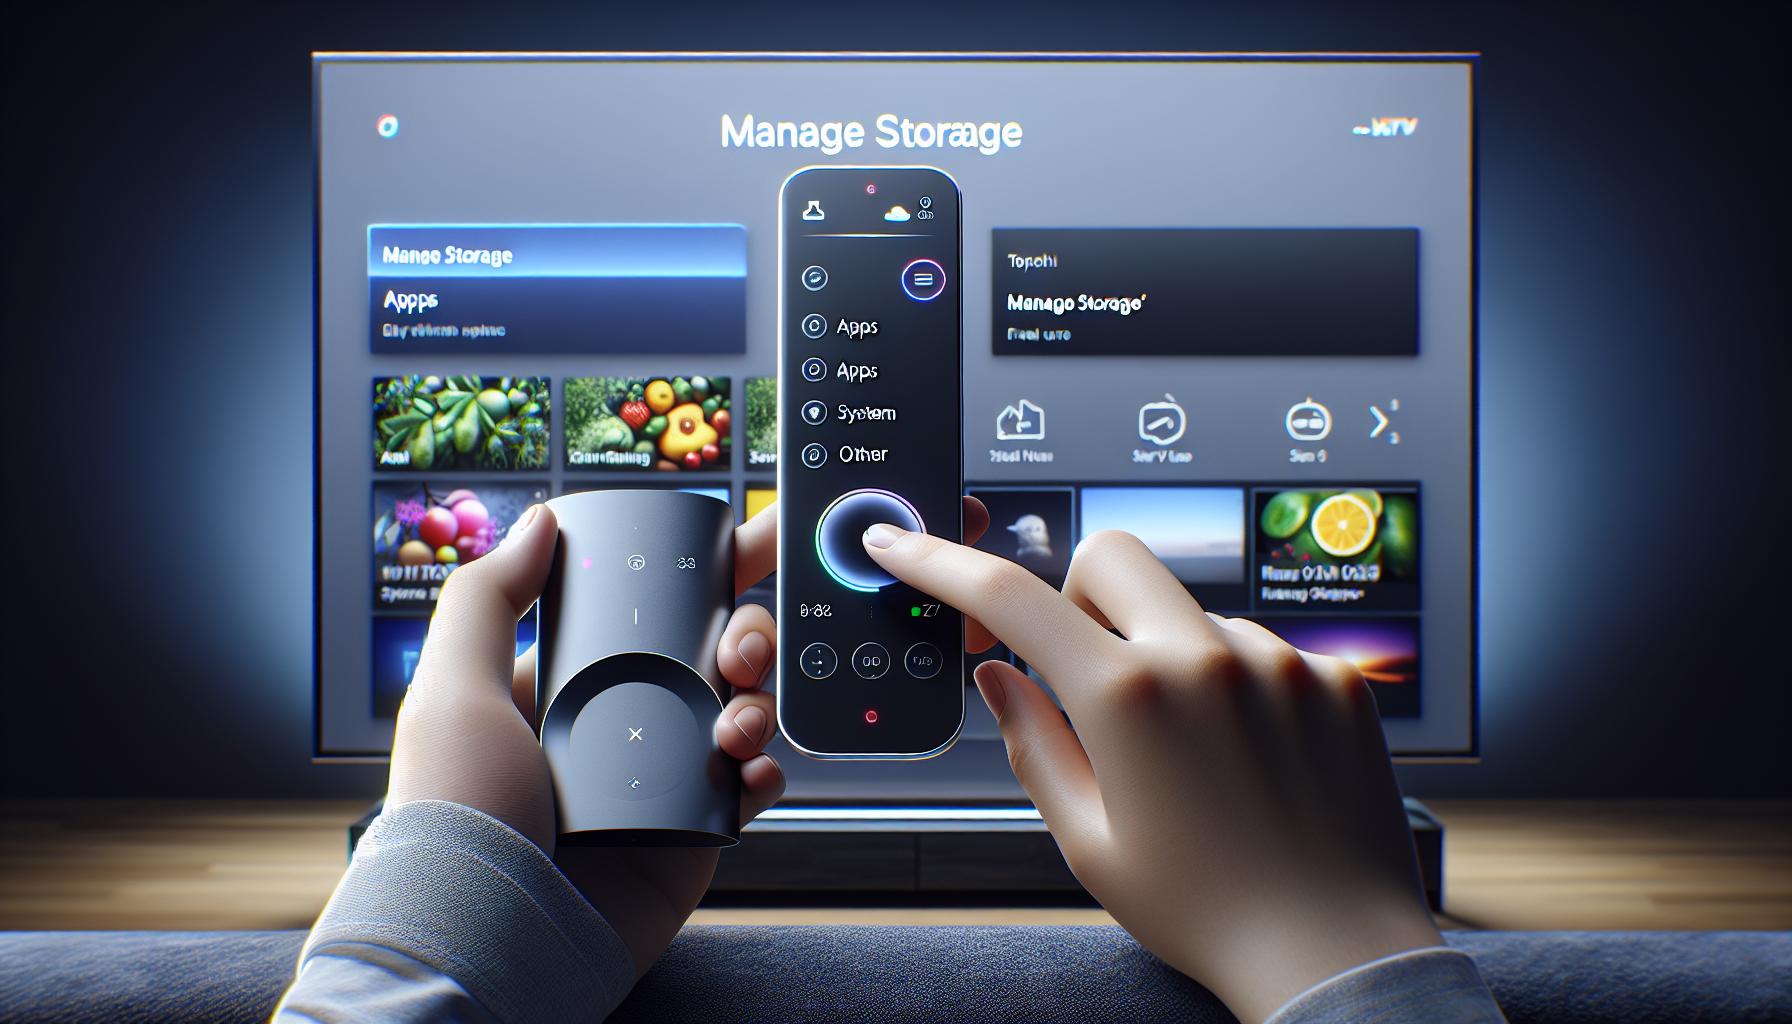
Now that you've selected the app, it's time to say goodbye to it. Uninstalling apps on Apple TV is a relatively straightforward process.
First, make sure you're in the 'Manage Storage' section of the 'Settings' page on your Apple TV. Look for the app you've decided to uninstall. It should be highlighted in view. Once there, highlight the app and click on the touch surface of your Apple Siri remote. A menu will be prompted with different options.
Navigate through the options till you find the 'Delete App' option. Select that option. You'll see a warning message asking you if you're sure you want to delete the app and lose all related data. Remember, once an app is uninstalled, all its data and settings from the Apple TV are also removed.
Don't hurriedly push the button! You've got to be sure about this. Is there any data within the app you might need in future? If there's any doubt, you may want to hold off. But if you're certain that you won't be needing the app or its data anytime soon, go right ahead and press the 'Delete' button. Your app will be wiped off your Apple TV, freeing up whatever storage space it was hogging.
Tip: To quickly delete multiple apps, keep your thumb hovering over that 'Delete App' button and let the uninstalling frenzy begin. Bulk deletions can be a godsend when you're in need of storage space.
Don't be surprised if you feel a tad lighter after the uninstallation process. It's not just your Apple TV that's freed up, it could be a cognitive load off your mind too. So, go ahead and enjoy the new-found space and speed that your Apple TV now offers.
In the following sections of this article, we will progress to discuss other essential facets of managing your Apple TV's storage. Breaking down each step for your ease of understanding, we'll guide you through optimizing your Apple TV for the ultimate user experience. So, stay tuned and continue reading.
Step 5: Confirming the App deletion
Now that you've chosen which app to uninstall from your Apple TV, the next step is confirmation. Apple TV incorporates a confirmation step to prevent accidental deletions. This step is critical as it helps you avoid regrets, particularly if you mistakenly select a useful app.
When you click on an app to uninstall, a pop-up will appear on your screen. This pop-up requests confirmation from you to proceed with the deletion. It'll bear a red 'Delete' button and a 'Cancel' button. Click on 'Delete' when you're sure about your decision. Remember, this action isn't easily reversible.
During this confirmation step, you may take the time to reconsider your decision, focusing on the value the app brings to your Apple TV experience against the storage space it consumes. So, for clarity, here is the step-by-step process of confirming an app deletion on Apple TV:
- Select the app to delete from the 'Manage Storage' page.
- Click the 'Delete' button in the pop-up window.
- Confirm deletion.
- Apple TV will erase the app, freeing up space.
To delete multiple apps simultaneously, follow the same steps for all the apps you no longer need. It's important to note that this confirmation step applies to all apps. Whether they're rarely used, redundant, or simply not needed, they all go through the same confirmation process. Don't skip this step, it's crucial in the uninstallation process. Rendering it an effortless task, Apple TV's user-friendly interface ensures you can confidently manage your storage can cater to your needs in terms of space and functionality.
Although deletion is not easily reversible, there's an upside. Most of the apps retain the data linked to your Apple ID, allowing you to easily restore information should you decide to reinstall the app. However, it's advised to verify this aspect with each app before proceeding with the deletion.
Moving forward, we'll step into the nuances of managing your storage and making the most of your Apple TV experience. From understanding the storage usage breakdown to tips on keeping your Apple TV performing at its peak, you're on your way to becoming a pro.
Conclusion
Uninstalling apps on your Apple TV is a simple process, but it's important to be mindful. You've learned that a confirmation step is integral to prevent accidental deletions. Always remember to weigh the value of an app before hitting delete. This rule applies to every app on your Apple TV. Furthermore, it's wise to check if the app holds any data linked to your Apple ID. Uninstalling without this check could lead to loss of valuable data. Now that you're equipped with this knowledge, managing storage and optimizing your Apple TV experience will be a breeze. Mastering these steps will help you keep your Apple TV clutter-free and customized to your liking. Happy streaming!
What is step 5 in deleting an app from Apple TV?
Step 5 of the process involves confirming the deletion of the selected app. This is a crucial step to avoid accidental deletions.
Why is the confirmation step important?
The confirmation step is important to ensure an app isn't deleted by accident. It gives you a moment to reconsider if you truly want to remove the app from your Apple TV.
Does the confirmation step apply to all apps?
Yes, the confirmation step applies to all apps. It's a built-in feature on Apple TV to safeguard apps from inadvertent deletion.
Should I check something before deleting an app?
Yes. It's recommended to verify if the app retains any data linked to your Apple ID before deletion. Doing so helps avoid loss of important data.
What will the following sections of the article discuss?
The upcoming sections will cover managing storage space and ways to optimize your Apple TV experience.
