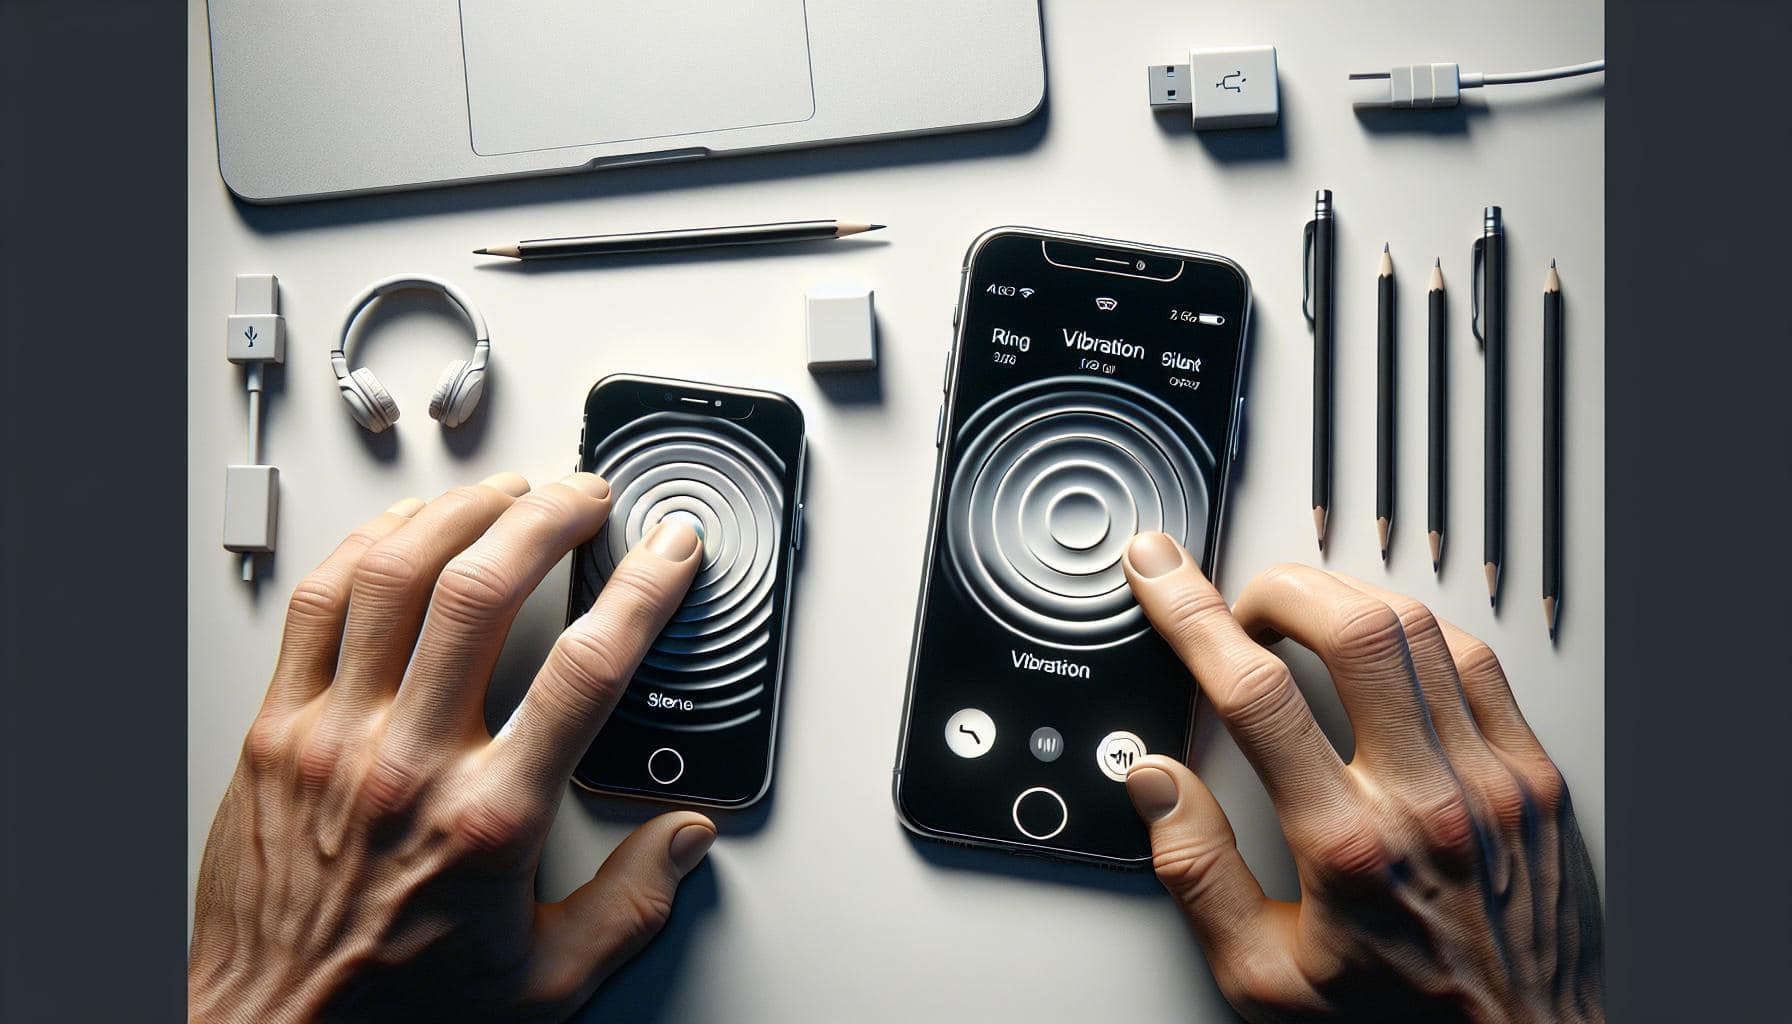
Ever missed an important call because your iPhone was on silent? You're not alone. It's a common problem for many iPhone users. But there's a solution - turning on the vibrate function.
This handy feature ensures you'll never miss a notification, even when your phone's on silent. Whether you're in a meeting, in the library, or just enjoying some quiet time, the vibrate function will keep you in the loop without disturbing those around you.
In this guide, we'll walk you through the steps on how to turn on vibrate on your iPhone. It's a quick and easy process that'll make a big difference in how you receive your notifications. So, let's get started.
Why Turn on Vibrate on iPhone?
Ever missed an important call because you didn't hear your phone ring? Don't sweat it. You're not alone in this predicament. This happens more often than you'd think, especially when your iPhone is on silent mode. Luckily, your shiny little gadget comes with a vibrate function. And this, my friend, can be an absolute game-changer.
First up, vibration mode isn't only about keeping your phone discreet yet noticeable. Turning on vibrate on your iPhone offers a plethora of perks. It provides an alternative method of getting notified of calls or messages. It's perfect for when you're in a library, meeting, or any place where a loud ringtone may not be welcomed. And yes, it's the ultimate lifesaver when your iPhone is on silent mode.
It's worth noticing how this feature becomes particularly valuable in noisier environments. Authenticating incoming calls or messages when there's a lot of background noise can be tough. In such scenarios, having the silent vibration mode activiated can offer a big hand. Barely miss a call again.
You'd also find this feature helpful if you regularly keep your iPhone in your pocket or bag. With the vibrate function turned on, you're more likely to sense those vibrations against your body, notifying you of any incoming calls or messages.
By now, you should get the drift. Turning on vibrate on your iPhone helps ensure that notifications are hard to miss. Moreover, this feature hands down makes you less likely to miss critical calls or messages, regardless of your surroundings or the phone's state. On the whole, it's about enhancing your iPhone experience and helping you stay connected without much toll.
In the following sections, let's delve into how to turn on vibrate on your iPhone effortlessly. It's a straightforward process. And once you've got it sorted, you'll appreciate how it significantly alters how you receive your notifications.
Step 1: Accessing the Settings

First and foremost, you'll need to unlock your iPhone. Now, in order to set up the vibrate function on your iPhone, it's crucial that you navigate to the settings screen. This is your starting point and a critical step in the process.
Look at your iPhone's home screen and find the icon that looks like a set of gears. This is the Settings icon. It's typically located on your home screen, but if you can't find it there, you might need to swipe left or right to see your other app pages.
Once you've located the Settings icon, tap on it. This action will open up your iPhone's settings menu. Don't worry if you've never ventured into this part of your iPhone before. It might seem a little overwhelming with all of the options presented, but take a deep breath. You're simply looking for the settings that control your phone's sound and vibration patterns.
As you scroll down through the menu, you'll spot the "Sounds & Haptics" option. It's under the second group of settings, just after the "Do Not Disturb" option. The word "haptics" refers to the vibration aspect of your phone, so this is precisely where you need to go.
In the next section, we'll look at how to adjust the right settings within the "Sounds & Haptics" menu to ensure a seamless and efficient setup process. With these instructions at your fingertips, you'll be able to harness the full potential of your iPhone and never miss a notification again. So, let's continue with the next steps.

Now that you're in the settings menu, you're only a few steps away from configuring your iPhone's vibrate settings. You'll notice several options but don't get overwhelmed. We're specifically looking for the "Sounds & Haptics" section.
To locate the "Sounds & Haptics" option, start scrolling through the settings menu. It should be near the top, below your Apple ID, iCloud, iTunes, and App Store information. Look out for an icon that resembles a speaker with sound waves emanating from it.
Once you spot the "Sounds & Haptics" option, tap on it to open. Here stands the gateway to all sound and vibration settings of your iPhone.
However, it's crucial not to get distracted by the multitude of options displayed. Some of these include "Ringer and Alerts," "Change with Buttons," and different audio types to set as your phone's ringtone. Remember, we're only focused on adjusting the vibrate settings, which we'll look into shortly.
While you're in this area of your phone's settings, it may be worth familiarizing yourself with the additional options available to you. Ask yourself - do you want to tweak your ringtone or enable keyboard clicks? Remember, every customization contributes to the full iPhone experience.
Stay tuned for the next set of instructions where we delve into adjusting the vibrate settings in specific. You're closer than you think to having full control over the ways your iPhone notifies you.
Step 3: Enabling Vibrate on Silent

Let us dive into the real meat of our guide — adjusting the actual vibrate settings. You're closer than ever to mastering control over your iPhone's notifications. Let's quickly tackle one of the most critical adjustments — enabling Vibration on Silent.
In your 'Sounds & Haptics' menu, you'll find an option labeled 'Vibrate on Silent'. Flip the switch next to it, turning it from gray to green. This tells your iPhone to vibrate when it's put on silent. No more missed calls or notifications just because your iPhone was set to silent mode, and your device was out of sight!
However, this isn't a one-size-fits-all solution. You might be in a situation where you want your phone to be absolutely silent. The beauty of the iPhone settings is in the flexibility it provides. You can simply turn this feature off when silence is golden.
Following this initial step takes you a significant way down the road to fully personalized notification settings. But there are more controls and toggles you need to understand before taking that final step towards complete mastery. Stay tuned as we delve into the myriad of settings, equipping you with the know-how and practical skills to ensure no call, message, or app notification catches you off guard.
Step 4: Enabling Vibrate on Ring
After mastering the silent alert functionalities, you're poised to understand another central feature of the iPhone's intricate notification systems - Vibrate on Ring. This feature ensures that your phone will vibrate alongside the ringtone when you receive calls or notifications.
Nothing can be more frustrating than missing out on significant calls or messages simply because you didn't hear your phone ringing. The Vibrate on Ring feature lets you overcome this predicament elegantly. It offers a convenient way to alert you when your phone isn't within immediate reach.
To enable Vibrate on Ring on your iPhone, follow the steps listed:
- Navigate to your iPhone settings.
- Scroll and tap on 'Sounds & Haptics'.
- Locate the 'Vibrate on Ring' option and switch it on.
That's it! You've now activated the vibration alert for when your phone rings.
Keep in mind, this setting works hand in hand with your phone's Ring/Silent switch. If you've turned your phone to silent, it won't vibrate when set to Vibrate on Ring unless 'Vibrate on Silent' is also enabled.
To test this newly activated function, you can make a test call or set an alarm. You should be able to feel your phone vibrate in sync with the ringing sound. Through this, you're ensuring you won't miss a thing when your phone is in your pocket or when you're in a noisy environment.
Just like all other controls, the 'Vibrate on Ring' setting is adaptable and can be adjusted to your convenience. You're not obliged to keep this feature enabled all the time - if you ever feel the need for a quieter, undisturbed moment, computing the Ring/Silent switch will put your phone into a completely silent mode.
Stay alert, stay updated and tailor your iPhones' notification settings as per your preference. Your phone is designed to work with and for you. Remember, your user experience should resonate with how you utilize your device. And with that, we are ready to delve deeper into the expansive terrain of iPhone settings.
Step 5: Adjusting Vibration Intensity
Once you've mastered turning on the Vibrate on Ring feature, it's time to dive a bit deeper and learn about adjusting the vibration intensity on your iPhone. This can make a significant difference in how you perceive and respond to notifications.
The iPhone offers a range of preset vibration patterns, but it also allows you to create your own. Here's how:
- Open the Settings app.
- Scroll down and select Accessibility.
- Next, tap on Touch.
- Scroll down to find the option for Vibration.
- Here, you can try out the different preset vibrations to find one that suits your preference.
- To create a new vibration, select "Create New Vibration."
Now, you are the master of your iPhone vibration notification!
Personalize the vibration intensity as per your needs is a strategic step in ensuring that your phone’s notifications never become a disruption in your personal or work-life balance. Create a subtle vibration for less important apps and a more noticeable one for the ones you can't afford to miss - the choice is yours.
Remember to experiment with different vibrations until you find the perfect balance for your needs.
Circling back to Vibrate on Ring, it's worth noting that adjusting the vibration intensity can work together harmoniously with the Ring/Silent switch to help you better manage your iPhone notifications. Now, you can experience a phone alert system that's tailored just to your liking – all without the need of conclusion.
Moving forward, we'll delve deeper into the advanced notification settings to ensure your user experience is smoother than ever. Stay tuned to gain indispensable insights and unleash the full potential of your iPhone settings.
Conclusion
You've now mastered how to adjust the vibration intensity on your iPhone. This valuable skill allows you to tailor your notifications to your personal needs, ensuring you never miss an important alert. By finding the perfect balance, you can enhance your iPhone experience significantly. Remember, the Ring/Silent switch and vibration settings can work hand in hand to manage your notifications effectively. Stay tuned for our upcoming posts where we'll take you further into the world of advanced notification settings. With every new trick you learn, you'll find your iPhone becoming more and more user-friendly. So, go ahead and experiment with your new knowledge - your iPhone is waiting!
Frequently Asked Questions
How can I adjust the vibration intensity on my iPhone?
To adjust the vibration intensity on your iPhone, go to iPhone settings. Personalize the notification setting and create your own vibration patterns. It is important to find the right level of intensity for your personal needs.
Does adjusting the vibration intensity work with the Ring/Silent switch?
Yes, adjusting the vibration intensity works in conjunction with the Ring/Silent switch to provide a more personalized and comfortable notification management experience. You can set your preferences according to your requirements.
What does adjusting the vibration intensity offer?
Adjusting the vibration intensity offers a personalized user experience. It allows you to manage your notifications better and tailor your iPhone's vibration patterns to suit your needs.
Will there be more guides on iPhone notification settings?
Yes, future articles plan to delve deeper into advanced notification settings. These guides aim to enhance your understanding and usage of various iPhone notification settings, thereby enhancing your user experience.


