Ever found yourself in a pickle trying to turn on your TV with an Apple remote? You're not alone. This sleek, minimalist device can be a bit puzzling, especially if you're new to the Apple ecosystem.
Don't worry, though. You've come to the right place to demystify this process. In this guide, we'll walk you through the steps to get your TV up and running with your Apple remote.
Whether you're a tech novice or a seasoned pro, you'll find this guide easy to follow. So, sit back, relax, and let's get that TV turned on with your Apple remote.
Understanding the Apple Remote
Now that you're cozied up and ready to learn, let's dive into understanding your Apple remote. Often users find this tiny, slick controller quite daunting. But don't let its minimalist design fool you; this remote is the magic wand that commands your entertainment system.
Primarily, you'll note four directional buttons, a Menu button, a Play/Pause button, and a TV button on your Apple Remote. The directional buttons navigate through your Apple TV's interface, letting you move left, right, up, and down. You've got all the cardinal directions at your fingertips.
The Menu button acts as the back button on most devices, navigating you back to the prior screen or up one level in a menu.
The Play/Pause button, as the name suggests, controls video playback. This button is your best friend for those impromptu snack breaks during a binge-watching session.
Perhaps the most crucial button for this guide, the TV button, is used to wake up your Apple TV or turn it off. So, the TV button does quite the heavy lifting.
Remember, all these buttons double up on functionality when you press and hold. Impressive, isn't it? Understanding these basic features will help you navigate your way through the world of Apple TV with ease.
You see, your Apple remote is a gateway to an immersive viewing experience and mastering it isn't a Herculean task as it may initially appear. With a little patience and practice, you'll be navigating your Apple TV like a pro. So keep that remote close and let's move forward to the exact steps of turning on your TV using the Apple remote.
Table 1. Key features of the Apple Remote:
| Button | Functionality |
|---|---|
| Directional buttons | Navigate the interface |
| Menu button | Moves back or up in menus |
| Play/Pause button | Controls video playback |
| TV button | Turns TV on and off |
In the next section of this article, we'll walk you through the steps. So let's continue our journey through the world of Apple TV.
Check the Compatibility

Before you gear up to turn on your TV with an Apple remote, it's important to ensure compatibility between your devices. Basically, the Apple remote comes in three distinctive types: The Silver, Siri, and new Siri remote. All these remotes have their unique strengths and course of action.
Do you own an older Apple TV model, such as the 2nd or 3rd generations? The Silver remote may be on your hands. A simple and straightforward device, it's well-suited to simpler systems. Its functionality depends largely on line-of-sight infrared (IR) technology. Ensure that there isn't any object or interference blocking the path between the remote and TV.
Springing forward in time, the Siri remote came along with the 4th generation of Apple TV. This change shifted from line-of-sight IR to Bluetooth technology, bringing new possibilities. With the Siri remote you're not obliged to point at the television anymore.
In the latest generation, the Apple TV 4K, comes another variant, The New Siri Remote. Featuring improvements on the wheel controls over the previous Siri remote, it introduces a more tactile experience. It's important to understand that while it retains the Bluetooth functionality of its predecessor, your TV needs to support HDMI-CEC for you to control the power with this specific remote.
Here's a quick summary of the specifics for each generation and their compatible remotes:
| Apple TV Generation | Compatible Remote |
|---|---|
| 2nd & 3rd | Silver Remote |
| 4th & HD | Siri Remote |
| 4K | New Siri Remote |
While it's possible that any of these remotes can power on any TV system, your experience will be best when accurately matched to the right Apple TV generation. Next, we'll dive into the actual steps of powering on your TV using the relevant Apple remote.
Ensure Proper Setup
Before diving into the process of turning on your TV with an Apple remote, it's essential to ensure that your device is properly set up. No matter if it's a Silver, Siri, or the new Siri remote, understanding this setup process is crucial for transforming your television experience.
Pair Your Remote with the Apple TV
First, pair your remote with your Apple TV. For the Silver remote, simply point the remote towards your Apple TV, press and hold the "Menu" and "Right" buttons until your Apple TV flashes.
With the Siri remote and the new Siri remote, turn on your Apple TV manually, then bring the remote close to the Apple TV. It should automatically pair with the device.
Verify HDMI-CEC Settings
Second, verify if your TV supports HDMI-CEC settings. This feature enables you to control HDMI-connected devices (like your Apple TV) using a single remote. Check your TV's manual or online documentation for HDMI-CEC or similar feature - it could be named differently depending on the TV manufacturer. For example, it's called Anynet+ on Samsung TVs and Bravia Sync on Sony TVs.
When you have located the HDMI-CEC settings in your TV's menu, ensure it's turned ON. If your TV doesn't support HDMI-CEC, some functionality such as turning on your TV using the Apple remote might not be available.
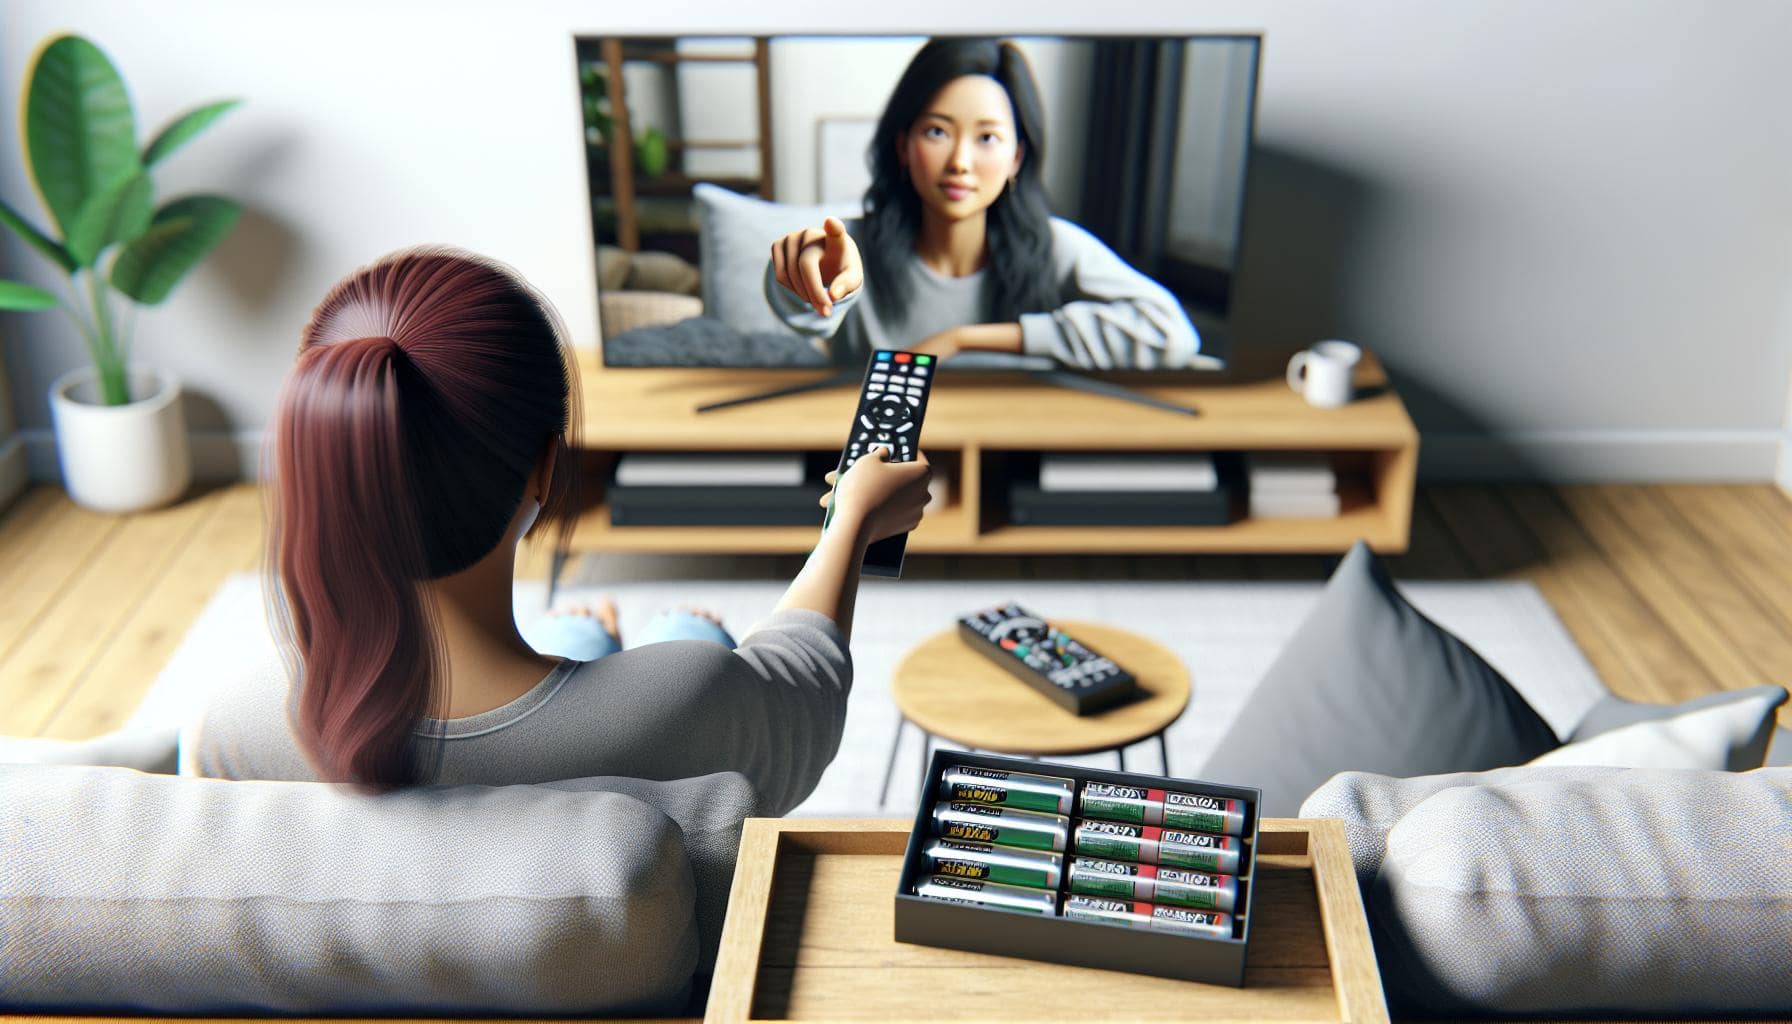
Check the Battery Level
Lastly, check the battery level of your Apple remote. Since the Silver remote communicates via IR technology, a weak battery can disrupt its ability to communicate with your Apple TV. For the Siri remote and the new Siri remote that use Bluetooth technology, a low battery could limit the remote's range or response.
With your Apple remote correctly paired, your TV's HDMI-CEC features enabled and with sufficient battery levels, you are all set to control your TV with your Apple remote. But let's take a minute to look at the specific steps to actually turn on your TV using an Apple remote in the next section.
Turn on the TV with Apple Remote
The big moment has arrived—time to turn on your TV using your Apple remote. The initial setup process is behind you and it's time for the main event. So what's your next step? It's simpler than you might think.
Begin by holding the Apple remote close to the Apple TV device. Apple devices pair seamlessly, thanks to the company's emphasis on user-friendly design. With your Apple remote in hand, initiate the process by pressing the Menu button and the Volume Up button together for around five seconds. This is a standard sequence to kickstart any Apple remote-powered viewing experience.
Upon pressing, look for a message on your screen: "Pairing Remote". This on-screen message confirms that the pairing is successful. If you don't spot this message, repeat the button press sequence until it appears. In a worst case scenario, don't panic. A quick visit to the settings menu to manually initiate pairing will get you back on track.
Once you have successfully paired your Apple remote with your TV, you'll notice the magic of HDMI-CEC. By simply pressing a button on your Apple remote, you will have immediate control over powering your TV, adjusting volume, and managing playback. It all happens simultaneously, no need for additional remotes, button sequences or complex tasks. HDMI-CEC empowers your Apple remote to become a universal controller, for a much more streamlined and enjoyable TV watching experience.
Just remember, every time you press a button on your Apple remote, it should be awake with a good battery. The onscreen icon is your signal that the device is active. You wouldn't want to miss an important moment of your favorite show because of a low battery!
No need to worry if your Apple remote is the only available option for turning on your TV. It's designed to take the guesswork out of the TV watching experience. All you need are these simple steps and a fully charged Apple remote to dive into your favorite TV shows, movies, and more.
Troubleshooting Tips

When you're dealing with tech, it's not always smooth sailing. You've learned important steps on setting up and how to turn on your TV with an Apple remote. But sometimes, things can go sideways. Don't worry! Here are a few troubleshooting tips, making it easy to correct anything that might go awry.
In case your Apple remote just isn't pairing with your Apple TV, receiving that eluding onscreen message, "Pairing Remote", let's start by addressing the most common solution: simple resetting. Here's how:
- Quick press the Menu and Volume Up buttons simultaneously. That's a typical trigger to wake up your remote.
- If that doesn't do the trick, it's best to restart your Apple TV. Unplug it from power, wait for a while, then plug it back in.
Moving on, if your remote isn't controlling the TV even after being paired, the culprit might be HDMI-CEC settings. Many TVs have different CEC settings, each having its unique name by the manufacturer. Depending on your TV brand it might be named Anynet+ (Samsung), SimpLink (LG), or Bravia Sync (Sony). Make sure HDMI-CEC is enabled on your TV.
Lastly, if all the above steps were successful yet you find your Apple remote unresponsive or acting up, it might be a low battery issue. It's a utterly important step to ensure that your remote has sufficient battery. Replacing the battery solves most apparent "malfunctions". Make it a habit to keep your remote charged up or have a spare battery handy.
Remember, the Apple remote is designed for convenience. Keep these tips in mind and enjoy uninterrupted favorite shows and movies. Next up, let's talk about some maintenance tips for your Apple remote to ensure its smooth functioning in the longer run. After all, a well-kept device leads to an unparalleled TV watching experience.
Conclusion
So, you've learned how to pair your Apple remote with your TV, troubleshoot any issues, and even check the HDMI-CEC settings. Remember, if your remote isn't responding, it could be as simple as needing a new battery. Don't let a minor hiccup deter you from enjoying the convenience of your Apple remote. With these tips and tricks in your arsenal, you're well-equipped to tackle any Apple remote issues that come your way. So, sit back, grab your Apple remote, and enjoy your favorite shows with ease. Keep an eye out for our next section where we'll dive into maintaining your Apple remote for long-term use. Happy viewing!
Q1: How can I troubleshoot the pairing of my Apple remote with my TV?
If your Apple remote is not pairing with your TV, try resetting the remote and restarting the Apple TV. This process rectifies any minor software glitches causing the problem.
Q2: What do I do if my Apple remote is not controlling the TV after pairing?
Check the HDMI-CEC settings on your TV. If not enabled, your remote might not be able to control the TV after pairing.
Q3: What could be the cause of Apple remote unresponsiveness or malfunctions?
A low battery could often cause unresponsiveness or malfunctions in Apple remotes. It's recommended to replace the battery or keep a spare one handy.
Q4: Are there any maintenance tips for my Apple remote?
Yes, further maintenance tips for the Apple remote will be discussed in the following sections of our content. So stay tuned.


