Ever found yourself straining to catch every word of your favorite show on Apple TV? Or maybe you're trying to learn a new language with the help of movies and TV shows. Either way, turning on subtitles can be a real game-changer.
Why use subtitles on Apple TV?
If you've ever asked yourself "why should I use subtitles on Apple TV?" you aren't alone. Plenty of people think subtitles are just for the hard-of-hearing or for viewers watching content in a foreign language. But, you're about to discover various compelling reasons why turning on subtitles on your Apple TV can enhance your overall viewing experience.
Subtitles offer more than just the ability to understand dialogue better. Did you know, they can improve overall comprehension? Yes – when you read along while listening, you're engaging more of your brain in the experience. That extra brainpower means you're more likely to understand and remember what you're watching.
If you're keen on learning new languages, subtitles can be a powerful tool. Perhaps you're trying to learn Spanish or improve your English. With subtitles turned on, you can immerse yourself in the language – listening to the dialogue, reading the transcript, and piecing together meaning. This kind of multi-sensory learning strategy can accelerate your language acquisition.
Subtitles can also be beneficial if you're watching a show or movie that includes heavy accents or unfamiliar jargon. Furthermore, if you like to watch late-night shows without disturbing your housemates, turning on subtitles enables you to lower the volume and still understand what's happening.
Finally, don't forget using subtitles could contribute to improving literacy for children and adults alike. Reading subtitles can enhance reading skills and vocabulary.
Consider the following factors:
| Reasons to Use Subtitles | Impact |
|---|---|
| Enhances comprehension | Engages more of your brain, improving memory and understanding |
| Aids in learning languages | Offers immersive, multi-sensory learning |
| Helps with heavy accents or unfamiliar jargon | Ensures clear understanding of dialogue |
| Allows for quiet viewing | Enables understanding even at low volumes |
| Improves literacy | Reinforces reading skills and vocabulary |
So, next time you grab that remote, think about using subtitles. It's not just about words on the screen – it's about enriching your viewing adventure. Turn on those subtitles on your Apple TV and take your viewing experience to new heights.
How to enable subtitles on Apple TV

Turning on subtitles on your Apple TV is a straightforward task and a matter of a few clicks. The process varies slightly based on the model of your Apple TV.
For an Apple TV 4K or an Apple TV HD:
- From the Apple TV home screen, select Settings
- Once you're in the Settings menu, navigate to General
- Choose Accessibility
- In the Accessibility menu, opt for Subtitles and Captioning
- Enable the Closed Captions + SDH toggle to turn on the subtitles.
Keep in mind that these settings affect all your apps unless they've their own subtitle controls.
If you're using an Apple TV 3rd generation or earlier:
- Similar to the newer models, your first step begins at the Settings menu from the Apple TV home screen
- On this older interface, you'll see Video and Audio next. Choose it.
- Scroll down until reaching Closed Captions + SDH under the Subtitles and Captioning section
- Enable your subtitles by toggling Closed Captions + SDH to the On position.
For any model, once this switch is enabled, subtitles should start appearing during playback whenever available.
Apple TV makes it even easier by giving an option for quick on/off access to this feature during playback.
Just swipe down on the Apple TV remote; a menu appears on the screen. Select Subtitles from the menu and then toggle it to On or Off as per your need.
Customization of subtitles:
If you aren't happy with the default size or color of the subtitles, there's no need to worry.
Apple provides settings for you to customize your subtitles, with options to adjust the style, size, color, and background. Make the subtitles fit your visual preference.

You're all geared up to enable subtitles on your Apple TV. The first crucial step, Accessing the Settings Menu, is straightforward and simple.
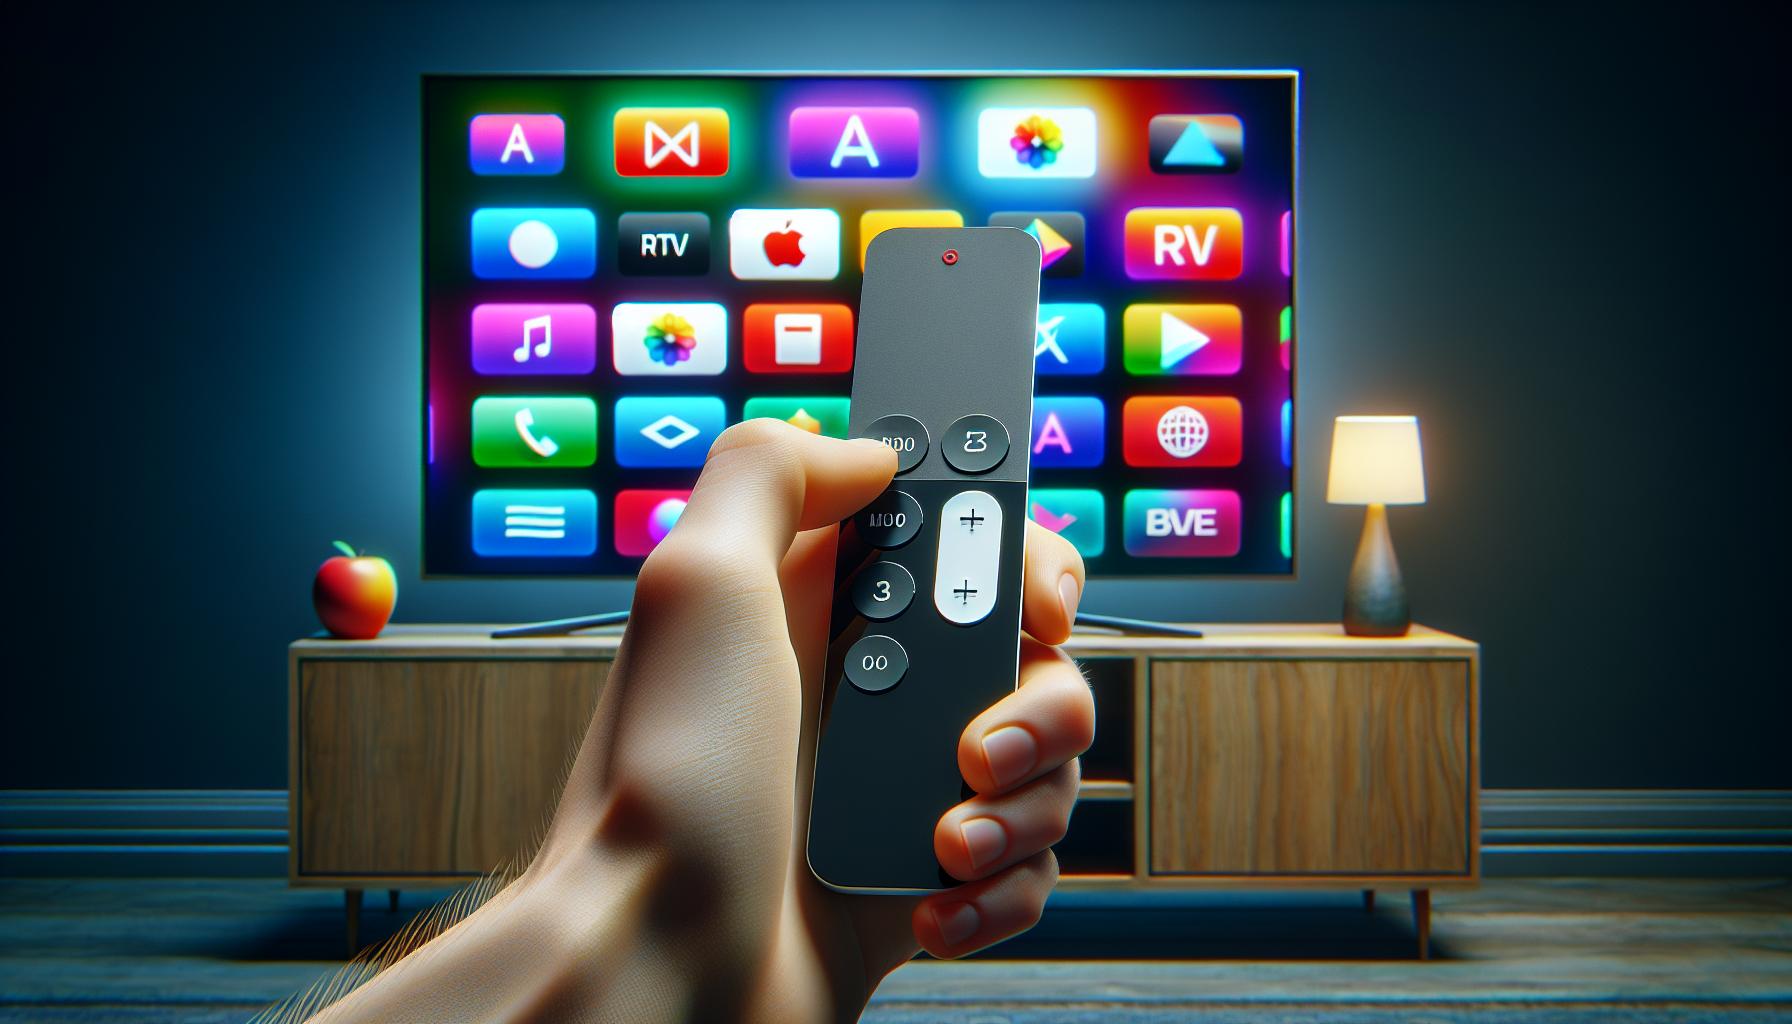
Turn on your Apple TV and let it load the home screen. You'll notice the grid of apps and features available for your use. Look out for the Settings icon. Typically, it's in the top row, somewhere towards the middle. But if you can't locate it right away, simply navigate using the Apple TV remote. Remember, accuracy is key here, so take a moment to be sure you've landed on the Settings icon. Once you're there, click with your remote to open the Settings Menu.
Inside the Settings Menu, you'll find various options. To enable subtitles, you'll need to locate the Accessibility section. Consider this your ultimate tool for customizing your viewing experience on the Apple TV - from subtitles to closed captions and more.
Within the Accessibility options, spot the one named Subtitles and Captioning. It's your one-stop destination for everything about subtitles on Apple TV.
Remember that enabling subtitles here impacts all apps unless they come with their own subtitle controls. That's just how Apple TV works! It's great for consistency across your viewing platforms, but ensure you're aware of the implications to your overall experience.
As you follow these directions to access the settings menu, bear in mind that these steps apply to most Apple TV models. Nevertheless, some newer models might have amended menus or settings. Always refer to your user manual or Apple's website to get the latest, model-specific information.
Keep reading to find out how you can turn on subtitles and even customize them to fit your style. Let's dive right into the next steps of this guide to manipulating subtitles on Apple TV.

After you've booted up your Apple TV and successfully reached the main screen, it's time to get to the heart of the matter: locating the Accessibility settings.
- Look at your Apple TV remote. Find the button labeled 'Menu,' and press it. This action will take you back to the primary home screen of your Apple TV if you aren't already there.
- From the main screen, you'll find an icon labeled 'Settings'. Navigate your cursor to it, and click the round 'Select' button in the center of the remote touchpad. This action will let you delve into the various options and configurations for your device.
In the Settings menu, you'll see many various categories - feel halfway there already? Yes, you should.
Scroll down the menu until you find an option labeled 'Accessibility.' It's generally located towards the bottom of the list. It's this tab that holds the secret to enabling subtitles on your Apple TV. Click the 'Select' button on your remote once you've highlighted the Accessibility option.
This action will open up a bounty of options that are all aimed at making your Apple TV watching experience more comfortable and customized to your needs. Among these options is the one that you're looking for: 'Subtitles and Captioning.'
In the next steps, we'll walk you through turning on the subtitles and altering them to suit your own preferences.
Step 3: Enabling subtitles
Now that you've navigated to the Accessibility settings, the next step is enabling the subtitles. Here's how you do it:
- Look for the "Subtitles and Captioning" option. You'll find it in the hearing section of the Accessibility menu. The exact location can vary depending on your tvOS version. But rest assured, it won't be hard to locate.
- Select "Closed Captions + SDH". This option enables subtitles to appear whenever they're available in a video.
Great Job! You've managed to activate the default subtitles. But hang in there, we're not done yet.
Most of us have specific preferences when it comes to subtitles. You might prefer larger text, a different font, or even a specific color to increase readability. Luckily, AppleTV allows you to customize subtitles to your liking.
Just head back to the "Subtitles and Captioning" setting.
You'll find an option named "Style" right beneath "Closed Captions + SDH". Click on it. Now, you'll be confronted with a set of predefined styles. These are:
- Default: The original settings selected by the content producer.
- Large Text: This style uses a larger font size.
- Classic: This is the traditional style—white text on a black background.
- You can also "Create New Style" if what you want doesn’t align with any preset.
Feel free to experiment with different settings until you find what works best for you.
By now, you've mastered not only how to enable subtitles on Apple TV but also how to customize them to your specific needs. The last step will help you understand how to manage these settings efficiently. You can always switch back and forth or create different styles for different viewing environments. So, don't be shy. Try your hand at perfecting your viewing experience with various subtitle settings.
Step 4: Choosing subtitle language and style

Now that you've enabled the "Closed Captions + SDH" feature, it's time to personalize your subtitles. Believe it or not, Apple TV allows you to select your preferred subtitle language and style. So, not only do you get to enjoy your movies, but you also do so in comforting understanding!
Firstly, head back into your “Accessibility settings.” You’ll find a section labeled "Subtitles and Captioning." Click it to reveal a plethora of options that give you the power of customization.
Within the subtitles section, you'll see "Language". This is your go-to spot for adjusting the language of your subtitles. Please remember though that the available languages are dependent on each app or service. Now you're free to enjoy your foreign films or better understand the local dialects in shows!
Your next move brings us to the "Style" setting — an option where creativity comes alive. Three pre-packaged styles are waiting for you: "Default," "Large Text," and "Classic."
Let’s bust these options down for you.
- Default: The standard setting. It provides clear, easy-to-read white subtitles with a black outline.
- Large Text: As the name suggests, this style provides bigger subtitles for improved readability.
- Classic: Here, subtitles are fashionably curated in a vintage-like mode with the words appearing as white text with no outline.
But wait, there's more! If the pre-packaged styles don't tickle your fancy, Apple TV also lets you create your custom style. You get to play around with a range of fonts, colors, sizes, backgrounds, and more.
Remember, there are no right or wrong settings here. It's all about finding what works best for your eyes and enhances your overall viewing experience.
Step 5: Adjusting subtitle settings
Once you've activated the subtitle function, taking time to adjust your settings is a key way to enhance your viewing pleasure. With a variety of options to choose from, it's all about making the subtitles work for you.
The adjustment options are designed with diversity and control in mind. For starters, you have the freedom to select the language that best suits your needs. Apple TV provides a wide range of language options, ensuring that your viewing experience isn't limited by language barriers.
Apple TV also gives you the flexibility to select from a range of pre-packaged styles such as Default, Large Text, and Classic. These options play around with the subtitle size and color, providing you with the possibility of perfectly matching your screen for maximum readability.
But what truly makes the subtitle options versatile is your ability to create a Custom Style. You're given the liberty to choose various aspects of the subtitles, including fonts, sizes, colors, backgrounds and more. It's not just about making the subtitles clearer but also more reflective of your personal style.
Don't forget to take advantage of the Edge Style option. Here, you can choose between options like none, raised, depressed, uniform, and drop shadow. Additionally, you'll be presented with a "Video Override" menu item. Disabling this means your subtitles stay exactly as you've set them, even if the video you're watching has a different style embedded.
Lastly, keep an eye out for the Subtitle Background option. This feature allows you to control the appearance of your subtitle's background. Having it opaque, semi-transparent, or entirely transparent will entirely depend on your preference.
Consider this an opportunity to explore and play around with the available subtitle options. The goal is to create an optimal viewing experience that respects and enhances your comfort. Each adjustment you make isn't merely beneficial for the moment but impacts all future viewing sessions.
We'll soon look into specific ways on how to further optimize your viewing, but for now, focus on getting familiar with the array of options you're presented with. Utilize them and craft a viewing experience that caters to your preferences.
Common issues and troubleshooting

While enabling and customizing subtitles on your Apple TV is generally straightforward, you might stumble upon some common issues. Fear not, as these problems often have simple solutions that can rectify your subtitle woes.
Subtitles not showing up? This is often the most common issue encountered. You've followed all steps correctly, made your preferences clear but the subtitles just won't appear. The first step to solving this problem is to check if the content you're watching supports subtitles. Not all shows or movies come with a built-in subtitles option. If it's supported and still not appearing, try turning off your Apple TV, waiting a minute, then powering it back on. Doing a quick system reset can clear subtle bugs that might have been blocking your subtitles.
Subtitles out of sync? There's nothing more jarring than watching dialogue on the screen not matching the text appearing. If you're encountering this, audio delay might be the culprit. Adjusting your TV's audio settings to reduce delay can resolve this problem.
Language preferences not saved? Sometimes your Apple TV might fail to preserve your preferred language for subtitles. If that's the case, recheck your language settings. If your selected language doesn't match with the one displayed, try resetting the language settings.
Exploring System > Apple TV Language can expose settings that might have been initially overlooked. While there, check the "Subtitle Language" setting. This should match your primary language selection.
Subtitles too small? If your problem is the size of subtitles, going back into the subtitle settings and adjusting the text size could fix your problem. Remember, there's no such thing as the 'right' size for subtitles. It's about what's comfortable for your eyes!
Conclusion
You've now got the know-how to turn on and customize subtitles on your Apple TV. It's a breeze to set your language and style preferences, and even tweak more advanced settings like edge style and subtitle background. If anything goes awry, you're equipped with troubleshooting tips to get those subtitles back in sync or visible again. Remember, your viewing experience is in your hands. So don't hesitate to play around with the settings until you find what works best for you. Happy viewing!
Frequently Asked Questions
How can I enable subtitles on Apple TV?
On your Apple TV, navigate to 'Settings', then 'General', and finally 'Accessibility'. Under the 'Subtitles & Captioning' section, enable 'Closed Captions + SDH'. After enabling, you can personalize the subtitles to your preference.
How do I personalize the language and style of my subtitles?
After enabling subtitles, you can select 'Style' under the 'Subtitles & Captioning' section. You can adjust the language, size, color, and background of the subtitles to better suit your viewing needs.
What should I do if subtitles are not displaying on my Apple TV?
First, ensure that subtitles are enabled. If they are, try turning them off and on again. Should the problem persist, restart your Apple TV. If it is show-specific, it might be a provider issue.
Why are my subtitles out-of-sync?
It may be due to slow internet or the TV show's synchronization. Try restarting the Apple TV and checking your internet connection. If the issue persists, contact the provider.
Why are my language preferences not being saved?
Ensure that you've properly set and saved your language preferences under 'Subtitles & Captioning'. If the issue continues, try resetting your settings or contact Apple Support.
How can I adjust subtitle size if they are too small?
Under the 'Style' option in 'Subtitles & Captioning', you can adjust the size of the subtitles to your preference. Larger options are available for better readability.
What is subtitle background and edge style?
The subtitle background refers to the color or transparency behind the subtitle text. The edge style is the outline surrounding the letters. You can adjust these settings under 'Style' for a more customized viewing experience.


