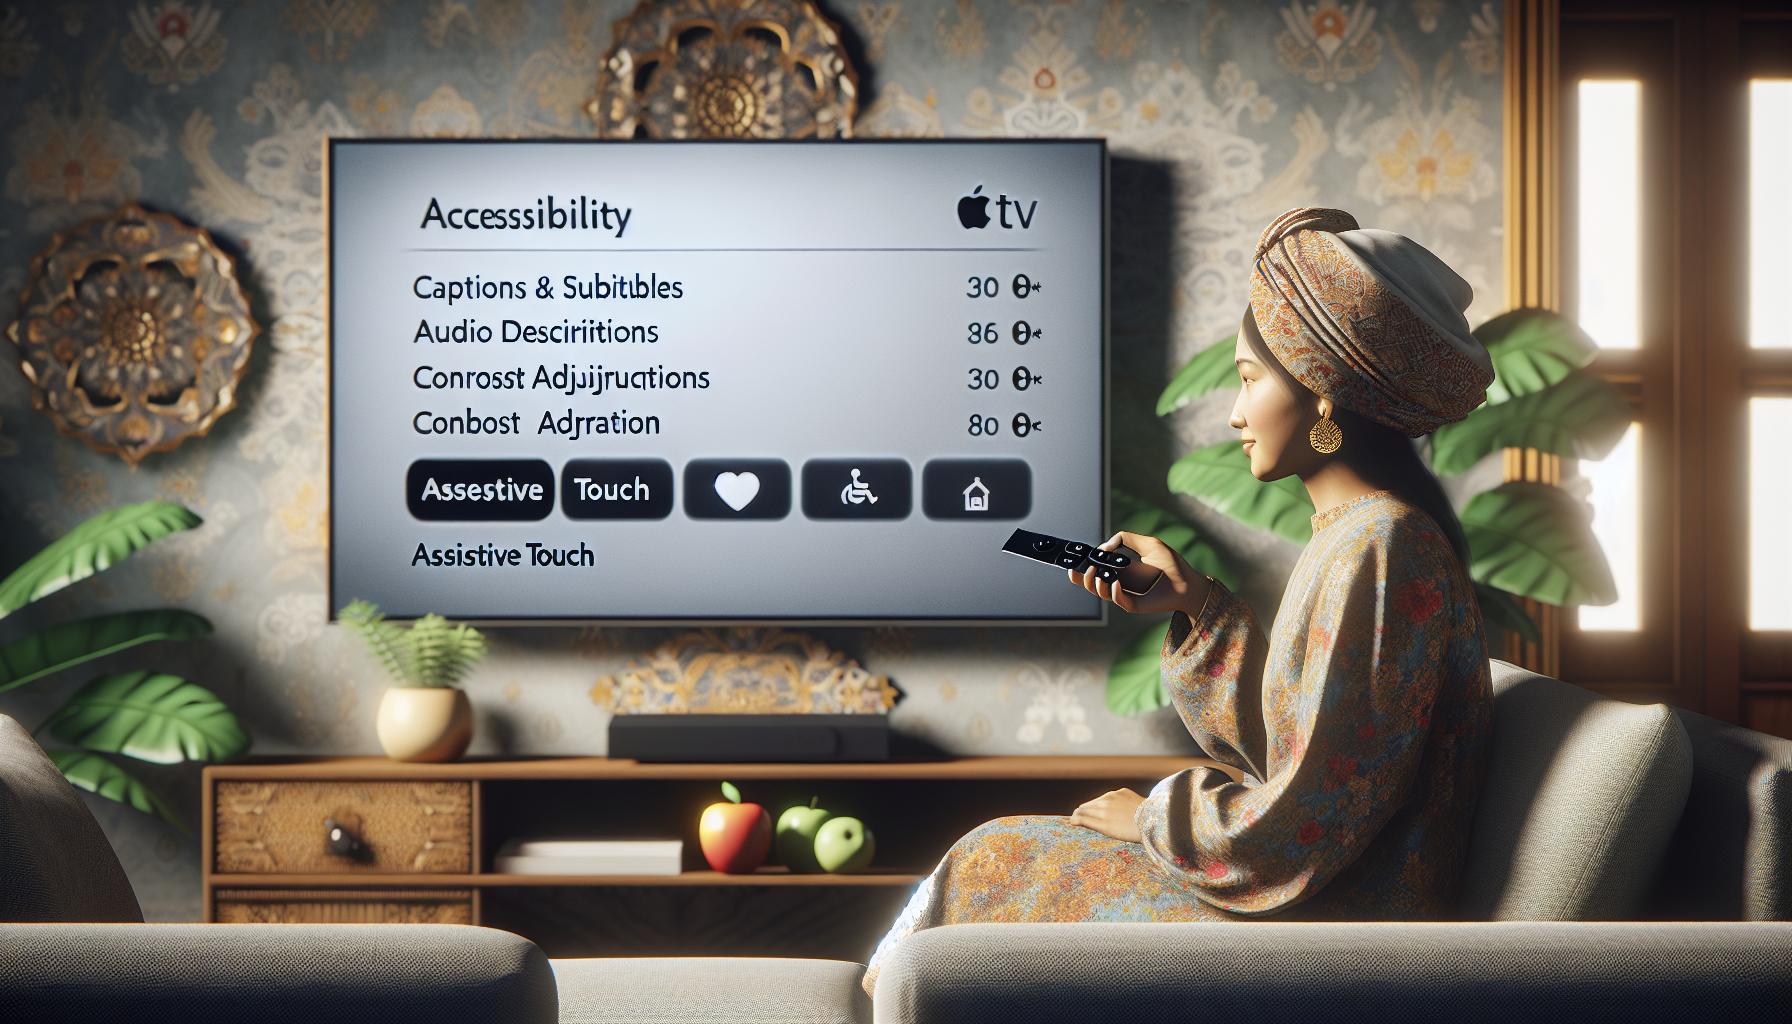
Ever found yourself watching a show on your Apple TV and missed a crucial line of dialogue? Or maybe you're just trying to keep the noise down while the kids are asleep. Whatever the reason, turning on closed captions can be a game-changer.
Don't worry if you're not tech-savvy. It's a straightforward process that anyone can handle. You'll be able to enjoy your favorite shows without missing a beat in no time.
Why Should You Use Closed Caption on Apple TV?
When exploring the value of using closed captions on Apple TV, it's essential to understand that this feature is more than an aid for the hearing-impaired. In fact, utilizing closed captions can offer a significantly enhanced viewing experience for everyone.
First off, closed captions are a powerful tool for more effortless comprehension. How many times have you missed a crucial piece of dialogue due to an unexpected noise or perhaps an actor's thick accent? Closed captions resolve such issues, enabling you to catch every word without straining your ears.
Closed captions can also make learning a new language easier. If you're attempting to grasp a foreign language, watching your favorite show with closed captions in that language is not only engaging but educational.
Moreover, they come in handy during late-night viewing sessions. When everyone else in the house is asleep, watching TV can be a dilemma. Thankfully with closed captions, you're able to enjoy your show without turning up the volume and disturbing others.
Finally, with Apple TV's closed captions, you can personalize your viewing experience. That's right; you're not stuck with a standard white text on a black background. Apple TV offers a variety of customizations from the text size, type, and color to the background color.
Not yet convinced? Here's a breakdown of the key reasons from the previous paragraphs:
| Reason | Benefit |
|---|---|
| More effortless comprehension | Catch every dialogue, no straining ears |
| Learning a new language | Watch shows in a foreign language |
| Soundless viewing sessions (late-night or sensitive environments) | Watch without disturbing others |
| Personalized viewing | Customize captions to your preference |
Considering these points, it's clear that closed captions on Apple TV are not only a practical feature but can also greatly enhance your overall viewing experience.

To start your journey of enhancing the viewing experience, you'll first want to locate the Settings menu on your Apple TV. This central hub is where you'll find a wide array of customization options, and most importantly, the closed captioning settings.
Switch on your Apple TV. The opening screen that greets you will have a list of options. Here, you'll be looking for the Settings icon. This is usually found right in the middle of your screen. Highlight it with your remote's cursor, by moving it around using the smooth, touch-sensitive part at the top.
Remember, it's essential to ensure your cursor is highlighting over the Settings application before proceeding. This is indicated by the background of the Settings icon changing into a brighter color and becoming larger in size.
Once the Settings application is highlighted, press the main selection button on your Apple TV remote controller (that's the wide, silver, or white button in the middle). Upon selecting, a new screen will open.
The screen displays a list of different setting options for your Apple TV. Options like General, Screen and Sound, Accounts, etc. are present here.
Align your cursor to navigate through the multitude of options. As you move from one option to another, the chosen option enlarges, making it easy to recognize your current selection.
That's all there is to it! You've successfully made it to the Settings menu on your Apple TV. Now, it's all smooth sailing as we move to the next steps and get your closed captions up and running. You're just a few moments away from a personalized, more immersive viewing experience.
Step 2: Select General
Once you've properly placed the highlight on the Settings application and clicked into it, you're faced with a long list of menus. Out of all these, General is the magic area to go searching for the “Closed Captions and SDH” option.
General, as the name suggests, hosts settings that handle various aspects of your Apple TV. This area allows users to familiarize themselves with the myriad of customization options available to them, Closed Captions and SDH being one.
Navigating to this section is not a potent task. It's very straightforward and simple. You don’t need to be tech-savvy. With the aid of the Siri Remote or Apple TV Remote, make your way carefully down the list until you come across the General option. Hit select once you have it highlighted.
In the General sub-menu, you discover a galaxy of other settings. Don’t get overwhelmed, your destination is just a few scrolls away. Look carefully for the option that reads “Accessibility”. It’s under this tab that you'll find the feature you need to toggle on - the closed captions and SDH option.
Making little incremental adjustments like this one on your Apple TV can have a significant effect on your overall viewing experience. So, take full advantage of them. Now, let’s move on to the third step - navigating to the Accessibility option. The guide will lead you towards the effective transformation of your viewing experience!
Your worthwhile journey to a more immersive Apple TV experience continues.
Step 3: Go to Accessibility
After familiarizing yourself with the General settings menu, it's time to proceed further. You won't find options directly related to closed captions here. That's where Accessibility comes into play.
The Accessibility features in Apple TV's interface ensure the device caters to a wide range of users, providing essential configurations for those with specific viewing needs - like closed captions. This option, however, is located in a sub-menu that requires its own set of navigational steps. But don't worry, it's fairly straightforward.
Within the General options list, you'll notice a heading named Accessibility. This section is particularly valuable for those who want to customize the viewing accessibility features, and yes, you've guessed it, that’s where you'll find the settings for closed captions. So, go ahead, select the Accessibility option to proceed.
Don’t feel surprised or overwhelmed if you find there are other options as well in this menu. As Apple is renowned for its user-centric design, more adjustment features are made available under this menu. Besides settings for captions, there are configurations for increased contrast, reduced motion, voiceover, and various other features designed to provide an optimized viewer experience.
Remember, you are here for enabling closed captions. So, stick with your primary task. Once there, you should see the “Subtitles and Captioning” sub-menu. This is the next stage of your journey.
As you see, each step unveils another layer of all the options Apple TV puts at your fingertips. It’s simple, intuitive, and, above all, user-friendly. So, waste no time pondering. Onward you go to the next stop - Subtitles and Captioning.
So far, you've progressed from the Generic settings and now you've mastered the path to Accessibility. You're not at your final destination yet! Remember, the next guide will continue from where you are leaving off - deep into the heart of Apple TV's Accessibility settings.
Step 4: Turn on Closed Captions

Once you have navigated your way to the Accessibility menu, it's time to turn your focus towards enabling the Closed Captions. Apple, is indeed, aware of the various needs of its audience and ensures that its accessibility features cater to everyone. The closed captions feature is no exception.
Do you see the phrase "Closed Captions + SDH" under the "Hearing" section? That's your next stop. Click right into that. This where you get to toggle on the closed captions. It's not a complicated process you’ll see.
You'll seemingly find yourself in a new window opened within the accessibility settings. This window provides a variety of customization options for closed captions and SDH. Ever noticed how different the captioning can be across different TV shows and movies? Apple allows you to have your captions your way. Whether you want them to be larger, a different style or a color that doesn't strain your eyes - you have a say in it right here.
Modify these based on your preferences:
- Style: Here you can select from Default, Large Text, or Classic.
- Color: Make a choice among White, Gray, Blue, Red, Green, Yellow, Cyan, and Magenta, to determine the color of the captions.
- Size: Decide whether you want your captions to be Small, Medium, or Large.
And there's more! These aren't your only available customization options. Take a moment to look around for more. Explore and familiarize yourself with each option.
After you've made your adjustments, don't forget about the main purpose of our journey - enabling closed captions. See the toggle switch beside "Closed Captions + SDH"? Flip it on. You've traveled quite a distance, this instant gratification is well-earned!
In the next step, we're going to take these modifications for a test run. We'll guide you through how to enable closed captions on an actual video or movie. Let's help you enhance your Apple TV viewing experience even further. You're one step closer to your goal and we're right with you all the way. So, let's forge ahead, shall we?
Conclusion
You've now got the knowledge to turn on closed captions on your Apple TV. Not only can you enable this feature, but you're also able to customize it to your liking. With options to adjust style, color, and size, your viewing experience is truly in your hands. Remember, the Accessibility menu is your gateway to these features. Now, you're all set to enjoy your favorite movies and shows with the added benefit of closed captions. Don't forget to apply what you've learned the next time you're ready to watch a video or movie. It's all about making your Apple TV viewing experience as comfortable and enjoyable as possible. Happy viewing!
You can navigate to the Accessibility menu on Apple TV by going to the Settings page and selecting the "General" option. From there, choose "Accessibility".
How do you enable closed captions on Apple TV?
In the Accessibility menu on Apple TV, you can enable closed captions by toggling on the "Closed Captions and SDH" feature.
What customization options are there for closed captions on Apple TV?
Apple TV provides various customization options for closed captions including the ability to change the style, color, and size of the captions according to your preference.
How can you enable closed captions for a specific video or movie on Apple TV?
The article mentions that it will provide a guide on this in the next step. For now, it encourages readers to familiarize themselves with enabling and customizing closed captions through the Accessibility menu.


