Ever found yourself struggling to understand what's being said while watching your favorite shows on Apple TV? You're not alone. Turning on closed captions (CC) can make your viewing experience much more enjoyable, especially when the dialogue is hard to follow.
If you're unsure of how to activate this feature, you've come to the right place. In this guide, we'll walk you through the simple steps to turn on CC on your Apple TV. It's a straightforward process, and once you've got the hang of it, you'll wonder how you ever managed without it. So, let's dive in and get those captions rolling.
Why use closed captions on Apple TV
Closed captions are a great tool to amplify your overall viewing experience on Apple TV. The feature was initially introduced to aid the hearing-impaired community, but its benefits extend far beyond this. Whether you're having difficulty understanding the dialogue, engrossed in a noisy environment, or wanting to master a new language, closed captions can be your best friend.
First and foremost, captions can be a lifeline when the audio quality isn't top-notch or when a dialog is coupled with a heavy accent. We all have had those moments watching shows or movies, where multiple replays just didn't suffice to grasp what's being said. That's when captions come to rescue. With them on, you won't miss out on even the minutest details, thus heightening the entertainment factor.
Imagine you're trying to catch your favorite show from a noisy airport lounge or while your roommate is hosting a party. In such scenarios, filtering the relevant audio could be a herculean task. Here, closed captioning provides that crucial soundproof room experience, allowing you to be a part of the fantasy world created by the show or movie.
A lesser-known benefit of closed captions is that they act as an excellent language-learning tool. Irrespective of whether you're polishing your Spanish for an upcoming trip or just started to decipher Korean for K-drama indulgence, captions can help. They provide a written version of the spoken dialogues, and pairing the audio with this text can notably speed up language comprehension.
Besides, Apple TV's user-friendly interface allows for easy activation and customization of closed captions. You can play around with the font, color, and size to make sure you derive the maximum benefit while ensuring minimal on-screen obstruction.
While closed captions on Apple TV may seem like a pretty basic feature, don't underestimate the power it holds to enhance your viewing experience manifold.

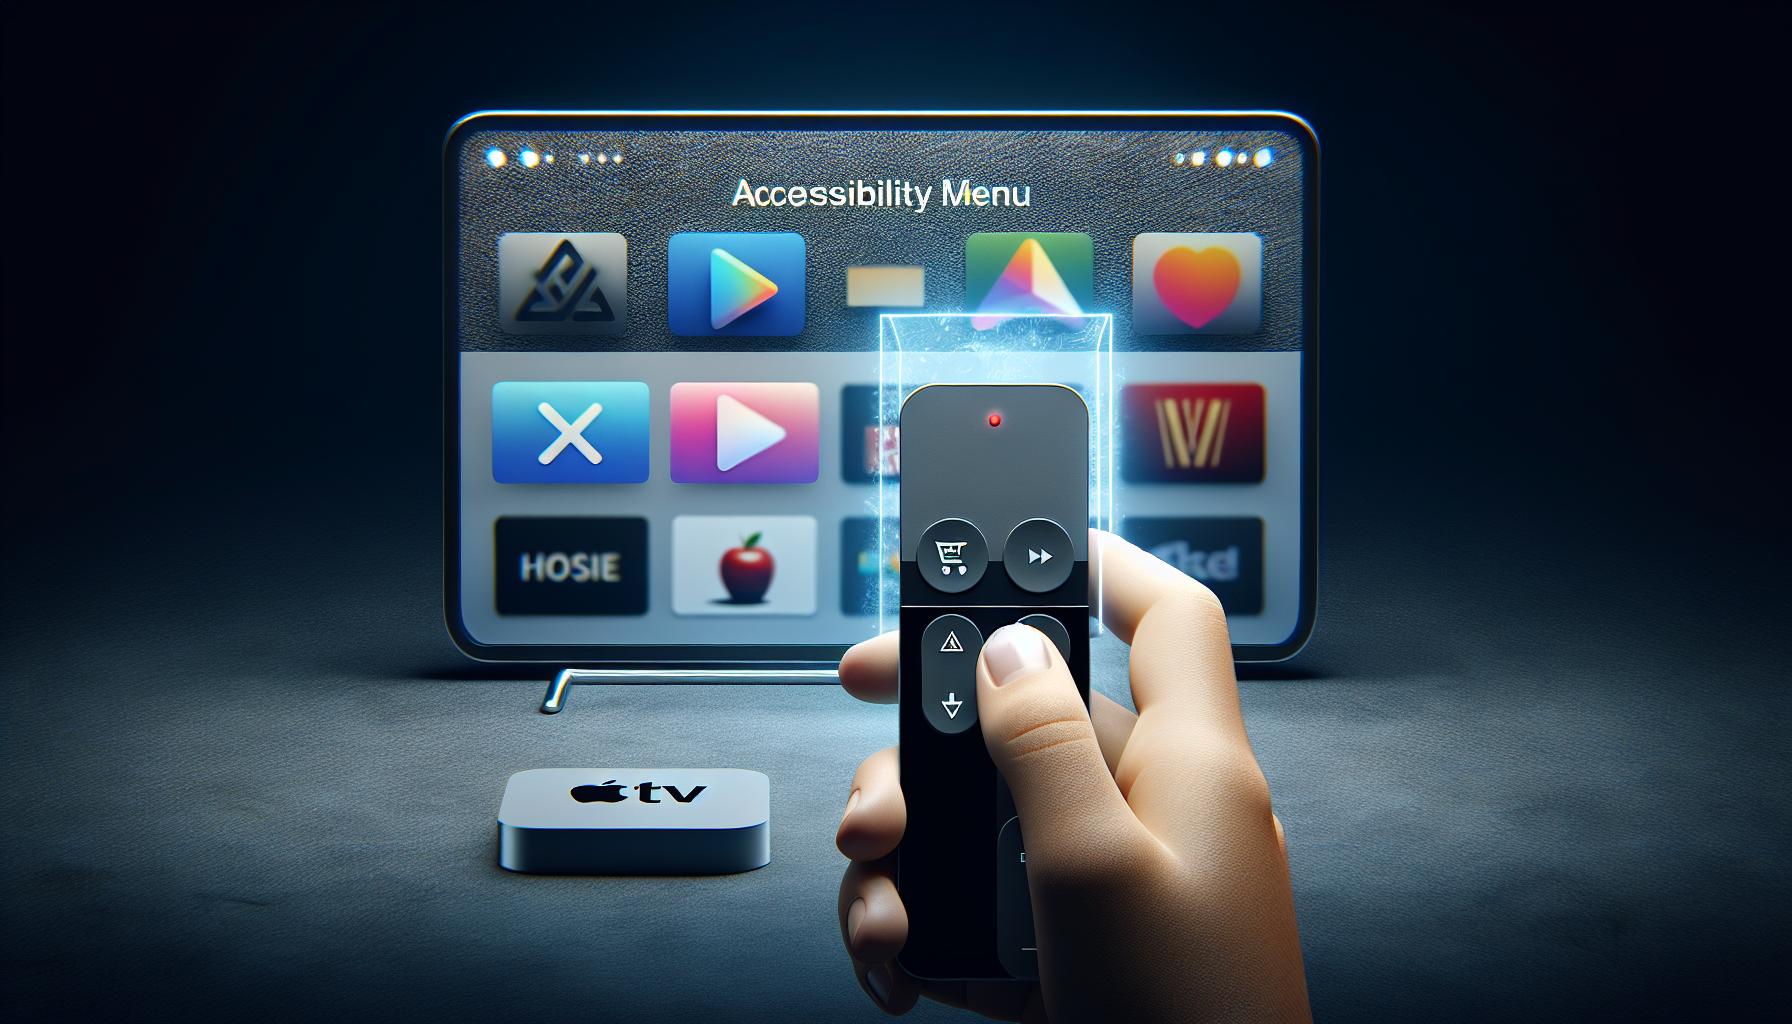
Your journey to activate closed captions (CC) on your Apple TV starts right here, with accessing the Accessibility Menu. This is where you'll find all the settings you need to customize your closed captions.
To get started, grab your Apple TV remote. Push the 'Menu' button to go to the Apple TV home screen if you're not there already. You'll know you're at the home screen because it's where you'll see the grid of apps.
In the upper-left corner of your Apple TV home screen, you'll find the 'Settings' app. It's easily recognizable by its gray gear icon.
Navigate to the 'Settings' app using your remote. When you've found it go ahead and click your remote's touch surface. This will open the Settings menu. Here, you'll see a list of different options:
- General
- Users and Accounts
- Airplay and Homekit
- Remotes and Devices
- Accessibility
- Video and Audio
- Apps
- System
- Sleep Now
Navigate now to the 'Accessibility' option. It's usually located roughly in the middle of the list. Look for the white icon with a human figure. When you've found it, again click your remote's touch surface.
Congrats! You've just accessed the Accessibility menu on your Apple TV. This is the menu where you can make your TV fully yours and set it up in a way that suits you best.
You're now one step closer to activating those handy closed captions.
In the Accessibility menu, you'll find options such as:
- VoiceOver
- Zoom
- Closed Captions and SDH
- Audio Descriptions
- Mono Audio
- Balance
- Reduce Loud Sounds
- Subtitles and Captioning Style
Our next stop, 'Closed Captions and SDH'.
Step 2: Enabling closed captions
Now that you've navigated to the Accessibility menu, you're all set to turn closed captions (CC) on. Here, you'll find options such as "Closed Captions and SDH". This isn't hard to locate as it's typically the third item on the menu.
Click on it to access the closed captions settings. Once you get to the settings screen, you'll find the option "Closed Captions: Off". Exactly what you're looking for! Select it to enable Closed Captions on your Apple TV. Simple, right?
Well, it doesn't stop there! After enabling closed captions, you might want to customize it to suit your style. Yes, Apple TV gives you the power to personalize your closed captions!
You can change the font size, color, and background of your closed captions. Not many devices offer such flexibility, which sets Apple TV apart. Whether you prefer larger text or brighter colors, the power's now in your hands.
Just so you know, changes made to the captions apply to every app that supports captions on Apple TV. So be sure you're comfortable with the changes. In case you're not, rest assured. Tweaking these settings later isn't a problem, and you do not need technical know-how to pull it off.
I'll bet you're now asking, "How about turning closed captions off?" Relax! It's as easy as turning it on.
Follow the same steps you took in turning it on but this time, when you get to "Closed Captions: On", just click on it. Done! You've turned the closed captions off.
Step 3: Adjusting closed caption settings
By now, you've navigated to the Settings app, accessed closed captions under the Accessibility menu, and activated Closed Captions and SDH. However, the journey to ideal closed captioning doesn't stop at just enabling it. It's time to imagineer your viewing experience, molding it to match your preferences.
Every person's needs are unique, and Apple TV understands that. Consequently, there is a plethora of settings to choose from, allowing you to tailor the closed captions to your very preference. Want the font larger for easier reading? Prefer a particular color that doesn't strain your eyes, or maybe a specific caption background that doesn't clutter your screen? Your wishes are Apple TV's commands.
To adjust these settings - from font size, color, to background - select Style under the Closed Captions and SDH option. Right before your eyes, you'll find an array of customizable options that Apple TV serves up generously.
Here are the settings you can manipulate:
- Font
- Font size
- Caption Color
- Background Color
Each of these options enables you to personalize your viewing experience for comfort and ease of understanding. Be fearless, tinker around, and see what works best for you.
It's important to note that changes made to these settings apply across every app supporting closed captions on Apple TV. So, it's like a one-and-done deal, no need to adjust settings for each app individually. Quite convenient, isn't it?
Next up, we'll guide you through how to disable closed captions when you don't require them. But for now, sit back, power on your Apple TV, and enjoy your favorite content. After all, it's nothing like watching your favorite show with customized captions, matching exactly to your specifications, that makes you feel right at home.
Step 4: Customizing closed caption appearance

With CC activated and customized, let's go further in customizing the look of your subtitles. Your Apple TV offers myriad ways to tweak the appearance of closed captions. By altering the font, color, size, and background of your captions, you can tailor them to your personal preferences, marking a significant perk of Apple's inclusive approach to user interface design.
To adjust these parameters, head back into the Closed Captions and SDH menu. Here, focus on the Style option. Once you’ve tapped on it, you’ll notice five pre-set styles right at your disposal:
- Default
- Large Text
- Classic
- Outline
- Transparent Background
Beyond these neat defaults, go further by creating your own style that aligns more specifically with your needs. For this, opt for the Create New Style option.
This area lets you play around with a wealth of specifics. You can make changes to the Font (from the likes of Casual to Small Caps), Color (basic colors and their shades), Size (from Extra Small to Extra Extra Large), and Background and Window colors (choose between solid and transparent options).
Remember, your changes aren't locked after you've set them. The settings are dynamic and can be switched at any time. This flexibility means you can experiment with the look of your subtitles until you find what you're most comfortable with.
When you've completed your customization, use the Apple TV remote to select Done. Your selections are now saved and ready for immediate use. Keep in mind that these settings aren’t restricted to one app! Adjustments apply across every app that supports closed captions on Apple TV, demonstrating Apple's commitment to a seamless, cohesive user experience.
Now you've got the know-how to personalize your closed captions but we're not done yet. We've got one more step to cover before you're fully equipped to make the most of this feature, which is exploring the 'CC' button during video playback.
Conclusion
You've now got the know-how to turn on CC on your Apple TV. It's as simple as heading to the Settings app and finding the Accessibility menu. From there, you can customize your closed captions to your heart's content. Whether it's the font size, color, or background, Apple TV's got you covered. Remember, these changes aren't just for one app, they're for every app that supports captions. So, go ahead and make your TV experience more personalized and accessible. With this newfound knowledge, you're ready to enjoy your favorite shows and movies with closed captions that suit your style. Happy viewing!
You can access the Accessibility menu on Apple TV by navigating to the Settings app on the home screen. From there, you can find the option for Closed Captions and SDH under which you can customize your CC settings.
How is the TV experience more personalized through closed captions?
Closed captions on Apple TV allow users to personalize their viewing experience by providing the ability to customize fonts, color, size, and captions background. These changes apply to every app that supports captions on Apple TV.
Where to enable closed captions on Apple TV?
You can enable closed captions by selecting the "Closed Captions and SDH" option in the Accessibility menu on your Apple TV.
How to customize the appearance of closed captions on Apple TV?
Customization options for closed captions lie under the "Style" option in the Closed Captions and SDH menu. You can alter the font, font size, caption color, and background color there.
Do the changes apply to every app supporting closed captions on Apple TV?
Yes, any changes made to the closed captions settings apply across every app that supports closed captions on your Apple TV, thus making the experience consistent.


