You've likely come across the SOS feature on your iPhone, a handy tool designed to keep you safe in emergencies. But what if you find it's more of a nuisance than a help? Maybe you've triggered it accidentally one too many times, or perhaps you just don't feel the need for it.
Well, you're in luck. Turning off the SOS feature on your iPhone is a straightforward process, and we're here to walk you through it. With a few simple steps, you'll have it turned off in no time, giving you one less thing to worry about.
Reasons to Turn Off SOS on iPhone
While SOS on iPhone is a safety feature designed with emergency situations in mind, there may be times when you might consider turning it off. This could be prompted by a few relatable reasons.
Firstly, accidental activations are the most common reason users opt to disable this feature. With SOS being accessed via the physical buttons on the side of the iPhone, it's easy to trigger it inadvertently. For example, if you're prone to holding the power button and volume button during regular use, it could inadvertently set off the SOS alarm.
Secondly, a reason for disabling the SOS feature could be to prevent unnecessary panic or false alarms. An accidental SOS call can cause unnecessary concern for the responders and for those who receive your emergency contact message.
Another reason might be that the feature simply doesn't align with your needs. If your work or lifestyle doesn't warrant a need for quick emergency calls or you have someone always at hand to help, this feature might seem redundant.
Lastly, turning off the SOS feature can conserve your iPhone's battery life. Although it's not a massive drain, every little bit helps when you're trying to stretch your battery for as long as possible.
Knowing these reasons, you can now make an educated decision about whether to keep or disable the SOS feature. Do note that although it offers relative peace from accidental activation, it might compromise your safety in actual emergency situations. Strike a balance to suit your individual needs and circumstances.
How to Disable SOS on iPhone

So, you've considered the pros and cons and decided to turn off the SOS feature on your iPhone. Follow these steps to disable this potentially life-saving feature.
Step 1: Go to Settings
From your iPhone's home screen, you'll first need to head over to the settings. Look for the gear icon, then tap on it.
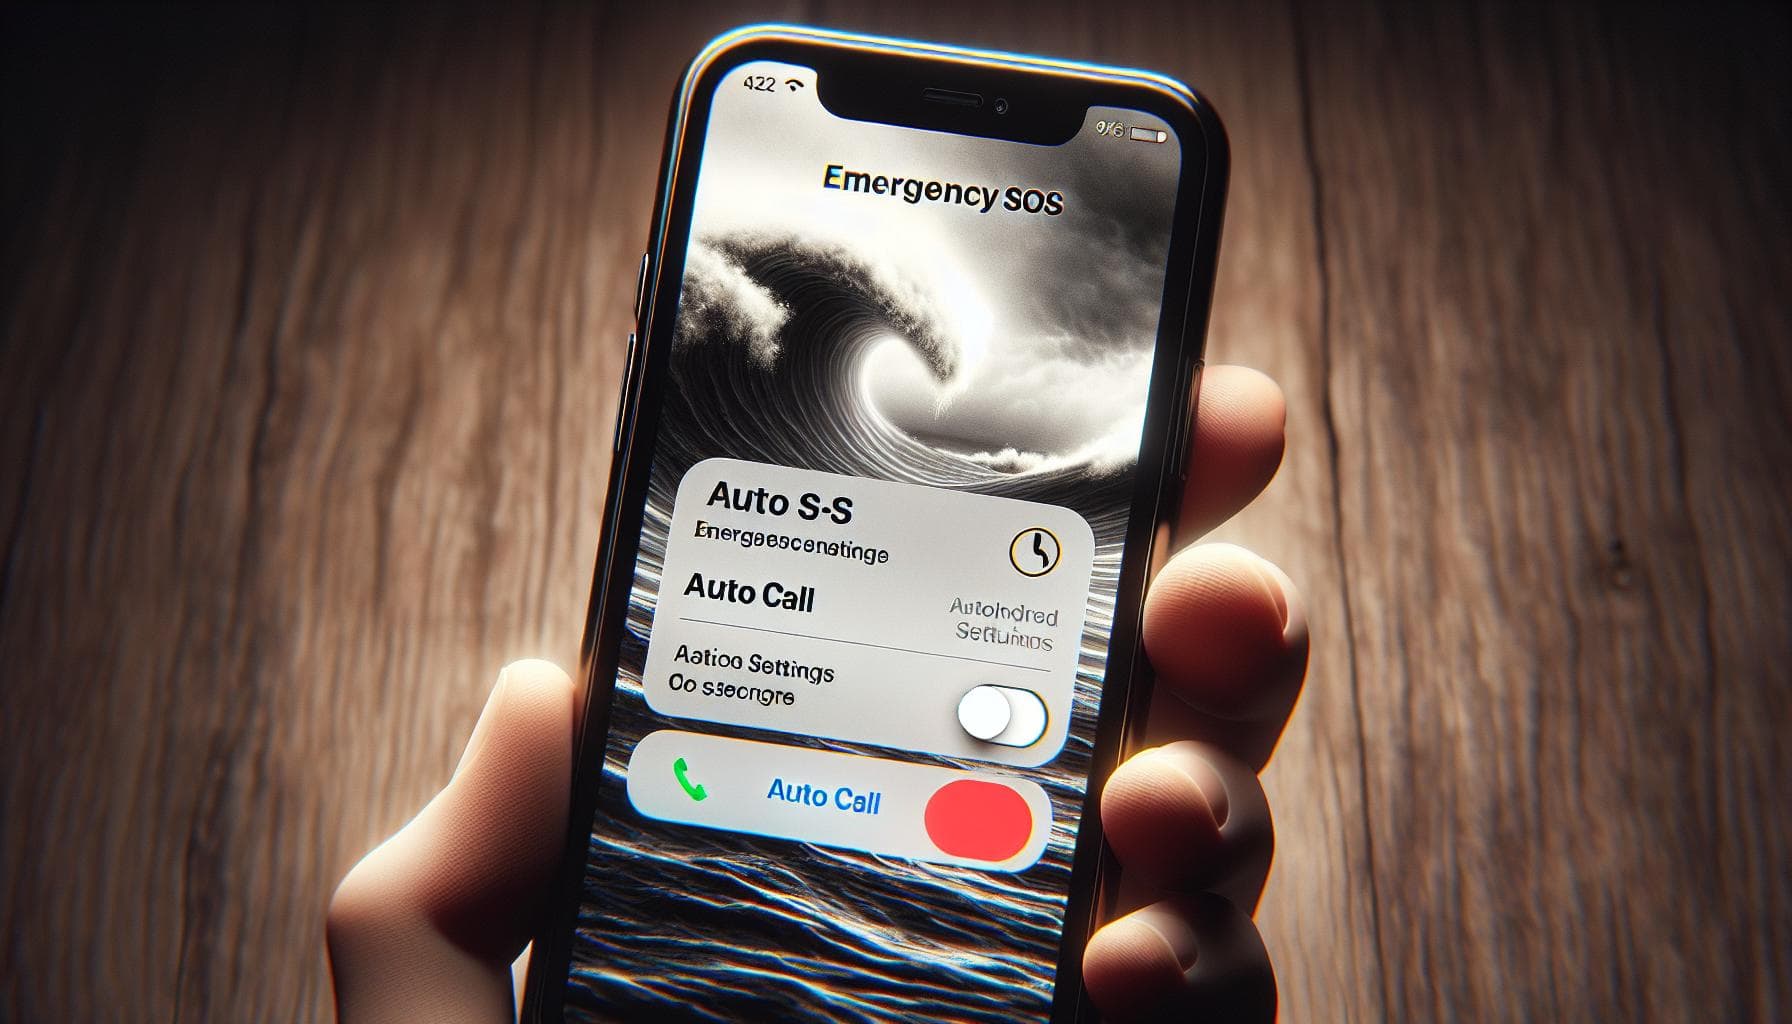
Step 2: Access Emergency SOS
In the settings, scroll down till you see "Emergency SOS". It's typically towards the middle of the screen. Give it a tap.
Step 3: Disable the SOS setting
Once you're in, you'll see an Auto Call switch. If it's green, that means your SOS is activated. Tap the switch. If it turns white, you've successfully turned off your SOS.
Voila! You've now learned how to turn off SOS on iPhone. Remember, you can always come back to these steps and reverse the process if and when you decide to turn this feature back on.
Use this how-to guide as a cautionary reminder, however. Just make sure you're aware of the risks associated with disabling SOS on your iPhone, and that you're prepared for the slim chance you may run into an actual life-threatening emergency. After all, technology's there to assist us, and it's up to you how you desire to use your phone's features.
Step 1: Open the Settings app

To begin the process of turning off SOS on your iPhone, you'll need to start with the Settings app first. It's the gear-like icon on your iPhone's home screen. This is where all of the magic happens, where you can personalize, enable, or disable any feature in your iPhone to suit your needs.
Locating the app is straightforward. Look for an icon that mirrors a rotary gear - it's usually grey. You can find it on your iPhone's home screen, usually towards the bottom of the selection. You're likely no stranger to this app, as it's where you'd go to customize many of your iPhone's features and functions.
You might be thinking, why the Settings app of all places? Well, enabling and disabling the SOS feature isn't something found in just any app. It's not in the Phone app where you'd call someone, or the Contacts app where your saved numbers are. This crucial process starts with the Settings app, right in the same place where you'd go to toggle your Wi-Fi or Bluetooth.
After you've located the Settings app, tap it to open. Don't worry, you're on the right track!
Tip: Get to the Settings app faster by swiping down on your homescreen and typing "Settings" in the search bar.
Step 2: Go to Emergency SOS
Navigating an iPhone's settings can feel like traversing a labyrinth. But persistence is key. You're already in the Settings app, right? So let's continue our quest to disable the SOS feature.
Scroll down the settings interface. It's easy to get lost among the myriad icons and placeholders. Can't find the "Emergency SOS" option at first glance? Don't worry, it's there. Keep looking.
Perhaps the quickest way to reach it is by using the search bar. Instead of scrolling endlessly, just type 'Emergency SOS' in the search bar at the top. Your iPhone's intelligent search function will quickly guide you to the right place.
Tap on the 'Emergency SOS' option once it appears in the drop-down menu. This is the gateway to making the desired changes to the SOS feature. After reaching the 'Emergency SOS' section, you'll find a variety of settings. These options allow you to customize aspects of the SOS feature to fit your needs - from how the feature is triggered to who's contacted in an emergency.
At this point, don't rush things. Allow yourself a moment to familiarize with the intricate workings of this section. A little patience goes a long way. We're guiding you towards the Auto Call switch - your ultimate target. This switch, once toggled off, will cease the automatic dialing feature of the SOS function.
Remember! Every choice brings with it a new horizon of consequences - make sure to consider every decision you make in this section. For some, the swift action of SOS might be a lifeline in grave situations. Consider the implications, and if unsure, seeking the advice of a tech-savvy friend or family member is never a bad idea.
Alright then! Let's move towards changing that Auto Call setting, shall we? Let the journey continue.
Step 3: Disable Auto Call

Moving forward, you've located the Emergency SOS section. This spot in your iPhone's settings is the perfect place for personalizing your phone's safety features. The main action here is to manage the Auto Call feature.
To disable Auto Call, focus on the Auto Call switch. You'll find it right under the "Emergency SOS" header. It's identifiable by the slider next to it. If it's green, the Auto Call is active.
Slide your finger swiftly across this switch. It should change from green to gray. This flip implies the Auto Call feature is now inactive.
Though it's a simple process, turning off Auto Call is a move that demands thorough pondering. By disabling it, your iPhone will no longer call emergency services when the side buttons are pressed rapidly. This could be a potential danger if you ever find yourself in a situation where you need immediate assistance.
Consider having a backup plan. This measure is especially necessary if you lead an adventurous lifestyle which might put you in precarious situations more often. Or perhaps if you're caring for someone who may require urgent help.
Your backup plan may involve:
- Having an emergency contact on speed dial
- Activating safety alerts on a wearable device
- Regularly updating your medical ID on the iPhone
Remember, technology is meant to aid in keeping you safe, and in the case of the Auto Call feature, it's designed to offer instant assistance in crisis situations. Review your decision and consult with trusted individuals if you're uncertain about whether turning off Auto Call is the right choice for you.
Disabling Auto Call is a decision that requires careful consideration and a solid understanding of its implications. Safety should always be your priority.
Step 4: Turn off SOS on Lock Screen
Let's get down to business. After disabling Auto Call, you might want to completely disable the SOS option which appears on your iPhone's lock screen. Why? Even with Auto Call off, locking yourself into the SOS screen can happen inadvertently, leaving you with the Emergency call and Medical ID options. Avoiding unnecessary false alarms seems like a worthy cause, doesn't it? So, let's figure out how this lock screen feature is disabled.
First, go back to your Settings application, navigating your way to the same Emergency SOS zone you've visited before. It appears right next to the already grayed-out Auto Call switch. You're now looking for the setting labeled Call with Side Button.
Once you locate Call with Side Button, it's a fair bet the switch for this option is currently green. To disable the SOS feature on your lock screen, simply tap that switch. If you've done it correctly, the switch should now be gray, a clear sign that SOS is no longer activated on the lock screen.
Isn't it relieving to have that control back on your lock screen? Without the fear of accidental SOS activations, using your iPhone is less of a stress. Some might argue the opposite - with one less safety net - you might be in a more vulnerable position. Whichever side of the argument you fall on, keep in mind being well-prepared for any emergencies.
This is why it's paramount to also have a familiar grasp of how to reactivate this function. Allowing yourself the option to get this SOS button back whenever you need it grants you a layer of reassurance. To reactivate, follow the same steps but this time, you'll be turning the gray switches back to green.
Remember, your safety is of utmost importance and should always be ahead of convenience dilemmas. Your decision to disable the SOS feature ultimately depends on your comfort level and how well you can adapt in emergencies. If you're ever unsure, don't hesitate to seek advice from trusted sources.
Step 5: Customize SOS Settings (optional)

Now that you've successfully disabled Auto Call, and the SOS feature on your lock screen, it's time to delve into some optional customizations. These additional alterations are purely optional and depend on your personal preferences.
One of these options is the Countdown Sound. This feature alerts you when SOS Auto Call is triggered, giving you precious seconds to cancel the call if activated unintentionally. If you're worried about unintentional triggers but still want the SOS feature enabled, this could be a handy choice for you. To enable or disable the Countdown Sound, return to the Emergency SOS settings and toggle the switch labeled Countdown Sound.
Another noteworthy feature to consider personalizing is your Emergency Contacts. You can specify individuals who are immediately notified when you trigger an SOS call. The maximize utility of the SOS feature, it's critical to populate this list with thoughtful precision. Here's how to do it:
- Go back to your Health app
- Tap your profile picture at the top right corner
- Tap Medical ID
- Tap edit at the top right corner
- Scroll to Emergency Contacts
- Tap the green plus to add a new contact
- Search and select a contact
- Designate their relationship to you
Remember, these contacts will get an automatic message with your current location when SOS is engaged. When deactivated, they'll also receive a follow-up message with your updated location.
Although these advanced customization options are entirely optional, you might find them useful to personalize the SOS feature according to your lifestyle and preferences.
For the tech-savvy user, tinkering to secure your own peace of mind is often time well spent. These minor adjustments can make all the critical difference in an unexpected emergency situation.
Conclusion
You've now mastered the process of turning off SOS on your iPhone. Remember, it's all about navigating to the settings, pinpointing the Emergency SOS option, and toggling the Auto Call switch. But don't forget the potential risks. It's crucial to be ready for emergencies even with this feature disabled. You also have the option to personalize your SOS settings further. Play around with the Countdown Sound and set your emergency contacts as you see fit. These customizations aren't just about preference - they can make a real difference when you least expect it. So, go ahead, make your iPhone's SOS feature work for you and your lifestyle.
Q1: How can I disable the SOS feature on my iPhone?
You can disable the SOS feature on your iPhone by accessing "Settings," then "Emergency SOS." Here, you can find an "Auto Call" switch that you simply need to tap to disable.
Q2: Is it safe to disable the SOS function on my iPhone?
Disabling the SOS function on your iPhone could potentially put you at risk in emergency situations. It's important to weigh the possible risks and make an informed decision.
Q3: Can I customize the SOS settings on my iPhone?
Yes, you can further customize SOS settings after disabling "Auto Call." You have the options to enable or disable the "Countdown Sound" and specify your emergency contacts.
Q4: Why is personalizing the SOS feature important?
Personalizing the SOS feature allows it to work optimally according to your preferences and lifestyle. Optional customizations, such as specifying emergency contacts or enabling the countdown sound, can make a critical difference during unanticipated emergencies.


