Ever found yourself in a situation where you need to share your location with a friend or family member, but you're not quite sure how to do it on your iPhone? You're not alone. With the right know-how, it's actually quite simple.
The iPhone's built-in functionalities make it a breeze to share your whereabouts. Whether you're lost, running late, or just want to let someone know where you are, this guide will walk you through the process. Get ready to learn the ins and outs of location sharing on your iPhone.
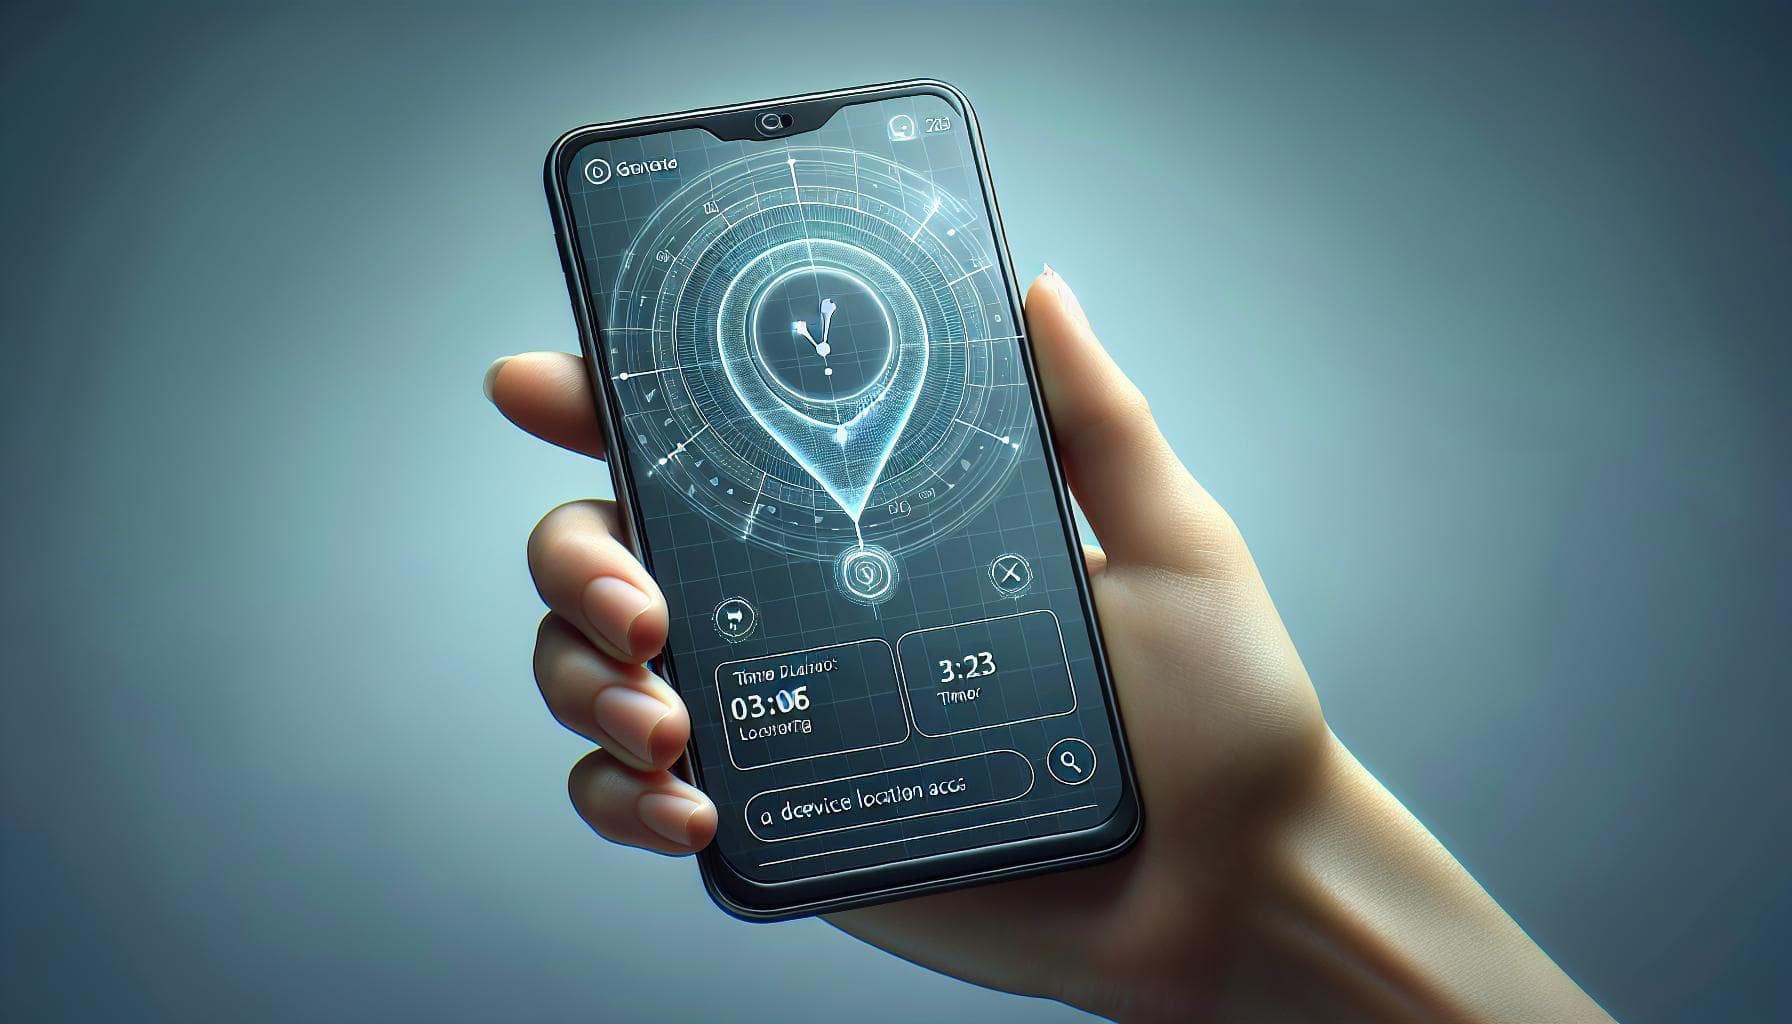
Enable Location Services
Before you get started in the process of sharing your location, it's critical to ensure Location Services on your iPhone are enabled. Your iPhone's built-in functionality lets you do this quickly and seamlessly.
You may be asking, "What are Location Services?" Well, it's a fundamental feature of your iPhone that utilizes the device's inbuilt GPS, Bluetooth, crowd-sourced Wi-Fi hotspots, and cell tower locations to pinpoint your geographical location.
To enable Location Settings on your device, follow the simple steps below:
- Open Settings on your iPhone.
- Scroll down and select Privacy.
- Tap Location Services.
- Ensure the Location Services switch is turned to On (it should be green).
Remember, if Location Services is off, your apps won't be able to access your location data, and so sharing your location becomes impossible.
After making sure Location Services are enabled, you're set to move on to the next step.
You'll next learn about a feature designed just for this purpose – the 'Share My Location' option in your iPhone settings. It's handy, user-friendly, and perfect for those times when you need to let someone know precisely where you are.
While functioning somewhat similarly to Location Services, this feature’s specific aim is to share your location with your contacts or apps in a straightforward, streamlined manner. It's especially useful when you find yourself needing to share your location quickly and efficiently.
So, without further ado, let's dive into understanding how to use the 'Share My Location' feature in the next section. Steps were made hassle-free for you to follow.
Open the Maps app

Now that you've enabled Location Services and familiarized yourself with the 'Share My Location' feature, it's time to dive deeper and actually share your location. This whole process is smooth, thanks to the intuitive layout and features of the Maps app on your iPhone.
So go ahead and tap on the Maps app icon which is typically blue with a locator dot and a navigational arrow.
Having the Maps app open, a detailed map of your surroundings will appear grounded on the fact that your Location Services are activated. If you're indoors, your location might not appear extremely exact but it shouldn't be far off. The Maps app will typically illustrate a general vicinity of your location.
There's more: Maps isn't just about your current location. It's about destinations, routes, traffic updates, and so much more. Maps provide real-time traffic information and offer multiple routes to your preferred destination. Most prominently, it syncs flawlessly with your contacts and calendar to keep your schedules and destinations organized all in one spot.
Don't see your location as expected? There might be a few reasons for that. Some common issues include a weak GPS signal or having WiFi switched off so don’t be alarmed if your location isn’t showing up as expected. It's an easy fix as you’ll see in the coming topics.
Following this, you will learn how to share your current location right from the Maps app. Remember, it's not just about where you're at, it's about where you're going to. So stick around as we dive deeper into sharing your destination locations too with just a few taps.
Find your location

When you first open your Maps app, your current location pops up by default. Look for a blue dot that represents you on the map. If you don't see it, no need to panic. You just need to make a couple of tweaks to ensure your location services are working correctly.
Here's a quick guide to fine-tuning your location services:
- Navigate to your Settings.
- Scroll down and tap on Privacy.
- Tap on Location Services.
- Make sure the toggle button next to Location Services is turned on.
- Scroll down and tap on Maps.
- Here you have three options - While Using the App, Ask Next Time, and Never. For the best user experience, choose While Using the App.
Open the Maps app again. The blue dot should appear on the map, providing you with your accurate location.
In some rare circumstances, you may still have trouble with your location appearing on the map. In this case, you may be in an area with weak GPS signals, or your device may have trouble interpreting the signals put out by the GPS satellites. Make sure you're outside and not surrounded by dense materials like concrete or metal. Also ensure that your Wi-Fi is turned on as it can improve location accuracy.
Remember, sharing your location successfully requires precise location data. If you can't find your location, your recipients will also find it difficult to locate you based on the shared data.
With your precise location now optimally set up, you're ready to start sharing your location using the Maps app on your iPhone, paving the way for easier and more efficient meet-ups.
With the perfection of your location services underway, it's time to share your location with others. Apple provides a simple, direct way to share your location from your iPhone. Remember, sharing location can be useful in many scenarios, like meeting friends at a large venue or during an emergency.
For this process, you'll need to open up the Contacts app. Within the app, find and select the name of the person you want to share your location with. Scroll down until you locate the Send My Current Location or Share My Location option.
If you opt for Send My Current Location, your coordinates at that very moment are sent over. Alternatively, choosing Share My Location allows you to continually share your whereabouts for a chosen amount of time or until you manually stop it. Keep in mind that the recipient needs to accept your location sharing request to commence real-time tracking.
There can be instances where you wish to share your location with more than one person. In that case, Apple’s Find My app lets you achieve the same.
Open up the app, select People and then click on the Share My Location option. There, you can invite others to view your location by entering their name or phone number. The invited will receive a notification, and upon acceptance, they’ll be able to see your current location on their map.
One crucial point to consider while sharing locations - privacy. Please ensure you’re comfortable with the people you are sharing your location with. After all, your safety and privacy should never be compromised. In line with this keep track of who you’ve shared your location with and revoke the permission when deemed necessary.
In a few simple steps, that's how your share your location from an iPhone. However, it's advised to try this out oneself for a better understanding of the process and to get accustomed to the feature before truly needing it.

You've got your settings squared away, your GPS signals are strong, and you know precisely where you are on the map. Now, it's time to decide who gets to see your location data. Who you choose to share your location with is a decision of personal preference and necessity.
In the iPhone ecosystem, you'll mostly be sharing your location with people in your Contacts or Find My app. Whether it's letting your friends know where to meet you for a coffee date or sharing your route on a long drive home with a loved one, selecting the right people is essential. The Contacts or Find My App are packed with options that let you control and fine-tune your visibility.
While sharing location data may seem simple, there are a few things to consider. Primarily, your privacy is a critical factor to bear in mind. Ask yourself some essential questions. Do you trust this person with your current location? Is there any time of the day that you'd rather not share? Can this person follow your movements for an extended period? Remember, it's about trusting the recipient with your location details.
- Open the Contacts or Find My app: They are pre-installed on your iPhone and have easy-to-navigate interfaces.
- Select the person: Once you have the app open, the next step is to pick who to share the location with. You'll see a list of contacts. Scroll through until you find the person.
- Send your location: Once you've chosen who you're sharing your location with, tap on the 'Send' or 'Share My Location' button.
The location sharing feature of Apple devices is a powerful tool when used responsibly. It brings peace of mind, fun, and functionality all in one compact package. With the right balance of security and openness, it's a boon to the busy or socially active iPhone user.
Remember to revisit and manage your location-sharing permissions regularly. Occasionally, you might want to revoke permissions or adjust how often certain people can access your location information. Simply navigate the settings in your contacts or Find My application. It's safe, secure, and in your control.
Set a time limit (optional)
In a dynamic world where your location constantly changes, it's essential to control how long your location is accessible to others. Whether for privacy concerns or just to keep your whereabouts current, Apple allows you to set a time limit for sharing your location. This optional feature enhances the location sharing experience on iPhone devices.
To set a time limit, follow the steps outlined:
- Open the Contact or Find My app.
- Choose a contact to share your location with.
- Tap on "Share My Location".
- An option to "Share for One Hour", "Share Until End of Day", or "Share Indefinitely" will appear.
- Select your desired time frame.
- Click send.
By setting a time limit, you can protect your privacy and ensure that your location isn't accessible beyond the requisite period. It's a simple yet effective tool that adds an extra layer of security to your location sharing activities.
Remember, location sharing is a golden feature, especially when used responsibly and with consideration for privacy. As you navigate through these steps, ensure you carefully select the contact persons. Regularly manage your permissions, and don't be something akin to an open book- share your location when necessary and with parties you trust.
Setting a time limit isn't a necessity, but utilizing this optional feature does put control in your hands. So, utilize it as you deem fit. And as you continue to explore the remarkable features of your iPhone device, remember that you can revoke permissions or stop sharing your location at any point.
Keep in mind that the central aspect of location sharing is not just the sharing itself, but how it's managed. Using essential features like setting a time limit for your shared location gives you absolute control over your privacy. So, make the most of these features and share your location conveniently, responsibly and with confidence.
Conclusion
So, you've learned how to share your location on your iPhone and manage the time limit for sharing. You now have the power to control who sees your whereabouts and for how long. Remember, it's not just about convenience but also about ensuring your privacy and security. Make sure you use this feature responsibly. And don't forget to regularly check your permissions. You're now ready to share your location on your iPhone like a pro. Stay safe and smart out there!
Frequently Asked Questions
How can I set a time limit for sharing my location on my iPhone?
Open the Contacts or Find My app. Choose a contact you wish to share your location with. At the bottom of the screen, there will be an option to set a time limit for sharing.
Why should I set a time limit for sharing my location?
Setting a time limit enhances your security and privacy. Not everyone needs or should have indefinite access to your location information.
Should I manage my location sharing permissions regularly?
Yes, it's essential to review and manage your location sharing permissions regularly. This practice will ensure you're only sharing your location with those you trust.
The article advises against it, stressing the importance of using location sharing judiciously and with due consideration for privacy.


