You've just unboxed your shiny new Apple TV 4K, and you're eager to start streaming your favorite shows and movies. But before you can dive into the world of entertainment, you'll need to set up your device. Don't worry, it's not as daunting as it might seem.
In this guide, we'll walk you through the process step by step. From connecting your Apple TV 4K to your television, to configuring the settings, we've got you covered. So sit back, grab your remote, and let's get started.
Connecting Apple TV 4K to Your Television
With your new Apple TV 4K in hand, you're ready for the next step. Don't worry, it's not a complicated process. All you need is a high-speed HDMI cable, a power source, the device itself, and of course, your remote.
Firstly, you'll want to connect your Apple TV to the power grid using the power cable that came with the device. Plug one end into the TV and the other into a wall outlet. After this, it's time to get your device talking to your TV. Using a high-speed HDMI cable, connect your Apple TV to your television. Here's a quick summary of these steps:
- Plug in power cable
- Connect Apple TV to TV with HDMI cable
One thing to note here: ensure your HDMI cable is high-speed. Apple TV 4K requires HDMI 2.0 or later for optimal function. You'll want the best experience possible, right? That's achieved with high-speed connections.
Once the cables are well-seated, switch on your television and select the HDMI source corresponding to the port where your Apple TV is connected. You should see the Apple logo followed by a screen asking you to pair your Apple TV remote. Simply click the touch surface on your Apple TV remote and this should pair it with your Apple TV.
Voila! You're now connected to Apple TV 4K on your television. Thumbs up for getting through this phase!
The fun doesn't stop here. You've just completed half the task. Get ready to dive into a world of brilliant colors, contrast, and clarity as we talk setup adjustments in our next section. Hold on to your Apple TV remote, you're not done yet. The thrilling world of 4K contents is waiting.
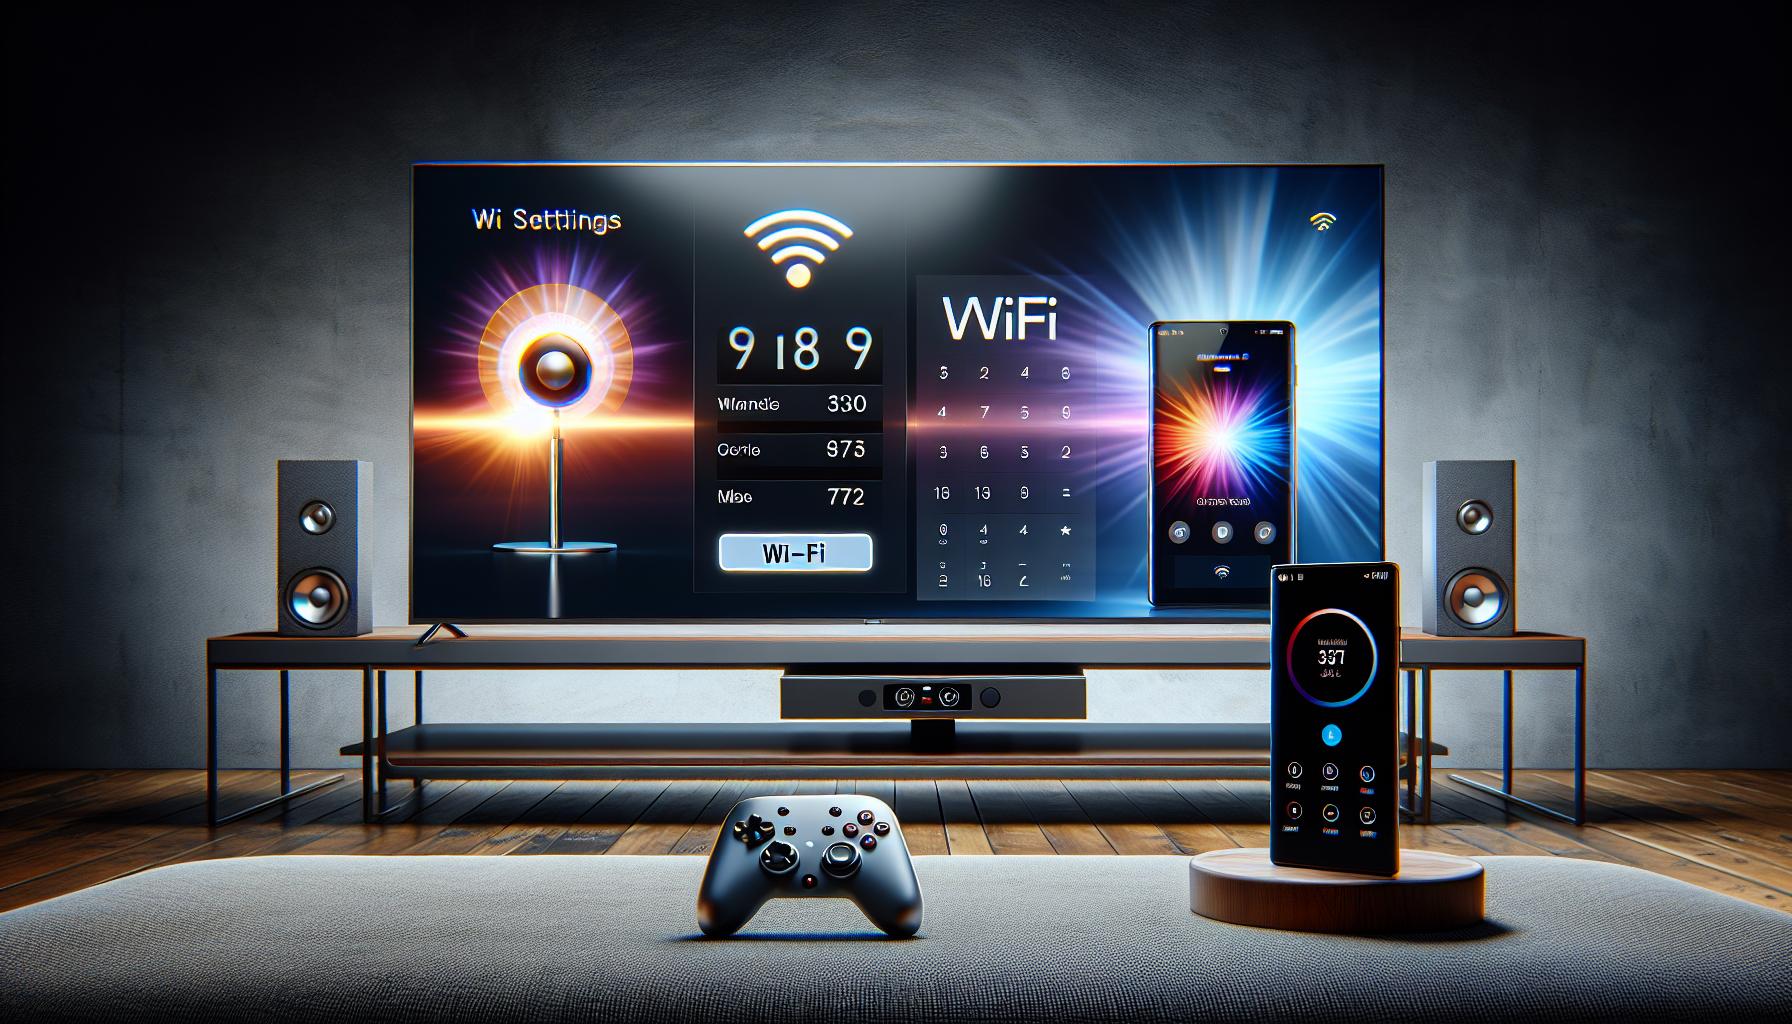
Configuring the Wi-Fi Settings

Now that you've successfully connected your Apple TV 4K to your television, let's solidify the Wi-Fi configuration. Having a stable, high-speed connection is essential for a smooth, high-definition Apple TV experience.
Start by navigating to the main menu. From there, select the 'Settings' icon. Then, under the 'Network' menu, opt for the 'Wi-Fi' setting. It's here where you'll seal the connection to a network. You'll see your available connections listed. Pick the Wi-Fi network that suits your needs.
Does your network require a password? If so, you'll find the password entry screen pops up. Use your Apple TV remote to input the password. Since it can be a bit tricky, be extra meticulous. After you've entered the correct password, select 'Done'. Then, wait as your Apple TV 4K makes the successful connection.
Don't fret if you do encounter issues during the Wi-Fi configuration process. You're not alone! These common problems and remedies might assist you:
- Should the network not appear on the list, just wait a few moments. At times, the Apple TV takes some time to catch all the available networks.
- If the Apple TV can’t seem to connect, switch the TV and router off, then on again. It's a simple solution that often does the trick.
- If your password doesn’t successfully connect, recheck it. The smallest typo may halt your progress.
Bear in mind that a slow or inconsistent connection might interfere with your 4K viewing. So, a secure Wi-Fi connection is not just important, it's critical for your Apple TV 4K impeccable performance.
By tackling any potential Wi-Fi issues head-on, you've made sure your Apple TV 4K stands ready for a real high-definition entertainment. Up next, let's move on to customizing your viewing preferences, and diving into the world of 4K content.
Setting Up Your Apple ID
You've succeeded in configuring your Wi-Fi settings, and it’s time to tread on to the next significant step: setting up your Apple ID. It's an integral key to unlocking the full potential of your Apple TV 4K.
To get started, use the Siri Remote. Navigate over to the "Settings" icon on the home screen, then select "Accounts". From here, you'll be up and running in no time.
You’ll notice two options on the screen: iCloud and iTunes and App Store. To add your Apple ID, select the iTunes and App Store option. You'll be prompted to input your Apple ID credentials. Do you have these at your fingertips? Don't worry if you've forgotten them, you can easily recover by going to Apple's website and following the prompts for a quick password reset.
Once done, a prompt will appear to merge your accounts. Opting to merge will synchronize your calendars, reminders, and contact to your Apple TV, providing a seamless Apple experience. It's a popular choice, but not a requirement, so consider your needs before deciding.
Next, let's address the Two-Factor Authentication (2FA).
| Did You Know? |
|---|
| Two-Factor Authentication is an extra level of security for your Apple ID designed to ensure that you're the only person who can access your account, even if someone knows your password. |
If you've enabled 2FA for your Apple ID (and it's a great security measure to take), you'll get a notification prompting you to enter a verification code. You should receive this on one of your trusted Apple devices.
After completing these steps, your Apple ID will be ready to roll! Let's carry this momentum forward and dive into customizing viewing preferences and exploring 4K content next.
Customizing Display and Audio Settings
After you've entered your Apple ID and toggled the Two-Factor Authentication, it's time to customize the display and audio settings of your Apple TV 4K.
Discover the Power of 4K
The screen serve as your portal to the ultra-high-definition world of 4K content. Configuring your display settings is as simple as navigating to Settings > Video and Audio > Format. It's here that you'll select 4K HDR. This option is ideal if your TV supports it as you get to leverage the best resolution. If your TV does not support 4K, the Apple TV 4K adapts to the highest resolution your TV offers.
Enter the World of Dolby Atmos
The audio settings are as important as the visual ones. Apple TV 4K supports Dolby Atmos, providing cinema-like sound that flows around you in three-dimensional space. Accessible through Settings > Video and Audio > Audio Output, you will be offered to enable Dolby Atmos.
Match Content with Frame Rate and Dynamic Range
To top it all, there's an innovative feature called Match Content. This allows your Apple TV 4K to adjust its video output to match the original quality of the content. To activate this, go to Settings > Video and Audio > Match Content, and turn on Match Frame Rate and Match Dynamic Range.
Now that your display and audio settings are optimized for quality, the next topic of discussion centers around finding and exploring the vast universe of available 4K content.
Installing Apps and Streaming Content

Moving further on your Apple TV 4K configuration journey, it's time to install your favorite streaming and media applications and whisk into the world of endless entertainment. From popular streaming platforms such as Netflix and Hulu to social media applications like Facebook Watch and YouTube, the avenues are infinite.
To begin, navigate to the App Store, featured prominently on your home screen. This vast digital marketplace is the heart of your Apple TV, offering an array of applications across various categories. Typing in the search bar on the top will help you find any specific app you have in mind, or you can explore trending apps and editors' choices.
Once you've discovered your desired app, a click on the touchpad will take you to the app's description page. Here, you can review the app details, its ratings, and user reviews. Feeling convinced? Just hit "Get" for free apps or the price tag for paid ones, and the app is yours!
You're ready to dive into the exciting 4K content your new app has to offer. Let's say you've installed Netflix. All you need to do is sign in with your Netflix membership details. In case you're not a member yet, the platform offers easy sign-up options. All set? Enjoy exploring the Netflix library, most of which is available in brilliant 4K HDR.
Speaking of 4K content, you'd be amazed by the rich collection of high-definition entertainment at your disposal. To dig into this treasure, just head to "Categories" and then tap "4K HDR". Voila! Scores of movies, TV shows and other content in stunning 4K resolution are just a tap away.
Conclusion
You've now learned how to set up your Apple TV 4K from start to finish. From configuring Wi-Fi to setting up your Apple ID and enabling 2FA, you're now more secure and ready to go. You've also customized your display and audio settings, ensuring you get the best possible viewing and listening experience. The Match Content feature's got your back, adjusting the video output to match content quality. And let's not forget about exploring the App Store and streaming platforms. You're now all set to dive into the world of 4K HDR content. Setting up your Apple TV 4K might have seemed daunting, but with these steps, it's a breeze. So sit back, grab the remote, and enjoy your new entertainment hub.
Frequently Asked Questions
How to configure Wi-Fi settings on Apple TV 4K?
To configure Wi-Fi settings on your Apple TV 4K, go to the "Settings" menu, select "Network," and then choose "Wi-Fi." From here, select your network and input the password to connect.
What are the steps to set up Apple ID on Apple TV 4K?
To set up your Apple ID, go to "Settings," choose "Users and Accounts," and click "Add new Apple ID". Input your Apple ID credentials and enable the option to merge accounts if desired.
How to enable Two-Factor Authentication (2FA) on Apple TV 4K?
In the "Users and Accounts" menu within "Settings," select "Password & Security," and enable "Two-Factor Authentication."
How to customize display settings for 4K HDR on Apple TV 4K?
Go to "Settings," select "Video and Audio," choose "Format," and select "4K HDR" to enable this setting.
How to enable Dolby Atmos for enhanced audio on Apple TV 4K?
Navigate to "Settings", then "Video and Audio," and finally choose "Dolby Atmos" to enable the enhanced audio.
What is the ‘Match Content’ feature on Apple TV 4K?
The 'Match Content' feature adjusts the video output of Apple TV 4K to match the original quality of the content, ensuring optimal viewing.
How to install apps on Apple TV 4K?
To install apps, navigate to the "App Store," use the search bar to find the desired app, and select "Get" to install it.
How to sign in to streaming platforms like Netflix on Apple TV 4K?
To sign-in to Netflix or similar streaming platforms, find and select the app, then follow the prompts to input your login information.


