Ever found yourself wanting to capture a moment on your iPhone's screen? Whether it's a funny text conversation, an amazing high score, or a surprising news headline, taking a screenshot is a handy skill to have.
The process of capturing a screenshot on an iPhone is straightforward, but it can vary slightly depending on the model of your device. Don't worry, you'll master it in no time.
In the following article, we'll guide you step by step, ensuring you know exactly how to take a screenshot on your iPhone. Whether you're rocking an iPhone 8 or the latest iPhone 12, we've got you covered.
Understanding the importance of taking a screenshot on an iPhone
While you've gotten the hang of the basics of iPhone operation, mastering how to take a screenshot can appear a bit tricky. But why does taking a screenshot hold essential significance?
Screenshots—that quick snapshot of whatever is on your iPhone screen at a given moment—can be a lifesaver in numerous situations. You'll find it's much like having a digital Swiss Army knife at your fingertips. From preserving a fleeting digital memory to illustrating a complex issue for tech support, capturing your screen has numerous applications across the board.
There's a world where screenshots play a pivotal role. For instance, imagine if you stumble upon an incredible dress on an online store. Instead of keeping the app or browser open, a screenshot gives you an instant image. Screenshots are your go-to solution for preserving anything on your iPhone screen that you want to refer back to, share, or keep for posterity.
Moreover, consider this. You're attempting to resolve a tech issue with an iPhone expert over the phone. It's often challenging to describe what you see on your screen verbally—but a screenshot can paint the whole picture in seconds.
There's a similar benefit when you're explaining a process or giving instructions. Maybe you're helping a friend with a new app or guiding a colleague through a complex task. A series of screenshots can transform your explanations from vague instructions into a clear, step-by-step guide.
In a nutshell, screenshots become a virtual note-taking tool, a way of capturing information quickly. It's the ease of take and keep approach that turns screenshooting into a fundamental iPhone skill.
Digital world is moving towards the "show, don't tell" approach. Grasping the knack of taking a screenshot on an iPhone seamlessly integrates into this trend, making it a skill you shouldn't overlook.
Different methods for taking a screenshot on an iPhone 8

Are you struggling with capturing screenshots on your iPhone 8? Say no more. Here, you'll discover two different methods that make taking a screenshot on an iPhone 8 a breeze.
First off, there's the Side + Home Button method. Here's how you apply it:
- Wake your iPhone 8.
- Press the Side button located at the right of your phone.
- Immediately after, click the Home button.
- Release both buttons once you hear the shutter sound or see the screen flash.
That's it! Your screenshot is saved directly to your Photos app under the Screenshots album.
Next up is the Assistive Touch method. Not comfortable with button pressing? Try this alternative.
- Navigate to “Settings”.
- Proceed to “General” followed by “Accessibility” and then “Assistive Touch”.
- Enable the Assistive Touch
- Under the Custom Actions, assign "Screenshot" for a specific gesture (like Single-Tap or Double-Tap).
- Return to the main screen and perform the gesture assigned to screenshot on the Assistive Touch menu.
As simple as that, a screenshot will be captured. You might find this method more comfortable and less taxing especially if you take screenshots frequently.
The ability to take screenshots with varying methods shows Apple's consideration for user-friendliness. Your preferred method might be influenced by how frequently you use this feature or your comfort level with the physical buttons.
Step by step guide to taking a screenshot on an iPhone 8
First things first, let's get familiar with the controls. Your iPhone 8 has two key components you'll need: the home button at the front center of your iPhone and the side button on the right edge of your phone.
For the Side + Home Button Method, here's a quick rundown:
- Start by opening the screen you want to capture on your iPhone.
- Press and hold the side button on the right of your phone.
- While holding the side button, quickly press and release the home button.
Boom! You've captured a screenshot using the Side + Home Button method.
For those with accessibility needs or a preference for on-screen controls, your other option is the Assistive Touch Method. Here's how:
- Open 'Settings' and navigate to 'General'.
- From the General menu, select 'Accessibility'.
- Next, select 'Assistive Touch' and tap the switch to turn it on.
- Once you've enabled Assistive Touch, a virtual button will appear on your screen which you can drag to any edge of your screen.
- Tap on the virtual button, then select 'Device'.
- Next, press 'More', and then tap 'Screenshot'.
Aha! There you go–an effortless screenshot with the Assistive Touch method.
Different methods for taking a screenshot on the latest iPhone 12
Transitioning to iPhone 12 from an older version like iPhone 8? You'll notice that some things have changed - including the way you take screenshots. Many features have been updated to make them simpler and more user-friendly and that includes the screenshot function too.
Firstly, let's look at the Side + Volume Up Button method.
In iPhones without a home button, you'll use the side button and volume up button instead. You'll need to press and release these buttons simultaneously. By doing this, you'll quickly capture whatever is on your screen.
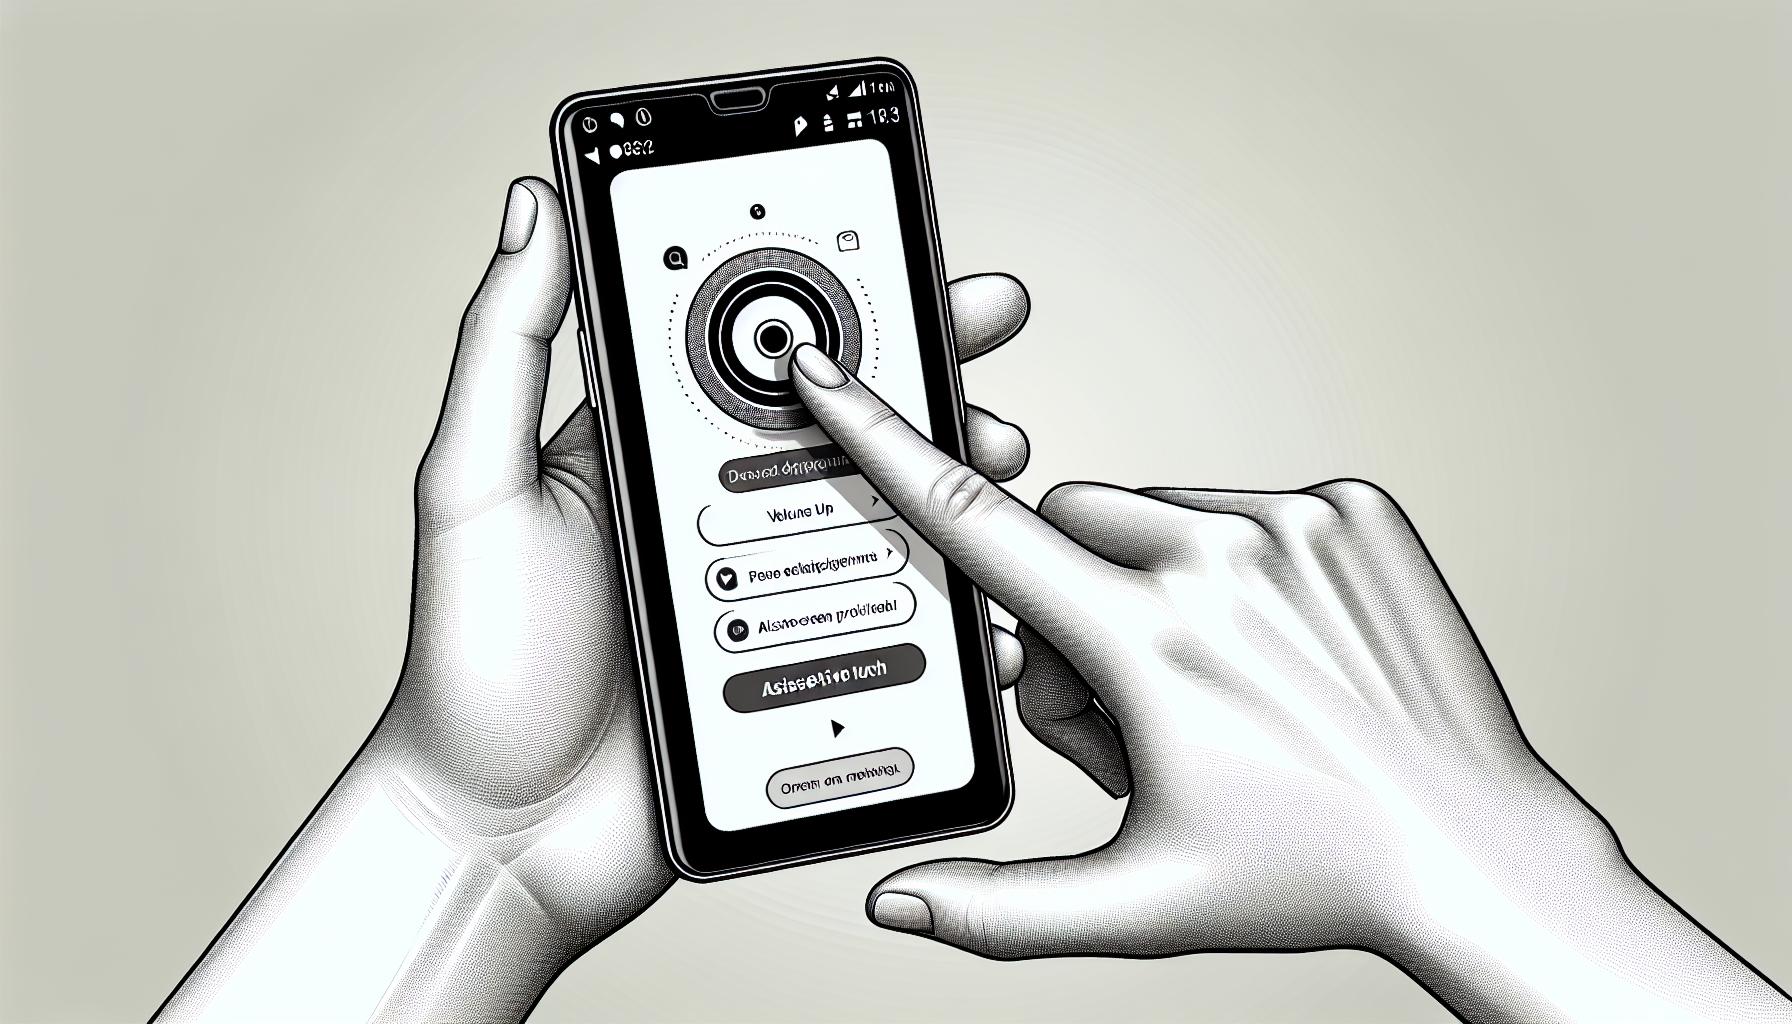
The second method is through the Assistive Touch feature.
To make use of this function, make sure Assistive Touch is enabled. Visit Settings > Accessibility > Touch > Assistive Touch. Once you've turned it on, there'll be a virtual button on your screen. Tap on it, choose 'Device', then 'More', and finally 'Screenshot'.
| Method | Steps |
|---|---|
| Side + Volume Up Button | Press and release side and volume up buttons simultaneously |
| Assistive Touch | Enable feature, tap on virtual button, 'Device', 'More', 'Screenshot' |
Adding screenshots to your digital toolbelt can greatly enhance your iPhone experience. Whether it's sharing a funny meme or saving an important document for later, both these methods will allow for quick on-the-go capture.
Remember, it’s all about personal preference here. Some find the Side + Volume Up to be the quickest and most instinctive method. Others prefer the flexiblity that Assistive Touch offers, especially those with different accessibility needs.
While the process may be slightly different, the benefits of taking screenshots remains the same – enhancing functionality, providing proof, and preserving information, in a user-friendly Apple way.
Step by step guide to taking a screenshot on an iPhone 12

Sure, you're familiar with capturing screenshots on previous iPhone models, but the iPhone 12 has its nuances. The steps aren't drastically different, but there is always value in a quick refresher course.
Side + Volume Up Button Method
So, let's start with the classic: the Side + Volume Up Button method. This approach is all about timing, get the symmetry just right, and you're good to go.
- First, pull up the screen you want to capture.
- Press and release the Side button and the Volume Up button together - not a forever hold, a quick press will do.
- The screen will flash white, and the camera shutter will go off - that's your sign that the screenshot has been captured.
- The screenshot thumbnail appears in the lower-left corner - tap on it for editing and saving options, or ignore it, and it vanishes into your Photos app.
Assistive Touch Method
If the first method isn't your cup of tea, let's try the Assistive Touch method. This elegant solution is all about customization.
- Go to Settings > Accessibility > Touch > AssistiveTouch and turn it on.
- Scroll down to Custom Actions > Single-Tap, or Double-Tap, or Long Press— select the way you'd like to trigger screenshots.
- Select Screenshot from the list, and you have custom-built your way to screenshot heaven.
Follow these steps, and capturing that critical information - or that entertaining meme - is just a couple of taps away.
Conclusion
Mastering the art of taking screenshots on your iPhone 12 isn't as daunting as it might seem. With the Side + Volume Up Button method and the Assistive Touch method at your disposal, you're well-equipped to capture anything on your screen. Remember, these techniques aren't just about snapping a quick pic. They're about making the most of Apple's user-friendly design, and customizing your experience to suit your needs. So go ahead, start screenshotting with confidence. You've got this!
Frequently Asked Questions
1. How do you take a screenshot on an iPhone 12?
There are two methods to take a screenshot on an iPhone 12. The first one is the Side + Volume Up Button method where you simultaneously press the side button and the volume up button. The second method is the Assistive Touch method, which needs to be pre-enabled in your settings and allows taking a screenshot by tapping on the Assistive Touch button.
2. What are the benefits of taking screenshots on iPhone 12?
Taking screenshots can serve several purposes. It can chronicle a discussion happening in a messaging app, or confirm certain details like a flight booking or any transaction. Beyond that, it can document an issue that you might be experiencing with an application which can later be used as evidence.
3. How user-friendly is taking screenshots on iPhone 12?
The process of taking screenshots on iPhone 12 is designed to be user-friendly. The Side + Volume Up Button method is straightforward and quick. If you use Assistive Touch, you can customize this function further according to your convenience.
4. Can you customize the screenshot process on an iPhone 12?
Yes, you can customize the screenshot process by using the Assistive Touch method. Assistive Touch allows users to add custom actions, one of which can be taking a screenshot, making the entire process more accessible and personalized.


