Ever wondered how to record your favorite shows on Apple TV? You're not alone. It's a common question among Apple TV users, and the good news is, it's not as complicated as you might think.
In this article, you'll learn the step-by-step process on how to record on Apple TV. Whether you're a tech-savvy person or a beginner, you'll find this guide easy to follow. So, let's dive into the world of Apple TV recording and unlock its full potential.
Understanding Recording on Apple TV
As you delve into the features of Apple TV, you'll find that the recording feature isn't directly built right into the device. What does this mean? Well, Apple TV itself doesn't provide an explicit recording function. This might initially feel like a bit of a barrier, but rest assured, it's far from impossible to record shows on your Apple TV.
There are a few get-arounds to this. For instance, utilizing an external device to capture the content is a technique many Apple TV users have adopted over the years. You can use certain DVR (Digital Video Recorder) devices or certain HDMI capture cards. HDMI capture card is a device that can record video from an external source, like Apple TV, to your computer. DVRs, on the other hand, are devices that record shows onto an internal hard drive.
Now, let's switch focus to apps. Apps such as Channels or HDHomeRun offer the feature of recording shows, but the catch is they require an external networked tuner. This feature essentially lets you record live TV directly onto your Apple TV. However, these are typically paid services which offer various subscription models. Broadly speaking, you will:
- Install the app on your Apple TV
- Follow the set-up instructions
- Start recording your desired shows
Given this, it's crucial to understand your specific needs and make choices that best suit your viewing habits. It could be a DVR, HDMI capture card, or a premium TV recording app. There's a fit for each one of you digging into Apple TV's features.
The payoff? You get to record your favorite shows, sporting events, music concerts, or anything broadcasted live. Playback anytime without being tied to show timings or dealing with commercials. Not to mention, no need to worry about missing out on a key episode of your favorite series.
In the following sections, you'll be introduced to some of these devices and apps in detail along with a thorough setup guide.
Step 1: Check for Compatibility
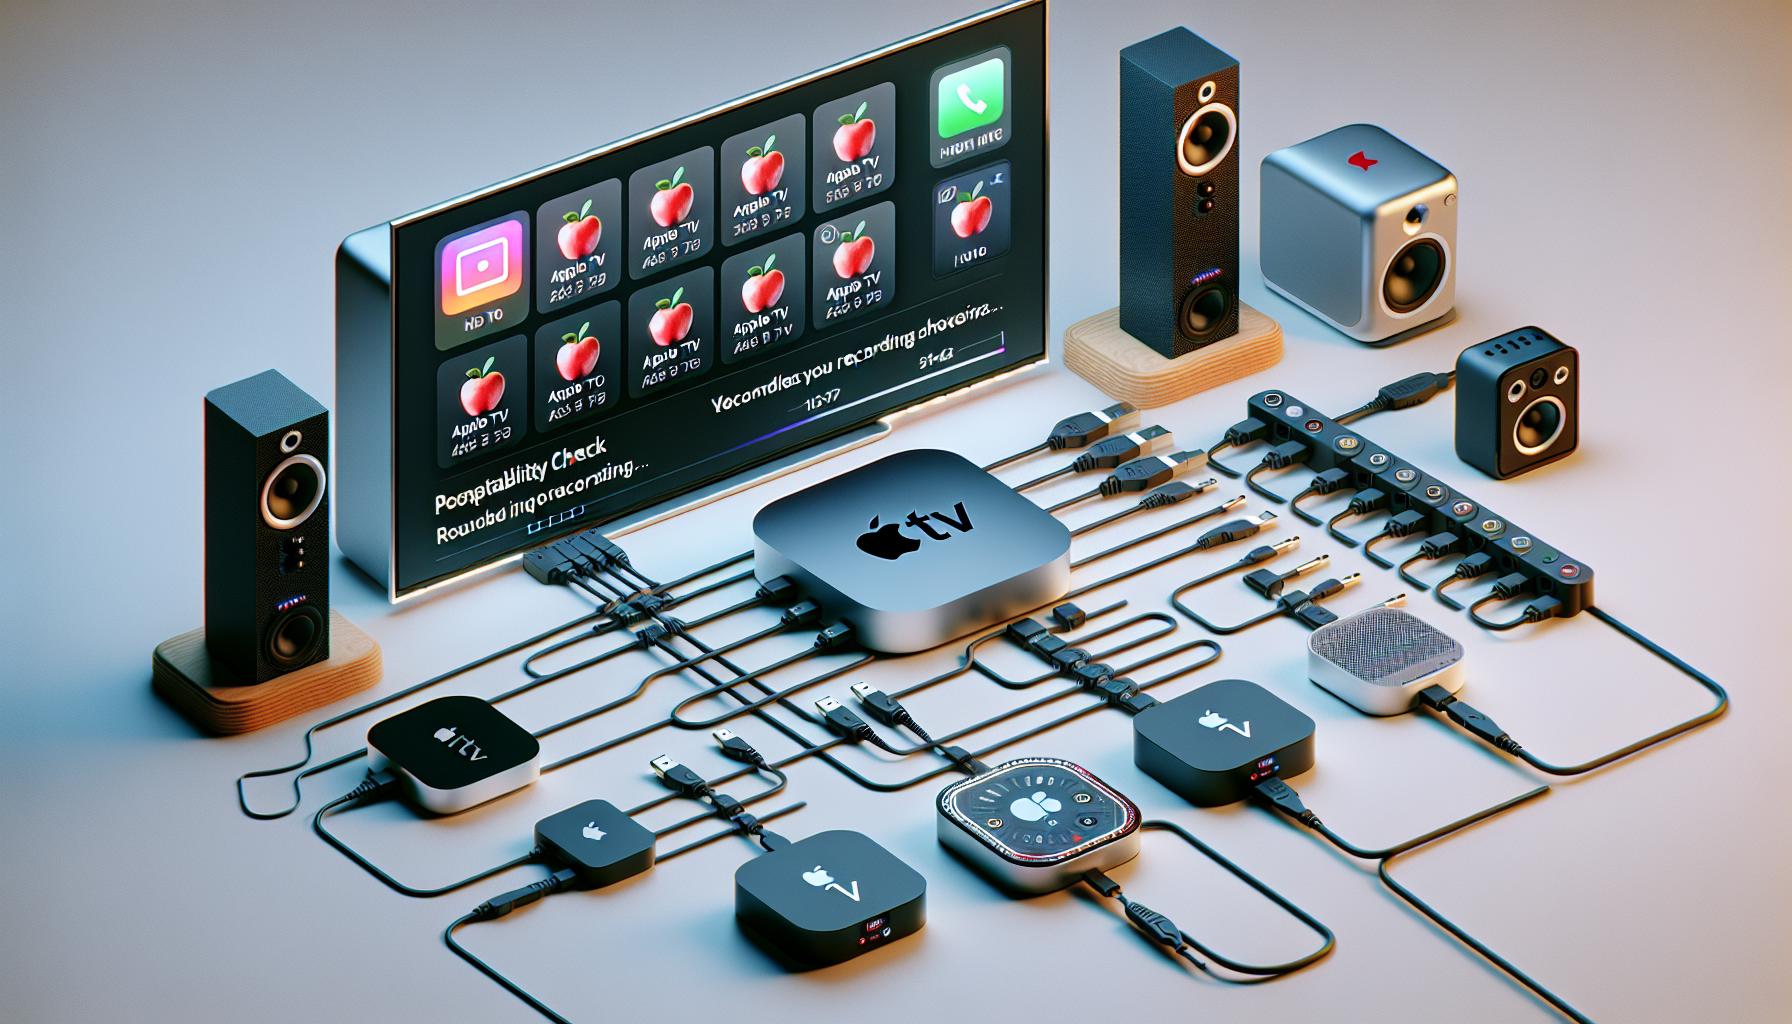
The first crucial step for recording shows on Apple TV is assessing your current setup's compatibility. This check is paramount because, as we've discussed earlier, Apple TV does not have a built-in recording function. But don't let that scare you off, the process can be easier than what you might initially imagine.
Starting with your television, make sure it has the right ports. Most recording methods will require you to have an HDMI port available. That's the tall, thin port that's the standard for modern TVs. If you are unsure where it’s located, you can refer to the user manual or do a quick online search using the model number.
Next, let’s check your internet connection. Is your Wi-Fi stable enough? A strong, reliable internet connection is an essential component for video streaming, especially if you’re planning to use apps such as Channels or HDHomeRun which require a networked tuner.
If you’re considering using an external device such as a DVR or an HDMI capture card, make sure it's Apple compatible. Keep in mind that some devices might require a computer or laptop to work, so it’s worth exploring the specifics beforehand.
Last, but not the least, be sure that your Apple TV unit is capable of handling the recording method you’ve chosen. Apple TV 4K does have some limitations that the Apple TV HD does not, so confirming that you have the right model is a key part of the process.
Compatibility is about conducting a thorough investigation of your technological environment before undertaking the project. You'll want to ensure that you have a suitable TV, internet setup, recording device, and the correct model of Apple TV. Stay tuned as we delve deeper into the next exciting steps for recording shows on your beloved Apple TV.
Step 2: Install a Recording App
After verifying compatibility, your next step is to make your Apple TV ready to record - by installing a recording app. Multiple apps are available, catering to various user needs. By far, the most compelling choices include apps like PlayOn, Channels, and Plex. Your selection will largely depend on a combination of your personal preferences and the specifics of your TV setup.
Before you proceed with the download, ensure you're clear about the app requirements. Many apps may need an additional device to work, like a computer or a game console. You'll also need to consider the app's storage demands - will it be saving directly to your Apple TV, or do you need an external storage device?
To install the app, head over to the App Store available on your Apple TV's main menu. Once in the App Store:
- Enter your chosen app's name into the search bar.
- Select the app from the suggested lists.
- Click on "Get" for a free app or tap the price label for a paid app, followed by "Buy".
The process outlined above will feel very familiar if you've used an Apple product before. However, if it's your first time, keep in mind that all app downloads require an Apple ID. Creating one is a simple process, guided by easy-follow instructions provided on your TV screen.
Once installed, take some time to thoroughly explore the app's controls. Understand where your recordings will be stored and how you can control the recording process. Look for a settings or options menu. This is typically where you can tinker with record times, quality settings, and any available recording time limits.
Step 3: Set Up the Recording App
Once you've installed your chosen app, the next step is to set it up for recording. This process will vary depending on the app you've chosen. Remember, choosing an app was not just about design, but also about ease of use and the specific features it offers.
If you opted for PlayOn, you'll find an array of options for scheduling recordings. Go to the 'Settings' tab, then 'Preferences' and look for the 'Recording' option. Customize your settings according to personal preference. For instance, you can set the app to automatically record new episodes of a series or specify a time to record a particular show.
With the Channels app, your tasks equally become straightforward. Channels primarily converts your Apple TV into a DVR that automatically records your favorite shows. From the main menu, navigate to 'Settings', then 'DVR Preferences'. Here you can adjust various settings such as the recording quality and default start/end times.
Plex makes recording simple and efficient. The app's DVR functionality automatically records shows and stores them for later viewing. To access this feature, navigate through 'Settings', then 'Server', and finally to the 'Live TV & DVR' option.
Note: All these apps may require additional configuration to connect to your TV service. Ensure you follow their specific setup instructions
Those going for an app like Tablo should be aware that Tablo devices need to be paired with the app. Once the device is paired, you'll find the option to select your preferred recording quality. You'll also need a guide data subscription to automatically record all episodes of a show.
Table 1. App Comparison
| App | Recording | DVR Function |
|---- |--------|---|
| PlayOn | Advanced Recording Settings | - |
| Channels | Automatic Recording | Yes |
| Plex | Simple Recording | Yes |
| Tablo | Quality Selection | Yes |
Always revisit the settings area of your chosen app to optimize it as needed. Every time TV content changes, you should adjust your settings accordingly. Remember, the better the settings, the better the recording experience.
Step 4: Schedule or Start Recording
After successfully setting up your recording app and optimizing the settings, it's time to get down to the actual business - recording your favorite shows on Apple TV.
In this step, you'll begin by finding the show you want to record. Luckily, all previously mentioned apps provide a search functionality for quick and easy access to your favorite programs. Once you've found the show, indicate if you want to record a single episode or a full series.
Here's a brief rundown for recording with each app:
- PlayOn: Navigate to the channel, pick your show, click the "Record" button and choose between "Record All" or "Record New".
- Channels: Select the show, click on the recording button, and choose the 'Series Pass' option for recording the full series.
- Plex: Click on the program and select the 'Record' button. Opt for 'Record All Episodes' or 'Record New Episodes'.
- Tablo: After selecting the desired show or movie, simply press the record symbol.
Setting the recording schedule is vital in avoiding recording collisions. Overlapping recordings can strain your app or TV service, so it's important to be aware of your recording timeslots. Certain apps even include smart scheduling features that automatically resolve recording conflicts by prioritizing new episodes or higher-rated shows. Utilize these functionalities to manage your recordings efficiently.
Remember not to overlook the importance of editing the recording settings per your needs. You might need to adjust the default settings to meet your preferences. For instance, you might want to extend the record duration for sporting events or live shows, which could potentially overrun.
Keep in mind, it's a good practice to do a quick check of the recording before the show begins. This step might appear non-essential but trust us, it often pays off. If there is any issue or error in the recording setup, it’s better to identify and rectify it well in advance.
Conclusion
So, you've learned how to record your favorite shows on Apple TV. By following a few simple steps, you can schedule and start recording using apps like PlayOn, Channels, Plex, and Tablo. Remember, it's crucial to set your recording schedule wisely to avoid any clashes. Don't forget to adjust your recording settings to suit your needs. And lastly, always double-check your setup before the show begins to catch any potential hiccups. Now, you're all set to never miss an episode of your favorite series or a thrilling sports match. Happy recording!
What is the fourth step for recording shows on Apple TV?
The fourth step for recording shows on Apple TV is to schedule or start the recording. This involves finding the desired show, deciding whether to record a single episode or a full series, and using a recording app.
How to record a single episode or a full series?
To record a single episode or a full series, you need to use recording apps like PlayOn, Channels, Plex, and Tablo. You set your preferences in these apps to record what you want.
Why is setting the recording schedule important?
Setting a recording schedule helps avoid recording conflicts or collisions. It ensures your preferred show gets recorded without disruption from other shows that may air at overlapping times.
What should you do before the show begins?
Before the show begins, doing a quick check of the recording settings is advised. This helps to identify and rectify any issues or errors in the setup, ensuring a smooth recording session.
