Ever wished you could save your favorite shows from Apple TV to watch again later? It's not as tricky as you might think. This guide will walk you through the process, helping you master the art of recording from Apple TV in no time.
Whether you're a tech newbie or a seasoned pro, you'll find these steps easy to follow. We'll cover everything you need to know, from the tools you'll need to the settings you'll have to tweak. So sit back, relax, and let's dive into the world of recording from Apple TV.
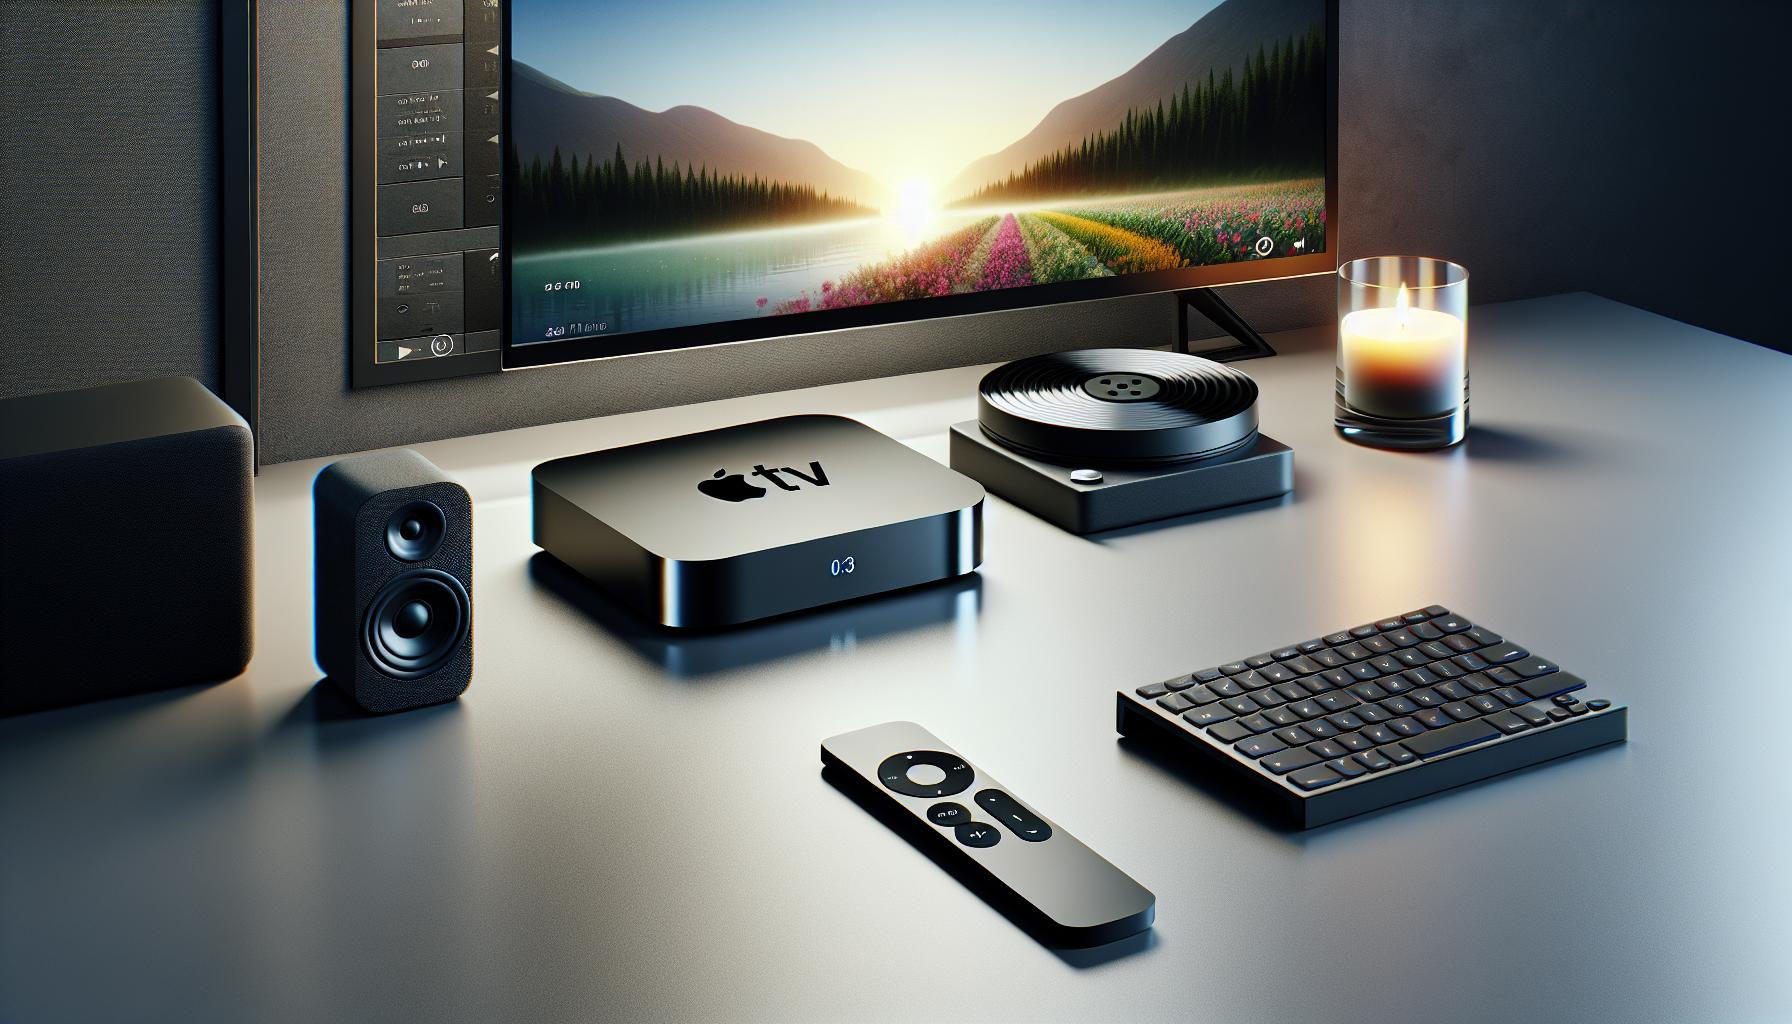
Choosing the Right Recording Device
As we've covered the essentials of what you should know about Apple TV, now it's time to select the properly suited recording device. Don't worry, it's not as complicated as it sounds. There are myriad devices available that can record your favorite shows from Apple TV, but not all are created equal. Let's dive in and find out how to choose the one that fits your needs.
Firstly, identify your specific requirements. If you're a casual viewer looking to record the occasional show, an entry-level device might suffice. But, if you're a hardcore television junkie, you might want to invest in a device with more storage and advanced functions.
- Storage capacity: The more the merrier. Especially if you plan to record multiple shows, films, sports events, you're going to need plenty of space.
- Video quality: Don't compromise on this. Always go for devices that can record in HD or 4K to ensure the best viewing experience.
- Ease of use: The device should have an intuitive user interface. You don't want to be stuck navigating through complex settings just to record your favorite show.
- Price: Establish your budget before hitting the market. Make sure you get the most bang for your buck. It's not always necessary to go for the most expensive option. Sometimes, a mid-range product can fulfill your needs perfectly.
It's essential to do a bit of homework before making a final decision. Read product reviews online, get suggestions from friends or family who have a similar device, or even pop into your local electronics store to get a feel for the devices available. Your choice also greatly depends on the specific functionalities of your Apple TV. Not every recording device might be compatible with your TV model.
Once you’re equipped with the right recording device, you'll be one step closer to recording your favorite shows for future viewing pleasure. And remember, the right device for you is the one that meets your needs the most - there's no need to get the priciest one unless it's necessary. In our next section, let’s dive into actually setting the device up for recording. Are you ready?
Connecting Your Apple TV to the Recording Device

Alright, now that you've picked the perfect recording device to capture content from your Apple TV, it's time to connect the two. Ensuring a seamless connection is crucial for high-quality, uninterrupted recordings. Let's walk through the steps you'll need to take.
First off, locate the HDMI OUT port on your Apple TV and the HDMI IN port on your recording device. You'll need a quality HDMI cable to connect them. Make sure you're not skimping here. The quality of your cable can directly impact the video quality of your recordings.
Note: Make sure your recording device is already connected to your TV via an HDMI cable. If not, complete this step before moving forward.
Once you’ve connected your Apple TV to your recording device with the HDMI cable, switch on both devices. Navigate to your Apple TV's settings. Select "Audio and Video" to check if your TV recognizes the new connection. At times, you may have to tweak further settings on your recording device to recognize the Apple TV, often labeled as source selection.
Remember, the smoothness of this process largely depends on the compatibility between devices. You'll be one step closer to capturing your favorite shows and movies directly from your Apple TV.
Another vital aspect to consider is the recording settings. Recording in HD or Standard Definition is your call, but keep an eye on storage. Higher quality recordings mean more storage usage. You might want to have an external hard drive ready just in case.
Tip: Regularly monitor the storage status on your recording device. Don’t wake up one day finding that your device is out of space when you're about to record your favorite episode!
You know how to connect your recording device and Apple TV properly. Keep these tips in hand, and soon you’ll be recording content with ease.
Setting Up the Recording Software
Just when you've mastered connecting your Apple TV to the recording device, the next curveball is thrown your way: setting up the recording software. Don't sweat it, though. It's an easier process than it may seem at first.
First and foremost, you'll want to ensure that your recording software is compatible with your Apple TV. Bear in mind not all recording software is Apple-friendly. That being said, there are plenty of great options out there, like Elgato, that are highly compatible with your device.
Once you've chosen your recording software, you're now ready to install it. Simply follow the on-screen instructions. If necessary, register or log in to your account.
With the software installed, it's now time to adjust the settings, making sure you tailor them to your exact needs. Your chosen software should allow you to set your preferred recording resolution, for example, HD or Standard Definition, in line with your previous hardware settings. Remember, setting it to HD will result in larger file sizes, so do keep an eye on your storage space.
To continue, be sure to tweak your audio preferences. High-quality audio is just as important as the picture, after all. These settings often include options like stereo, surround sound, or even personal customized settings. Tailor these settings based on what relates to your setup.
Take your time configuring the settings. Your recording quality is highly dependent on these factors, so it's crucial to get them right.
Don't rush through this step. You might be eager to start recording but a well-configured setup can greatly impact the quality of your content. Double-check everything, ensure that you're fully satisfied with your setup. This way, you'll be more than ready to start creating high-quality recordings from your Apple TV.
In the following sections, you will know more about starting the recording process. After all, it's not the journey, it's the destination.
Adjusting the Recording Settings
Once you've got your software setup, now is the time to tweak the recording settings. This step may seem trivial but it's actually a significant determinant of your recording's quality. Accurate settings will yield a video that maintains the sleek, high-quality output known for devices like Apple TV. The parameters you'll generally want to modify include the resolution, frame rate, and audio settings.
The resolution is crucial as it dictates the sharpness and clarity of your recording. HD resolution, either 720p or 1080p, is usually ideal in most cases. However, if you're aiming for an Ultra-High Definition (UHD) output, then selecting 4K could be your best bet. Do bear in mind that higher resolution may consume more storage space.
When it comes to frame rate, it's typically advised to match the frame rate of your source, with 30 or 60 frames per second (fps) being the standard. However, if you're recording fast-paced content, such as sports or esports, then a higher frame rate could deliver smoother playback.
Finally, there's the audio settings, which are just as important as the visual aspects. Ensure the audio quality matches your recording, and remember to select the correct audio source. If you're not sure, test different options until you find the one with the clearest sound.
A common mistake is diving right into recording without pre-checks. After adjusting your recording settings, consider doing a test recording. This way, you're ensuring optimal configuration has been achieved. From time to time, updates and software changes could affect these settings, so remember to recheck before big recording sessions.
To sum up these settings:
| Recording Parameter | Suggested Setting |
|---|---|
| Resolution | 720p, 1080p, 4K |
| Frame Rate | 30fps, 60fps |
| Audio | Match quality of recording |
Dig into those setting options and make your selections. This key step guides the quality and overall style of your recorded content from Apple TV. Keep adjusting, testing, and perfecting as you go along.
Starting and Managing the Recording
Once you've fiddled with video resolution, frame rate, and audio settings, now you're ready to hit "Record". But it's far from merely starting the recording. Managing your recording session is just as crucial to capture quality content from your Apple TV.
The very first step, press "Record," can't be any simpler. However, it's inevitable to encounter unexpected hitches and you need to stay poised. A sudden notification pop-up or an unwanted intrusion in your recording space might distort your content's flow. Make sure to set your Apple TV on Do Not Disturb mode and maintain a quiet space for an uninterrupted session.
Don't forget consistency is key. If you're recording a series of content, ensuring a consistent style will enhance the viewer's experience. For instance, kick-off each recording with a brief introduction to continually orient your audience. Don't fret over perfection at first; instead, reflect and refine your style as you progress.
At this stage, monitoring your ongoing recording is crucial. Be aware of your recording device's storage. Constantly check whether the recording is running smoothly without any technological glitches. You don't want a full storage midway through your recording or a sudden freeze of the recording device.
While it's vital to keep regular tabs on the ongoing recording, remember not to overdo it. Over-monitoring might lead to numerous pauses and discontinuity, adversely affecting your audience’s experience. Make it a point to schedule time-specific intervals for reviewing the ongoing recording session.
Looking at these pointers, you’ll realize that recording high-quality content from Apple TV is more than just adjusting settings. From starting to managing, each step requires detailed attention.
Lastly, bear in mind that efficient management of your recording session intertwines with the parameters you've already adjusted. For instance, a high-resolution setting requires substantial storage space. Thus, it's vital to ensure your recording device has ample space before you start.
Conclusion
So, you've learned the ropes of recording from your Apple TV. Remember, it's all about managing your session effectively. Keep your environment quiet and your Apple TV on Do Not Disturb mode for smooth, uninterrupted recording. Start each session with a brief intro for that consistent style. Monitor your recording but don't overdo it. Keep an eye on your storage without letting it disrupt your flow. It's about striking that balance. And finally, remember to manage the parameters you've set, like resolution and storage space. With these tips, you're all set to capture top-notch content from your Apple TV. Happy recording!
1. Why is it important to set Apple TV on Do Not Disturb mode when recording?
To provide a seamless and uninterrupted recording session, it's crucial to set the Apple TV on Do Not Disturb mode. This step aids in eliminating any unexpected notifications that can interrupt the ongoing recording process.
2. What is the significance of creating a quiet space for recording?
Creating a quiet space for recording is significant as any noise or distraction during the session can influence the audio quality of the content, hence, affecting the overall result of the recording.
3. Why should each recording start with a brief introduction?
Beginning each recording with a brief introduction sets context for viewers and helps maintain consistency in style, which can aid in establishing a professional and coherent content output.
4. How necessary is it to monitor the ongoing recording?
It is of great importance that the ongoing recording be monitored to ensure smooth operation, detect any issue promptly and avoid storage problems. However, over-monitoring should be avoided to maintain continuity.
5. What is the role of efficient management in the recording process?
Efficient management plays a vital role in sustaining the balance of previously adjusted parameters, such as resolution and storage space. It assists in achieving high-quality output, prevents potential issues, and ensures smooth recording sessions.


