Ever wondered how to pair your remote to your Apple TV? Don't worry, you're not alone. It's a common question and luckily, it's easier than you might think.
In the world of Apple devices, simplicity and user-friendly interfaces are a given. And pairing your remote to your Apple TV is no exception. Whether you're setting up for the first time or just need a refresher, we've got you covered.
So, let's dive into the steps and get you back to your favorite shows in no time. With a little patience and the right guidance, you'll be a pro at this in no time. No more fumbling around with unresponsive buttons or missed commands. Just smooth, easy control of your Apple TV.
Why do you need to pair your remote to Apple TV?
Why should you bother to pair your remote with your Apple TV? Let's shed some light on this. Pairing your remote to your Apple TV enhances your viewing and navigational experience. It enables you to control your Apple TV with absolute ease - no more struggles navigating through your favorite shows or adjusting settings!
One of the primary reasons to pair your remote with your Apple TV is for simplified control. The Apple TV remote is designed to provide seamless interaction with your device. It's user-centric and intuitive, which means you'll find it incredibly easy to operate. Furthermore, a paired remote allows for faster and more fluid navigation, redefining your way of interfacing with the Apple TV.
A paired remote also lets you access features not available with generic remotes. Unique capabilities such as Siri voice control, volume control of your television or audio device, and the use of a Touch surface for navigation, to name a few. Having access to these features ensures your interaction with your Apple TV is as convenient and enjoyable as possible.
Surely you'd be excited to know about how the remote facilitates gaming on Apple TV. With a connected remote, you can use it as a dynamic game controller. It has a built-in accelerometer and gyroscope allowing gamers to enjoy games in a whole new light. It's time to tap into the gaming potential of your Apple TV!
Pairing your remote to your Apple TV is about more than just changing channels. It's about making the most out of your Apple TV, from seamless control, exclusive features, and gaming enhancements. Getting your remote paired is the crucial first step towards unlocking a superior Apple TV experience. So, take the leap, follow our step-by-step guide, and pair your remote to unlock a whole new world of entertainment.
Step 1: Check the battery life of your remote
Step 1: Check the battery life of your remote
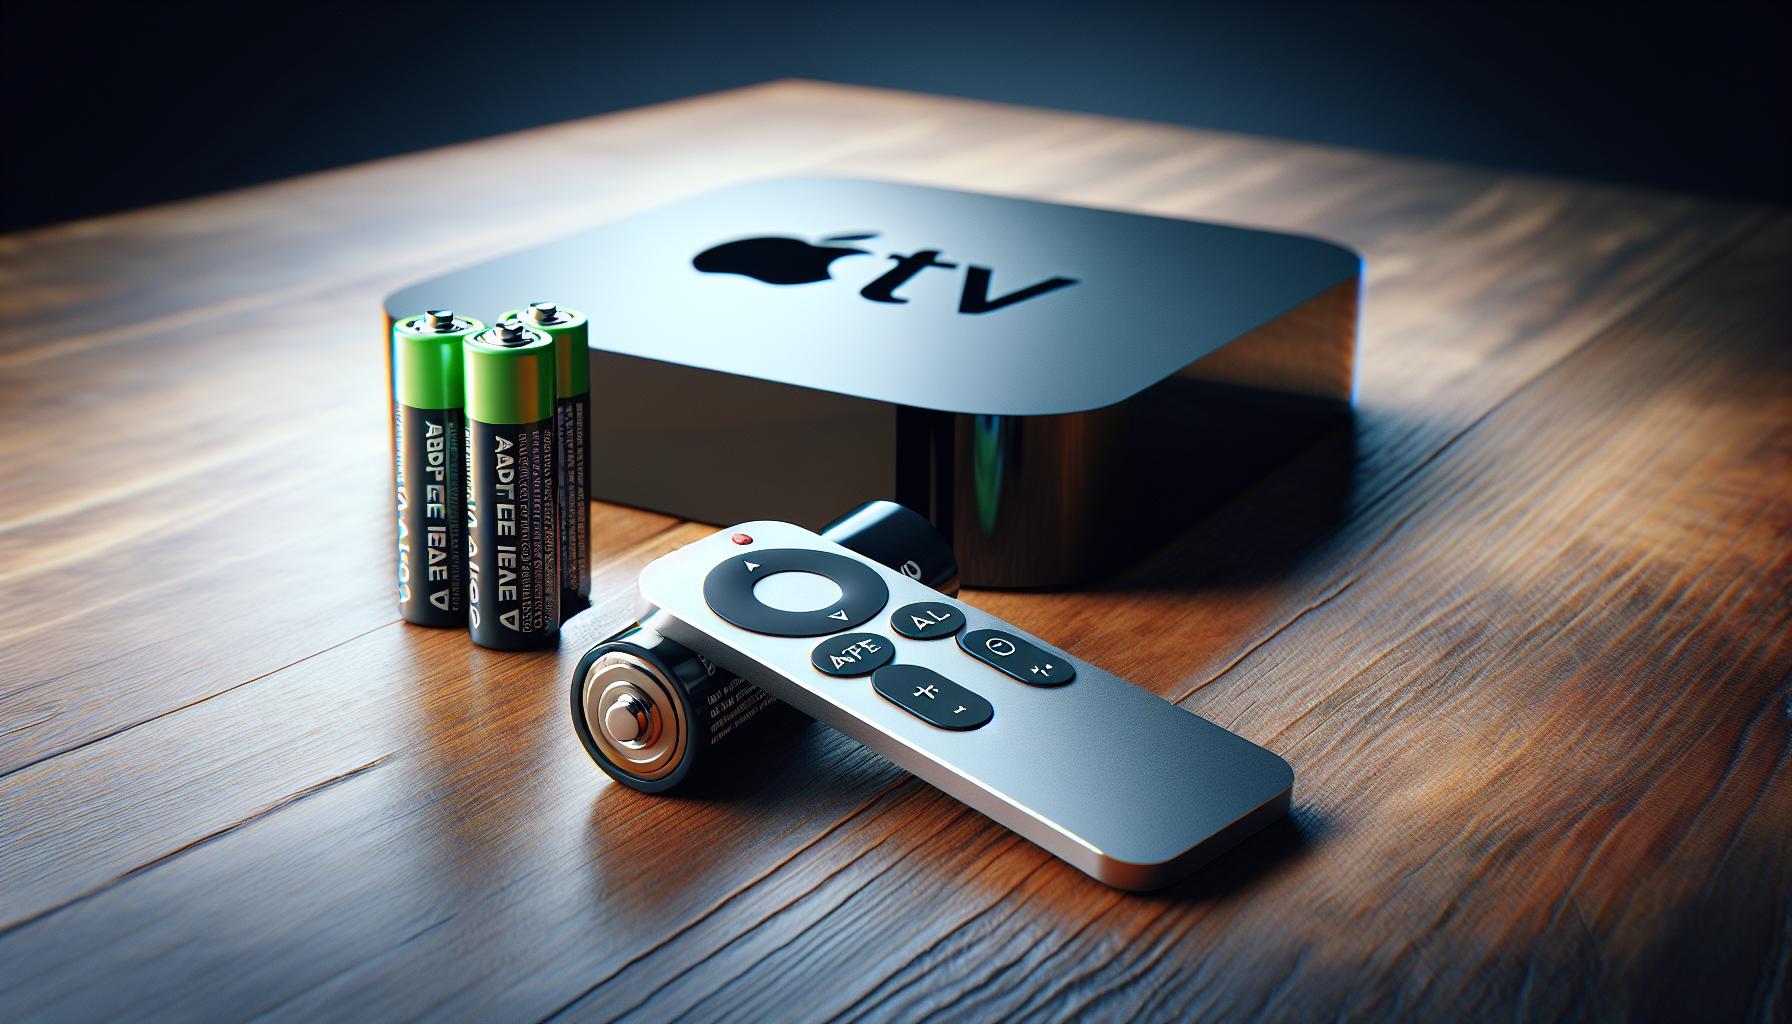
Before pairing your remote with Apple TV, you'll need to ensure it has sufficient battery power. Insufficient battery life could hinder the pairing process and even lead to a less than optimal navigation experience. So, your first step should involve inspecting the battery life.
Your Apple remote doesn't display the exact battery level like other devices. However, it does give a low battery warning when the battery juice starts getting low. If you've noticed such a warning or if the remote isn't functioning as it usually would, chances are you need to replace the batteries.
How to Check Your Battery Life
To check if your Apple TV remote needs new batteries, try these steps. If your remote doesn't respond or behaves unexpectedly, this signals a battery issue.
- Test the remote: Try to navigate the Apple TV interface using your remote. If you experience any latency or unresponsiveness, there's likely a problem with the battery.
- Reboot your Apple TV: Sometimes, issues can be resolved by rebooting your Apple TV. However, if the problem persists, this indicates the batteries need changing.
- Inspect the LED light: Point the Apple Remote at your Apple TV. If the remote is working, the Apple TV will instantly light up. If not, the LED light on your Apple TV won't flash, indicating a battery issue.
While you're getting your Apple TV remote set up, why not take advantage of this opportunity to stock up on spare batteries? This way, you've always got a backup option if the battery dies down unexpectedly. After all, continuous power supply is key to ensuring seamless control and navigation through your Apple TV.
Let's move onto the next step in the process: ensuring that you're within the optimal range for pairing your remote to your Apple TV.
Step 2: Turn on your Apple TV and remote
Moving on to the next step, turning on both your Apple TV and remote is a crucial part of the pairing process. Having already ensured that your remote has sufficient battery life, it's time to power on these devices and get paired up.
Powering on your Apple TV might differ ever so slightly depending on the model you own. For most models, you'll simply need to connect it to power. If the status light on the front of your Apple TV doesn't light up, make sure the power cable is firmly connected and plugged into a working outlet.
Once your Apple TV springs to life, grab your remote. If it's the Siri Remote or Apple TV Remote, press and hold the "Menu" and "+ Volume" buttons simultaneously for about two seconds. The remote should now be awake and ready to pair.
Here is a quick breakdown of the steps involved with turning on your Apple TV and remote:
- Connect your Apple TV to power.
- Press and hold the "Menu" and "+ Volume" buttons on your remote.
As straightforward as these steps are, an often overlooked factor is interference. You might want to ensure that there are no objects blocking the path between the Apple TV and the remote. On top of this, if you've got a third-generation or earlier Apple TV, it would be best to clear the remote control settings on your device. It's all about paving the way for an efficient and hassle-free pairing process.
By following these steps, you are ready to move to the third step in the process: pairing the remote with the Apple TV.
Step 3: Place the remote close to the Apple TV
The proximity between your Apple TV and the remote is a crucial aspect affecting the successful pairing of these devices. Apple suggests that you position your remote within 3 to 4 inches of your Apple TV to ensure optimal communication. Why so close, you might ask? Well, the closer they are, the stronger the connection. And you're aiming for a top-notch, hiccup-free user experience, aren't you?
A handy trick might serve you well here. Try using a flat, clutter-free area to keep these two devices during pairing. Any interference, physical or wireless, might cause complications. To perfect the environment, remember to turn off any other devices in the area that might cause undue interference.
Think about this. It's similar to having a one-on-one conversation in a crowd. It'd be tricky, wouldn't it? The same principle applies here. You want your remote and your Apple TV to "converse" in a clear and uninterrupted manner. So, set them apart from any other layabouts who might disrupt their dialogue!
Moving on, after placing your remote closer to the Apple TV, remember to press the Menu button and the Volume Up button simultaneously. This combination tells your Apple TV that it’s time to acknowledge the remote and start communicating with it.
Sometimes, keeping a constant eye on the pair is rather beneficial. There might not be any visible signal of successful pairing, but any signs of failed pairing will certainly catch your attention. Be mindful enough to recognize if the connection process is faltering and repeat the process if required.
Step 4: Wait for the "Remote Connected" message
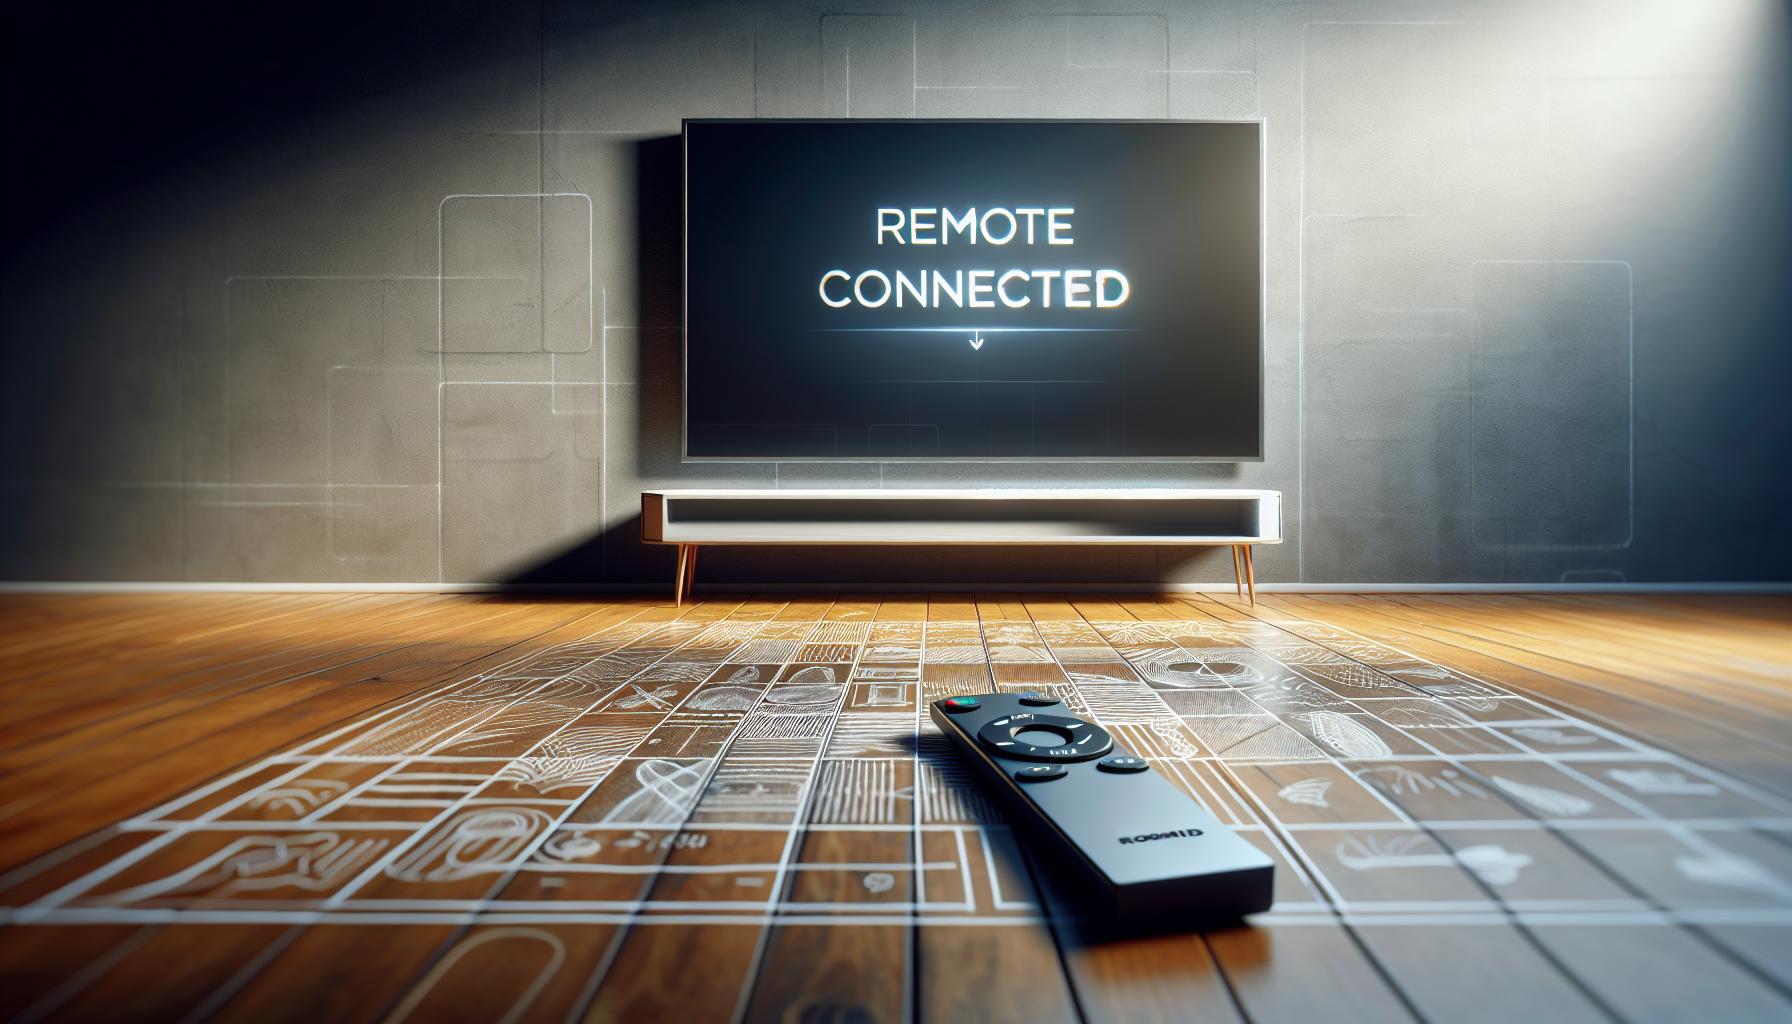
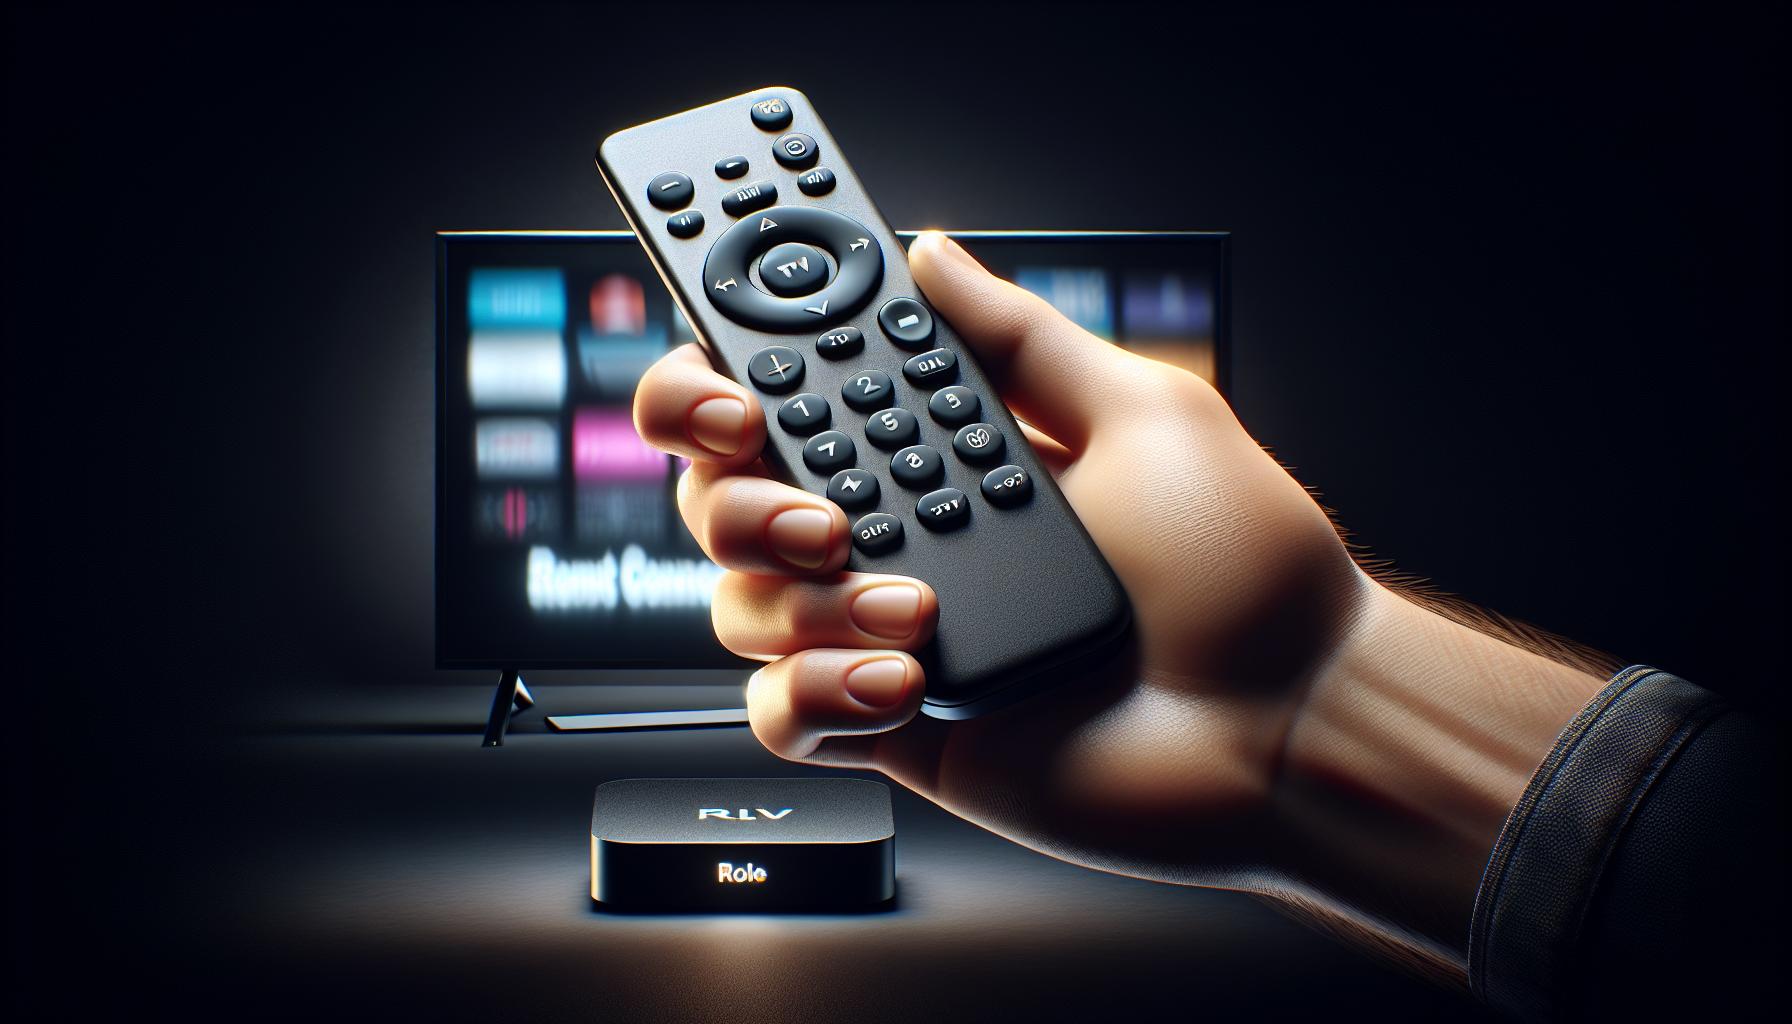
Having the remote in position and the buttons appropriately pressed, it's now the waiting game. The key component to successful pairing is patience. Your Apple TV is doing its work to recognize and accept the remote. Keep an eye on your screen. Typically, a "Remote Connected" message will pop up on your TV screen. This allows you to know that the pairing process is successful.
There's no standard waiting time for this. However, it often takes a few seconds to a minute – sometimes a little longer. Don't panic if your message takes a little longer than usual to appear. Electronic devices have their fair share of unpredictability. Maintain your patience and give it a moment.
Remember, factors like battery life, interference, and distance can affect the timeframe. Are your batteries fresh? Is your Apple TV within the range of the remote? Is there any possible interference from other electrical devices? Be conscious of these factors and make necessary adjustments as needed. After all, you want to ensure an optimal connection for your Apple TV experience.
In case the "Remote Connected" message fails to appear after several attempts or minutes, there may be issues with your remote or Apple TV. You might want to troubleshoot further, verify the Apple TV software version you have or try resetting your remote. Thankfully, Apple provides numerous resources and guides to help resolve these problems and get you back on track quickly.
Continuing functionalities and operations of your Apple TV post pairing is surprisingly simple. It's your gateway to streaming favorite movies, TV shows, or playing games. The importance of a properly paired and functional remote is paramount to fully enjoy these features. But we'll cover those details later on how to navigate your Apple TV with the freshly paired remote. Remember, your journey to complete control over your Apple TV starts with successful pairing. You're doing great so far! Maintain your focus, continue to follow through these steps, and get set for an interruption-free Apple TV experience.
Conclusion
You've now got the know-how to pair your remote to your Apple TV. Remember, it's all about ensuring your remote has sufficient battery life, keeping it within the optimal range, and patiently waiting for the "Remote Connected" message. Don't forget to clear any potential interference and keep your remote close to your Apple TV during the process. If things don't go as planned, there's always the option to troubleshoot further or turn to Apple's resources. With your remote properly paired, you're all set to enjoy the full features of your Apple TV. Keep these steps in mind for a smooth, interruption-free experience. Happy viewing!
How can I check the battery life of my Apple TV remote?
You can test the remote by following the step-by-step instructions given in this article. Look for signs such as hindered navigation experience or unsuccessful pairing which may indicate low battery.
How can I ensure a successful pairing of my Apple TV remote?
You need to make sure that your remote is within the optimal range, both the Apple TV and the remote are powered on, and there isn't any interference hindering the process.
Where should I place my remote during the pairing process?
Position the remote within 3 to 4 inches of the Apple TV to ensure optimal communication and a strong connection.
What should I do if the pairing process fails?
If the "Remote Connected" message fails to appear, troubleshoot further as instructed in the article or seek help from Apple resources.
Why is a properly paired remote important for Apple TV?
A properly paired and functional remote is crucial for enjoying the full features of the Apple TV. Continued steps according to the guidelines can guarantee an interruption-free experience.
