Ever found yourself squinting at your Apple TV because the picture doesn't fill the screen? It's a common issue, but there's a quick fix. In this guide, you'll learn how to adjust your Apple TV settings to make the most of your viewing experience.
Apple TV is a fantastic piece of technology, but like any device, it's not without its quirks. One of these is the occasional issue with screen size. But don't worry, you're not alone, and it's not as complicated as it might seem. With a few simple steps, you'll have your Apple TV filling the screen in no time.
So, get ready to dive in and say goodbye to those annoying black bars on the side of your screen. Let's make your Apple TV full screen and enhance your viewing pleasure.
Why is my Apple TV not filling the screen?
You might ask, "Why is my Apple TV not filling the screen?" Relax, you're not alone. This issue crops up for many Apple TV users. It's important to understand that your Apple TV could be working perfectly fine. The culprit here is usually the setting of the aspect ratio.
The aspect ratio is crucial for defining the width and height of your displays - the relationship between the width and height of the on-screen display. It is measured in terms like 16:9, 4:3, and so on. Incorrect aspect ratio settings can lead to your Apple TV not filling the screen completely, resulting in those notorious black bars lining the contours of your display.
Possibly, it's down to how you've got your settings configured. If your settings don't align with your TV's default size, it can send your Apple TV in a tizzy, causing your picture not to fill the screen.
For instance, if your TV is designed for a 16:9 aspect ratio and your Apple TV settings have it at 4:3, there's bound to be a mismatch. This mishmash of settings leads to a part of the picture being cut off or those pesky black bars from appearing on the edges of your display.
Also, bear in mind the source content; the video input constitutes another crucial facet. It could be the movies or TV shows you're watching aren't formatted to fill your screen. Content creators often film in an aspect ratio that may not match your TV screen. Thus certain content, depending on its original format, may lead to these black bars.
In the next section, we'll talk about simple steps to quickly fix these issues. It's neither complicated nor time-consuming, just a matter of fine-tuning your Apple TV settings to get the most out of your viewing experience.
Adjusting the display settings on Apple TV

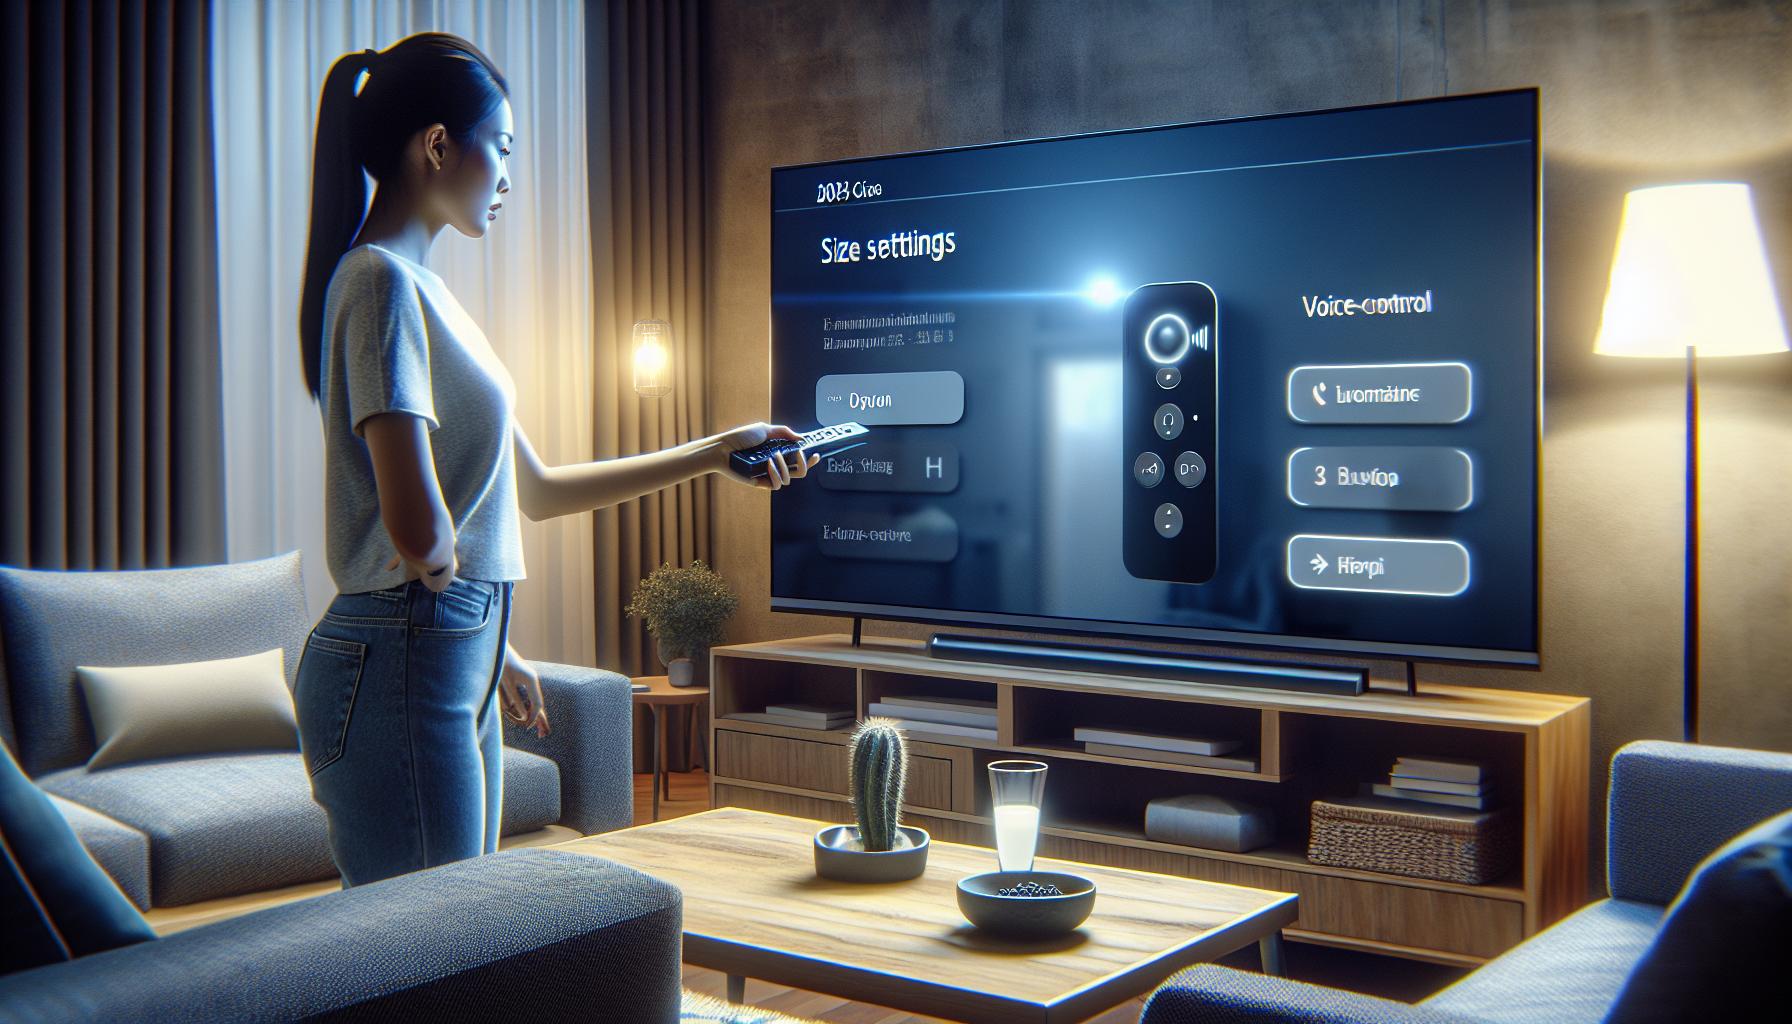
Fortunately, solving the screen size issue on your Apple TV is straightforward. Here are the steps to adjust your Apple TV's display settings and enjoy a full-screen viewing experience.
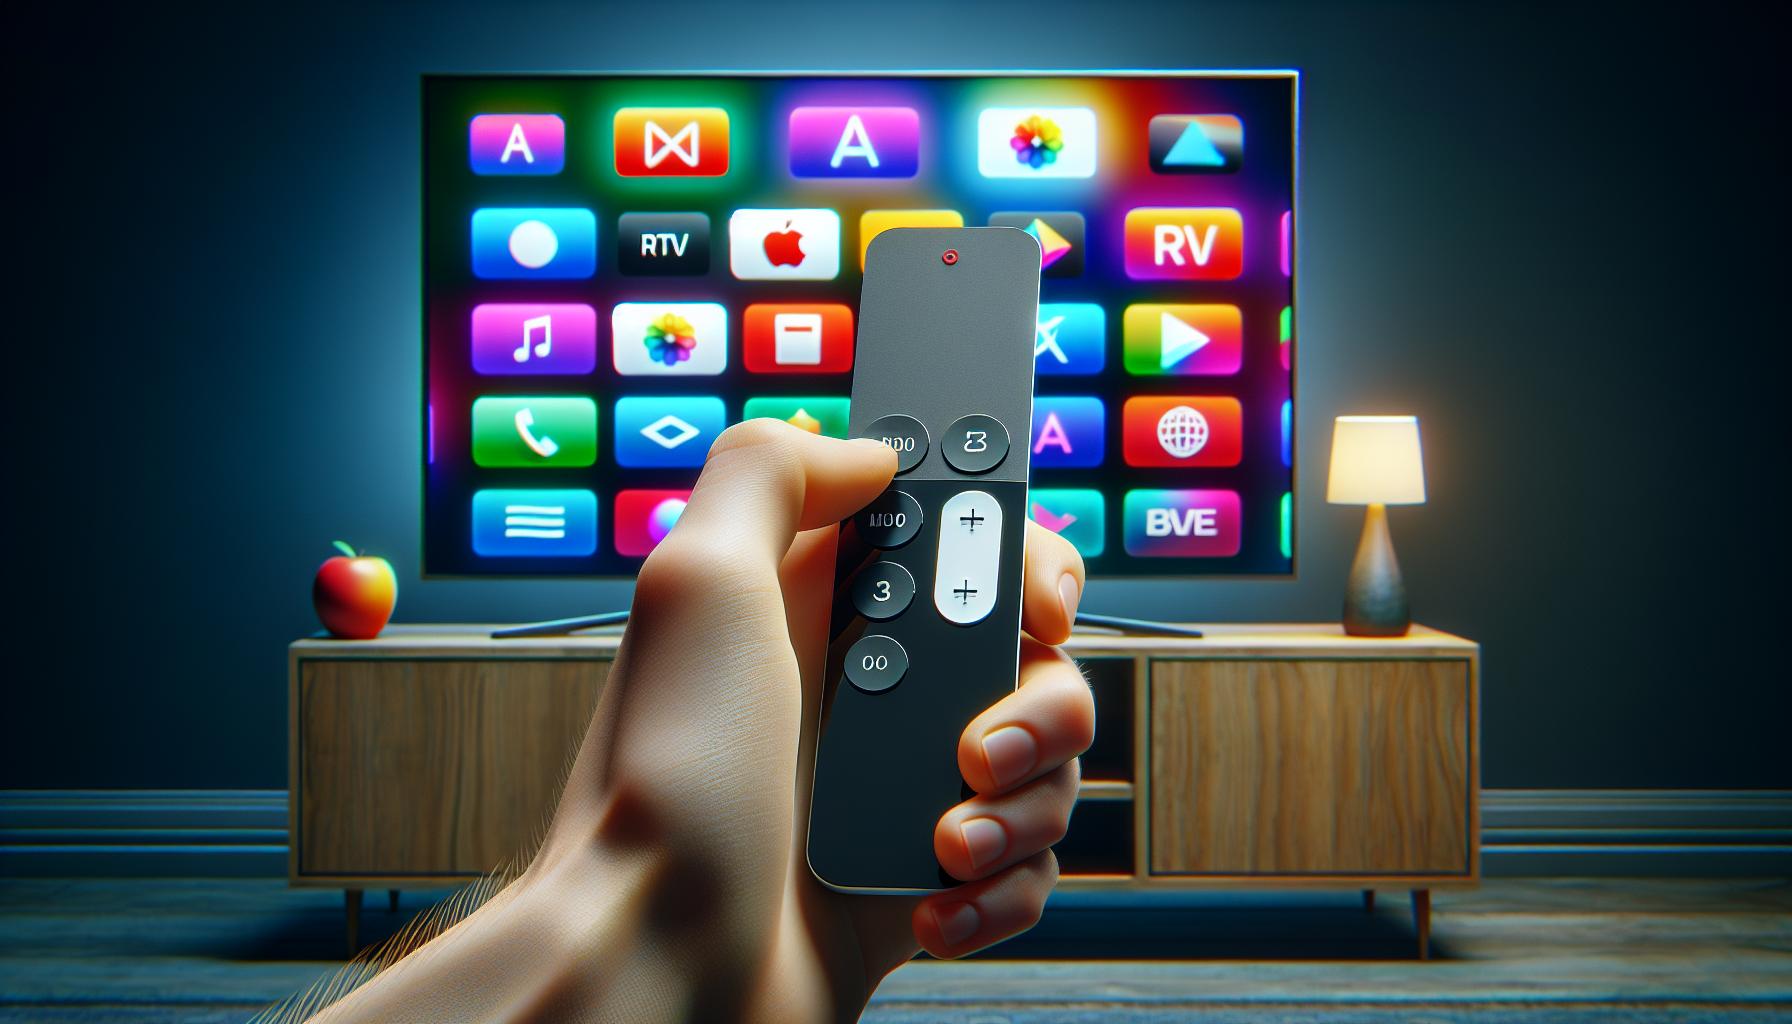
First, grab your Siri remote control. This tool is essential in navigating through your Apple TV's system.
Next, head on over to the 'Settings' option. You'll discover it on the Main Menu of your Apple TV screen. Once you're in the 'Settings' menu, look for 'Video and Audio'. This submenu is the central hub of your screen's viewing attributes.
In the 'Video and Audio' section, you'll see the 'Format' option. Click on it and then choose '4K' or '1080p', depending on your television's maximum resolution. Remember, a higher resolution can provide a crisper, more detailed image.
Under the same 'Video and Audio' menu, find the 'Aspect Ratio' option. You'll want to select '16:9'. This option is the most common format for broadcasting and fits most widescreen monitors without resulting in black bars.
To meet the needs of various screen dimensions, Apple TV offers an option to change the 'Zoom and Overscan'. If your TV doesn't automatically adjust the screen size to get rid of black bars, turning the 'Zoom and Overscan' option on could be the ideal solution. This function magnifies the screen to eliminate black edges completely.
However, an essential caution when using 'Overscan' is that it might cut off some content at the edges of the screen. Therefore, if the content you're watching has important details in the corners, you might want to consider opting for black bars instead.
It's all about your personal viewing preference at the end of the day. Following these steps, tweaking your Apple TV's settings can optimize for a full-screen viewing experience.
Don't forget: technology is flexible; it allows you to tailor viewing settings to your preference. So, don't be afraid to experiment and see what works best for you. After all, the main goal here is to enhance your viewing experience and get the most out of your Apple TV.
Step 1: Checking the display settings
We're diving right in, so prepare to get your hands dirty—or at least your fingertips hitting those remote buttons. The first major step in making your Apple TV full screen involves checking the current display settings.
Kickstart the process by grabbing your Siri remote control. Use this trusty device to navigate to the 'Settings' option on your screen. This simple step puts you firmly on the path to a full-screen, immersive viewing experience.
After selecting 'Settings', make your way to 'Video and Audio'. Found it? Great! Now this, you'll come to understand, is where the magic happens.
Within 'Video and Audio', you'll be met with multiple options. Two of them take center stage in solving your screen size conundrum—'Resolution' and 'Aspect Ratio'.
As for 'Resolution', you'll want to consider options like '4K' or '1080p'. Choosing the appropriate resolution can significantly elevate your viewing experience. However, make sure your TV supports the chosen resolution; otherwise, you might end up with an unfitting screen size—exactly what we're trying to avoid.
| Resolution | Description |
|---|---|
| 4K | Provides exceptional detail and clarity |
| 1080p | Offers Full HD quality |
Next up, it's time to set the 'Aspect Ratio'. '16:9' is a solid option for a widescreen, full-screen view. Feel free to experiment here until you find the optimal ratio for your TV screen.
Keep in mind that 'Zoom and Overscan' is a useful feature to eliminate any pesky black bars on your screen. But tread carefully—it's a double-edged sword—the edges of your screen content might get sliced off if overused.
Remember: these options aren't set in stone. Play around, mix and match, see what works best with your TV. You're in control of your viewing experience. Enhance it to your liking, and let the full screen magic unfold.
Step 2: Changing the display mode
When you're trying to make your Apple TV full screen, it's not enough to just adjust the resolution and aspect ratio. Changing the display mode is the next crucial move. This comes right after you've selected the right resolution under 'Video and Audio' settings. But, what does changing the display mode involve?
The display mode refers to the way your Apple TV outputs video to your television screen. Your Apple TV may configure this automatically based on your TV’s capabilities, but you can manually adjust the settings if needed.
Typically, the modes available vary per device, but you'll usually find the following options:
- HDR (High Dynamic Range): Gives you a broader range of colors and elegance. HDR includes both HDR10 and Dolby Vision, the two primary standards for HDR.
- SDR (Standard Dynamic Range): Regular quality video. It's preferred if HDR makes the screen too bright or if the colors appear too saturated on your TV.
To change the display mode, use the Siri remote control to navigate to 'Settings' and then select 'Video and Audio'. Look for 'Format' and therein lays the power to change your display mode. Pick a display mode that suits your TV’s capabilities and your personal viewing preferences.
Apple TV does a fine job with its auto-detection technology, but it doesn’t always get it right. It's okay to experiment, trial and error is a sure way to get the display outrageously right.
Remember! A bad quality display disrupts the entire viewing experience. Take the time, go through the options, experiment with each until you find the ideal setting. And there you have it, a full immersion into your favorite content with no black bars on the screen.
The journey continues: Fine-tuning the Apple TV screen is not just about resolution and display mode. There's yet another player in the game - Apple TV's 'Match Content' feature! Defined as maintaining the original video quality intended by the directors, this feature could be your holy grail. So stick around, more on this up next.
Step 3: Adjusting the screen size

In the journey to get your Apple TV to fit just right on your TV screen, the next step involves adjusting the screen size. This crucial step ensures that you make the most out of your Apple TV experience. Understanding how to get this done could be a game-changer. Here's how to go about it.
On your Siri remote, choose Settings. From there, go to Video and Audio, then Format. You'll see a list of format options.
What's your pick? Opt for Standard to make Apple TV automatically adjust to the best resolution your TV can display. Select 4K or 1080p if your TV supports that. However, some conditions apply. Remember, to play videos in 4K or HDR, you'll need compatible equipment besides your 4K or HDR TV, such as a 4k- or HDR-compatible HDMI cable.
Perhaps you're wondering what 16:9 is all about. The aspect ratio may not be a glamorous feature, but it's essential for getting a full-screen display. For widescreen TVs, 16:9 is your best bet. If you see black bars around the screen, adjusting the aspect ratio can help eliminate them.
Be careful while using Zoom and Overscan. They can expand images to make them bigger or smaller, an option that can be tempting to use when trying to eliminate black bars. But keep in mind that these options can also cut off content at the edges of the screen.
In between these changes, it's best to preview the result. To do this, select Preview to display an example video.
Moving on, let's explore the 'Match Content' feature, an often overlooked but powerful tool for enhancing your Apple TV viewing experience. Here's what you need to know.
Conclusion
You've now got the know-how to make your Apple TV full screen. It's all about adjusting the display settings, picking the right resolution and aspect ratio, and possibly using the 'Zoom and Overscan' feature. Remember, there's no one-size-fits-all solution. It's about experimenting with the settings to find what enhances your viewing experience. Don't forget about the 'Match Content' feature, it's another tool in your arsenal to improve your Apple TV experience. Now, it's time to grab that Siri remote, dive into your Apple TV settings, and start enjoying your favorite shows and movies in all their full-screen glory. Happy viewing!
How can I adjust the display settings on my Apple TV?
You can adjust the display settings on your Apple TV by using your Siri remote to go to 'Settings,' then 'Video and Audio.' From here, you can select the right resolution and aspect ratio for your screen.
What resolutions can I choose for my Apple TV display?
You can select various resolutions such as '4K' or '1080p' for your Apple TV depending on the capability of your TV. Choose the one that gives you the most comfortable viewing experience.
Does using 'Zoom and Overscan' solve the screen size issue fully?
Using 'Zoom and Overscan' can fill the screen, but it might cut off some content at the edges. While it can eliminate black bars, you might lose some details.
Why should I change the display mode on my Apple TV?
Changing the display mode can improve your viewing experience by ensuring the video content fits your TV screen properly. This can help in avoiding any unnecessary black bars or cutoff.
What is the 'Match Content' feature on Apple TV?
The 'Match Content' feature adjusts your Apple TV's video output to match the original frame rate and dynamic range of content you're watching. It can help in providing you with the best-quality image.
What is the best way to set my Apple TV display settings?
There's no absolute 'best' setting as it largely depends on your personal preference and comfort. The article encourages users to experiment with various settings to find what works best for them.


