Ever stumbled upon a picture on your iPhone that you'd rather keep private? Maybe it's a surprise gift idea you're planning, or perhaps it's just a personal photo you'd prefer to keep to yourself. Whatever the reason, you're in the right place to learn how to hide photos on iPhone.
Apple's iOS provides a simple yet effective way to hide those photos. You don't need to be a tech wizard to pull this off, it's as easy as pie. In this guide, you'll get step-by-step instructions to keep those personal images under wraps.
So, ready to ensure your photos stay private? Let's dive in and uncover the secrets of hiding photos on your iPhone.
Why hide photos on iPhone?
Personal privacy is a hot topic in today's digital age, especially when it comes to your smartphone. Your iPhone is likely a photobook of your life, with snapshots of personal memories, critical documents, and even your cherished moments. But, it may not always be ideal to have these photos readily accessible to anyone who happens to swipe through your device. Consider hiding photos on your iPhone to ensure your private pictures stay private.
Secure Personal Photos and Information
We all have photos we'd rather keep to ourselves. Maybe they're treasured family moments, sensitive documents, or just snaps that you'd rather not share. Thankfully, Apple's built-in feature lets you hide these photos, keeping them tucked away from your regular album view.
An Easy Way to Organize your Photos
If you're a prolific shutterbug, probably your photo collection gets cluttered fast. Want to segregate certain pictures from the herd? Hiding them can be a method of organization, leaving only your most frequently viewed photos visible in your main album.
Ever handed your phone to a friend to show them a picture, only for them to start scrolling? You might have pictures that you wouldn’t want them to see. Hiding these photos ensures they won’t pop up at an unexpected moment.
Remember, what's important is not why you want to keep some photos hidden, it's that you have the ability to do so. And with your iPhone, it's simple. Next, we'll talk about the steps to hide your pictures and the places where they're stored afterwards. So, whether you’re protecting your privacy or keeping your photo gallery organized, hiding your photos on the iPhone is an effective and user-friendly solution.
Step 1: Open the Photos app
First and foremost, accessing the Photos app on your iPhone is the initial step towards hiding your photos. It's this default application where all your pictures and videos are stored. By tapping the multicolored flower-icon on your home screen, you can enter the portal that houses your photo collection.
Even a technophobe won't struggle. It's designed to be user-friendly, the simplicity of the iPhone interface never fails to impress. Whether you're trying to safeguard your privacy or declutter your electronic photo album, this represents your starting point.
Regardless of your motive for hiding your photos, they're held safely within the app even after they're hidden. The Photos app isn't just a viewing platform, but also a secure storage location. Furthermore, if you have iCloud Photos enabled, all photos you hide on one device will automatically be hidden on all linked devices.
Here's a refresher to recap the steps:
- Locate the Photos app: Look for a multicolored flower icon on your home screen.
- Open the Photos app: Just give it a simple tap.
In this way, you start your journey towards securing your private photos. Just remember that these hidden photos aren't password protected, they're just out of immediate sight.
The next process will introduce you to the actual photo hiding technique. You'll learn to select specific photos that you wish to hide and how to execute this on your device.
Step 2: Select the photo(s) you want to hide
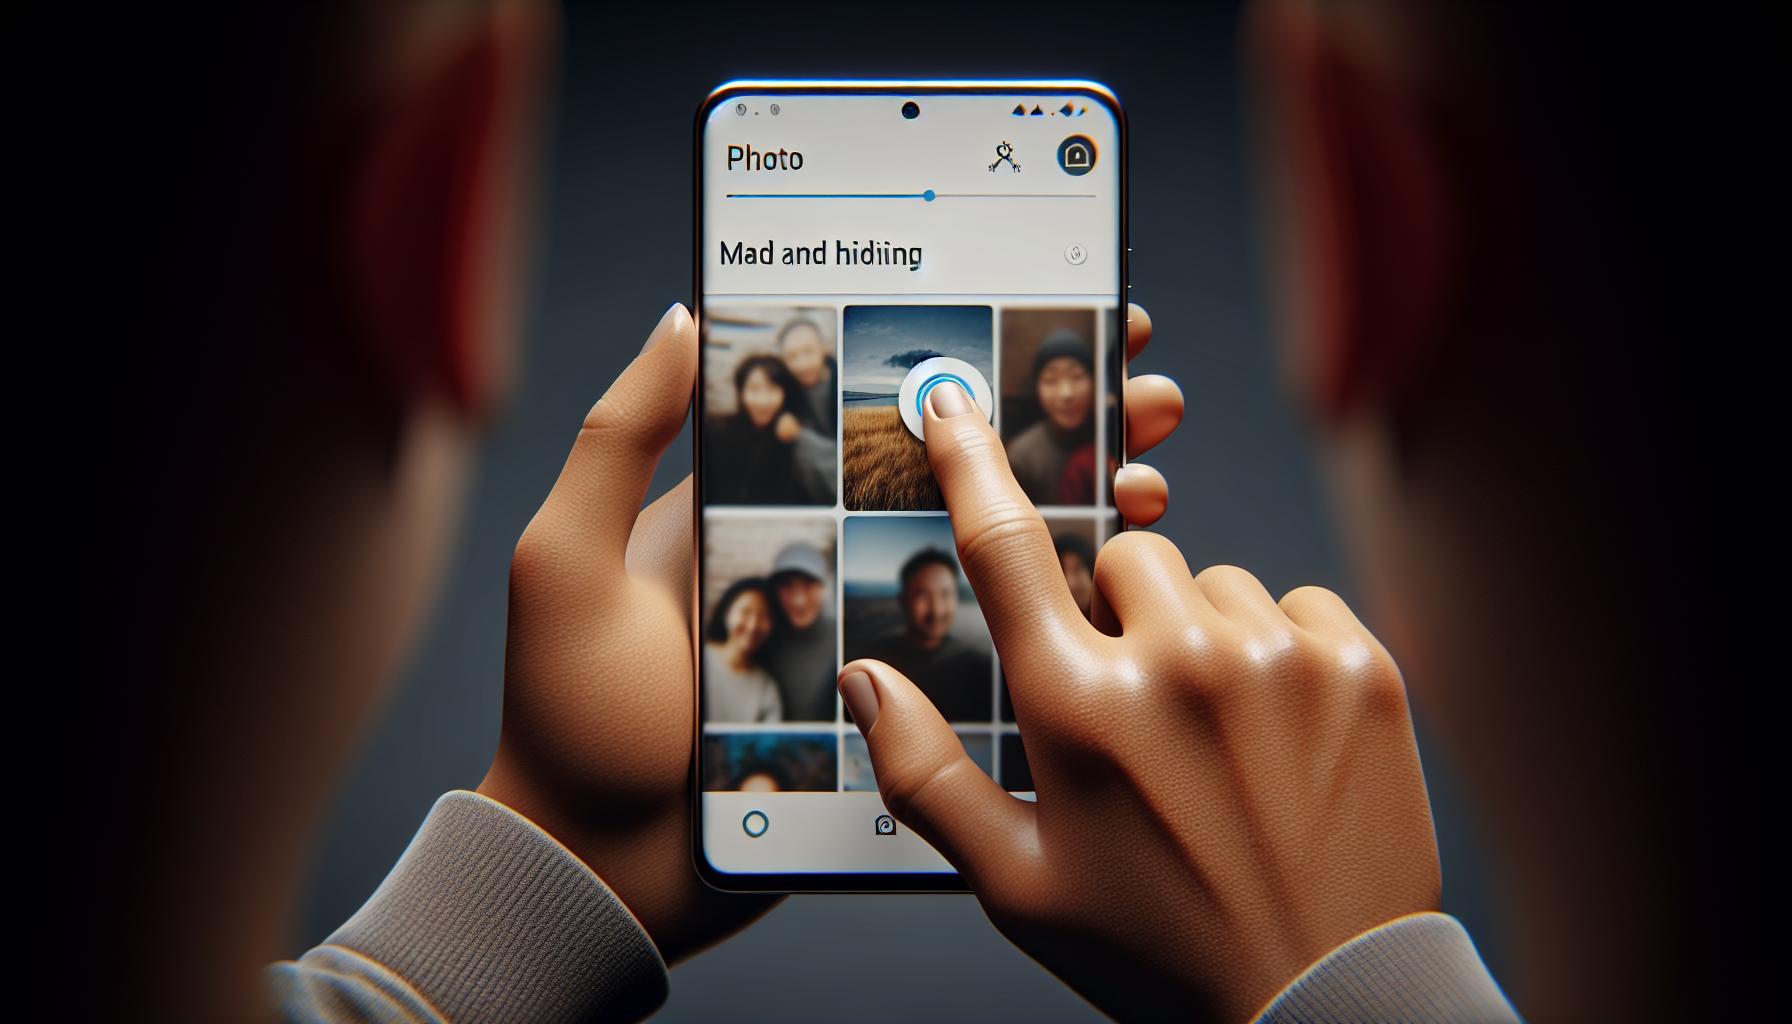
After you've fired up your Photos app, your next move is to select the photo(s) you'd like to hide. Here's how it's done.
First, tap on 'Photos' - the icon that looks like a multicolored flower. It's sitting at the bottom of your screen. This takes you to the main gallery from where you'll have access to all your photos and albums.
You'll notice that your photos are grouped by dates or events. That's designed to make navigation a breeze. Use these groups, along with the 'Search' tool, to easily find the photos you want to hide.
To select a photo(s), simply tap and hold on it. This launches the selection mode. From here, drag your finger across other photos to select them too. You'll notice little checkmarks displayed on all your selected photos, confirming they've been selected.
Want to deselect a photo? Don't sweat it. Just tap on it again. It's that straightforward.
What about hiding multiple photos from different dates or events? You're covered too. In selection mode, simply drag your finger across the screen to sweep over and select photos from different groups.
What's more, this iOS interface is intuitive where selecting and hiding multiple photos isn't complicated. You don't have to worry about technical jargon or complicated instructions.
Good news if you're concerned about mistakenly deleting precious memories! Hiding photos on your iPhone is a reversible process. You can unhide them whenever you want. But that’s a whole other story…
To recap, here's a quick rundown of the steps we covered:
- Tap on 'Photos'.
- Find the photo(s) you want to hide.
- Tap and hold a photo to select it.
- Drag your finger across other photos to select them.
- Deselect any photo by tapping on it again.
With your photos selected, you're ready to move to the next stage - actually hiding them. Hang tight, as we're about to delve into that.

Now that you've selected the pictures you want to hide, it's time for the next move. At the bottom of the screen, you'll notice a box with an upward-pointing arrow. That's the Share button, and it's where you'll need to tap next.
The Share button is a versatile tool on your iPhone. It doesn't just allow you to distribute content with family and friends. This feature also gives you options to perform various tasks on your selected photos – one of which is the "Hide" function.
Don't worry about losing sight of your selected images. After tapping the Share button, your iPhone ensures these photos stay highlighted. This feature serves as visual confirmation. You can rest easy knowing the right pictures are up for modification.
Upon clicking the Share button, a new screen will slide up from the bottom. This view is known as the "action menu." It's packed with many options – allowing you to interact with your selected photos in numerous ways. Take time to familiarize yourself with this panel – you might discover some assistance you didn't know existed!
For our purpose of hiding photos, search for a square icon with an arrow pointing down in the action menu. This icon stands for "Hide." While it may require some scrolling to find this option, patience pays off.
Step 4: Choose the "Hide" option
Although you are now familiar with the iPhone interface and the Photos app, the next key to master is the action menu. This menu not only offers a multitude of actions for your selected photos but also houses the much sought-after "Hide" function. But how do you find it in the myriad of icons? Don't worry, it's simpler than you think.
To locate the "Hide" option, closely examine the icons in the lower row of your screen after pressing the share button. You're seeking a square with an arrow pointing downwards. Once found, tap this icon to access the Hide function.
Remember, this is different from deleting a photo. When you hide a photo, it remains safe and sound in the "Hidden" album of your Photos app. Reversing this function is also simple - you can just unhide the photos whenever you want them in your main gallery again.
After tapping the "Hide" option, your iPhone asks you for confirmation: "Hide photo?" You can cancel the operation at this point if you tap it by mistake or reconsider. However, if you are sure about hiding the selected photos, just tap "Hide."
Despite being simple, this process provides an effective level of privacy for sensitive and personal photos that might be better kept away from public view.
We hope you find this step-by-step guide useful. In the forthcoming sections, we'll unravel more aspects of hiding photos on iPhones. Stay alert and remember: your privacy is a priority, and Apple honors this with its "Hide" function.
Let's take another step forward in our journey of mastering the art of hiding photos on your iPhone. So you've successfully found the Hide option and performed the action? Great! Now, it's time to confirm whether your photo is actually hidden or not. You're on track to enhancing your privacy, and you're just a hop, skip, and jump away from ultimate control over your photographic content.
In this segment, we'll direct you on how to validate the hidden status. You've made the moves, now let's ensure they've taken effect. This is relatively easy and it's essentially the final step before you can consider the given photo hidden.
The primary place you'll want to look at is the Hidden album tucked in the Photos app. Now, this is different from the album where your photos usually reside. Listen closely - the Hidden album is a special novelist space dedicated solely to accommodate your concealed photos. Whether it's a singular photo or numerous, they will all land up in this special album once they're hidden.
Next, launch your Photos app, scroll down, and tap on "Albums". Enjoy the sight of various albums? Good. But, the one you're interested in is the Hidden album. It's discreetly sitting with the others and here's the kicker: the hidden album is not immediately visible. Therefore, you need to scroll until you find it.
Got it? Now, tap the Hidden album. Boom! The photos you've hidden should display there. It's like a secret vault! If your photo does appear here, breathe a sigh of relief. Your mission to hide the photo was successful.
But what if you want to unhide the photo? Don't worry, the path to unhiding is as simple as hiding was. Find the photo, tap on Share and select Unhide. Your photo will reappear safely in its original place, just like that.
So, let's move forward and master more features the iPhone offers for your privacy.
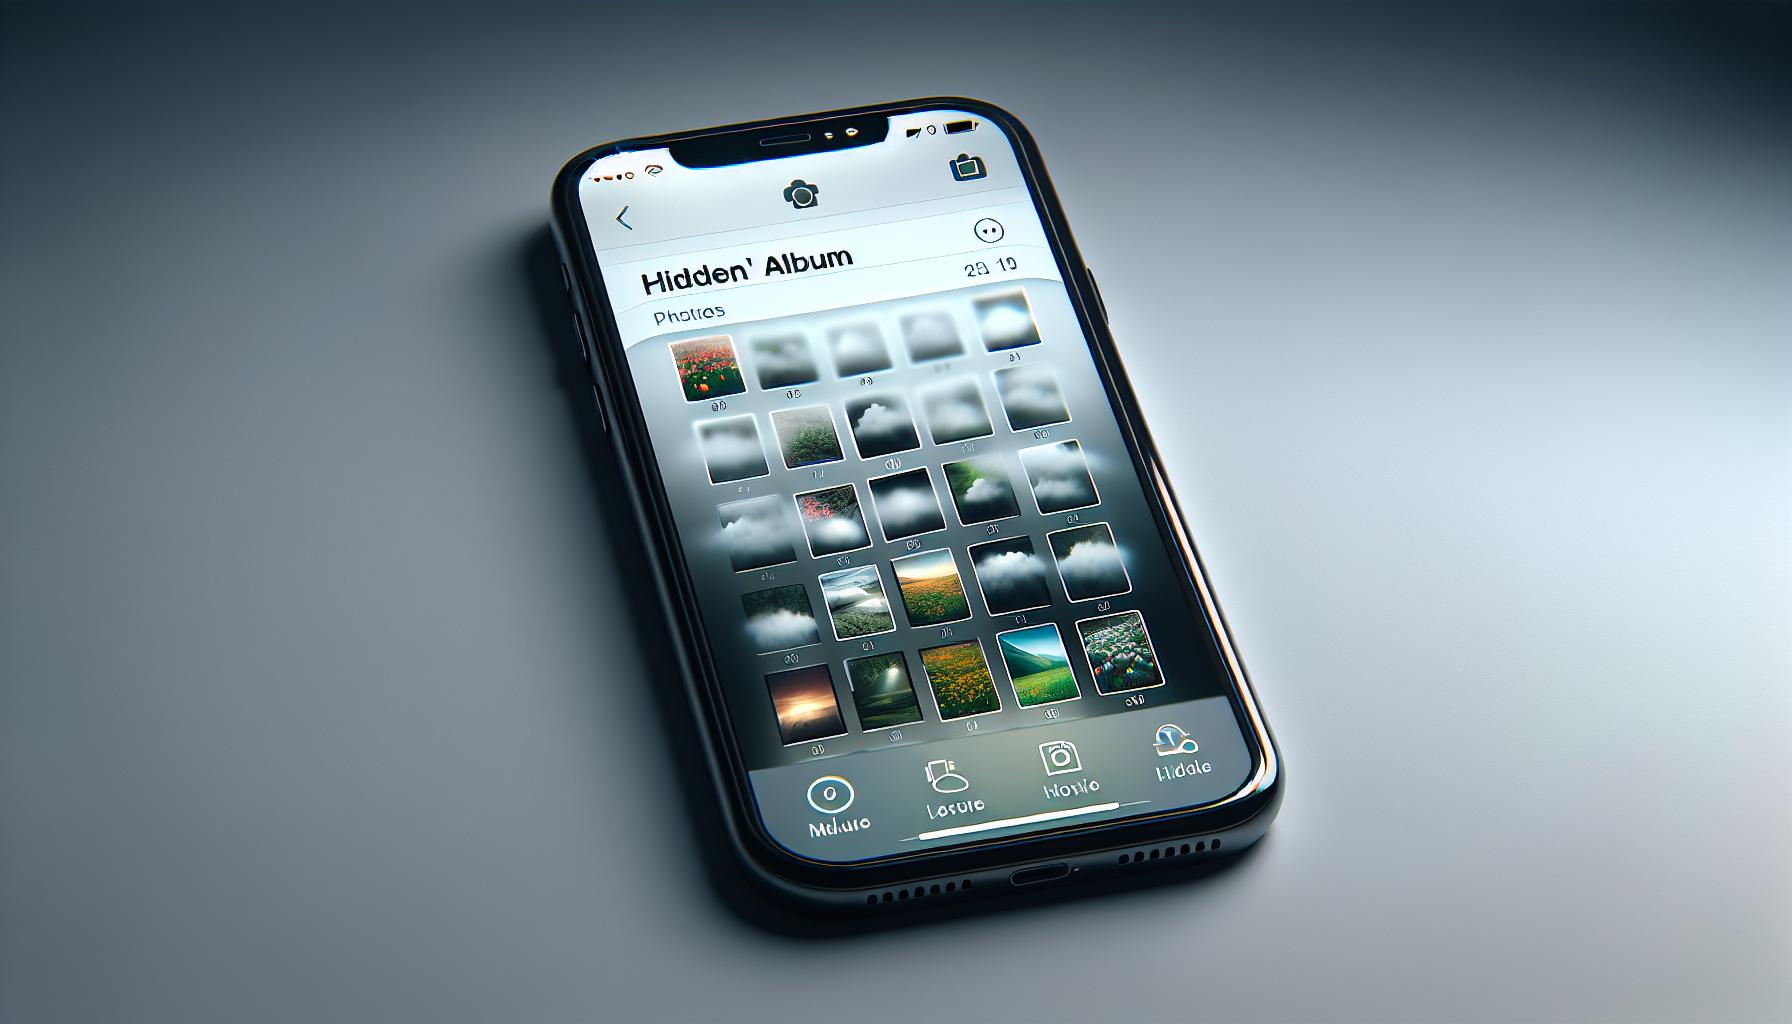
After securely hiding your photos, there might come a time when you'd want to view or retrieve these images. It's essential to understand that even if photos are hidden, they can easily be accessed if you know where to look. Here's a comprehensive guideline on how to view your hidden photos on an iPhone.
Open your Photos app. It's usually found on your home screen. Once the app is open, you need to locate the 'Albums' tab at the bottom of your screen and tap on it. This area helps you manage all your photos, including your hidden ones.
Scroll down your 'Albums' screen until you come across the 'Hidden' album. The photos you've chosen to hide are stored here. Tap on the 'Hidden' album to open it. The images you previously selected to hide should be visible now. Like any other photo, you can view these images, edit them, or share them right from the hidden album.
The beauty of the Photos app is that your hidden photos remain as accessible as any other image you haven't chosen to hide. An important distinction to remember is that your hidden photos will remain visible only within the hidden album. They will not appear in the main photo library or any other standard album.
While security and privacy features such as photo hiding continue to improve with each iPhone update, it's crucial to leverage techniques such as hiding photos to ensure your privacy remains a top priority. Remember, your ‘Hidden’ album is only as secure as your iPhone. Make sure to maintain strong security settings to keep your private life, private.
Let's move onto the next stage where, we'll discuss how to unhide your photos, if you feel the need to restore them to their original status.
How to unhide photos on iPhone

Previously, we discussed how to hide your photos on iPhone and access them in the "Hidden" album. Now, let's say you've made your point and want these hidden photos to resurface. Here's your step-by-step guide on how to unhide photos on your iPhone.
Step 1- Accessing the 'Hidden' Album
First off, you'll need to access your "Hidden" album. Simply open the Photos app, tap on 'Albums' at the bottom and scroll down until you see the ‘Hidden’ album. Remember, this album is where your iPhone stows away those photos you've chosen to hide.
Step 2- Selecting Photos to Unhide
After opening the 'Hidden' album, you'll see all the photos you’ve kept away from prying eyes. From here, select the photos you wish to unhide. You can do this by pressing and holding a photo until a pop-up menu appears. Tap on 'Select' from this menu. After that, you can proceed to select additional photos if needed.
Step 3- Unhiding Your Photos
Once you've selected your photos, tap on the 'Share' icon at the bottom left of your screen. This will open a series of options. Go ahead and choose 'Unhide'. Your photos will instantaneously reappear in their original places; whether that's your main photo library or specific albums.
The process of unhiding photos on iPhone is a simple maneuver. It's also reversible, so you can hide those pictures again at any point if need be. This provides you with more control over your photos, allowing you to fine-tune your privacy depending on the situation and your preferences.
Having learned how to hide and unhide your photos on your iPhone, the key is to remember to have strong security settings in place. This will ensure your private photos remain that way whenever the need arises. As you can see, your iPhone's photo management options offer an array of features to help you control your privacy.
Conclusion
So there you have it. You've mastered the art of hiding, viewing, and unhiding photos on your iPhone. Remember, the "Hidden" album is your secret weapon for maintaining privacy. But don't forget, those photos aren't invisible—they're just out of sight in your main photo library. For an extra layer of security, keep your iPhone settings locked down. It's all about taking control of your privacy, and with these steps, you're in the driver's seat. Now, you can confidently handle your photos on your iPhone like a pro.
How can you hide photos on an iPhone?
You can hide photos by selecting the photos in your library that you wish to hide, tapping on the Share icon, and choosing the "Hide" option.
Hidden photos are not deleted. They are moved to a separate "Hidden" album, which is accessible within the Photos app itself.
Yes. You can still access your hidden photos by opening the Photos app and going to the "Hidden" album.
How to unhide photos on an iPhone?
To unhide photos on your iPhone, open the "Hidden" album, select the photos, and tap on the "Unhide" option.
While hiding photos can reduce their visibility, it does not provide absolute security. To ensure privacy, make sure your iPhone has strong security settings, such as a strong passcode or biometric authentication features.
Why is it important to manage the visibility of your photos on your iPhone?
Managing the visibility of your photos gives you control over your privacy and allows you to keep certain photos away from your main library. This can be helpful in maintaining your privacy.


