Difficulty: Easy
Duration: 5 minutes
What you'll need: iPad
- Knowing how to get out of private browsing mode on an iPad can help ensure that your browsing history is not kept private.
- Private browsing mode on iPad can help you protect your privacy.
- In this article you will learn how to exit private browsing mode on your iPad.
The iPad is a great device for browsing the web, but it can also be used for private browsing. Private browsing mode allows you to surf the web without leaving a trace of your activity. This is a great way to protect your privacy when browsing the web. However, if you want to exit private browsing mode, you need to know how to do it.
This article will provide a step-by-step guide on how to exit private browsing mode on your iPad. We will cover the different methods available, including the Safari browser, Chrome, and Firefox.
We will also discuss the different settings and preferences you can adjust to ensure your privacy is maintained while browsing the web. Finally, we will provide some tips on how to keep your browsing activity private, even when you are not in private browsing mode.
By the end of this article, you will have a better understanding of how to exit private browsing mode on your iPad.
How to get out of Private Browsing Mode on iPad
The method to get out of private mode on iPad will be different depending on which browser your are currently using.
How to turn off Private Browsing Mode in Safari on iPad
To exit private browsing mode in Safari on iPad, follow these steps:
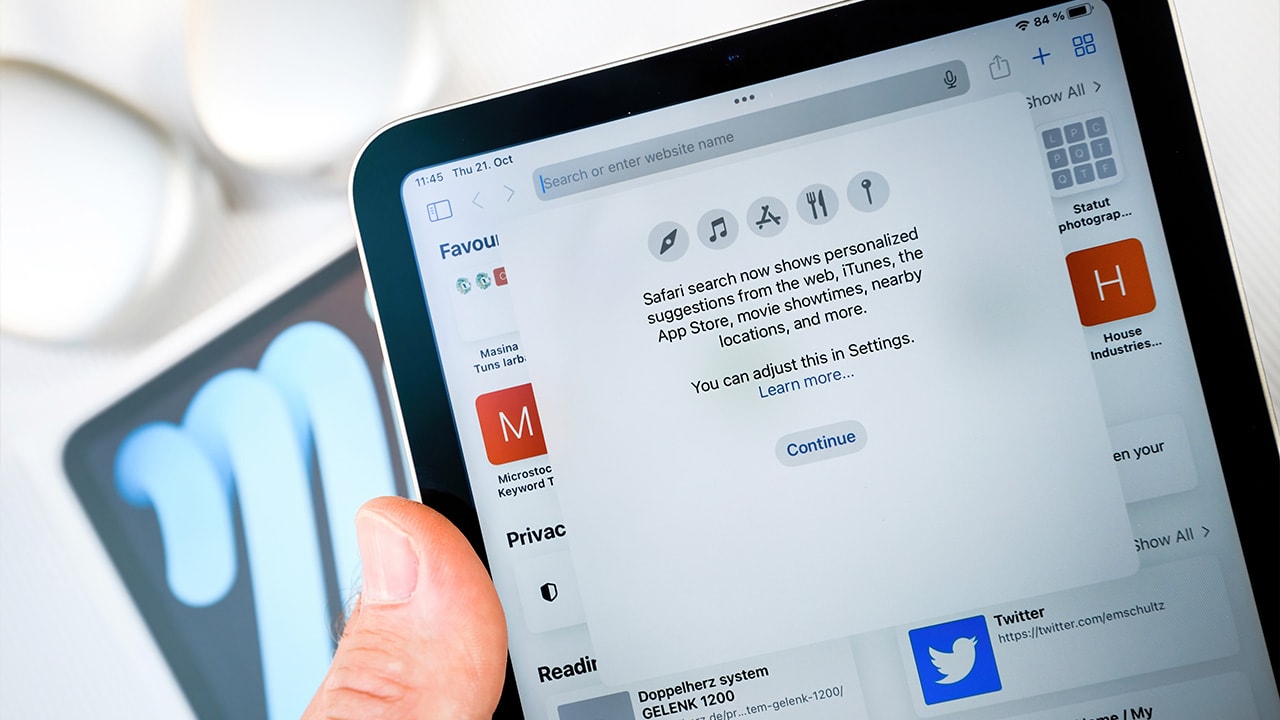
1. Open Safari on your iPad.

2. There will be a message telling you if Private Browsing Mode is currently switched on.

3. Tap the Tabs button (the Tabs button looks like 4 squares).

4. In the dropdown, select the Tabs option to return to normal browsing mode.

5. Tap Done in the upper right corner.

Important: Exiting private browsing mode in this way will not clear your browsing history, cookies, or other data. If you want to clear this data, you will need to do so manually by going to the "Settings" app and selecting "Safari" and then "Clear History and Website Data".
How to turn off Private Browsing Mode in Google Chrome on iPad
To turn off private browsing mode in Google Chrome on an iPad, follow these steps:
- Open the Google Chrome app on your iPad.
- Tap on the three dots button in the top-right corner of the screen.
- Tap on "New Incognito Tab" button.
- You will see the incognito icon in the top-left corner of the screen, it is represented by a hat and sunglasses
- To exit incognito mode, tap on the "X" button on the incognito tab.
- You will return to the regular browsing mode
Alternatively, you can also close all incognito tabs by:
- Open Google Chrome app on your iPad.
- Tap on the tabs button in the bottom-right corner of the screen (it's represented by two squares)
- You will see all your incognito tabs, tap on the "X" button on the incognito tab that you want to close or swipe left on the tab to close it
- Once you closed all incognito tabs, you will be in regular browsing mode
Important: closing incognito tabs in this way will not clear your browsing history, cookies, or other data. If you want to clear this data, you will need to do so manually by going to the settings in Chrome and selecting "Clear browsing data"
How to turn off Private Browsing Mode in Firefox on iPad
To turn off private browsing mode in Firefox on an iPad, follow these steps:
- Open the Firefox app on your iPad.
- Tap on the three lines button in the top-left corner of the screen.
- Tap on the "Private" button.
- You will see the private icon in the top-left corner of the screen, it is represented by a mask
- To exit private mode, tap on the "X" button on the private tab.
- You will return to the regular browsing mode.
Alternatively, you can also close all private tabs by:
- Open Firefox app on your iPad.
- Tap on the tabs button in the top-right corner of the screen (it's represented by two squares)
- You will see all your private tabs, tap on the "X" button on the private tab that you want to close or swipe left on the tab to close it
- Once you closed all private tabs, you will be in regular browsing mode
Important: closing private tabs in this way will not clear your browsing history, cookies, or other data. If you want to clear this data, you will need to do so manually by going to the settings in Firefox and selecting "Clear browsing data".
Our takeaway
Congratulations! You have now successfully exited Private Browsing mode on your iPad. Now you can browse the web with confidence, knowing that your data is safe and secure. We hope you have enjoyed learning about this feature and that you now have a better understanding of how to use it.
Now that you know how to use Private Browsing mode, why not take it for a spin and explore the web with a little extra privacy? Who knows, you might just find something new and exciting!
Related reading: How to update Safari on your iPad.
FAQs
What is the difference between private browsing mode and normal browsing mode on an iPad?
Private browsing mode on an iPad allows users to browse the internet without leaving any trace of their activity. This means that the websites visited, search history, and cookies will not be stored on the device. In normal browsing mode, the websites visited and search history are stored on the device, which can be accessed by other users. Additionally, cookies are stored on the device, which can be used to track the user's activity.
How do I know if I am in private browsing mode on my iPad?
You can tell if you are in private browsing mode on your iPad by looking for the dark-colored Safari window. When you are in private browsing mode, the Safari window will be darker than usual. Additionally, a small label will appear at the top of the Safari window that says “Private”.
Are there any security risks associated with using private browsing mode on an iPad?
Yes, there are some security risks associated with using private browsing mode on an iPad. Private browsing mode does not encrypt your data, so your browsing activity can still be monitored by your internet service provider or other third parties. Additionally, private browsing mode does not protect you from malicious websites or online scams, so it is important to use caution when browsing the web.
Is it possible to use private browsing mode on an iPad while connected to a public Wi-Fi network?
Yes, it is possible to use private browsing mode on an iPad while connected to a public Wi-Fi network. However, it is important to note that while private browsing mode offers some degree of anonymity and privacy, it does not guarantee complete security and privacy. It is still possible for your data to be tracked and monitored by the network provider, so it is important to be aware of the risks associated with using public Wi-Fi networks.
Are there any settings I need to adjust to enable private browsing mode on my iPad?
Yes, you will need to adjust your Safari settings to enable private browsing mode on your iPad. To do this, go to the Settings app, select Safari, and then toggle the Private Browsing switch to the On position.