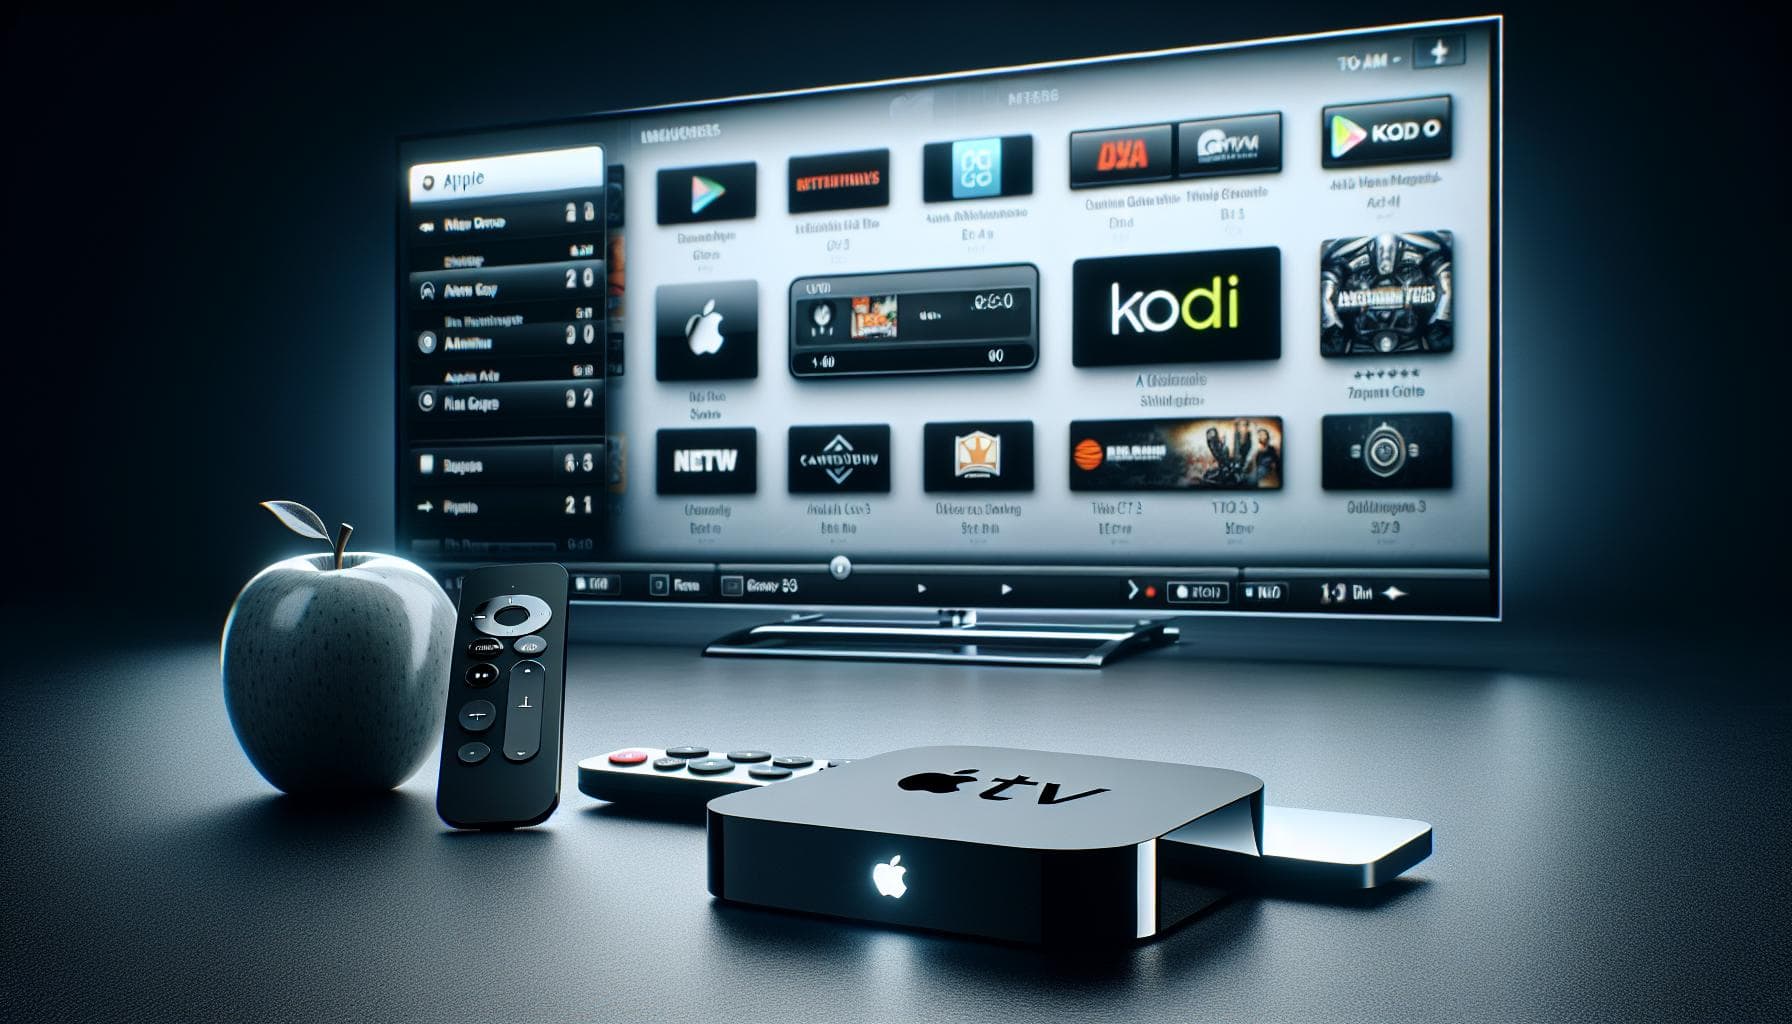
Ever thought about upgrading your Apple TV 3 experience? Well, you're in the right place. We're about to show you how to get Kodi on your Apple TV 3. This open-source media player can transform your Apple TV into a versatile, multi-content streaming device.
Kodi isn't officially supported by Apple, but don't fret. With a bit of tech-savvy, it's possible to install it on your Apple TV 3. This guide will walk you through the process, ensuring you're streaming your favorite content in no time. So, ready to unlock a whole new world of entertainment? Let's dive in.
Why install Kodi on Apple TV 3?
When it comes to upgrading your Apple TV experience, Kodi plays a crucial role. It's an open-source media player that's not officially supported by Apple, yet there are ways to navigate this hiccup. But why go through the trouble? Why install Kodi on your Apple TV 3?
For starters, Kodi dramatically enhances your media viewing options. Think unlimited access to your favorite TV shows, movies, music, and even photos right at your fingertips. With Kodi, you're not confined to the usual streaming services. It's about getting the most out of your device, without the extra costs.
Personalized User Interface is another standout feature. Kodi allows you to customize your interface to match your preferences. That includes themes, layouts, and overall visual appearance. You decide how you want it to look and feel.
Kodi Add-ons probably make the biggest difference. They're like app extensions, giving you more content than you can imagine. With thousands of add-ons available, the possibilities are practically endless. From live sports to documentaries, from language-specific content to kids’ entertainment: you've it all!
Your Apple TV 3 hardware may not be the latest. Yet it's capable of handling Kodi and all its features pretty well. This proposition becomes even more appealing when you consider the cost factor. You've already invested in Apple TV 3. Why not extract every bit of value from it with Kodi?
Remember, installing Kodi on your Apple TV 3 does require some effort. But given the richer, more personalized streaming experience at your disposal, it's worth the time and energy.
Preparing your Apple TV 3 for Kodi installation
Before diving into the installation process, it's essential to prepare your Apple TV 3 properly. This process consists of two important steps: ensuring your Apple TV 3 is updated and confirming that your device has enough storage space.
Firstly, remember to update your Apple TV 3 to the latest firmware. Keeping your device updated is not only good for security purposes but also ensures compatibility with the latest features and add-ons of Kodi. To update your Apple TV 3, just navigate to 'Settings' > 'General' > 'Software Updates' > 'Update Software'. The system will automatically check for updates and allow you to install them.
After updating your device, the next step in preparing your Apple TV 3 for Kodi installation is to ensure it has adequate storage space. Kodi's powerful features require quite a bit of room, especially if you intent on installing several add-ons. Delete any unnecessary apps or content to open up space. To check your current storage, navigate to 'Settings' > 'General' > 'About'. Here you'll find the needed information, including the available storage.
This preparatory step shouldn't be overlooked. Clearing out extra space and updating your system aids in creating a seamless Kodi experience. It might seem like a hassle, but remember, you're paving the way for a richer, more personalized media viewing experience.
Remember, these steps are just the preliminary preparations. The meat of the process lies in the actual installation of Kodi, which we'll delve into in the next section. Sit tight, you're well on your way to unlocking a world of unlimited media options via Kodi. This installation process is surely an investment of time and effort but rest assured, it's one that has remarkable pay-offs. Curating your viewing experience and breaking free from limited choices has never been more within your grasp.
Jailbreaking your Apple TV 3
So now we move onto the next crucial phase: Jailbreaking your Apple TV 3. This action essentially frees your device from Apple's restrictions and allows you to install third-party applications such as Kodi. But don't fret. The process isn't as complex and risky as it might sound. Done correctly it poses little risk to your TV.
- Step one: You'll first need to download the latest version of Seas0nPass. This program, created by FireCore, is designed for jailbreaking Apple TVs.
- Step two: Connect your Apple TV 3 to your PC or Mac using a micro-USB cable. Wait till iTunes recognizes it.
- Step three: Run Seas0nPass and select the 'Create IPSW' option. The program will then guide you through the process of generating jailbroken Apple TV software.
- Step four: When asked by Seas0nPass, use the remote to put your Apple TV into DFU mode. Hold the 'Menu' and 'Play/Pause' buttons for 7 seconds.
- Step five: After putting your Apple TV into DFU mode, Seas0nPass will complete the jailbreak by restoring your Apple TV with the newly created jailbroken software.
Some hints to help you out in this process:
- Ensure your device is properly connected and recognized by iTunes at each step.
- Keep the Internet connection steady and fast. You're downloading entire firmware after all.
- Be patient with the process. Don't rush it. Jailbreaking usually takes time - sometimes up to 20 minutes.
Remember, jailbreaking isn't illegal but it does void your warranty with Apple. So, consider this caveat while taking the plunge.
Once you've successfully jailbroken your Apple TV, you're prepared for the next phase: installing Kodi. We're almost there! All your preparations are now aligning for a great media experience!
And there's the next big step. Ready?
Installing Kodi on your Apple TV 3
Now that you've successfully jailbroken your Apple TV, let's proceed to the next phase - installing Kodi. The process may seem complex but don't fret, we're here to guide you every step of the way.
First and foremost, downloading Kodi on Apple TV 3 requires a Mac PC for the proper installation process. Bear this in mind as it's a significant part of the process.
Next, install Xcode, iOS App Signer, and Kodi.deb file all onto your Mac. To make sure you don't hit any roadblocks:
- Download Xcode from the App store in your Mac.
- Get iOS App Signer from Github and download the latest Kodi.deb file from Kodi’s official website.
Now, sit tight! Here's where the magic begins.
Open Xcode and click on 'Create a new Xcode project'. Choose 'Application' under 'tvOS' and select 'Single View Application', then click on 'Next'. Now, you'll need to fill out some fields. Fill in 'Product Name' and 'Organization Identifier' with your preferred details. Other fields can be left as default.
Done that? Great!
Connect your Apple TV 3 to your Mac via a USB cable. Xcode should detect your device. If a ‘fix issue’ or ‘resolve issue’ alert box appears, click on it to solve any compatibility problems.
With the necessary files and software set up on your Mac, it's now time to bring in the iOS App Signer. Open iOS App Signer and select the 'Signing Certificate' and 'Provisioning Profile' you created on Xcode.
This entire process allows you to convert the Kodi.deb file into something that your Apple TV 3 can read - a sort of Apple-tailored package, if you will.
Remember, our goal here is to get the best entertainment experience out of your Apple device. With Kodi installed, you're on track to achieve just that. Stay with us as we venture into setting up and optimizing Kodi for unparalleled streaming.
Configuring Kodi on Apple TV 3
With the technical part behind you, it's time to move into the configuration phase. It's important to remember that the process of setting up Kodi isn't just about installing the software. The real magic comes from fine-tuning Kodi with add-ons to suit your preferences, accessing a myriad of content options from movies to live TV, and ensuring the software runs smoothly on your Apple TV 3. Here's a quick and simple rundown of the steps you need to take.
Setting up Kodi Libraries
Kodi uses libraries to manage your media. Setting them up is essential to maximize your viewing experience. Go ahead and navigate to the Media section of Kodi's settings.
From there, you're able to add sources for Movies, TV Shows, Music, Pictures, and more. With your Apple TV 3 remote, select the type of media you want to add, locate the folder where you've stored that media, and you're done! The more precise you are in sourcing your media folders, the better your experience will be.
Installing Kodi Add-ons
One of the most powerful features of Kodi is its ability to install add-ons. Essentially, these act as apps within the app. A diverse range of third-party Kodi add-ons are available, providing access to streaming services, live TV, sports, music, and other forms of entertainment.
To get started, head over to the Add-ons section of Kodi's main menu. Here, you've got a two-part process:
- First, you'll need to install repositories. These are packages containing multiple add-ons.
- After that's done, you can proceed to install individual add-ons from the repositories.
Remember, not all add-ons are legal or safe. Do your research and stick to reputable sources.
Optimizing Kodi's Performance
Finally, it's worth spending some time optimizing Kodi's performance. In Kodi's System settings, you'll find options for adjusting video playback, managing storage, updating Kodi, and more. Experiment with these settings to get the most from your newly installed software.
Just a few more tweakings, your Kodi-powered Apple TV 3 will enhance your entertainment experience immensely. In the next phase, we transition towards getting you familiarized with troubleshooting common issues, tips to optimize usage, and keeping your device updated. Buckle up for an impressive leap in your digital entertainment journey.
Conclusion
You've made it! Now that you've jailbroken your Apple TV 3 and set up Kodi, you're ready to dive into a world of endless entertainment options. Remember, the key to an optimal viewing experience lies in fine-tuning Kodi with the right add-ons and setting up your libraries. Don't forget, this isn't a one-time setup. Keep your device updated and optimized to enjoy a seamless streaming experience. As you move forward, you might encounter some issues. But don't worry, troubleshooting is part of the journey. You're now equipped with the knowledge to handle any bumps along the way. Enjoy your enhanced viewing experience with Kodi on your Apple TV 3!
Frequently Asked Questions
Q1: What is the main focus of this article?
This article guides you through configuring Kodi on a jailbroken Apple TV 3. It discusses adding and optimizing Kodi add-ons, setting up libraries to enhance the viewing experience, and touching upon the importance of keeping your device updated.
Q2: Why is it important to fine-tune Kodi with add-ons and libraries?
Fine-tuning Kodi with add-ons and libraries is key to maximizing your viewing experience. Add-ons provide additional functionality, while libraries manage and organize your media content.
Q3: How do I install add-ons to Kodi?
The article provides a detailed step-by-step guide on how to install add-ons to enhance your Kodi viewing experience. You can follow these straightforward instructions to equip your Kodi.
Q4: What does the next phase involve?
The following phase of the article focuses on troubleshooting common issues you may face, optimizing usage, and ensuring the device is kept updated for optimal performance.
Q5: Why is it essential to keep my device updated?
Keeping your device updated ensures the best performance from your Kodi setup, as updates often include performance enhancements, bug fixes, and occasionally, new features.
