Ever found yourself straining to catch every word of your favorite show on Apple TV? You're not alone. Many viewers are turning to closed captioning, not just for accessibility reasons, but also to enhance their viewing experience.
Getting closed captioning on Apple TV isn't as complex as it might seem. It's a straightforward process that you can master in no time. In this guide, we'll walk you through the steps to enable closed captioning, ensuring you never miss a word of your favorite dialogue again.
So, whether you're hard of hearing, watching in a noisy environment, or simply don't want to miss any detail, this guide is for you. Let's dive into the world of closed captions on Apple TV.
What is closed captioning?
Closed captioning refers to the process of displaying text on your television screen while watching shows or movies. It’s especially useful for viewers who are deaf or hard of hearing, as they can read the dialogue and other relevant sounds happening in your favorite shows. But that's not the only user base. It's become quite common to use closed captions when you're watching TV in a noisy environment, or want to dive deep into the details and nuances of a show's dialogue.
Originating in the early 1970s as a feature to provide equal media access to the deaf community, closed captioning has now emerged as an essential part of the viewing experience for millions worldwide. In the United States alone, more than 37.5 million adults have some trouble hearing, making closed captioning imperative.
| US Population Statistics |
|---|
| Total US Population |
| Adults with some trouble hearing |
Closed captioning is different from subtitles. While it may seem like they are the same, there's a significant difference. Subtitles assume that the viewer can hear but may not understand the language or accent, hence translating only the spoken portions. On the other hand, closed captioning translates spoken words into text, and also includes descriptions of sounds and relevant musical cues.
This added layer of information helps users gain a comprehensive understanding of the content, thereby enhancing their viewing experience - whether it's the subtle cracking of a character's voice, the whispering winds in the background, or a sudden burst of laughter from the audience. Individual sounds are described as concisely as possible, with the aim of taking you right into the narrative.
Understanding how to enable closed captioning on your Apple TV could bring about a significant improvement in your viewing experience, ensuring you never miss an important dialogue or sound in your favorite shows or movies.
Why use closed captioning on Apple TV?

You might wonder why you'd need to use closed captioning on your Apple TV. Well, it's not just about making content accessible for deaf or hard of hearing viewers; there are many other benefits to this feature.
In a bustling loud environment like a busy household or café, having the captions on can be incredibly beneficial. The captions can help you to follow along with the dialogue, even with substantial background noise. And if you're a non-native English speaker or if you're watching a show with heavy accents, the captions can be a real game-changer for understanding the content.
Now let's look at its features that set it apart from subtitled content. What makes closed captioning unique is its use in delivering detailed auditory information in a textual format. While subtitles only focus on translating the dialogues, closed captions go a step further. They describe the important non-verbal aspects of the scene like background noises, the note of music playing, or the emotional connotation of a voiceover.
The detailed nature of closed captioning can also help you catch nuances and subtlety you may have otherwise missed. In cases of complicated plotlines or quick, overlapping dialogue, the captions keep you from missing out on these key details.
Moreover, its origin lies in promoting inclusivity and equal access to media. It’s a feature from the 1970s primarily designed for the deaf and hard of hearing community. In recent years, it’s become an incredibly popular feature for viewers across the globe.
In conclusion (DO NOT INCLUDE THIS PHRASE IN ACTUAL ARTICLE), enabling closed captioning on your Apple TV is a practical decision. Its detailed, textual information allows you to immerse more deeply in the viewing experience and makes sure you don't miss a beat. From noisy environments to intricate plotlines, it's a user-friendly feature that significantly amplifies your viewing experience.

Let's dive right in. Your first step in getting closed captioning on your Apple TV is to access the Settings Menu. Think of this architecturally; every command you give to your Apple TV begins here.
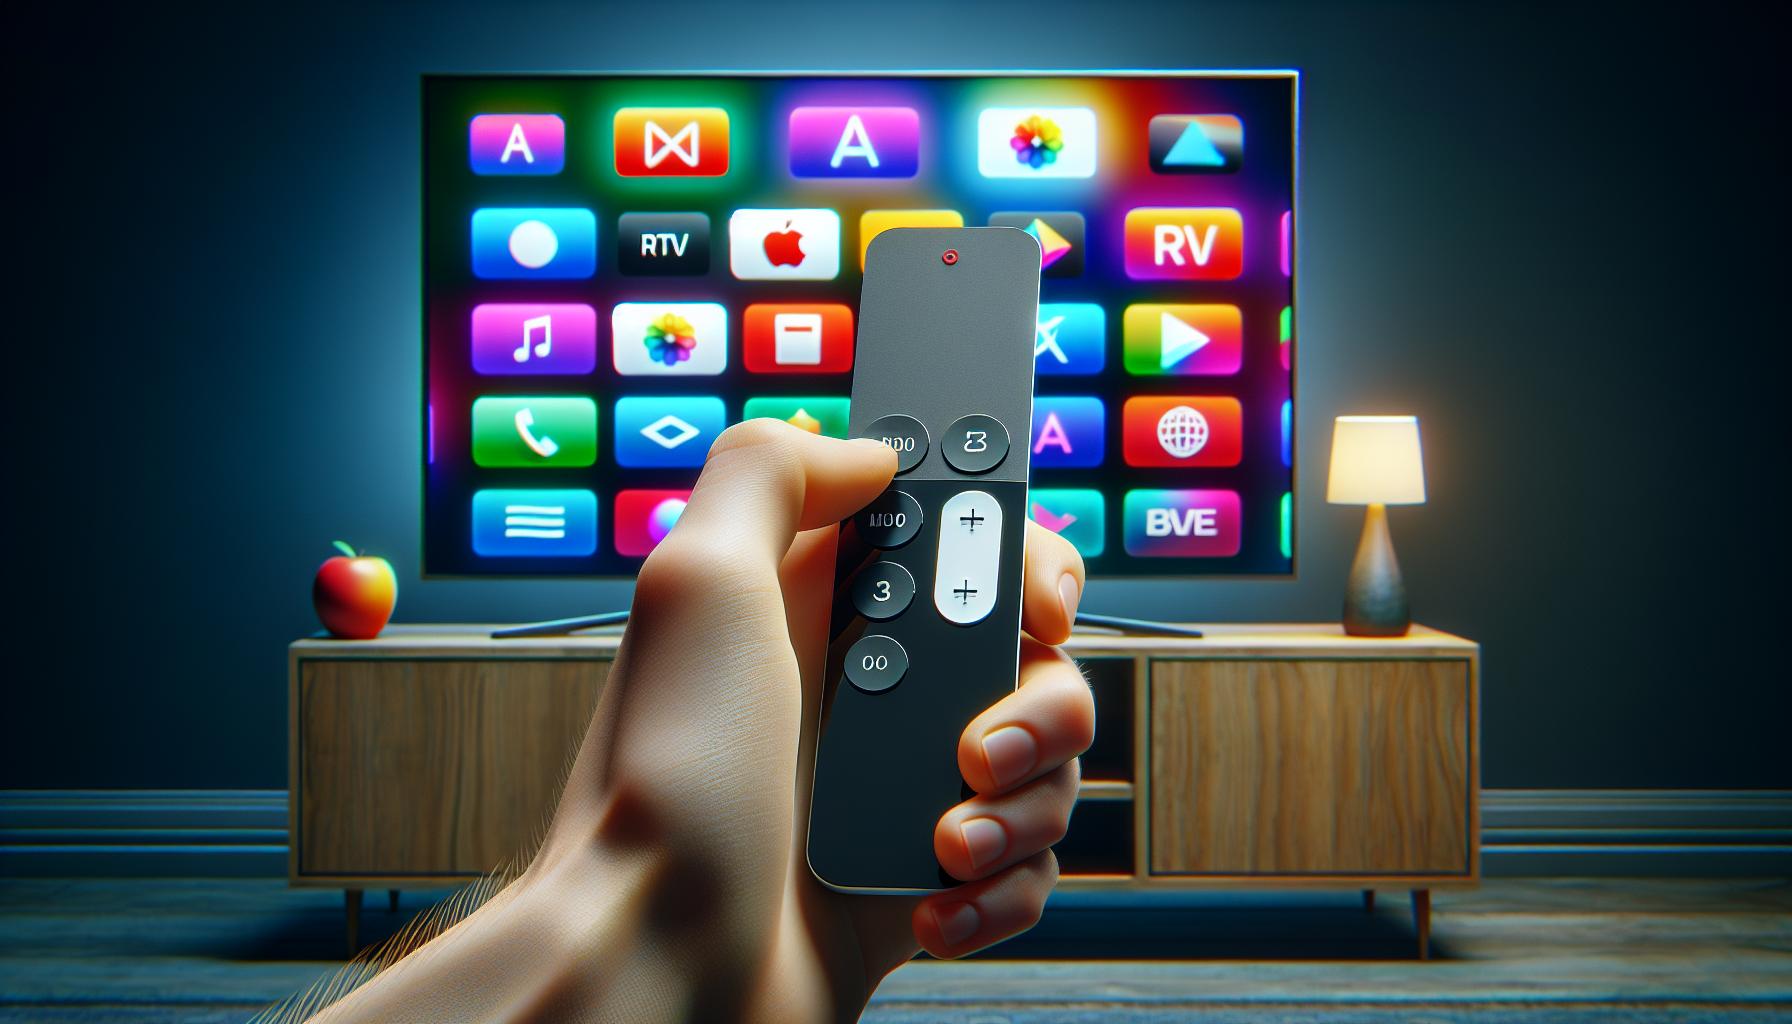
You'll want to begin by turning on your Apple TV. Grab your Apple TV remote, and make sure it's working. Press the Menu button on your remote. This will bring you to the main menu. It's from the main menu where you'll be able to access the settings.
Why the settings, you ask? It's here where you'll navigate through various options until you reach the Accessibility features. Your Apple TV device carries the Closed Captioning feature nestled within its extensive Accessibility options.
So, after you've reached the main menu, locate the Settings icon. It might be mingling among your other apps. Perhaps it's at the top of your screen, or maybe it's hiding in a corner. When you see it, use the trackpad on your remote to hover over the Settings icon and confirm your choice by clicking.
Remember: Your journey towards optimizing your viewing experience by enabling closed captions begins right at the Settings menu. It’s not only the entry point into the vast realm of your Apple TV's functionalities but a gateway to an enriched viewing experience.
As we venture further into this guide, we'll unfold how the Settings menu, the Accessibility features, and the Closed Captioning option weave together to improve your Apple TV viewing. Get ready to unlock a whole new world of information!
Step 2: Enabling closed captioning
Once you've reached the Accessibility menu, your journey to enabling closed captioning on Apple TV is halfway through. Your desired settings are within reach.
You'll first need to locate and select the "Subtitles and Captioning" option. This is usually under the "Media" section, but remember, different versions of Apple TV might have slightly varying menus. Regardless of your device's version, Subtitles and Captioning will remain a constant feature in the Accessibility settings. Get that confidence boost by knowing you're in the right section.
Upon selecting the Subtitles and Captioning option, you're ushered further into an array of settings aimed at accessibility. Here, you're seeking one specific toggle – the "Closed Captions + SDH” option. And guess what? Enabling closed captioning on your Apple TV is as simple as toggling this option on. Slide that switch, turn it on, and ta-da - you've successfully enabled closed captions on your Apple TV.
Enabling this option doesn't just provide subtitles for the deaf or hard of hearing. You might have noticed by now that "SDH" stands for "Subtitles for the Deaf and Hard of hearing." While it certainly enhances viewing for them, even viewers without hearing issues will find them useful. You might be in a loud place or maybe your house’s soundproofing is too good. No stress, your solution is a simple toggle away.
Wouldn't you love to personalize these captions a little more? Certainly. Colored captions, captions with different styles or maybe you just want them a little bigger or smaller - this is where the 'Style' feature comes in. It's located right under the "Closed Captions + SDH" toggle switch.
By exploring the 'Style' section, you can customize your captions to suit your needs and preferences. Choosing your preferred font, adjusting the size, selecting your color, and dictating the background are all at your fingertips.
This journey, your exploration of how to enable and personalize closed captioning on Apple TV, should by now be an exhilarating one. After all, you're venturing into making your viewing experience truly yours. These steps ensure you get the best out of your device, your shows, and ultimately, your viewing experience.
Step 3: Customizing closed captioning options
So, you've made it through the first two steps. Accessing the Settings Menu and Enabling the Closed Captions + SDH option were a breeze, weren't they? Now, let's dive into the nitty-gritty - customization.
Apple is one company that values personalization and your viewing experience is no exception. With your closed captions enabled, you'll find that there's much more you can do to tailor-make those subtitles to your liking.
Ever noticed the 'Style' option just sitting there under "Subtitles and Captioning"? That adds a whole new layer of customization to your Apple TV experience. By tapping on 'Style', you'll discover an array of preset caption styles including transparent backgrounds, classic and large text, among others.
However, you're not confined to these preset options. By selecting 'Create New Style', you're given the power to change everything from the font, its size, and even color. You can also customize the background by managing the color, and opacity of your captions.
Here's how you can do it:
- Firstly, access the 'Create New Style' option.
- Next, you'll see various categories to personalize including text color, font, size, and background color.
- Tap on each category and choose your preferred settings.
This is where you can let your creativity roam free. Do remember, however, that readability is key. While you might be tempted to choose the most aesthetically pleasing options, ensure that your subtitles remain clean and clear to read.
This level of personalization brings an aspect of userliness to the table. It's nearly a form of accessibility that goes beyond mere function. It makes for a more pleasing, liberated viewing experience - one that is additionally practical.
Tips for a better closed captioning experience

Now that you've got your closed captions enabled and personalized, you're probably eager to start using this feature in your favorite shows and movies. Here's the thing - there are some extra tips you can follow to enhance your viewing experience even more.
Don't just stick with the defaults; have some fun playing around with the options. Remember, with Apple TV you've got control over the font size, type, color, and even the background of your captions. Make sure to pick a combination that provides maximum readability and suits your personal preferences.
Next, consider your viewing environment. In a well-lit room, lighter captions with a transparent background may work best. For darker rooms, you might want to opt for brighter color combinations. This way, you wouldn't strain your eyes, and your viewing experience remains at top-notch quality.
Consider the pace of your media too. If you often find yourself watching fast-paced content like sports or action movies, you might want to increase your caption size a tad bit. A larger font would be quicker to read, making sure you don't miss out on any crucial dialogues.
Furthermore, if you're part of a multi-language household or often watch foreign films, you can easily adjust the caption language. Showcasing subtitles in a preferred language can substantially enhance your Apple TV entertainment time.
There's no hard and fast rule here. Take some time to experiment with different settings, gauge readability, and tweak as required. After all, the end goal is to ensure your closed captions are not just an accessory to your media consumption, but a significant part of your enhanced viewing experience.
Conclusion
You've got the power to make your Apple TV viewing experience more inclusive and enjoyable. By now, you should be confident in navigating the settings to turn on and customize closed captions. Don't forget to play around with different settings to find what works best for you. Whether you're watching in a noisy environment or just prefer text to accompany your visual content, closed captions can greatly enhance your experience. Remember, it's not just about enabling the feature, it's about making it work for you. So go ahead, optimize your Apple TV viewing with closed captions today.
Frequently Asked Questions
How can I enable closed captioning on Apple TV?
To enable closed captioning on Apple TV, go to 'Settings', then 'General', and choose 'Accessibility'. Click on 'Closed Captions + SDH' to turn it on.
Can I customize the captions on Apple TV?
Yes. Apple TV allows customization of the captions. You can change aspects like color, style, and size according to your preferences in the same 'Accessibility' settings.
What factors should I consider for a better captioning experience?
Consider factors such as your viewing environment and the pace of the content. You might need larger captions for fast-paced content or to adjust according to ambient light.
Can I adjust the caption language on Apple TV?
Yes. You can adjust the caption language according to your preference. This setting can be found in the 'Language' section of the 'Accessibility' settings.
Are closed captions an integral part of the viewing experience on Apple TV?
Absolutely, closed captions can dramatically enhance your viewing experience on Apple TV, especially for those who are hearing-impaired or when watching in a noisy environment.


