Ever found yourself squinting at the screen, trying to catch every word of your favorite show? Or maybe you're just curious about what the characters are muttering under their breath. Whatever the case, closed captions can be a game-changer. And if you're an Apple TV user, you're in luck.
Getting closed captions on Apple TV isn't as complicated as it might seem. In fact, it's pretty straightforward. With just a few taps on your remote, you can turn on captions and enjoy your shows without missing a single word.
How to Enable Closed Captions on Apple TV
While enjoying your favorite TV shows or movies on your Apple TV, you might want a more inclusive experience. Closed captions, often used by individuals with difficulty hearing, can also help anyone capture dialogue nuances, especially with strong accents or quiet speaking characters. So, here’s how you can enable closed captions on Apple TV.
First, you must ensure your Apple TV is on. Use your Apple remote and press the Menu button until you reach the home screen. Upon reaching the home screen, navigate to Settings. It might be in the second row of app icons, but it depends on your device's layout.
In the Settings menu, now reach the General category. Select the Accessibility option nestled under General. Surprisingly, you'll find more than just closed captions settings, so feel free to explore these features when you have more leisure time.
In the Accessibility menu, you'll see a section named Media. Believe it or not, that's where you'll find the Closed Captions + SDH option. Select this option and turn it on. A simple toggle, it immediately supercharges your viewing experience via transcripts of audio content.
But we're not done yet. There's another step for a customized closed captions experience.
Back on the Accessibility screen, right beneath the Closed Captions + SDH option, you'll find Style. You are absolutely free to design your closed captions here. Pick the font that soothes your sight or colors matching your mood – creative control remains in your hands.
And that’s it! From settings to font choice, it's all about making your Apple TV viewing more enjoyable. The process is straightforward and only takes a few moments. So, grab your Apple remote and start modifying your Apple TV to suit your viewing needs. The power of inclusion and understanding is now at your fingertips.
Step 1: Access the Settings Menu
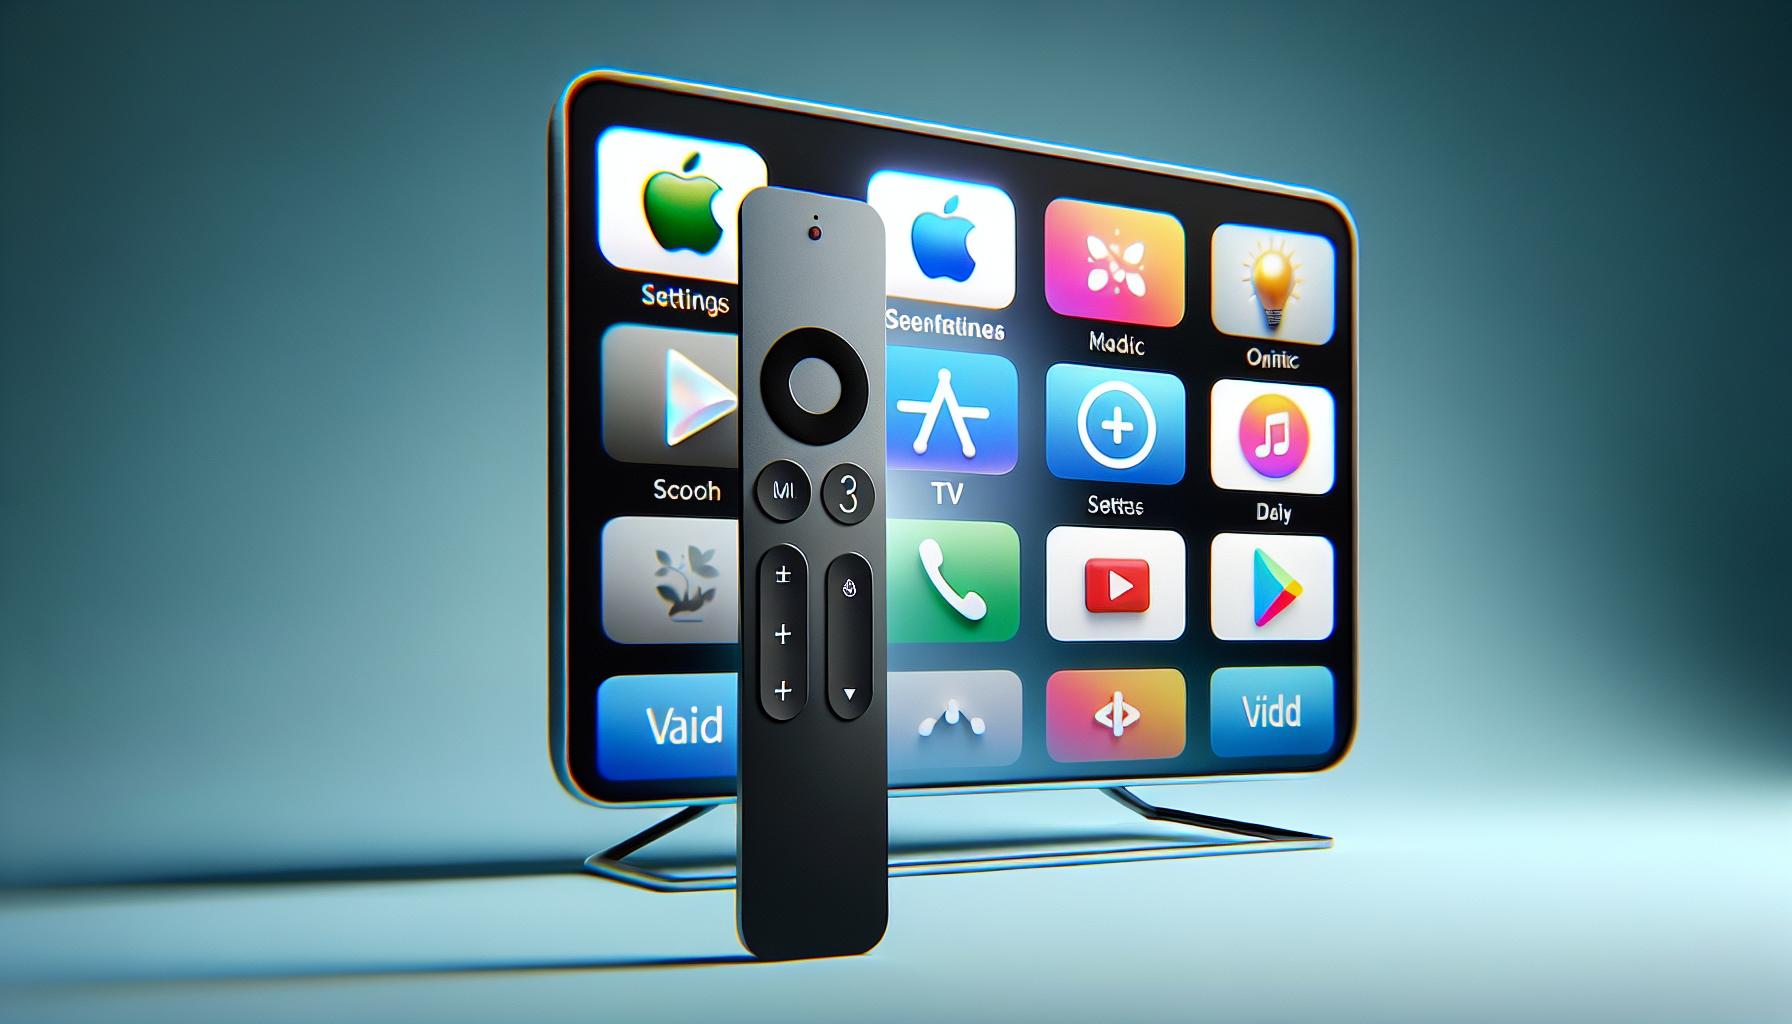
Cracking into the first step, make sure your Apple TV is all powered up and on your home screen. You will initially be greeted by a multitude of icons representing various apps. Yet there's one icon you'll want to find without haste: the Settings icon. It's symbolized by two gears working in harmony just like the essence technology and usability embody in your Apple TV experience.
As the name suggests, the Settings menu is the hub for all configurable features on your Apple TV. It's in this domain where you can tweak everything from your screen saver preferences to your WiFi connection. In this case, we'll utilize the Settings menu to lay the groundwork for enabling closed captions.
Commence by clicking your Apple TV remote's touch surface to activate the on-screen cursor. Hover this cursor over the Settings icon and feel the slight, yet affirmatively tactile feedback as your option is selected. Add one more click and voom - you've opened the way to a realm full of settings.
Once inside the Settings menu, your field of vision will be drawn to an array of options. You'll see choices for Apps, AirPlay and Handoff, Network, and more. But you're on a mission - to dive into the Accessibility realm.
Of course, we'll take it from here. In the next step, you'll discover how to navigate further into the Accessibility option to get to your ultimate destination: turning on your closed captions.
Keep in mind, you're not just following steps; you're unraveling a path to a more inclusive viewing experience on Apple TV. Allow the anticipation to expand your eagerness for the fulfillment this feature can offer. Take one last glance at the other options you've passed, as you might want to explore them another time. But for now, let’s move forward.
Step 2: Select General

Once you've made your way into the Settings menu, your next step is to select the General option. This is your portal to all things manageable on your Apple TV, from screen resolution to date and time. But for this guide, "General" plays a vital role in our step-by-step endeavor to enable closed captions.
You mustn't let the vast array of options lurking in the General menu hurdle your progress. Look for the toggle bar next to the General caption, and gracefully tap or click it; depending on your remote control or input device. This will lead you into the next arena of numerous settings waiting to be discovered.
As your eyes scan through a plethora of available options, don't get lost. Remember, you're on a mission! Tune out the distractions and stay focused on the path. This guide aims at fostering inclusivity and understanding, so absorb the knowledge, but don't veer off course.
You're possibly thinking, "Shouldn't this be easier?" Yet, consider it a journey towards enhanced viewing experience on your Apple TV. Soon, those cluttered lines of dialogues will all make sense. And to get there, every step counts. So embrace the process. Keep following these steps, you're not far from figuring out how to enable closed captions.
Remember, it's the General settings today! And it's the silver lining lying ahead, making your Apple TV much more intuitive and inclusive. So take some time, explore your way around the menu and brave through each stage. You're doing great. Understand that every tap, every sift through options, gets you closer to a better user experience—a journey towards removing communication barriers.
In the next section, we'll delve deeper into the Accessibility settings. Stay attuned as we continue this enlightening journey towards inclusivity.
You've reached the crucial part of this process. Here's where you access the features needed to turn your Apple TV into a more accessible friendly device.
Head over to your Settings menu, you'll spot a variety of options. Your next destination? The General option. This is your gateway to an array of settings to tweak your Apple TV experience. Remember, our goal here isn't to change all the settings. Oh no. We're on a mission and that's to make your device as inclusive as possible, enhancing your viewing experience. Dive into your General settings and you'll find what you're looking for: The Accessibility option.
Did you know that the Accessibility option on Apple TV is not just about closed captions? Yes, it might come as a surprise to some. You see, Apple has always been at the forefront of ensuring their products are accessible to everyone. And their commitment to inclusivity is evident right here, within the Accessibility features of Apple TV. This feature set allows you to adjust a variety of settings that make the device easier to use for individuals with hearing, vision, or physical motor limitations.
So, after you land on the Accessibility page, don't be too quick to move on. Take a tour. Explore. You might find a feature that you didn't even realize you needed. But, let's not get too side-tracked. You're here for a purpose - to enable closed captions. So, keep your focus, make sure you're in the right place, and look for the phrase that says 'Closed Captions + SDH'. That's your next stop.
And on we go, hand-in-hand, to delve further into the journey of making your Apple TV experience more accessible, one key step at a time. Hold tight, because the fun's only begun. Don't lose sight of the goal though, ensuring every word aired on your screen is understood, matched with audio-visual perfection to heighten your experience.
Step 4: Enable Closed Captions
You're now in the realm of Accessibility. It's where Apple's commitment to inclusivity shines bright. If you've followed the steps laid out in the previous sections, you've already navigated your way to "Settings", darted into "General", and wisely strolled into "Accessibility". The stage is now set, and you're ready to dive deeper.
Over the course of the next couple minutes, your fingers will perform a beautiful ballet on your Apple TV Remote. You'll swing your gaze towards the right side of your screen, where a world of practical options awaits discovery. Among the list, you'll find the key to your quest - Closed Captions + SDH. Let's unlock this option without a moment's delay.
| Step | Action | Direction |
| 1 | Highlight "Closed Captions + SDH" | Use the Touch Surface on Remote |
| 2 | Activate the option | Click the Touch Surface on the Remote |
Check, that you've successfully toggled on the "Closed Captions + SDH" option. Now, the world of Apple TV dialogue won't just be an auditory delight but a visual treat as well.
It's important to add a dollop of personalization to extraordinary things. Apple TV understands that and so do you. Under the "Style" section, adjacent to "Closed Captions + SDH", you'll find an opportunity to alter the look and feel of your captions. You can play around with the size, color, and background of your text. The power of customization is now literally at your fingertips!
Your hearing limitations are not a deterrent, they're exactly why Apple keeps pushing the envelope on inclusive technology. You've taken powerful steps towards greater understanding and inclusivity. There are more features in the Accessibility section for you to delve into at your leisure. Exploring further enhances not just your Apple TV viewing experience but reinforces the importance of everyone's right to enjoy the magic of digital content.
Step 5: Customize Caption Settings
At this stage, your Apple TV should have Closed Captions + SDH enabled. But don't stop there yet; it's time to make those captions work for you. Personalizing the caption settings will assure a better viewing experience.
Accessing caption settings on Apple TV is pretty straightforward. You'll have to navigate to the 'Style' option. This is located under the main 'Accessibility' menu right where you found 'Closed Captions + SDH'. Once you select 'Style', you'll encounter multiple options to adjust your caption settings.
Apple TV presents you with four preset caption styles. These are Default, Large Text, Classic, and High Contrast. These categories cater to the most common viewer preferences. But remember, it's not just about enabling captions but making them more suitable for your viewing pleasure.
Feeling adventurous and not satisfied with preset styles? It's alright! Apple TV lets you create custom styles. That's right, you can modify the text size, font, color, and even the background and highlight of your captions. Go ahead, step into the 'Create New Style' option and feel free to customize your captions as per your liking.
Here it is important to note that how you style your captions can significantly affect your viewing pleasure. Should you choose a font that's too small, you might strain your eyes. A background color that's too bright might distract you from the video. Take your time and try different styles and color combinations until you find the one that works best for you.
Conclusion
So there you have it! You're now equipped with the knowledge to enable and customize closed captions on your Apple TV. It's a simple process that can make a world of difference to your viewing experience, especially if you're hard of hearing or just want to catch every word of your favorite show. Remember, the Accessibility features on your Apple TV are there for your benefit, so don't hesitate to explore them. Personalizing your captions' appearance can make them even more useful and enjoyable. So go ahead, turn on those closed captions, and make your Apple TV viewing experience all the more inclusive and engaging.
Q1: How can I enable closed captions on Apple TV?
To enable closed captions on Apple TV, you need to go to the Accessibility option in the Settings menu, and turn on the 'Closed Captions + SDH' option.
Q2: Who can benefit from closed captions on Apple TV?
Closed captions can benefit individuals with hearing difficulties, as well as anyone who wishes to better understand dialogue nuances in their viewing content.
Q3: What is the purpose of the 'Closed Captions + SDH' option on Apple TV?
The 'Closed Captions + SDH' option allows viewers to enable subtitles for the deaf and hard of hearing (SDH), making the content more accessible and inclusive.
Q4: Can I personalize the appearance of closed captions on Apple TV?
Yes, viewers are given the option to customize the appearance of closed captions, including selecting from preset styles or creating their own custom styles.
Q5: Does Apple TV offer additional Accessibility settings?
Yes, the Accessibility section on Apple TV offers several settings designed to make the device easier to use for individuals with hearing, vision, or physical motor limitations. The article encourages readers to explore these features.
