Ever found yourself straining to understand what's being said on your Apple TV? You're not alone. Luckily, there's a simple solution: turning on captions. This feature can be a game-changer, especially when you're watching a show with heavy accents or just want to keep the volume down.
You might be thinking, "How do I get captions on Apple TV?" It's actually easier than you'd imagine. In the next few paragraphs, we'll guide you through the steps to enable this handy feature. So, sit back, grab your Apple TV remote, and let's dive right in.
Why Use Captions on Apple TV
Perhaps, you're questioning why it's necessary to use captions on Apple TV. Let's ponder on it. Captions hold more value than most people realize.
For one, captions are an excellent tool for those with hearing impairment. With captions, you can experience what's unfolding on screen without the reliance on audio cues. It's a realm of inclusion and accessibility. Isn't that an applaudable attribute of any service provider?
Second, they're essential for those learning a new language. Perhaps, you're keen to pick up Spanish or Japanese. Don't underestimate the learning power of captions! Text scrolling across the screen aids comprehension. You'll pick up linguistic patterns, phrasing, and vocabulary. Immersive learning at its best!
But what about those heavy accents muddying up dialogue? Whether it's in exotic show locations or local dialects, accents can thicken speech. Captions clear the confusion, leveling the playing field. You can enjoy the show without rewinding repeatedly, trying to decipher spoken phrases.
Also, if you prefer to keep the volume low for late-night viewings or avoid disrupting others around you, captions are your best amigo.
Now the real question: How do we turn on captions on Apple TV? Fear not, folks! The subsequent sections will guide you through the process. Don't worry about technical jargon and complex steps. It's a matter of navigating through options and a few clicks.
Enabling Captions on Apple TV

With the foundation set on the importance of captions, it's time to dive into the simple, straightforward process of enabling them on your Apple TV.
First, make sure your Apple TV is switched on and you're on the Home Screen. Then, using your Apple TV remote, you need to navigate to the Settings icon. It's typically located towards the top of the screen and resembles a gear.
After accessing Settings, scroll down and click on "Accessibility". This is where you'll find the necessary toggles to enhance your viewing experience. Apple TV's Accessibility menu is packed with features designed to ensure their technology is as inclusive as possible.
Within the Accessibility menu, you'll see the "Subtitles and Captioning" option. Click on it. You'll then see a setting called "Closed Captions + SDH". Turning this setting on will enable captions. If there's a specific style you'd like your captions to have, that's customizable too. Apple TV allows you to style your captions with different fonts, colors, sizes, and backgrounds according to your preference.
But what about when you're watching content from a different region and the dialogue is hard to understand? It's important to also turn on Auto-Subtitle Language. This feature automatically matches the subtitles with the dialogue language that's being spoken in the content you're watching.
To recap:
- Switch on your Apple TV and go to the Home screen.
- Navigate to and click the Settings icon.
- Click on "Accessibility".
- Click on "Subtitles and Captioning".
- Click on and enable "Closed Captions + SDH".
- Customize captions to your preference.
- Enable Auto-Subtitle Language.
One step that's worth mentioning is that some apps and third-party content might not support captions. So, if you're not seeing captions for some programming, it might not be a setting issue but an app limitation. The power of accessibility in technology lies in your hands. Flexibility and inclusivity, after all, are cut from the same cloth of customization. Nonetheless, keep exploring, and take full advantage of these features to fit your needs.
Step 1: Accessing the Settings Menu
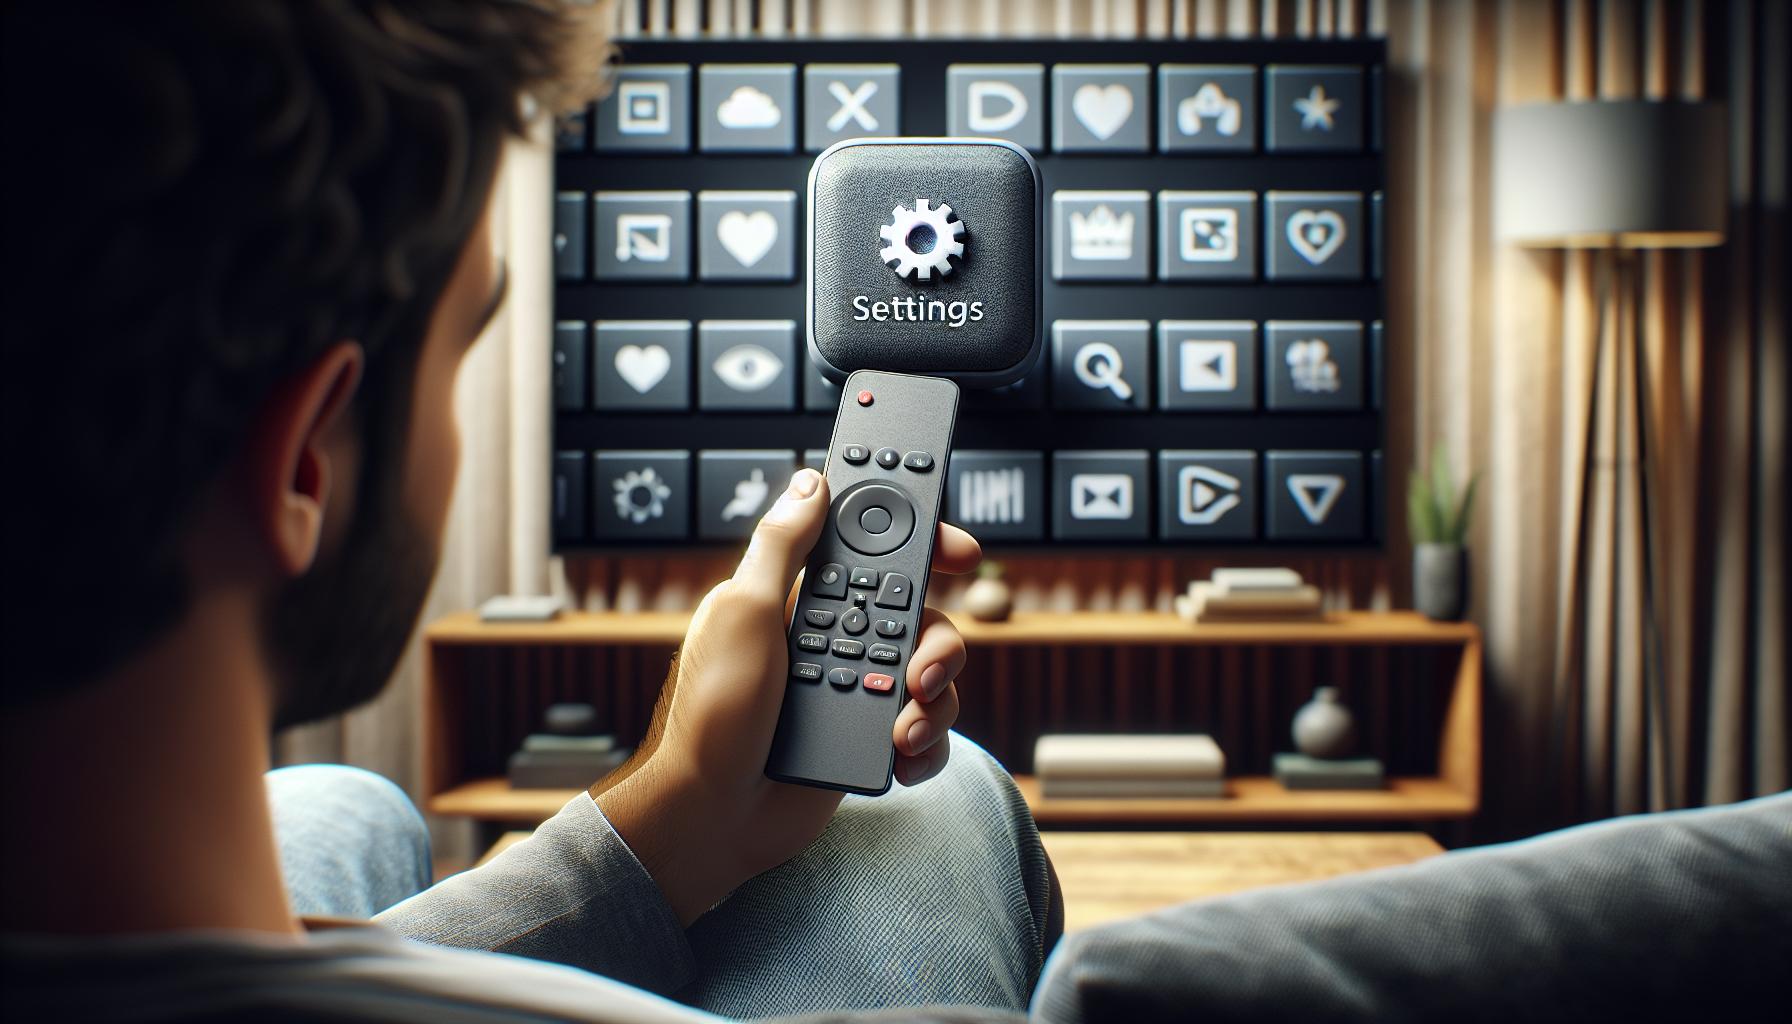
To get started with enabling captions on your Apple TV, you'll need to first access the Settings menu. Here's how you can do that.
Ensure your Apple TV is turned on and connected to your TV as well as your Wi-Fi.
You might want to grab your Apple TV remote and aim it at your TV screen. It's time to get those captions up and running! From the Home Screen, use your remote to navigate your way to the Settings option.
Settings generally appears at the top of the Home Screen, though depending on the specific layout of your Apple TV interface, it may vary in location. So, it's wise to just keep an eye out for the distinctive gear-shaped icon, the universally accepted symbol for settings!
Click on the Settings icon and you're in!
By reaching the Settings menu, you're on your way to getting to those captions. There's a wealth of options available within this hub that can tailor your Apple TV experience to your liking, beyond just the captioning feature we're focused on now.
Notably, Settings is also where you'll land if you're looking to tweak other accessibility features on your Apple TV, like audio descriptions and voiceover. There's a lot about this feature hub that makes your Apple TV usage user-friendly, simple, and personalized.
Remember, it's in the Settings where all the magic happens, where you're one step closer to customizing your Apple TV viewing experience. Now, onto the next step. With the Settings menu now on your screen, let's move forward and dive deeper into the world of captions and subtitles.
Now that you've entered the Settings menu, you're well on your way to enabling captions on your Apple TV. Your next task is actually quite straightforward. You're looking for the Accessibility submenu within Settings. This is your next stop in your journey to get captions working.
When you open the Settings menu, you'll see a list of options on your screen. Scroll down this list until you spot the Accessibility option. When you find it, select it. You do this by pressing the trackpad on your Apple TV remote. So press the trackpad; it's that round, touch-sensitive area on the top half of your remote.
Here's what you need to do step-by-step:
- Open Settings.
- Scroll to Accessibility.
- Press the trackpad to select it.
Inside Accessibility, you'll find all of Apple TV's settings related to making content more accessible, including captions. So, while the destination of this leg of your journey is the "Subtitles and Captioning" section, don't rush past the other settings. You never know - there could be other accessibility settings here that can improve your Apple TV experience.
This walkthrough is setting you, the user, up to explore and expound on your Apple TV settings. Understanding the Accessibility options is a crucial step. So, take your time, peek through what's available, and then continue on to the next section: "Subtitles and Captioning".
That's your ultimate goal, but remember, the overall aim is to expand your knowledge and control of your Apple TV. And we are right here on this journey with you. Stay tuned as we dive into the next phase of this process - selecting your preferred style of closed captions.
Step 3: Enabling Captions
Now it's time to plunge into the heart of the task--enabling captions. You're on the right pathway and just a few steps from turning on those useful captions on your Apple TV.
Direct your attention back to the main Settings menu. Don't get lost in the intricate world of Apple’s interface. Keep focused! Then, find a tab that says 'General'. Tap on it swiftly and you'll see another dropdown list that you hadn't explored yet.
At this juncture of the road, your next checkpoint is finding the 'Accessibility' tab in the 'General' menu. Are you there yet? It might not be as adventurous as finding a hidden relic in your favorite video game, but trust us; it's just as rewarding for your Apple TV experience.
When you tap on 'Accessibility', an entirely new menu opens up. This is the treasure trove full of settings that make Apple TV much easier to use. The one we're interested in lives under the 'Media' category. In this category, you'll find 'Subtitles and Captioning'. Click on it.
Here, you’ll encounter a slider switch right next to 'Closed Captions + SDH'. All you need to do is switch this on! Unravel the magic of this setting for a more inclusive and enriching viewing experience.
But hold on, there's more to this journey.
You've turned on the captions, great. But did you know you can customize them? It's like setting up your throne to watch your favorite shows or movies. Choose from several caption styles or even fashion your own. Make it large, make it bold, color it red or blue. Tailor the closed captions to your eyes' comfort without straining to read during action-filled scenes.
With this feat achieved, you've unlocked the world of captions on your Apple TV. But remember, the adventure doesn’t stop here. There is a lot more to explore within the Accessibility settings for a more customized Apple TV viewing experience. So keep your explorer spirit alive.
Step 4: Customizing Caption Settings
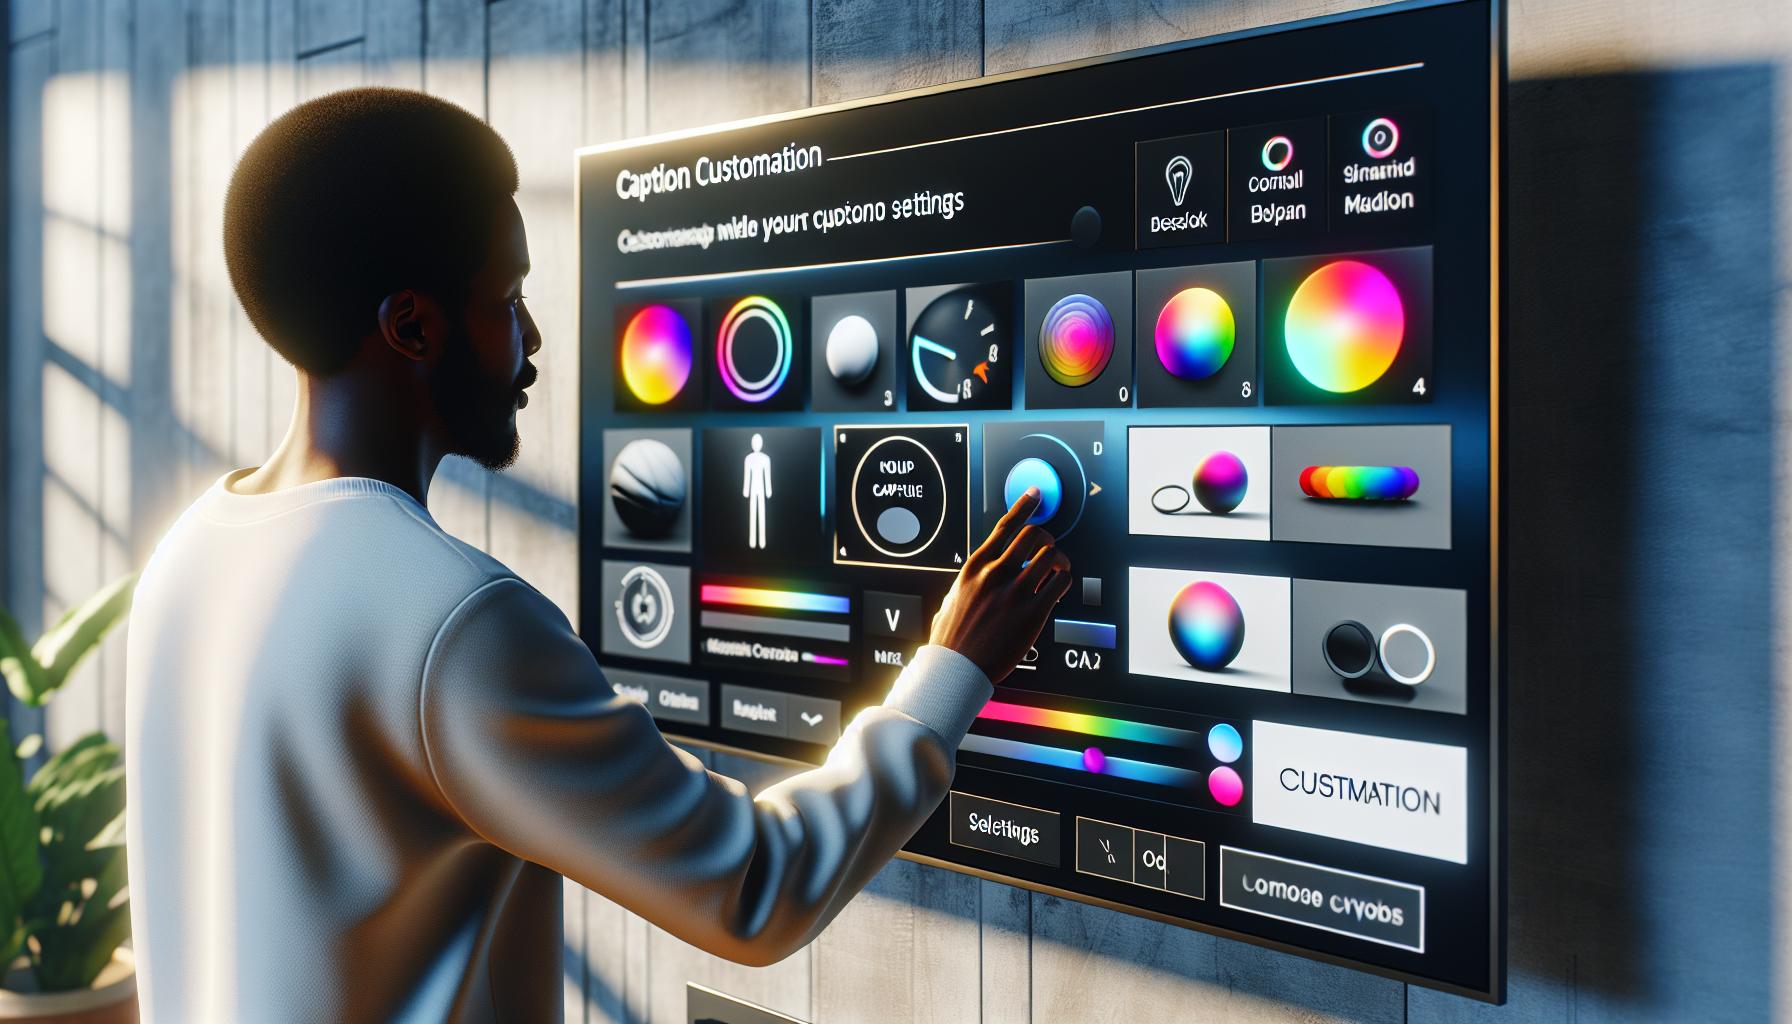
Stepping into customizing captions on your Apple TV brings you an arena for personal tweaks to fit your desires. Yes, Apple's built-in settings give you the authority to alter the style, size, color, and even background of the captions. It's a user-friendly approach providing an optimized viewing experience respecting your unique needs.
To tailor the captions to your taste, you're just a few taps away. Glide right back to the 'Subtitles and Captioning' option. It's there where you'll find 'Style'. Click on it, and voila! You've all the customization choices.
The standard option that your Apple TV comes set in is "Transparent Background". Not quite what you prefer? That's perfectly fine! There are four pre-set styles furnished for you:
- Default
- Large Text
- Classic
- Transparent Background
You'll be keen to find your style among them. However, if none of these sets attract you, you have the liberty to create your customized style. Scroll down to the option 'Create New Style'.
It's exciting to note that you're not just customizing the captions but also improving your Apple's visibility according to your convenience. This marks the importance of this procedure while moving beyond a mere aesthetic perspective.
Dive into 'Create New Style'. You're greeted with a wide spectrum of customizing options:
- Font: A variety of font styles are put on display. Will it be 'Helvetica' or 'Courier'? The choice remains at your fingertips.
- Size: Size does matter when it comes to visibility! Choose from Small, Medium, Large or Extra Large.
- Color: Colorful captions or stick to monochrome? Make your pick from the color palette.
Your Apple TV experience isn't about compromising on your personal touch. So, go on. Imprint your preferences onto the captions, and revel in the difference it makes. After all, Apple is about the user-centric design direction.
Alternative Method: Using the Apple TV App on iOS Devices

To customize your captions, you're not limited to using your Apple TV hardware. You can also use the Apple TV app on your iOS device – an iPhone or an iPad. It's a beneficial method, especially if you're frequently on the move and prefer watching your favorite content on a smaller, more portable screen.
For this, you'd first need to ensure your Apple TV app is up-to-date on your iOS device. With the app’s updated versions, you get to work with the latest features and also any bugs are addressed. So, here's a step-by-step guide:
- Open the Apple TV app on the iOS device and tap on the profile icon located on the screen's top right.
- From the drop-down menu, choose Accessibility.
- Scroll down to the Subtitles & Captioning section.
- Tap on Style, then select Create New Style.
- Now, you're free to customize. You can adjust the style, size, color, and background of the captions to suit your preferences.
- Once done with customization, tap Save.
By following these steps, your custom style is saved for future viewing. It’s good to remember that your settings apply only to the iOS device, not your Apple TV. If you want these settings to apply to your Apple TV, you need to repeat the customization process on the Apple TV itself.
While using this method, you get the same customization options as you get on Apple TV, ensuring a consistent, user-centric Apple TV experience, irrespective of the device size.
With Apple’s commitment to enhancing user experience, they continue to upgrade the caption customization process. Remember to check for updates frequently.
Whether you decide to use the Apple TV hardware itself, or the Apple TV app on your iOS device, thank Apple for the user-friendly processes. The power to personalize your viewing experience is truly at your fingertips.
Conclusion
So, you've learned how to get captions on your Apple TV and customize them to your liking. The power is in your hands, whether you're using the Apple TV itself or the app on your iOS device. Remember, the customization process needs to be done on both devices for a seamless experience. Apple's dedication to enhancing your user experience shines through these features. You're not just watching, you're personalizing your viewing experience. That's the beauty of technology - it adapts to you. Now, sit back, relax, and enjoy your favorite shows and movies with your newly customized captions.
Frequently Asked Questions
How can I customize caption settings on my Apple TV using my iOS device?
You can follow the provided step-by-step guide in the Apple TV app on your iOS device to customize your caption settings. However, remember that these settings only apply to future viewing on your iOS device.
Will these customized caption settings be saved for future use?
Yes, once you customize your caption settings using the iOS device, the style is saved for all future viewing on the said device.
Do the customized settings on my iOS device apply to my Apple TV?
No, if you want to apply these settings to your Apple TV, you need to repeat the process of customization on the Apple TV itself.
Has Apple made any assurance towards enhancing the user experience?
Indeed, Apple has expressly stated its commitment to continually enhance the user experience, emphasizing the power of personalizing the viewing experience.

