Ever thought you could send a fax right from your iPhone? It's not only possible, but it's also incredibly easy. With the right apps and a few simple steps, you'll be sending faxes in no time, no matter where you are.
In today's digital age, you don't need a bulky fax machine to transmit documents. Your iPhone can do the job perfectly. This guide will show you how to turn your iPhone into a portable fax machine.
Benefits of Faxing from iPhone
In today's technology-driven society, fast, convenient, and accurate communication is a must. With the ability to fax directly from your iPhone, you're stepping up your professional capabilities, making your life considerably easier.
Think about this: No longer do you have to hunt for a fax machine tucked away in the corner of an office building. That's right - your iPhone becomes your portable fax machine. Not only does this make communication more convenient, but it also saves you valuable time.
Other benefits unfolding from this setup are:
- Mobility: With your iPhone doubling as a fax machine, you are not confined to a desk or office to facilitate your communications. Send and receive faxes wherever you are, providing you've an internet connection.
- Speed and Efficiency: Traditional faxing requires printing, manual scanning and feeding of documents into a fax machine. By faxing from an iPhone, you can bypass such processes, leading to faster transmission times and increased efficiency.
- Sustainability: Faxing from an iPhone boosts your environmental friendliness. Digital faxing reduces paper consumption and eliminates the need for ink or toner.
- Security: Digital faxing comes with better security features than traditional faxing. With end-to-end encryption available on many faxing apps, your documents are less vulnerable to interception during transmission.
Moreover, it's your iPhone's existing technology that facilitates the bulk of this process. You've likely taken photos with your iPhone, maybe even scanned documents before. The intuitive interface of many faxing apps makes the transition to this novel mode of communication seamless.
By embracing the use of your iPhone to send faxes, you're on your way to a more productive, modern, and flexible method of communication. This approach not only changes how you send and receive documents but also how you manage and store them. Go ahead, harness this technology to create a more agile and efficient communication process.
How to Choose the Right Fax App for iPhone

Choosing the right fax app for your iPhone is pivotal to optimizing the perks discussed earlier. You'll encounter an assortment of options in the App Store, but it's crucial to identify an app that best caters to your needs. When picking a fax app, consider the following factors:
Ease of Use: Look for an app that has a user-friendly interface. You don't want to lose time struggling with complicated navigation or confusing features.
Cost: While some apps are free, others charge a fee. Evaluate the pricing against the app's features to ensure you're getting value for money.
Security: Given the sensitive nature of faxes, the app must have robust security measures in place. Endpoint security and transmission encryption are vital.
Integration with Other Software: The ability of the app to seamlessly integrate with your existing software can enhance efficiency.
Now that you're aware of these things, you can make an informed choice and fully harness the power of faxing from your iPhone. Bit by bit, as you become accustomed to this efficient method, you'll appreciate the convenience it offers, especially in this fast-paced, modern world. You'll likely find that opting to use your iPhone for faxes will enhance productivity drastically, leading to savings in both time and resources. This new-age way of faxing signifies modernity and adaptability, redefining what mobile communication should look like in today's digital age.
Setting Up a Fax Account

Now we're sailing into the meat of the matter: Setting Up a Fax Account so your iPhone becomes your portable office and you embrace the future of communications.
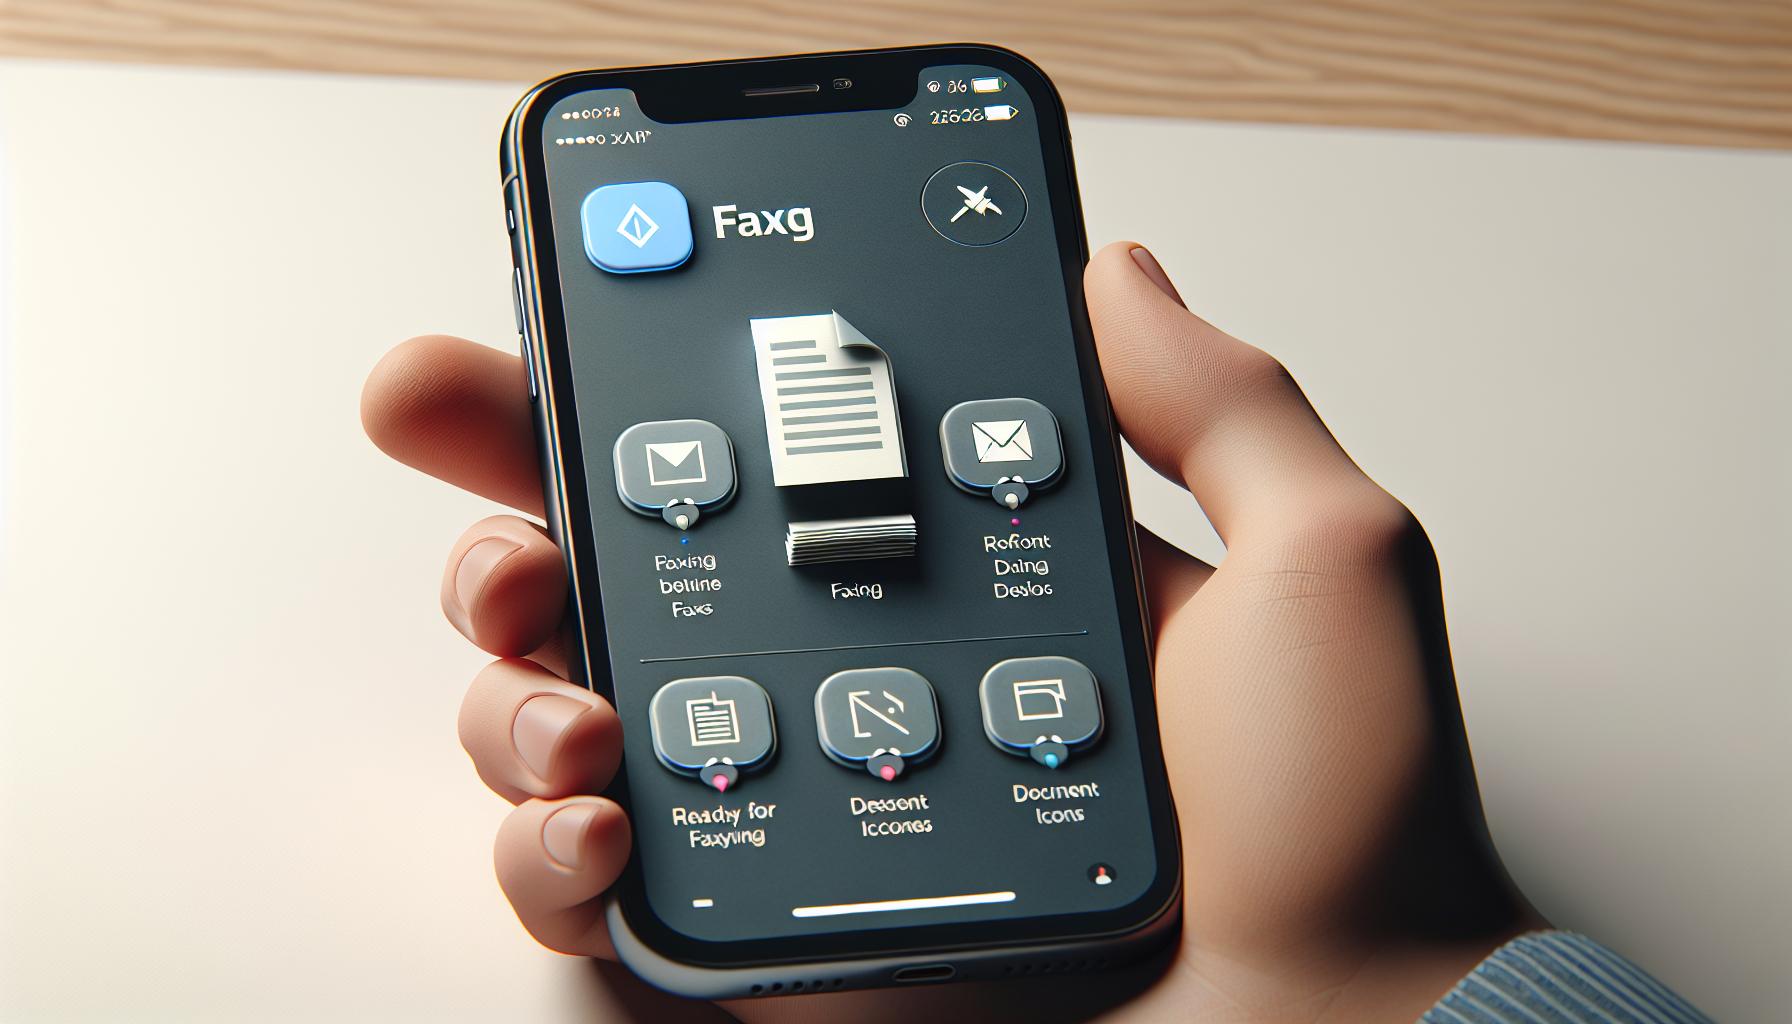
For starters, you'll need to download a fax app. You are truly lucky because a plethora of fax apps are readily available on Apple's App Store. There's no shortage of choice, but remember: some are better than others. Make sure you go for a reliable brand, read reviews, and compare features. Could you go wrong with choosing a free app? Maybe. What about investing in a fax app with stellar reviews and a broad user base? Sounds like a smart choice.
Once you've downloaded your chosen app, the next steps revolve around creating an account or signing up for a service. This is where the ease of use comes into play. You don't want an application that is so complicated it needs its own instruction manual. Look for intuitive interfaces and smooth registration processes. Some fax apps will ask you to provide basic information like your name and email, while others might require you to choose a plan and make a small, one-time payment.
Remember to treat this service as you would any other online accounts. Ensure strong password safety especially since you'll likely be transmitting sensitive documents. No one wants a fax intercepted by an unintended recipient.
So to sum up: Download. Decide. Sign up. Secure. These don't have to be chores. On the contrary, consider them the stepping stones to a faster, more efficient, environmentally-friendly, and safer form of business communication. You're taking the following steps to transform your iPhone into a lean, mean, fax machine and stride boldly into the future. You'll find an interactive guide ahead giving detailed instructions for different fax apps, demo images and FAQ section to facilitate a smoother journey for you.
Scanning Documents to Send as Fax

Moving forward with the process, it's time to tackle scanning documents to send as a fax. Scanning documents straight from your iPhone has been made simple and straightforward, thanks to technology that shrinks scanners down to pocket size. Let's delve into it.
First, open your chosen fax application on your iPhone. Again, a user-friendly interface is a major key for this step to be smooth and hassle-free. Ensure the app offers a scanning feature. If it doesn’t, there will likely be a 'photo to fax’ or similar option.
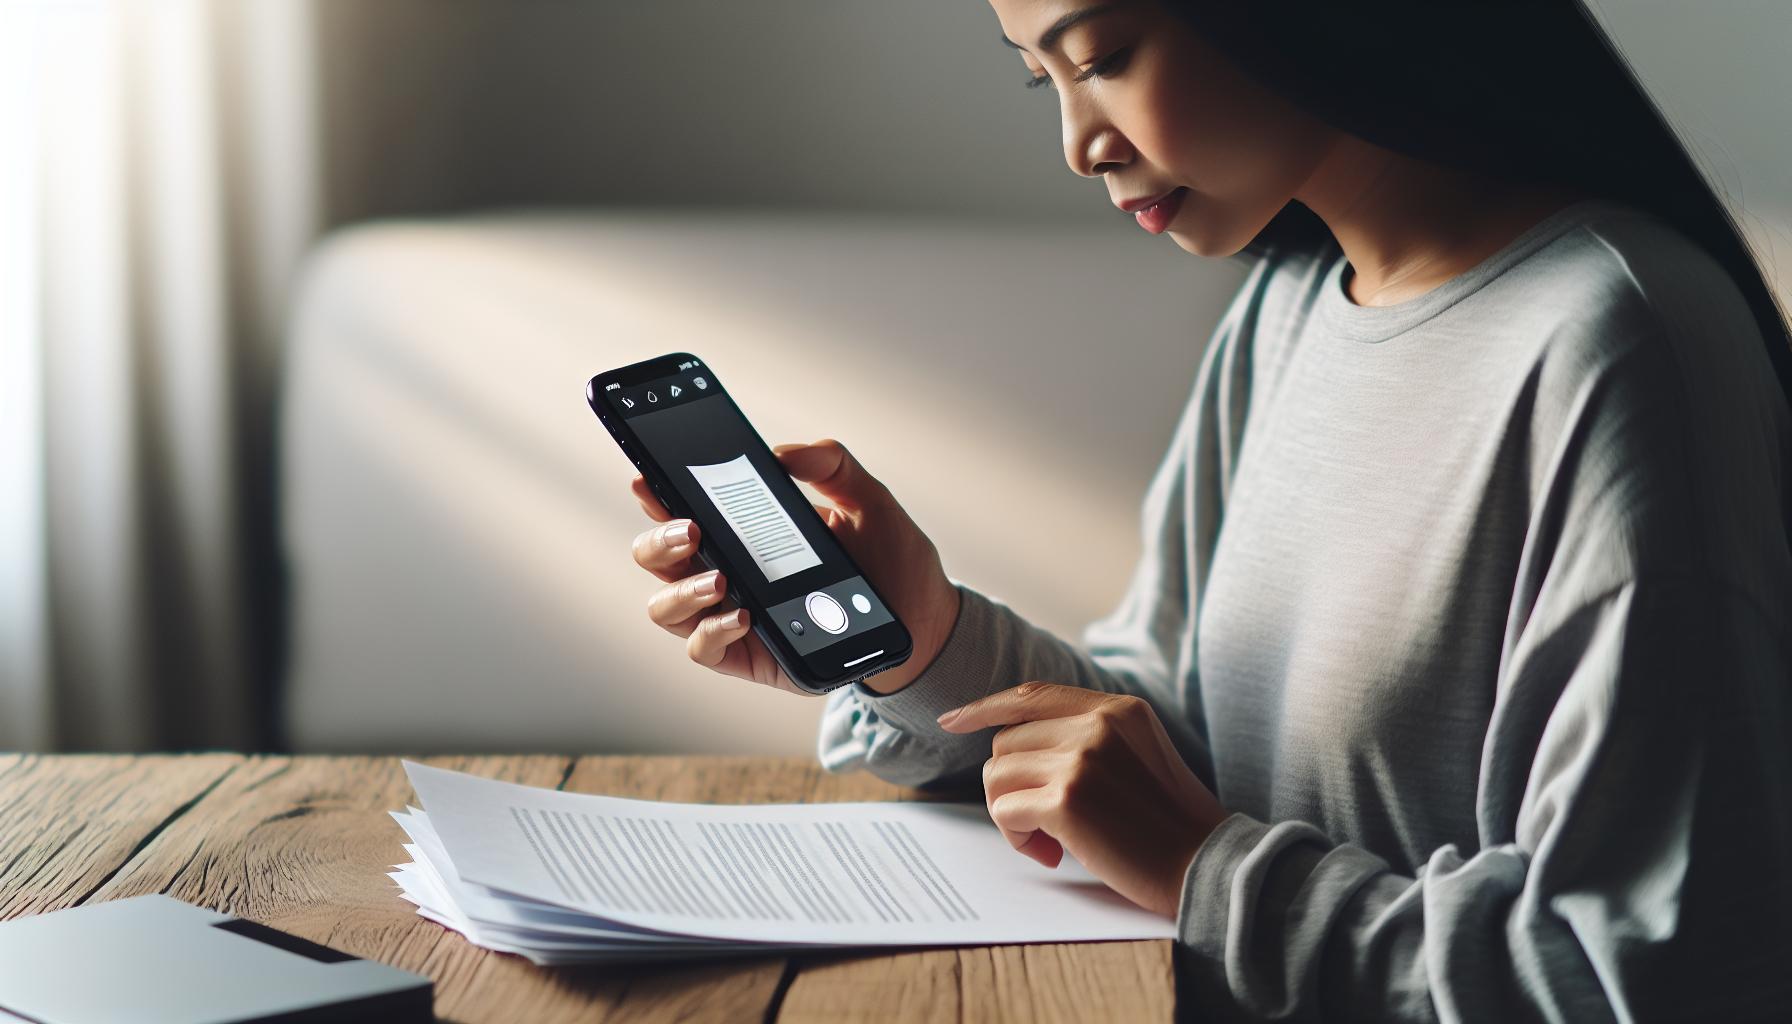
Next, you'll need to take a clear photo of the document you wish to fax. Some apps even allow you to import photos or documents directly from your iPhone's gallery or files, making the process even simpler. Make sure the photo is clear and legible, this is where the quality of your iPhone's camera can be a massive help. An unclear or distorted image can risk miscommunication, or worse, a potential security concern.
In most cases, once you've taken or imported a photo of your document, your fax app will automatically process and enhance the image for optimal readability. Some apps may give you options to further manually adjust the image quality or size and many even allow you to add multiple pages to one fax.
While getting through this stage, remember, your endeavours don’t end with pressing ‘send’. After sending your document, confirm your transmission was successful. Many modern fax apps will give you a Delivery Status Report or similar confirmation; valuable reassurance that your essential paperwork has indeed reached its intended recipient.
When it comes to faxing from iPhone, mastering the art of scanning documents efficiently and effectively will give you a significant edge. Continuing the process, let's explore the elements involved in receiving faxes on your iPhone.
Composing and Sending a Fax
After your document is scanned and enhanced, it's time to move onto composing and sending the actual fax. It's pretty similar to sending a regular email or text message from your iPhone. Here's how you can do it with ease, follow these essential steps:
- Open your chosen fax app.
- Look for a "Compose" or "New" button.
- Usually, an empty fax form will open.
When you're on this page, keep an eye for specific fields such as the recipient's fax number, your cover letter, and attachment options. The recipient's fax number usually goes in the "To" field, just like an email.
Keep in mind, a clear, concise cover letter can significantly impact your recipient's understanding of the fax contents. Make sure you type in your message in the dedicated field. Typical fields may include "Subject" and "Body", closely resembling the layout of a typical email. A thorough, well-worded body paragraph can also increase your fax's effectiveness.
Once that's done, it’s time to attach the previously scanned document/s. Most fax apps have different ways to attach a document, but most commonly, you'll find an "attach" or "add file" button.
Ensure the attached document is the correct one, pay attention to the file name and size. Be patient while your file uploads, especially if it's a large file or your internet connection is slow. Uploaded documents will generally appear in a list or thumbnail view for your convenience.
For now, hit the "Send" button once everything looks good. Never rush this step. Make sure everything is in its place and correctly entered before sending it off.
Next, let's talk about receiving faxes on an iPhone and how easy it can be if you follow the correct steps.
Checking the Status of Sent Faxes

Time to navigate to the next feature of your faxing application: Checking the Status of Sent Faxes. No more guesswork - you'll become acquainted with the ins and outs of tracking your fax transmissions with the touch of a button.
After you've composed and sent your fax, tap on the Sent or Outbox tab (depending on the application). This is your headquarters for real-time updates on your outgoing fax transmissions. It provides crucial information about the fax: the recipient's details, the time you sent it, and most importantly, the status of the fax.
Checking the status of your sent faxes is as vital as sending them. Sometimes, your faxes may fail to deliver due to reasons such as an incorrect fax number, a busy signal on the recipient's end, or unforeseen technical glitches. That's when you'll see a Failed or Unsent status.
But don't worry. Most faxing apps make it easy for you to resend failed faxes. Simply select the fax, hit resend, and your fax is back on its way in no time at all.
Looking for a success story? If you see the status marked as Sent or Delivered, give yourself a pat on the back. You've successfully sent a fax from your iPhone!
By keeping a keen eye on your Sent box, you're not only ensuring that your document reaches its desired destination, you're also maintaining a clean workflow: keeping track of any correspondence that needs a follow-up or resend.
With the basics of how to send a fax and track its status under your belt, the next topic to conquer lies ahead–– receiving faxes on your iPhone.
Tips for Successful Faxing from iPhone
When you're faxing from your iPhone, you're looking to accomplish a simple task without any hiccups. Here's a few tips that may help improve your faxing experience.
Always Confirm Recipient's Fax Number
First and foremost, always ensure that the recipient's fax number you've entered is correct. Incorrect fax numbers are a commonplace reason for failed transmissions. It's an easy error to make but the fallout can be problematic. Double-checking the number could save you a lot of redundancy.
Choose High-Quality Documents
The clarity of the document you're sending is integral. High-resolution pictures and clear, legible text documents create better looking faxes. You don't want the recipient on the other end squinting to read overblurred, low-resolution items. To maximize success, ensure you're starting with high-quality, high-resolution documents.
Be Mindful of File Size
While it's crucial to have high-resolution files, you also must consider the file size. Files that are too large might cause the fax to take an excessively long duration to transmit, or worse, fail to deliver altogether. It's a balancing act. Aim for files that are high-quality but not extortionately large in size.
Take Advantage of Scheduled Fax
Most faxing apps offer the ability to schedule faxes. This is particularly useful when dealing with recipients in different time zones or simply, when you want to send a fax at a time that's more convenient for the recipient. Scheduling your fax can ensure it arrives when you want it to.
Check Fax Status Regularly
Lastly, don't forget to monitor the progress of your sent faxes. You've already learned how to do this by navigating to the Sent or Outbox tab. Remember, faxes may fail due to various reasons and most faxing apps make it easy to resend failed faxes. Regular checks of the fax status are essential to ensure successful delivery.
Soon, you'll learn about receiving faxes on your iPhone. Stay tuned.
Faxing from iPhone: FAQ

Surely, you've got questions on faxing from your iPhone. We've compiled the most frequently asked questions (FAQs) and their answers to help you understand better.
Is there a cost to fax from my iPhone?
Most often, apps offering fax services come at a price. They might offer a few initial faxes for free as a trial. After the trial expires, you'll need a subscription to continue sending faxes.
Can I send multiple pages in one fax?
Yes, absolutely! Most fax services let you send multiple page documents. Remember, the more pages in the fax, the larger the file size, and the more time it takes to send it.
Do I need a fax number to send a fax from my iPhone?
While not required by all fax services, having a dedicated fax number can make the process easier. Some services allocate a temporary fax number for your use.
What types of files can I fax from my iPhone?
The types of files you can fax from your iPhone are quite varied. You can fax:
- PDFs
- JPEGs
- Word Documents
- PNGs, and more.
Do keep in mind each fax service may have specific rules around permissible file types.
Does the recipient also need a smartphone or specific technology to receive the fax?
No. The beauty of faxing from your iPhone is it sends to traditional fax machines as well.
What happens if my fax fails to send?
If a fax fails to send, most services notify you. They then attempt to resend the fax a few more times.
Ultimately, the world of faxing from an iPhone is incredibly user-friendly and convenient. However, like anything, it has its quirks and rules—so we hope this FAQ clears any clouds of doubt. Take it from us: once you start, you'll realize there's no need for an old-fashioned fax machine.
Conclusion
Now you've got the scoop on how to fax from your iPhone. It's clear that with the right steps, faxing has never been easier or more convenient. You've learned how to ensure successful transmission, from confirming the recipient's fax number to choosing high-quality documents and managing file size. You're now aware of the benefits of scheduled faxing and the importance of checking the status of your sent faxes. With your questions answered, you're ready to take full advantage of this feature. Remember, faxing from your iPhone isn't just user-friendly, it's a game-changer. Embrace this technology and experience a whole new level of efficiency and convenience.
Frequently Asked Questions
What are the essential tips for successful faxing from an iPhone?
The main tips for successful iPhone faxing include confirming the recipient's fax number, using high-quality documents, keeping an eye on file size, leveraging scheduled faxing, and reliably checking the status of sent faxes.
What is the cost for faxing from an iPhone?
Actual costs can vary depending on the service provider you use. Select plans might offer a certain number of free faxes per month, while others may charge per fax or on a subscription basis.
Can I send multiple pages in one fax from my iPhone?
Yes, you can. Just ensure the combined file size of all pages doesn't surpass the limit set by your fax service provider.
Is a fax number needed for faxing from an iPhone?
Yes, a fax number is necessary. You might be allotted a temporary fax number by your service provider or you might need to secure a permanent one.
What file types are permissible for faxing from an iPhone?
Commonly allowed file types include PDFs, JPEGs, PNGs, and sometimes DOC files. However, the specific file types permitted may vary by service provider.
What are the recipient's requirements for receiving a fax from an iPhone?
The recipient needs to have a functioning fax number and a fax machine or a fax application that can receive and print/digitally store the fax.


