Ever felt your Apple TV is cluttered with apps you no longer use? Don't worry, you're not alone. It's a common issue for many Apple TV users. The good news? There's a simple solution to declutter your Apple TV interface: deleting those unnecessary apps.
You might think it's a complex process, but it's actually quite straightforward. With just a few steps, you can free up some space and make your Apple TV interface look neat and organized. So, let's dive right into how you can delete apps from your Apple TV and enhance your viewing experience.
Why delete apps from Apple TV?
Sure, you may love binge-watching your favorite shows on Apple TV, but there's a good chance you're not using all the apps crowding your screen. It's not just about aesthetics. There are practical reasons to keep your Apple TV interface clean and uncluttered.
Speed and Performance
One of the most compelling reasons to clear out unused apps is the simple matter of performance. It's a well-known fact that having too many apps can slow down your device. Each app consumes a measure of your Apple TV's resources, and over time you might notice lagging or buffering issues that disrupt your viewing experience.
Keep your Apple TV running smoothly by periodically sifting through your apps and removing the ones you no longer use or need.
Free Up Storage Space
Like any device, your Apple TV has a finite amount of storage. While it might be tempting to fill it with a plethora of apps, this tactic can quickly lead to limited storage space, which might prevent you from downloading new apps or content. Remember, not all apps are created equal in terms of size – some are significantly larger than others and take up more space.
Check the size of your apps in "Manage Storage" under settings so you know which are the main culprits hogging your valuable storage space.
A clutter-free interface isn't just pleasing to the eye, it's easier to navigate. When you're dealing with a screen filled with dozens of apps that you hardly use, it can be challenging to find the ones you do use regularly. By deleting unnecessary apps, you'll streamline your Apple TV interface, making it easier and quicker to access your most-used apps.
Removing apps from your Apple TV is a straightforward process that can make a significant improvement to both the functionality and aesthetics of your device. By regularly reviewing and removing unused apps, you'll ensure your Apple TV remains a pleasure to use.

It's essential to start on the right note. So, let's dive into our first step which is navigating to the "Settings" menu.
First, make sure the power to your Apple TV is on. Look for your Apple TV remote, sometimes infamously known as the "Siri Remote." Can't find it? No worries, your iPhone will work just as well since it can double up as an alternate remote.
Once you have your control device ready, from the Apple TV's main screen, click the "Menu" button to navigate to the Apple TV home screen. It's the screen where all your installed apps are displayed in a grid format. Here, you're likely to find the "Settings" app easily. The icon is a gear-like symbol, hard to miss.
In case you're facing difficulties, you can use your remote or iPhone to scroll through the row of apps. Start from the top row and move from left to right. Not on the top row? Swipe down, you'll find it soon. On finding the "Settings" icon, click on the button in the center of your remote's trackpad. Alternatively, if you're using an iPhone, tap on the selected app. This action will lead you into the "Settings" Menu.
Remember, don't hurry. Rushing might lead to errors or unintentional actions, plus, it's a fairly simple process. Once inside the settings, you're one step closer to enhancing your Apple TV's performance.
In our next step, we'll learn how to navigate the menu and find the "Manage Storage" option. Keep your remote or iPhone handy and follow the article as we dive into the succeeding steps.

Moving forward, after you've navigated to the "Settings" menu, the next vital step is to select the "Apps" category. This category contains all the information and controls for the apps installed on your Apple TV.
Initially, the screen may seem overwhelming with readouts from all installed apps. However, don't you worry. There's an easy way to make the process smoother.
Focus on the left side panel of the screen. There you'll find a list of specific categorizations. In this list, you'll clearly spot the term, "Apps". It's often situated towards the middle of the menu.
When you glimpse "Apps", here's what you need to do - use your Apple TV remote or iPhone (if you're using it as a remote) to navigate to and highlight this term. To complete the selection, just press the touchpad or "Select" button.
Here's a slight warning - the interface may be different in varying models of Apple TV. It might take a moment to locate the "Apps" option if you're not familiar with your device's layout. So, it's advised to take your time, don't rush, and keep patience. It's not a race. After all, you’re in the driver's seat.
Now that you’re in the "Apps" category, you're one step closer to managing your storage by deleting those unused apps. Stay focused, you're doing great!
Proceeding further, the next step will guide you on how to access the "Manage Storage" option. Stay tuned and keep going.
Step 3: Accessing the list of installed apps
Now that you've found your way to the "Settings" and "Apps" category, it's time to delve deeper. You're halfway through the process of deleting those unnecessary apps from your Apple TV - nicely done!
Your next order of business is to eye that long list of installed apps. Don't be overwhelmed by the number of apps you've downloaded over time. It's easy to lose track and not even realize there's stuff you don't use anymore. Getting rid of them won't only declutter your menu but also free up some much-needed storage space. Let's break it down into bite-sized steps for you.
Start by highlighting the "Apps" category with your Apple TV remote or iPhone and pressing the Select button. This will open a new screen with all your installed apps listed alphabetically. Each app is represented by its logo along with its name below. It's a clean and simple layout, easy to navigate even for a novice. However, remember to be patient and not rush through this part of the process.
Be sure to spend a few moments familiarizing yourself with this list. Even at this stage, you might discover some apps you completely forgot about or barely used. We bet there will be at least one app on that list you'll wish to delete.
Remember, there's no undo button for this action. Once an app is deleted, it's gone for good. You'd have to download it again from the App Store if you change your mind later. Therefore, take a moment to think before each deletion.
Step 4: Deleting unwanted apps
By now, you've familiarized yourself with the list of installed apps on your Apple TV, and you're ready to commence the deletion process. You've taken the time to carefully decide what stays and what goes, a crucial consideration given the irreversible nature of app deletion.
Starting this process is as simple as selecting the particular unwanted app. Once selected, you know the next move: pressing the Play/Pause button on your Apple TV remote. A menu will pop-up offering various options, among which 'Delete' will be your chosen command.
Here's a quick step by step guide:
- Navigate to the app you wish to delete
- Select it using the remote
- Press the Play/Pause button
- Scroll down the menu and select 'Delete'
Easy, right? It's important to note, though, that some pre-installed applications are immovable. This is because Apple deems these apps as core to the user experience.
Here are a few examples of these non-deletable apps:
- App Store
- Settings
- Music
- TV
Deleting unwanted apps is a powerful strategy for decluttering the interface of your Apple TV and optimally utilizing its storage capacity.
Remember that freeing up space allows for a more seamless operation of your device altogether. You'll find Apple TV responds faster and functions more efficiently with less clutter to slow it down.
This was an important step in the grand scheme of managing your Apple TV. The next section delves into how to reinstall apps should you change your mind or accidentally delete something crucial. Stay tuned for it.
Step 5: Confirming the deletion
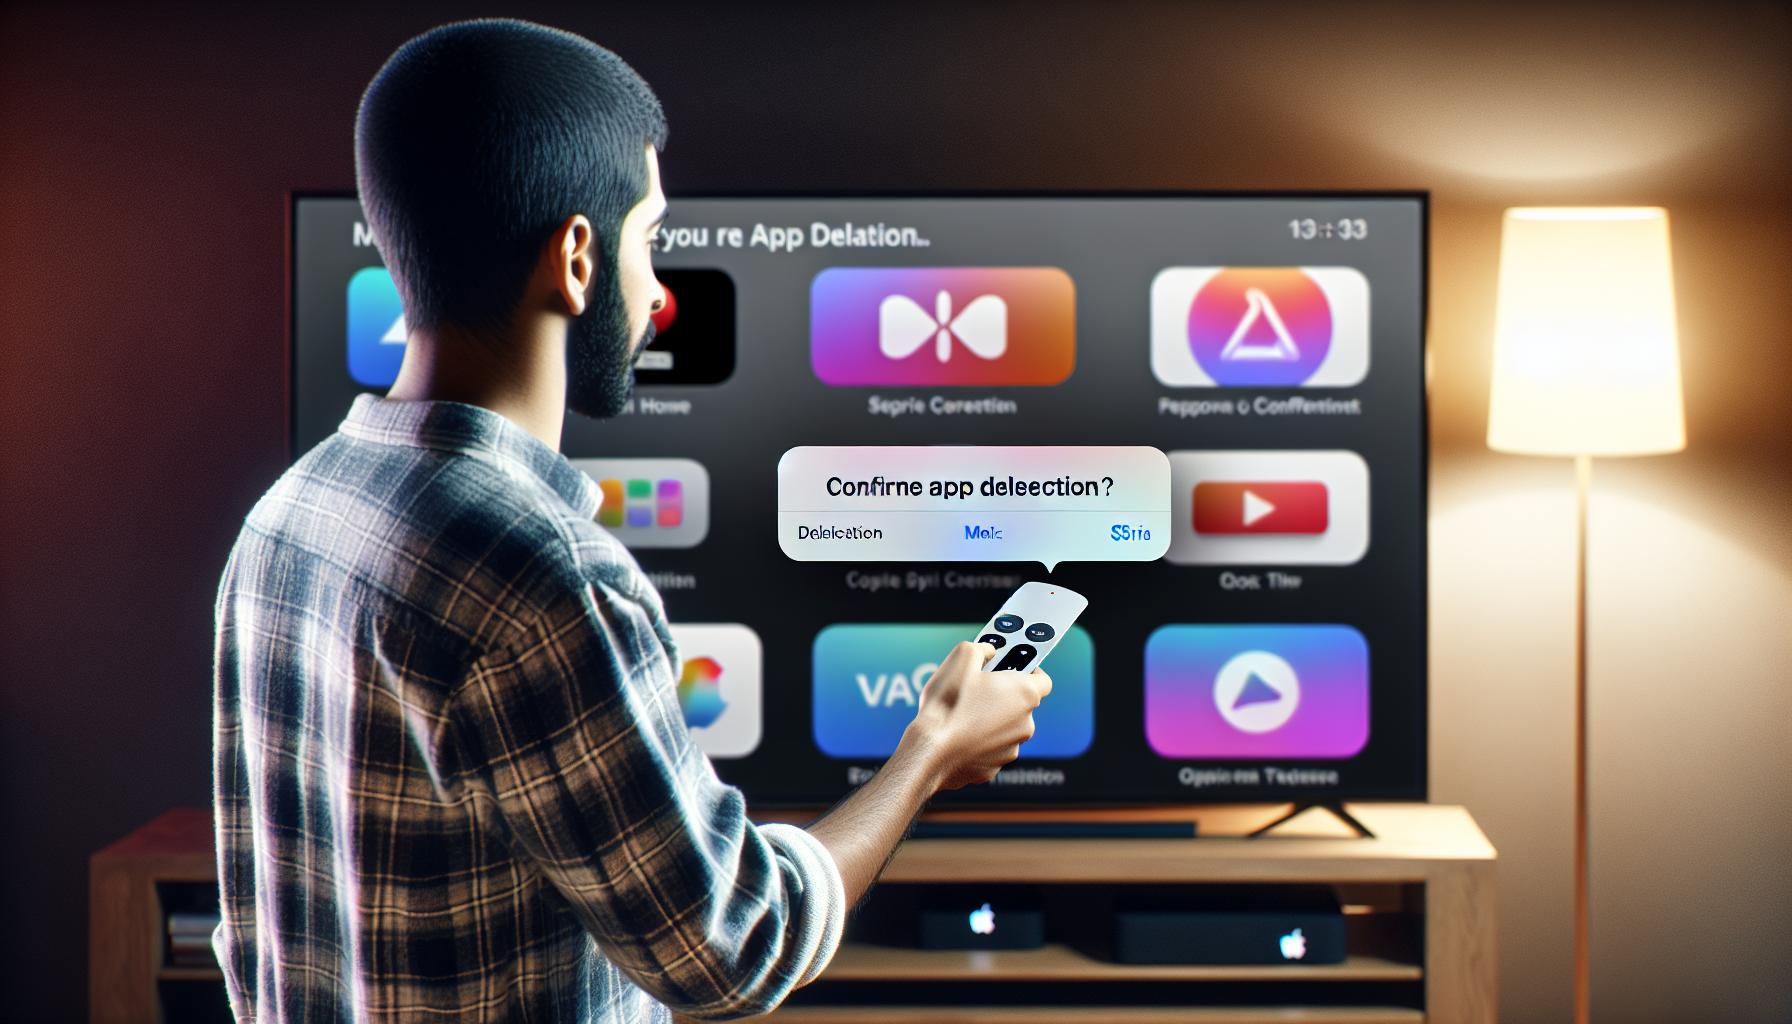
The deletion process isn't complete just after you've selected 'Delete'. A chance for a second thought is offered, just in case. A dialogue box pops up to confirm your action. The words "Are you sure?" reverberate in your mind. It's wise to give it a moment’s thought before taking the final step.
Isn't this the best part of any deletion process? Undeniably, it's the safety cushion, preventing you from accidentally deleting your apps. It’s like any quality assurance measure, asking "do you really want to proceed?". Remember, this is the point of no return. Once you proceed past this, your app’s going into the black hole of digital deletion. But not to worry, if you’ve accidentally deleted an app or you've changed your mind, it's not really the end of the world. These apps can still be reinstalled.
When you're sure of the deletion, navigate to the option labeled "Delete" within the dialogue box. Using your Siri Remote, scroll to "Delete" and press the touch surface to confirm. Now, you can feel the satisfaction wash over you as you see the app disappear from your screen.
It’s these tiny victories that make decluttering feel so good, isn’t it? You can now repeat the same steps to delete more unused apps if necessary. Free up your TV's memory and let it breathe a bit easier.
Next, in our guide on how to delete unused apps from your Apple TV, we will revisit the process of reinstalling your apps whenever needed.
Restoring deleted apps

Don't Panic if You Erase an App by Mistake
Accidentally deleted an app? Relax, the Apple TV OS comes with an in-built safety net. Although you've waved goodbye to the unwanted apps, it's not an eternal farewell. Apple's design ensures that vital app data is stored securely on iCloud, not just on your Apple TV. So, in the event that you unintentionally erase an app, you're well-protected.
You're wondering how to restore the Tour de France cycling app for the big event or rebuild your master list of favorite cooking recipes on the epicurious app. That's a straightforward task. There's no need to tension your brow or break a sweat.
Reinstalling Apps Made Easy
Open the App Store on your Apple TV. Here, it's a treasure trove of applications waiting to be explored. Delve into the colorful and vibrant app world and once you locate the app you mistakenly removed, reinstalling it is a piece of cake. Simply click on the cloud symbol with the downward arrow, indicating a previous download. And voila! Your app is back.
Remember, reinstalling an app will not retrieve lost personalized settings. It'll be as if you're installing the app for the first time. So, if you've been competing on a leaderboard, for instance, your hard-fought scores may be lost.
And the Cost of Reinstalling an App?
Don't fret, it's zero! Redownloading an app won't cost you an extra dime. Even if you originally paid for the app, Apple allows you to reinstall it without incurring another charge.
You may be relieved to know there's no drama involved in restoring your favorite apps on Apple TV. Such concerns are valid but rest assured, with the techniques here, your journey back to app pleasure is secured.
Conclusion
So, you've now mastered the art of decluttering your Apple TV. You've learned how to delete those unused apps and free up some much-needed space. Remember, it's crucial to take a moment before hitting that final delete button. Once done, there's no turning back, and the app is gone from your screen. But don't worry, if you ever find yourself missing an app, it's easy to bring it back. Just head over to the App Store and reinstall it free of charge. Just bear in mind, any personalized settings you had will be lost. So, keep exploring, keep organizing, and make the most out of your Apple TV experience.
How can I delete unused apps from my Apple TV?
To delete unused apps from your Apple TV, highlight the app you wish to remove and press and hold the touch surface until the app starts to jiggle. Then, press the Play/Pause button and choose 'Delete'. A dialogue box will pop up to confirm the deletion. Please take a moment to think before confirming, as the action is irreversible.
Will the deleted app disappear from the Apple TV screen?
Yes, once you confirm the app's deletion, it will disappear from your Apple TV screen, giving you instant satisfaction.
What if I need the deleted app again?
Don't worry, deleted apps are not permanently gone. You can easily restore them. Go to the App Store, search for the app, and reinstall it.
Is it free to reinstall a deleted app on Apple TV?
Reinstalling an app you've previously downloaded is free of charge. However, any loss of personalized settings that was associated with the deleted app can't be restored.
How do I restore a deleted app on Apple TV?
To restore a deleted app, go to the Apple TV App Store, search for the app's name and then choose to download it again. Despite being a reinstall, it behaves like a fresh installation and will not bring back any previously lost personal settings.
