Ever found yourself scrolling endlessly through a cluttered Apple TV home screen? It's time to declutter and make room for the apps you actually use. Deleting apps on Apple TV isn't as straightforward as it might be on your iPhone or iPad, but don't worry, you've got this!
In this guide, we'll walk you through the process step-by-step. You'll be surprised at how simple it is once you get the hang of it. So, let's dive in and start streamlining your Apple TV experience.
Step 1: Understand the Apple TV interface
Before you start, it's crucial to have a solid grasp of the Apple TV interface. Unlike iPhones or iPads, the Apple TV layout may seem a bit overwhelming at first glance, so let's simplify it for you.
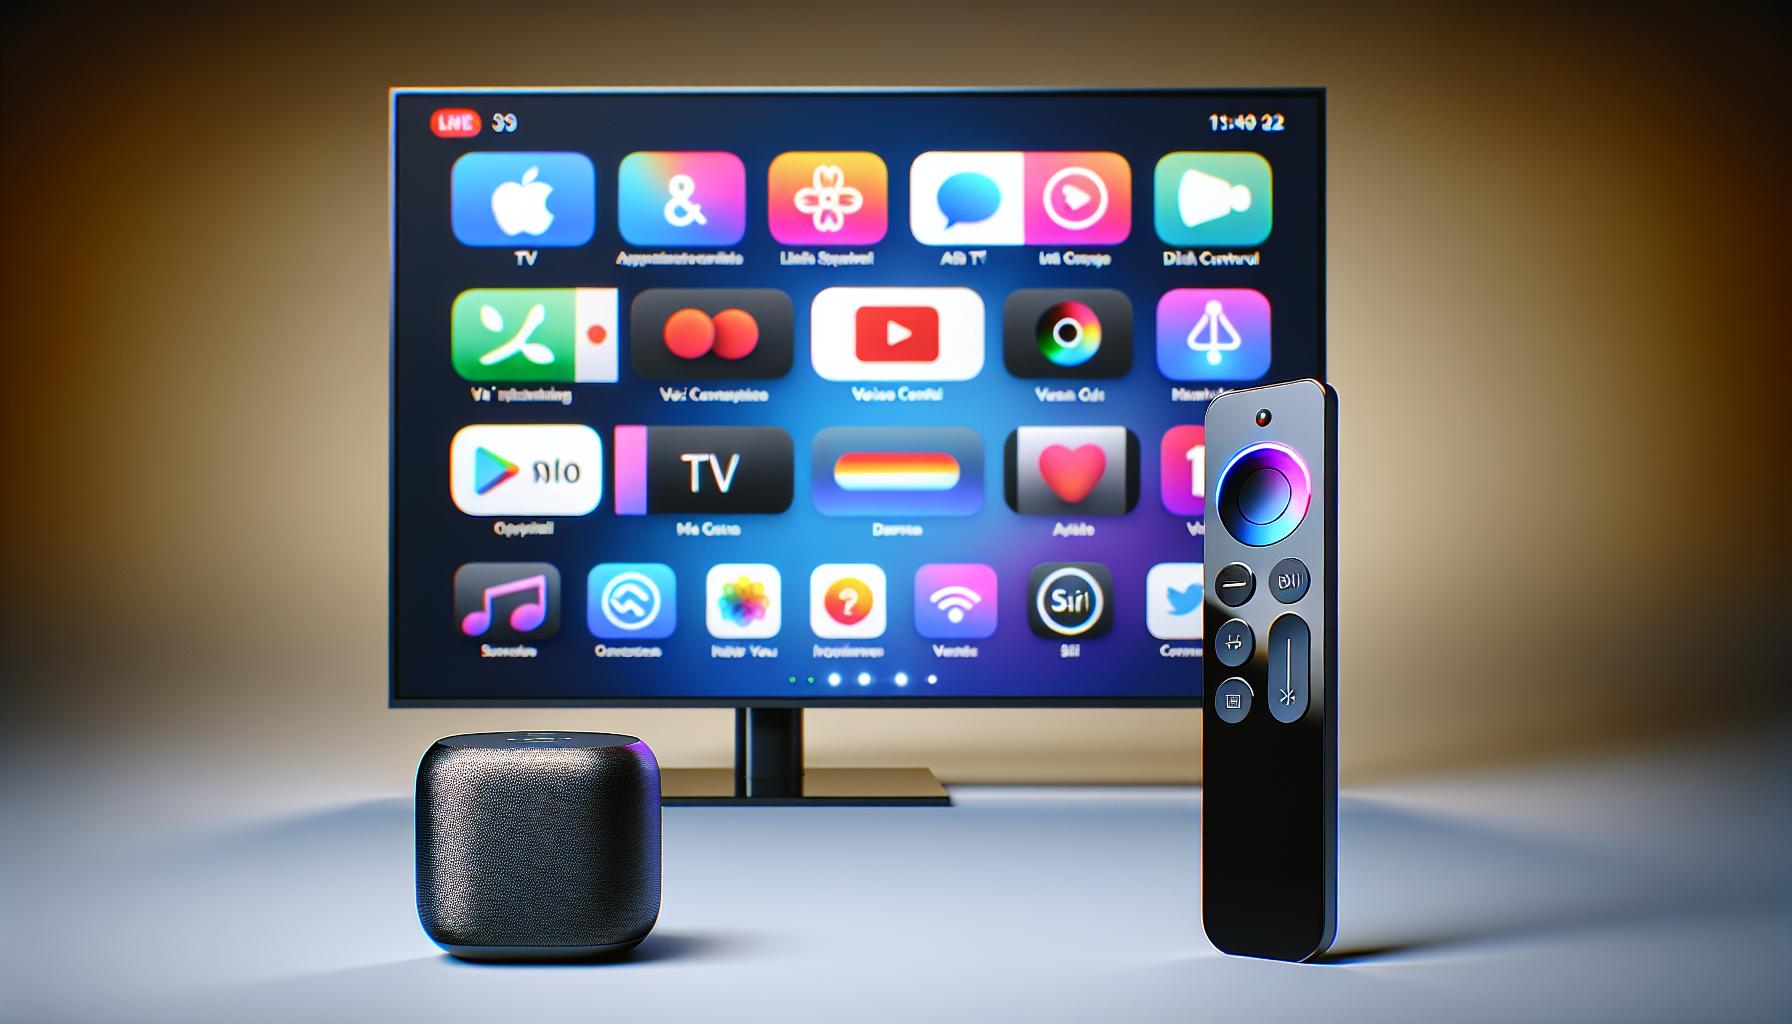
Your Apple TV interface revolves around an app grid, which is reminiscent of the layout on an iPhone or iPad. This layout includes all of your installed apps. The top shelf of the interface displays the most recently used or top-tier apps.
To navigate through this interface, you'll use the Siri Remote. This nifty gadget has a variety of buttons, each with distinct functions. The top part of the remote is the Touch Surface, good for swiping left, right, upwards, or downwards to navigate through your apps.
Directly below the Touch Surface, you'll find the Menu button. This doubles up as the Back button, helping you exit out of apps or screens. The TV button takes you straight to the home screen no matter where you are on the Apple TV. The Play/Pause button and the volume control round out the functionality of the remote.
Understanding these basics will play a significant role in streamlining your app deletion process. But remember: your Apple TV only has limited storage. Unwanted apps can consume valuable space that could have been given to other more useful apps.
While app deletion is not complicated, knowing where to go to delete those pesky unneeded apps will save you time and storage space. Follow along in our step-by-step guide to make your Apple TV experience cleaner and more efficient.
Step 2: Locate the app you want to delete

Now that you're up-to-speed with the Apple TV interface and the nifty functions of the Siri Remote, it’s time to delve deeper into the process. Locating the right app can be a no-brainer for some but a tough nut to crack for others. Either way, this guide is set to make things a lot easier for you.
Upon turning on your Apple TV, you'll find yourself on the Home Screen. This is the launchpad for all installed apps. You'll see a grid of app icons. Each representing a different application installed on your Apple TV. Your journey to declutter your Apple TV begins here.
Navigating through the sea of apps could be challenging, particularly if you've got many installed. But thanks to Alphabetical Order, a handy organization feature Apple TV offers. It organizes your apps in alphabetical order, so spotting the one you want to delete becomes painless.
Your Siri Remote comes into the spotlight here - it's your primary navigation tool. Click the Touch Surface on the Siri Remote to select apps on the screen. Swipe around the touch surface to move the cursor. The app icon will jiggle when selected, indicating that it's ready for action.
Don’t rush. Take your time to browse through your apps until you spot the one you want to delete. Remember one thing; deleting an app also removes its data. Be mindful of this before you select an app for deletion. Once you've located the app you wish to remove, your next move is to delete it, and that's what the following section is all about.
Now that you've located the app you want to delete, it's time to delve into the specifics. Accessing the App Options Menu is your next step in the app deletion process. This menu lets you manage your apps effectively; it's where you'll find options to delete, move, or even update an app.
To open the App Options Menu, hover over the desired app with your Siri Remote. Ensure you're applying enough pressure to select it. Lightly clicking isn't sufficient. A slight push will do the trick. Once the app is selected, it should appear slightly enlarged, confirming you're on the right track.
Press and hold the Siri Remote's touch surface. Doing this will make the app jiggle, similar to what happens when you're about to delete or move an app on your iPhone or iPad. You'll then see a pop-up menu. It contains options not just for deleting your apps but for rating and sleeping apps too. A longer hold tends to bring up more options. Be patient, as the app deletion option isn't always the first one you'll see.
Keep in mind that removing an app also deletes its data. This includes any settings, saved games, or user profiles contained within. Consider backing up your data before taking the next step. Apple provides options for backing up most apps within their iCloud service. Making the most of these features can save you a lot of stress down the line if you ever decide to reinstall the app.
Remember, you're not deleting your app just yet- you're just opening the App Options Menu. Stay with us as we guide you through the next steps. Always keep in mind the storage limitations of your Apple TV to maintain an optimized, seamless experience.
Step 4: Choose the "Delete" option
Now that the app's options menu is visible, your next step is to opt for the "Delete" command. Remember, your aim isn't just to make the app disappear. You are seeking to address the limited storage capacity issue on your Apple TV. Thus, there's more to app removal than meets the eye.
On your Siri remote, you should be seeing a list of options related to the selected app. The options list typically includes 'Open,' 'Delete,' 'Move,' and 'Rate.' Here, focus on the 'Delete' command. You’ll find it to be the second option from the top.
With this in mind, carefully select the 'Delete' option using the trackpad on your Siri Remote. Swiping the trackpad allows navigation through the options list. Generally, sliding downwards on the trackpad moves the cursor down the list, pushing upwards moves it in the opposite direction. Therefore, to reach the 'Delete' command, you'll probably need to swipe down once.
Upon locating the 'Delete' option, you press the trackpad to choose it. It's as simple as clicking a mouse button. The app should ask you to confirm your deletion choice. This is a safeguard to prevent accidental deletion of apps. Give it one more click to affirm the deletion.
In the process of deleting the app, always bear in mind, it's not just about the click sequence. It's about understanding that every interaction with your Apple TV involves a learning curve. And don't forget, backing up your data is essential before you delete any app. So if you haven't done so yet, hit the pause button, backup your data and then proceed.
The action of deleting an app from your Apple TV might initially seem a bit intimidating. However, with a little practice, you'll find it's an easy task. With each deletion, you're not merely removing an app but conquering the art of managing your Apple TV storage. Remember, the goal is to make the best use of the limited storage space, to provide a smooth Apple TV experience.
Step 5: Confirm the app deletion

After you've navigated through the app options menu and selected the "Delete" option, you'll encounter a confirmation dialog box. This is a vital moment as it's your last chance to confirm or cancel the app deletion.
The confirmation dialog will ask, "Are you sure you want to delete this app?" At this point, remember the importance of backing up any data or high scores associated with the app. If you've done your due diligence and you're ready to proceed, select the "Confirm" icon.
Just as when interacting with the options menu, remember to take advantage of your Siri Remote. The design of the dialog box should mirror the simple, intuitive interface Apple is known for. To confirm deletion, swipe to the right on the Siri Remote's touch surface until the "Confirm" option is highlighted, then click the touch surface.
Though it may seem unnecessary to confirm a deletion, bear in mind the potential data loss and this becomes a vital step in the process. The confirmation dialog box is designed to prevent accidental deletions, crucial considering the finite storage space on your Apple TV. Dismissing an app should be a thoughtful decision, akin to emptying the wastebasket on a computer. It's not a decision to take lightly.
Once the app's deletion is confirmed, it will immediately be purged from your Apple TV's storage space. Note, however, that it may not entirely vanish from your ecosystem. If the app was purchased or downloaded from the App Store, it can be reinstalled at any time from your purchases.
Breathe a sigh of relief as you've successfully freed up some space on your Apple TV. With this newfound space, you can explore many more apps that are yet to grace your screen. Keep these step-by-step instructions in mind as they can be re-utilized whenever you decide another app has overstayed its welcome.
Stay tuned for the forthcoming sections to dive deeper into managing apps on your Apple TV.
Conclusion
You've now got the know-how to manage your Apple TV's storage by deleting unnecessary apps. Remember, it's not just about clearing space. It's also about enhancing your user experience. Keep your interface clutter-free and your Apple TV running smoothly. Don't forget the importance of the Siri Remote in navigating this process. And always back up data before saying goodbye to an app. With these tips at your fingertips, you're well-equipped to keep your Apple TV organized and optimized. So go ahead and make the most of your Apple TV experience.
Frequently Asked Questions
How do I delete an app on my Apple TV?
The article offers a detailed guide on how to delete apps on your Apple TV. It entails understanding the system's interface, using the Siri Remote, and following a step-by-step process culminating in confirming the app deletion.
Why do I need to delete apps from my Apple TV?
Apple TV comes with limited storage capacity. Deleting unnecessary apps can free up space, allowing your device to operate more efficiently and enhance your overall user experience.
Using your Siri Remote, you can easily navigate the confirmation dialog box that appears during the app deletion process. Ensure you've backed up any important data or information from the app before confirming the deletion.
Can I recover a deleted app on my Apple TV?
The article underscores the importance of backing up your data before deleting an app, highlighting the potential irreversibility of the process. Nonetheless, most downloaded apps can be reinstalled from the App Store.
How can I manage my Apple TV storage effectively?
App deletion serves as an effective way to manage your Apple TV storage. Regularly removing unwanted or unused apps can significantly improve your device's performance and your overall experience.


