You've just splurged on a shiny new Apple TV, and you can't wait to dive into a world of digital entertainment. But before you start streaming your favorite shows and movies, there's one crucial step you need to tackle: connecting your Apple TV.
Don't fret! It's not as daunting as it might seem. In fact, with just a few simple steps, you'll be up and running in no time. Whether you're a tech whiz or a novice, this guide will walk you through the process, ensuring you get the most out of your Apple TV experience. Let's get started, shall we?
Prepare the Apple TV
Shift your focus towards prepping your Apple TV for the connection process. It's not rocket science, so don't worry if you're not a techie. Only a few simple steps are required to get ready.
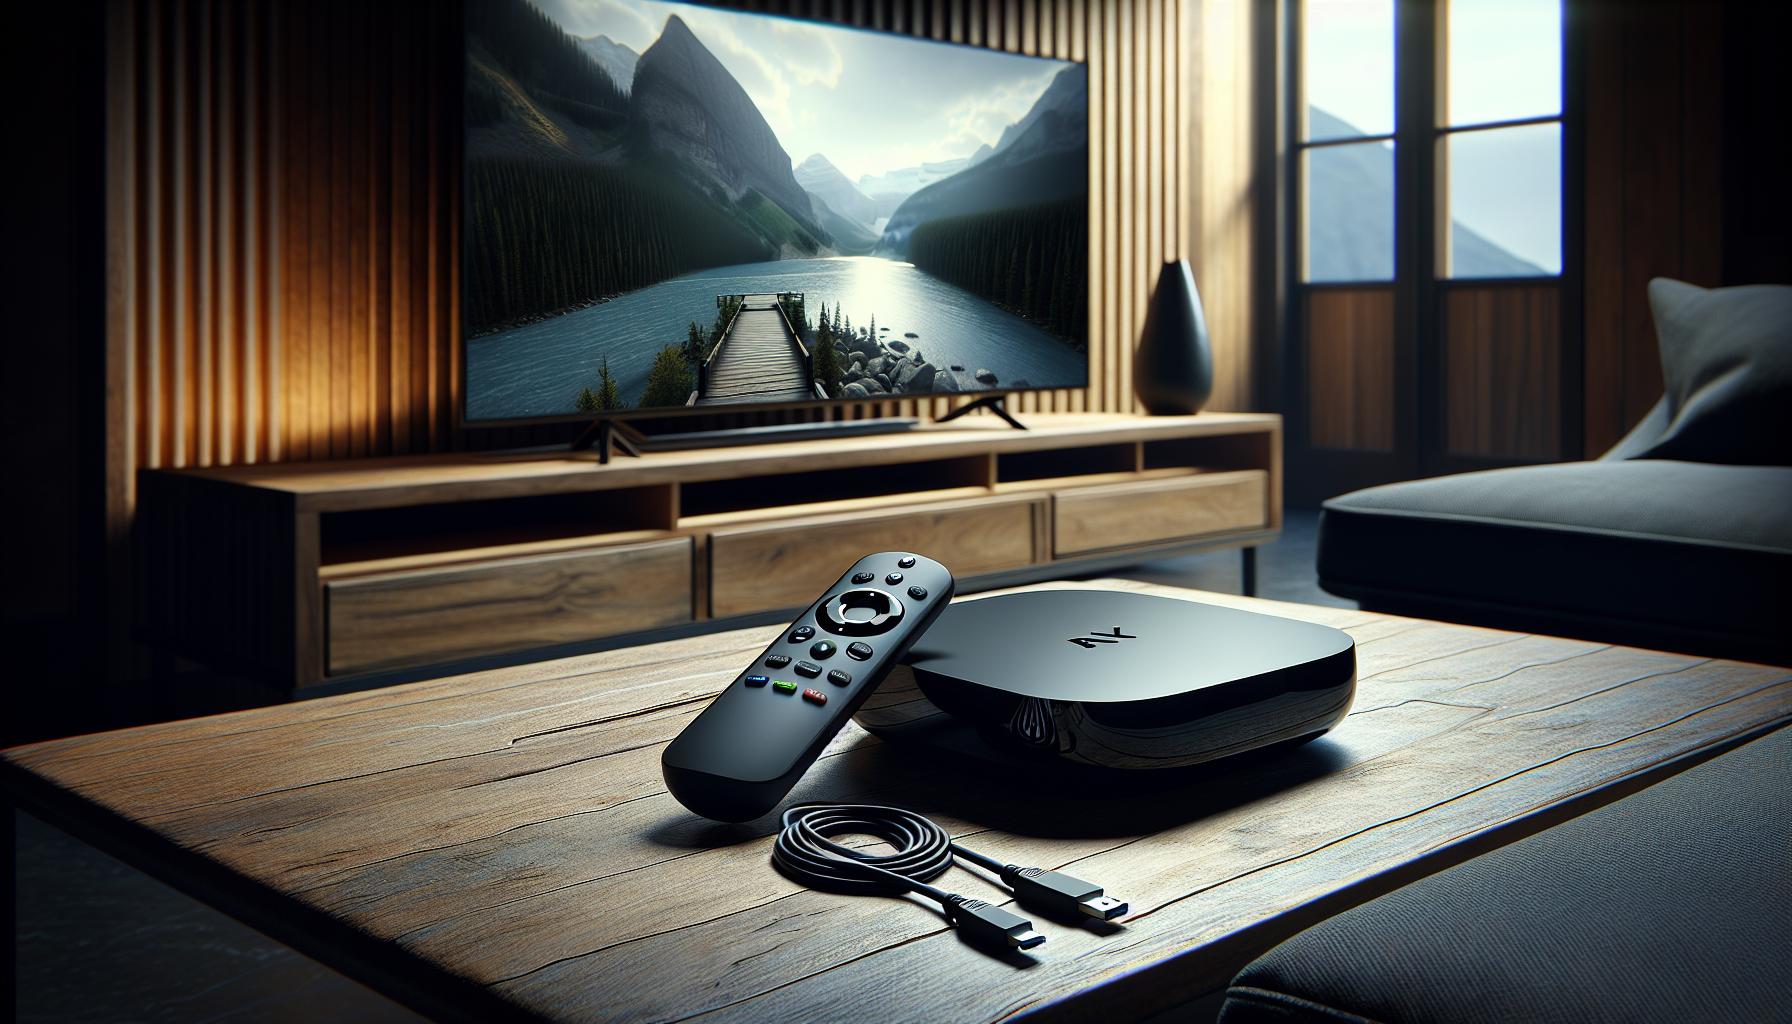
First, unbox your Apple TV. As you open the box, you'll find an Apple TV unit, a Siri remote, a power cord, and a Lightning to USB cable. These are the main components you'll need for the ensuing setup.
Once you've itemized your essentials, find a perfect spot for your Apple TV. Place the unit near your TV ensuring it's within the range of your Wi-Fi signal. Be mindful of preventing any obstacles from fragmenting the strength of the Wi-Fi signal.
After you have settled on a spot, connect the power cord to your Apple TV and a power outlet. Make sure the plug sits snugly in the socket and the power indicator lights up on the Apple TV unit.
Next, grab the HDMI cable. An HDMI cable isn't included in the box, so you'll need to have one handy. Don't forget, the quality of the cable can significantly impact your viewing experience.
plug one end of the HDMI cable into your TV and the other into your Apple TV. Each HDMI slot on your TV will be numbered so try to remember the number of the slot you're using.
By now, you might have noticed a remote with your Apple TV, called the Siri remote. It needs to be charged too. It is powered by a built-in rechargeable battery, so connect the Lightning to USB cable to the Siri remote and charge it via a USB port.
These directions should help you prepare your Apple TV with ease. Once these steps are done, jump into the software setup and Wi-Fi connection which we'll cover subsequently.
Gather the necessary equipment
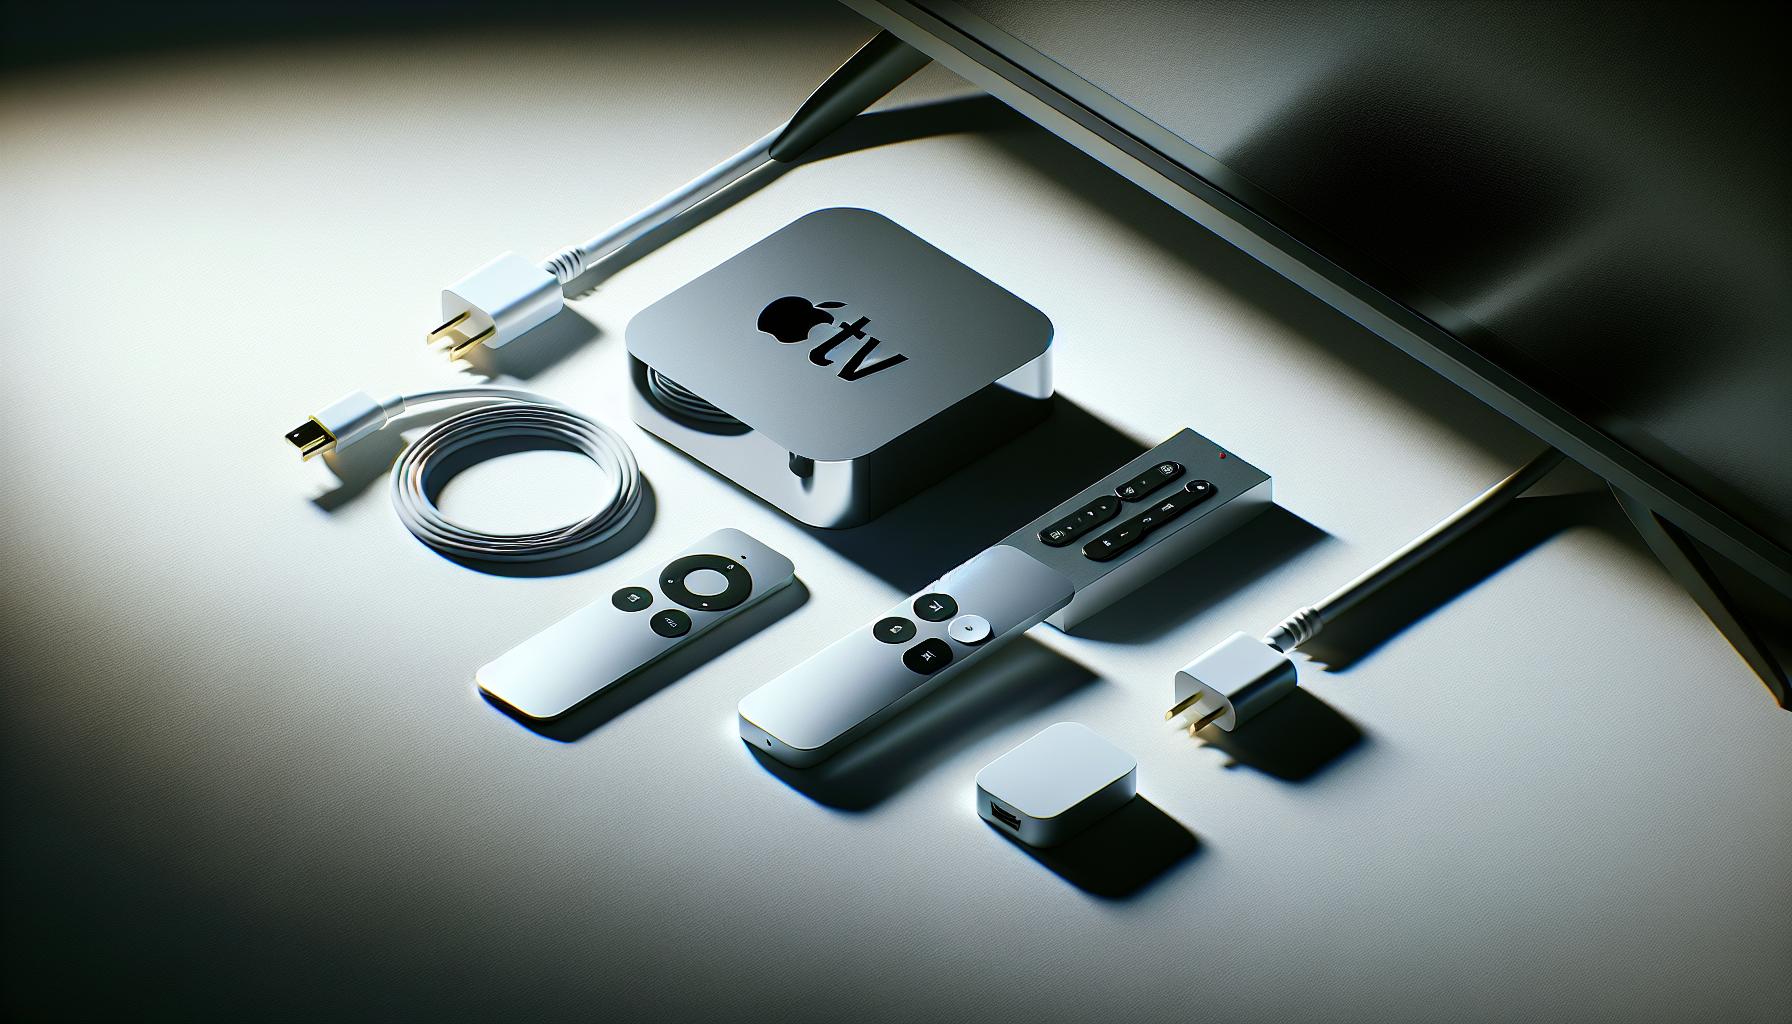
Before you get started with your Apple TV setup, make sure you've got all the necessary equipment handy. This will ensure a smooth setup process.
The first item you require is the Apple TV box itself. Unbox it carefully, making sure not to damage the device in the process. Preserve the packaging in case you need to return or transport the device later.
Next, find an HDMI cable. This isn't included in the Apple TV box, so you'll need to source it separately. Make sure the cable is a high-speed one — it's crucial for proper video transmission.
Your Apple TV will come with a Siri remote. It's a sleek touchscreen remote that's chargeable, thereby eliminating the need for batteries. Though it comes partially charged, it's recommended you fully charge it before use.
You need to find a suitable spot near your TV to place your Apple TV box. Keep it well-ventilated and free from obstructions to ensure it doesn't overheat during use.
Ensure you have the necessary power cords and a power outlet to plug in the Apple TV and charge the Siri Remote. They are typically included in the Apple TV box but confirming their presence will prevent any interruption.
Last but not least, ensure your house has a stable Wi-Fi connection. This is so you can complete the software setup and actually use the Apple TV. Now that you've gathered all the necessary equipment, you're ready to delve into the setup procedure. But keep an eye for the following sections, as this article will guide you through the software setup, Wi-Fi connection, and finalizing the setup.
Connect the Apple TV to the TV
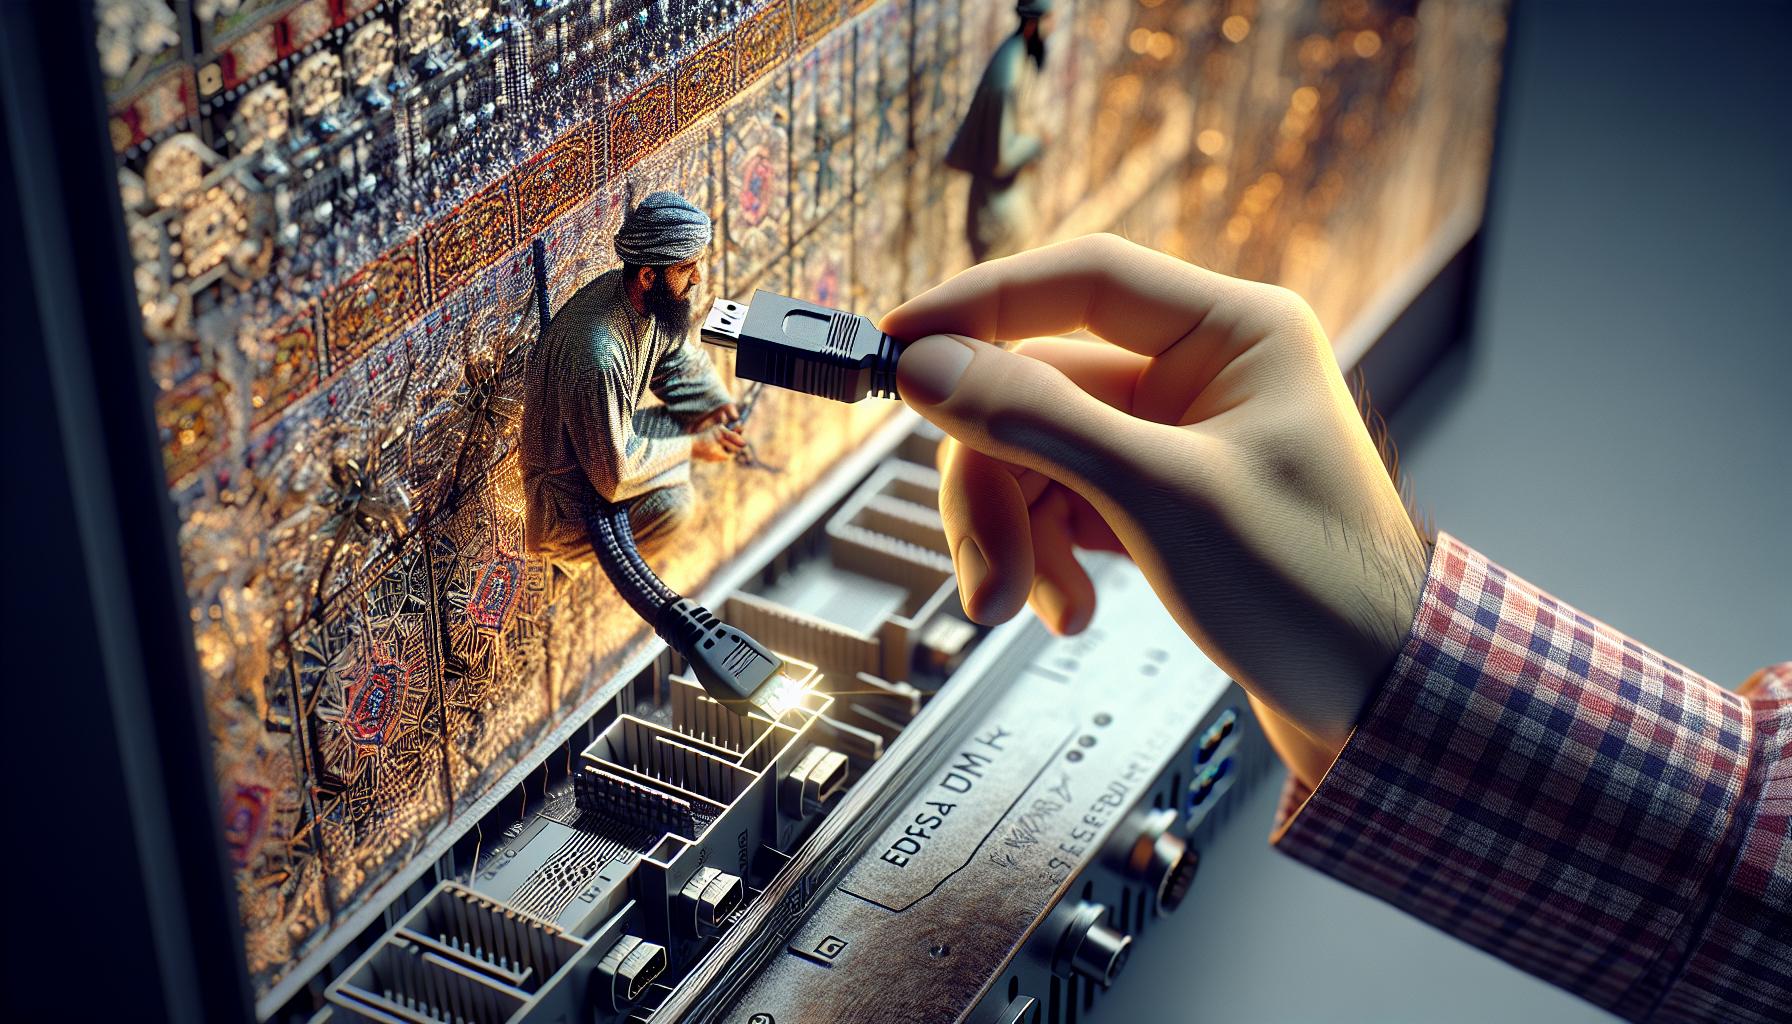
After you've selected the best spot for your Apple TV and have all necessary items at hand, you're ready to connect the Apple TV to your TV. The process isn't complicated and involves the use of the HDMI cable you've already accounted for.
Ensure both your TV and the Apple TV device are off before beginning to avoid any electrical mishaps. Take the HDMI cable, insert one end into the HDMI port on your Apple TV, and then put the other end into the HDMI port on your TV. These ports are usually located at the back of both devices.
Once the cable is securely connected between your devices, the next step is turning on both your TV and Apple TV. Use your TV remote to select the right HDMI input channel. The label on the HDMI port that you've plugged the cable into on your TV aids in identifying the correct HDMI channel.
Depending on the make and model of your TV, the method by which you select the channel varies. On some TVs, there's a 'Source' or 'Input' button on the remote that lets you swap between different input channels. On others, you might need to navigate through the menu options. Don't hesitate to refer to your TV's user manual if you're unsure about this step.
Once completed, the Apple TV startup screen should come into view on your TV screen. This indicates that you've successfully connected your Apple TV to your TV.
Next, you'll learn about software setup on your Apple TV, which is about connecting it to your Wi-Fi and signing into your Apple ID. It's crucial to ensure a stable Wi-Fi connection throughout. We'll also look into syncing the Siri remote to open up a world of voice commands and convenience.
Remember, patience is key. At times, Apple TV setup requires more than one attempt to be successful. So if there's a hiccup along the way, don't worry. Simply try again, follow the instructions, and you'll soon have your Apple TV ready for use.
Set up the Apple TV

Now that your foundation is ready, let's move forward with the technical setup process. Trust us, it's more straightforward than you may think.
First things first, switch on the Apple TV by pressing any button on the Siri remote. The Apple logo should appear on your TV , and if it doesn't, ensure that your TV is on the correct HDMI input channel.
Next is a crucial step, connecting your Apple TV to Wi-Fi. On the main menu, navigate to Settings > Network > Wi-Fi. Check for available networks and select yours. Enter the password when prompted. This step ensures your device can access the internet, essential for streaming content.
You're almost there! Your next task is signing into the Apple ID. If you've used an Apple product before, you can use the same ID. Otherwise, create a new one, but remember, the ID is key to accessing Apple’s suite of services.
Suppose you take your privacy seriously. In that case, Apple's got your back with Two-Step verification and Two-Factor Authentication options. While setting up your Apple ID, there's an option to enable these features. They add an extra layer of security to your account, making it hard for anyone else to sign in.
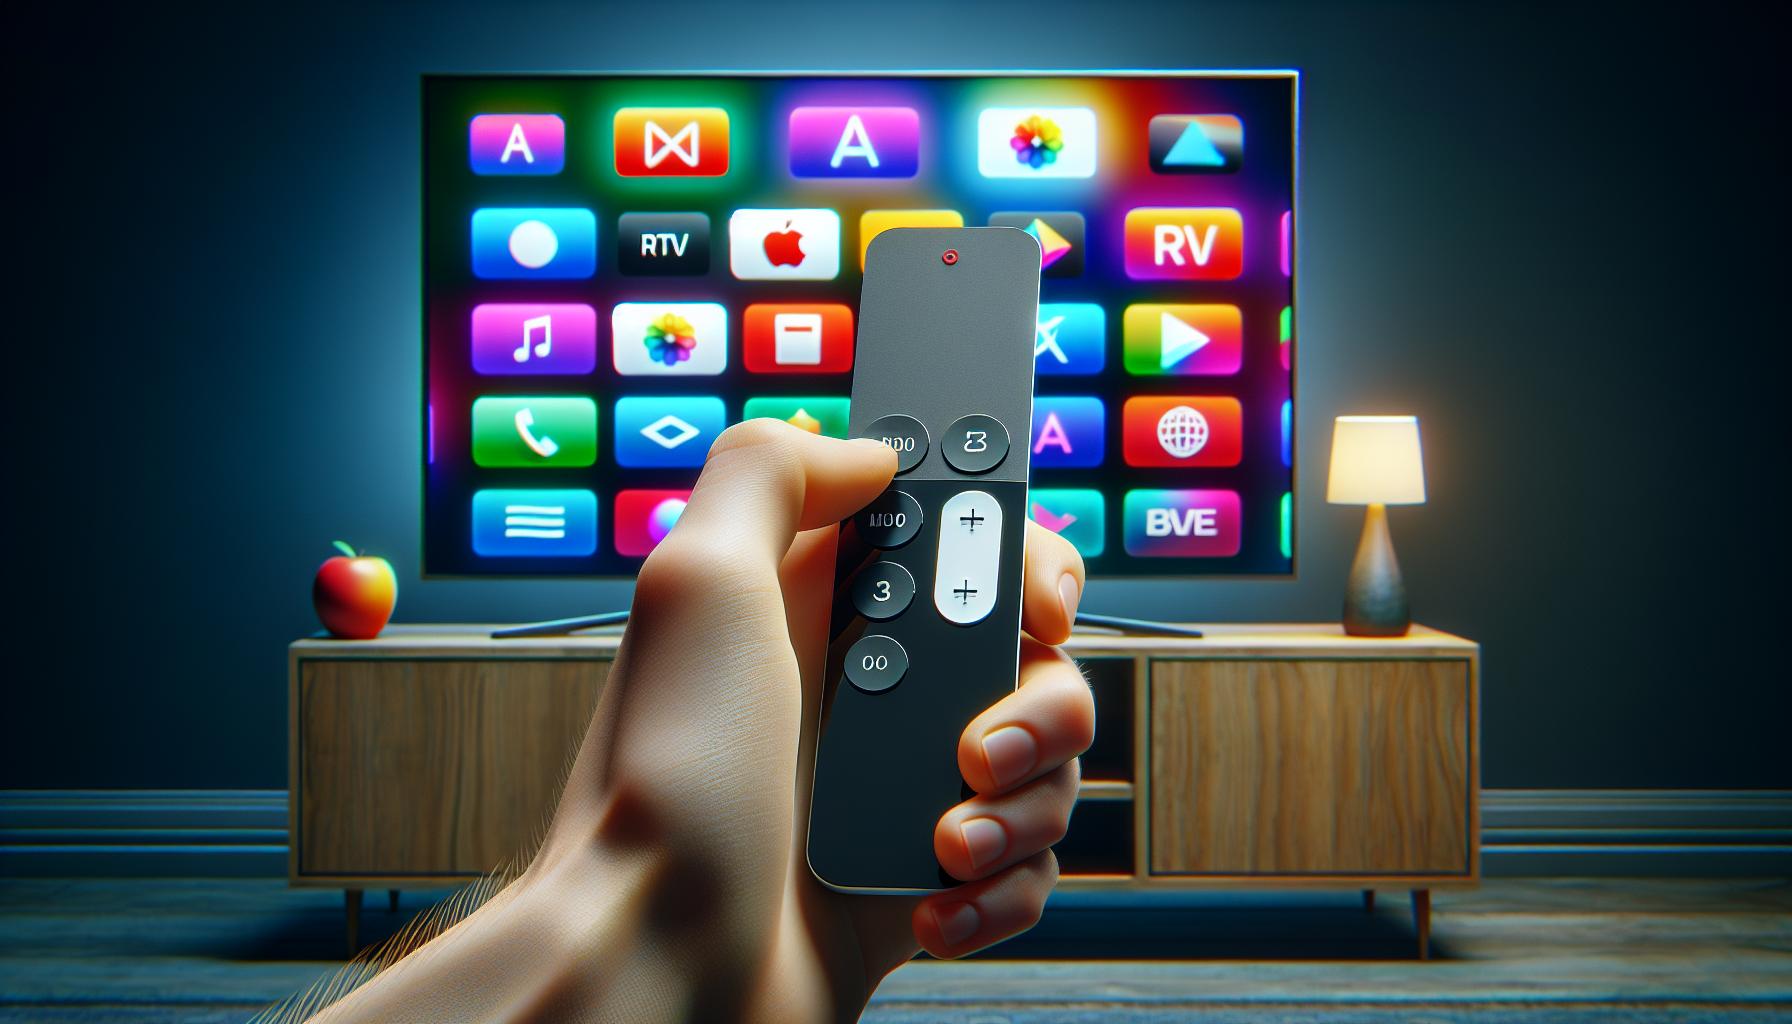
Talking about convenience, the Siri remote is your secret weapon here. It understands gestures as well as voice commands. To speak into the remote, hold the microphone button and say your command. Let's say, "Open Netflix," and just like that, Siri is at your service.
Setting up the Apple ID and optimizing the Siri remote are the basic steps you need to get started. Once these steps are in, the real fun begins with exploring features and installing apps. So, suppose you're eager to dive into the world of Apple TV. In that case, you can start with exploring the eclectic mix of apps in the Apple TV app store. You'll find apps for all your needs, from streaming services and games to fitness and kids' education. Remember, it's all about personalizing your Apple TV experience just the way you want it.
Connect to Wi-Fi network
Once you've set your Apple TV by the TV, plugged it to a power source using the power cord, and connected it with an HDMI cable, the next thing you'd want to do is connect to a Wi-Fi network.
When powering on your Apple TV, you'll see a screen with various language options. Use your Siri Remote to choose your preferred language. You'll be prompted to Connect to iTunes or Connect to Wi-Fi. Select the latter to proceed.
Select your Wi-Fi network from the listed options. If you don't see your network listed, ensure your router is powered on and transmitting. If you're using a hidden network, choose 'Other...' and manually enter the network details.
To connect to your selected Wi-Fi, you'll need to enter your password. Fortunately, the Apple TV software cleverly incorporates automatic capitalization and special characters, which saves you some bit of navigation on the on-screen keyboard. After entering your password, simply click on 'Done'.
Do note: If your Wi-Fi uses any firewall or VPN protections, make sure you allow your Apple TV to bypass these for a seamless streaming experience.
After connecting to your Wi-Fi network, Apple TV checks for software updates. It's recommended to install any available updates to ensure your Apple TV works smoothly with all the latest features and security patches.
With this, your Apple TV is now connected to the internet, and you're one step closer to enjoying your favorite movies, shows, games, and music on your TV. The customization options are boundless when it comes to Apple TV—don't hold back on exploring them!
In the next section of the guide, we delve into signing into your Apple ID and the key steps to follow for Two-Step Verification and Two-Factor Authentication. Stay tuned for more.
Sign in with your Apple ID
Syncing your device with your Apple ID is a critical step in setting up your Apple TV. By connecting with your Apple ID, you're paving the way for a personalized user experience that tailors the device's features to match your entertainment preference. Let's go over how to complete this process.
After you've connected your Apple TV to a WiFi network, you'll be prompted to sign into your Apple ID. Make sure you have your username and password handy. If you've forgotten your Apple ID or password, don't fret! You can head over to Apple's iForgot website and easily retrieve your credentials.
Once you're signed in, you'll be asked if you want to enable Two-Step Verification or Two-Factor Authentication. Both these security mechanisms add an extra layer of protection to your Apple ID, preventing unauthorized access.
Two-Step Verification uses your saved and trusted devices as well as your phone number to verify your identity whenever you sign in. After you enter your password, a verification code will be sent to the trusted device or phone number. Entering the verification code authenticates your identity and permits you to access your account.
Things are slightly different with Two-Factor Authentication. This method incorporates your password, trusted devices, and your physical location for identity verification. It's a robust security measure that prevents even the most determined hackers from accessing your information.
Selecting the right identity verification for your Apple ID isn't simply a matter of preference. You need to take into account the devices you use, how often you sign in, and how much security you want, among other things. Adjusting the settings and preferences on your Apple TV doesn't stop after signing in to your Apple ID. As you continue to use your device, you're likely to find new features or settings that can enhance your user experience.
Armed with these details, the Apple TV will slowly start to resemble the perfect sidekick for all your entertainment needs. It will suggest personalized content, remember your favorite shows and even recommend apps based on your usage. Always remember, your Apple TV is as efficient as the effort you put into personalizing it.
Customize the settings
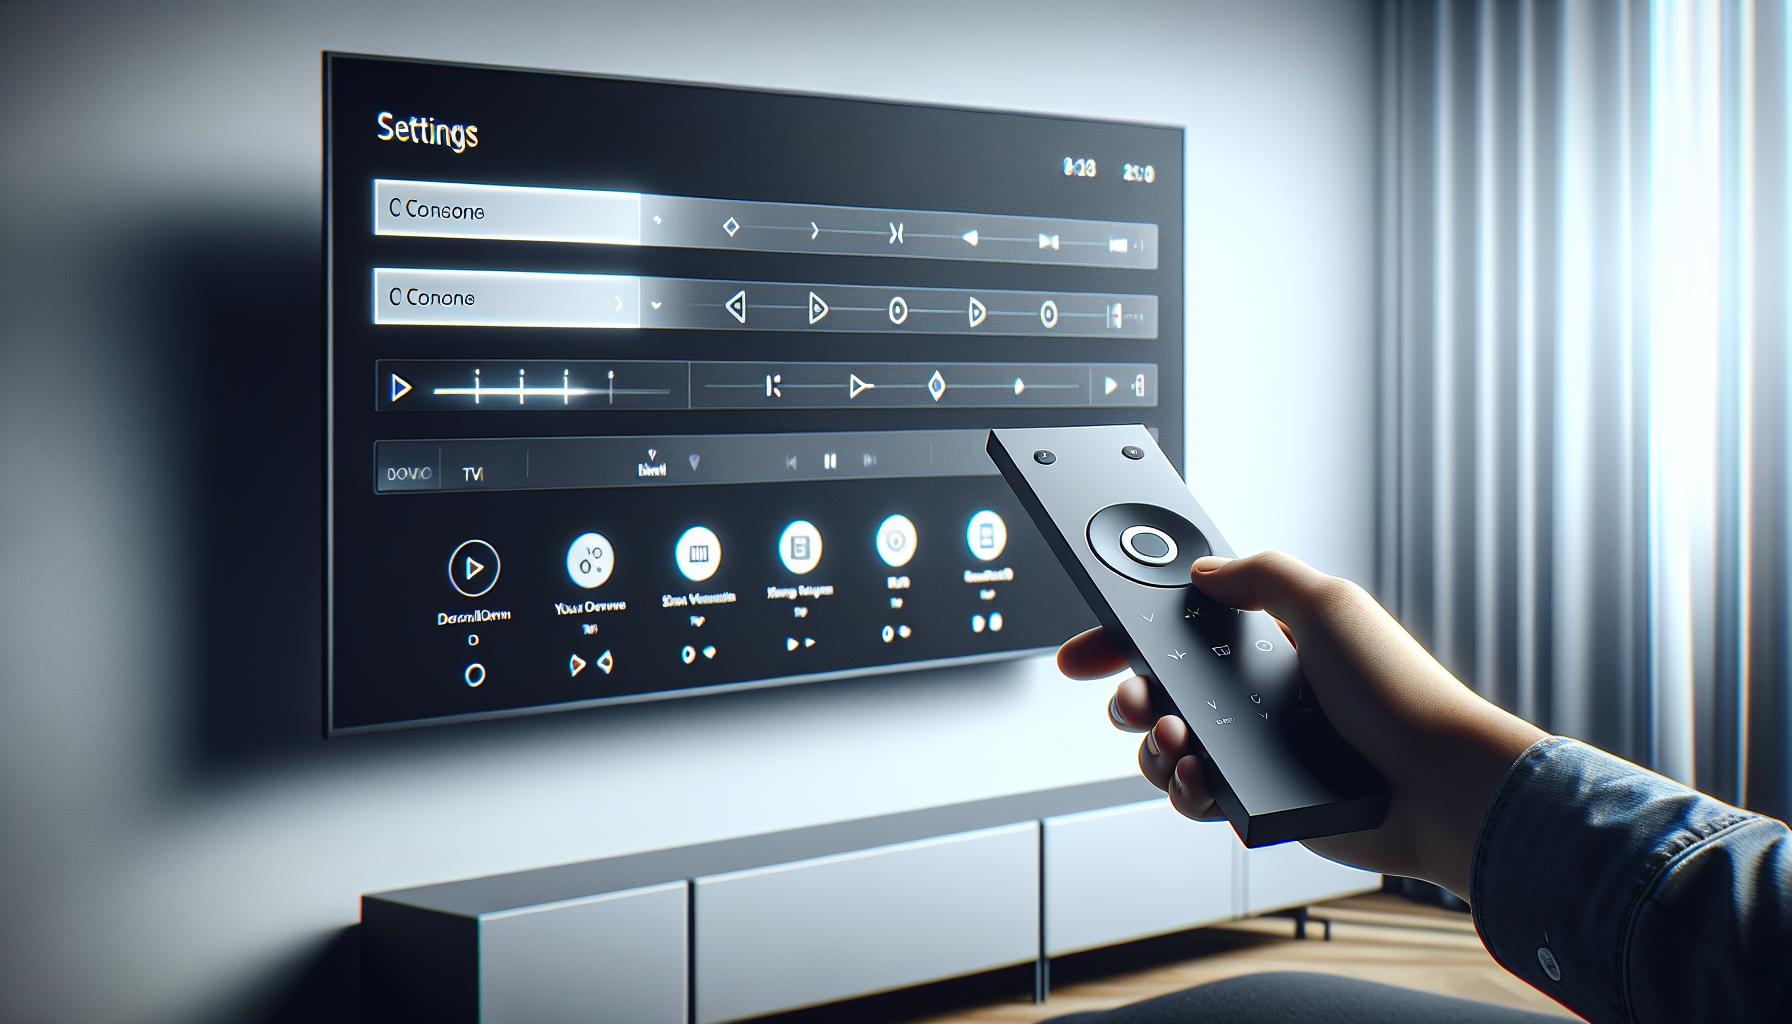
Moving forward, customizing the settings on your Apple TV is an integral part of achieving the best possible user experience. After successfully signing in with your Apple ID and setting up security through Two-Step Verification or Two-Factor Authentication, it's time to delve into the world of Apple TV settings.
You'll find the settings icon on the home screen. Tap on it using your Siri remote. Here, you'll find a myriad of setting options to personalize your Apple TV according to your preferences.
Display and Audio Settings
Under the display and audio settings, you can adjust the screen resolution, video, and audio output. It's a good idea to choose the best available format according to your TV specifications, ensuring the crispest picture and optimal sound quality.
Subtitle and Language Settings
If you're a fan of foreign content or if you have hearing impairments, adjusting the subtitle and language settings is crucial. Here, you can set your preferred language and subtitle options ensuring your viewing experience is as enjoyable and accessible as possible.
Sleep and Accessibility Settings
These settings let you control when your Apple TV goes to sleep and alter important accessibility features. The Sleep setting helps you save energy when your Apple TV isn't in use. Meanwhile, Accessibility settings include options for closed captions, audio descriptions, and Siri support.
App and Privacy Settings
Lastly, for a smooth and personalized TV experience, head over to the App settings. Here, you'll be able to log into individual streaming apps and integrate your Apple TV with other Apple devices. In addition, the Privacy settings provide avenues for managing data and information, reinforcing the security measures you've already put in place with your two-factor authentication.
Remember, the brilliance of the Apple TV lies in its customization. Tailoring the settings helps you bring forth the best Apple TV has to offer. So, take your time, explore the options, and make the adjustments that suit your needs. But no rush—just like seasons of your favorite shows, there's always something new to discover.
The next part of our guide will take you through the process of exploring the Apple TV App Store. So, stay tuned—we've much more to unfold.
Conclusion
You've now got the know-how to set up your Apple TV, from unboxing to customizing the settings. Remember, an HDMI cable is key, and don't forget to charge that Siri remote. Your Wi-Fi connection is crucial, and signing into your Apple ID opens up a world of entertainment. Security is a breeze with Two-Step verification and Two-Factor Authentication. The Siri remote and the Apple TV app store are your gateways to a personalized viewing experience. The power to tailor your Apple TV experience is in your hands, from display and audio to subtitles and privacy settings. Up next is exploring the Apple TV App Store - it's where your Apple TV truly comes to life. Happy viewing!
Frequently Asked Questions
How to set up an Apple TV for the first time?
Begin by unboxing and finding a suitable near-TV spot. Connect it using an HDMI cable (not included). Charge your Siri remote and ensure a stable Wi-Fi connection before proceeding with software setup.
How can one connect the Apple TV to the television?
Use an HDMI cable to connect the Apple TV to your television. Ensure you select the correct HDMI input on your TV to receive signals from the Apple TV.
What are the steps for setting up the software?
Firstly, connect to Wi-Fi and sign into your Apple ID. Then, for added security, consider options for Two-Step Verification or Two-Factor Authentication.
What additions does the Siri remote offer?
The Siri remote not only facilitates a convenient user interface but also encourages users to navigate and explore the Apple TV app store for a personalized experience.
How should one customize their Apple TV settings?
Customize the settings to enhance your Apple TV experience. These include display and audio settings, subtitle and language settings, sleep and accessibility settings, and also app and privacy settings.
