Ever thought about taking your MacBook experience to the big screen? It's easier than you might think to connect your MacBook to your Apple TV. This guide will walk you through the process, step by step.
Whether you're looking to stream your favorite movie, share a photo slideshow, or conduct a business presentation, mirroring or extending your MacBook's display to your Apple TV can elevate your viewing experience. Let's dive in and learn how to get your devices talking to each other.
Why Connect Your MacBook to Apple TV?
You may ask yourself, why go through the process of connecting your MacBook to an Apple TV? What benefits do you stand to gain? Is it even worth it?
Well. Let's break it down. Enhanced Viewing Experience and Versatility are the two main perks that you'll benefit from.
Enhanced Viewing Experience
Trying to share or show something on a small laptop screen can be tiring or frustrating, especially when you have a bunch of people trying to catch a glimpse. Connecting your MacBook to an Apple TV allows you to display your screen on a bigger display - like your television. This makes watching movies, sharing photo slideshows, or giving business presentations a breeze and not a pain to the eyes. Imagine enjoying content from your MacBook on a 72-inch screen! Now, that's a huge leap forward.
Versatility
Once your MacBook is connected to your Apple TV, it becomes incredibly versatile. You can use it to:
- Stream any video from the internet directly to your television.
- Show photo slideshows to your family.
- Use it as a monitor for doing work.
- Conduct business presentations seamlessly.
Notice: You're not just limited to content on your MacBook. Stream movies, series, music, and more using various streaming applications such as Netflix, Hulu, Spotify available on your Apple TV.
As you can see, connecting your MacBook to an Apple TV not only optimizes your entertainment experience, it bolsters your device's utility significantly too. Is it worth it, you asked? We'll leave you to judge that. After all, it's your world of endless entertainment we're talking about. Your Apple TV and MacBook just found a way to improve it.
Step 1: Check for Compatibility
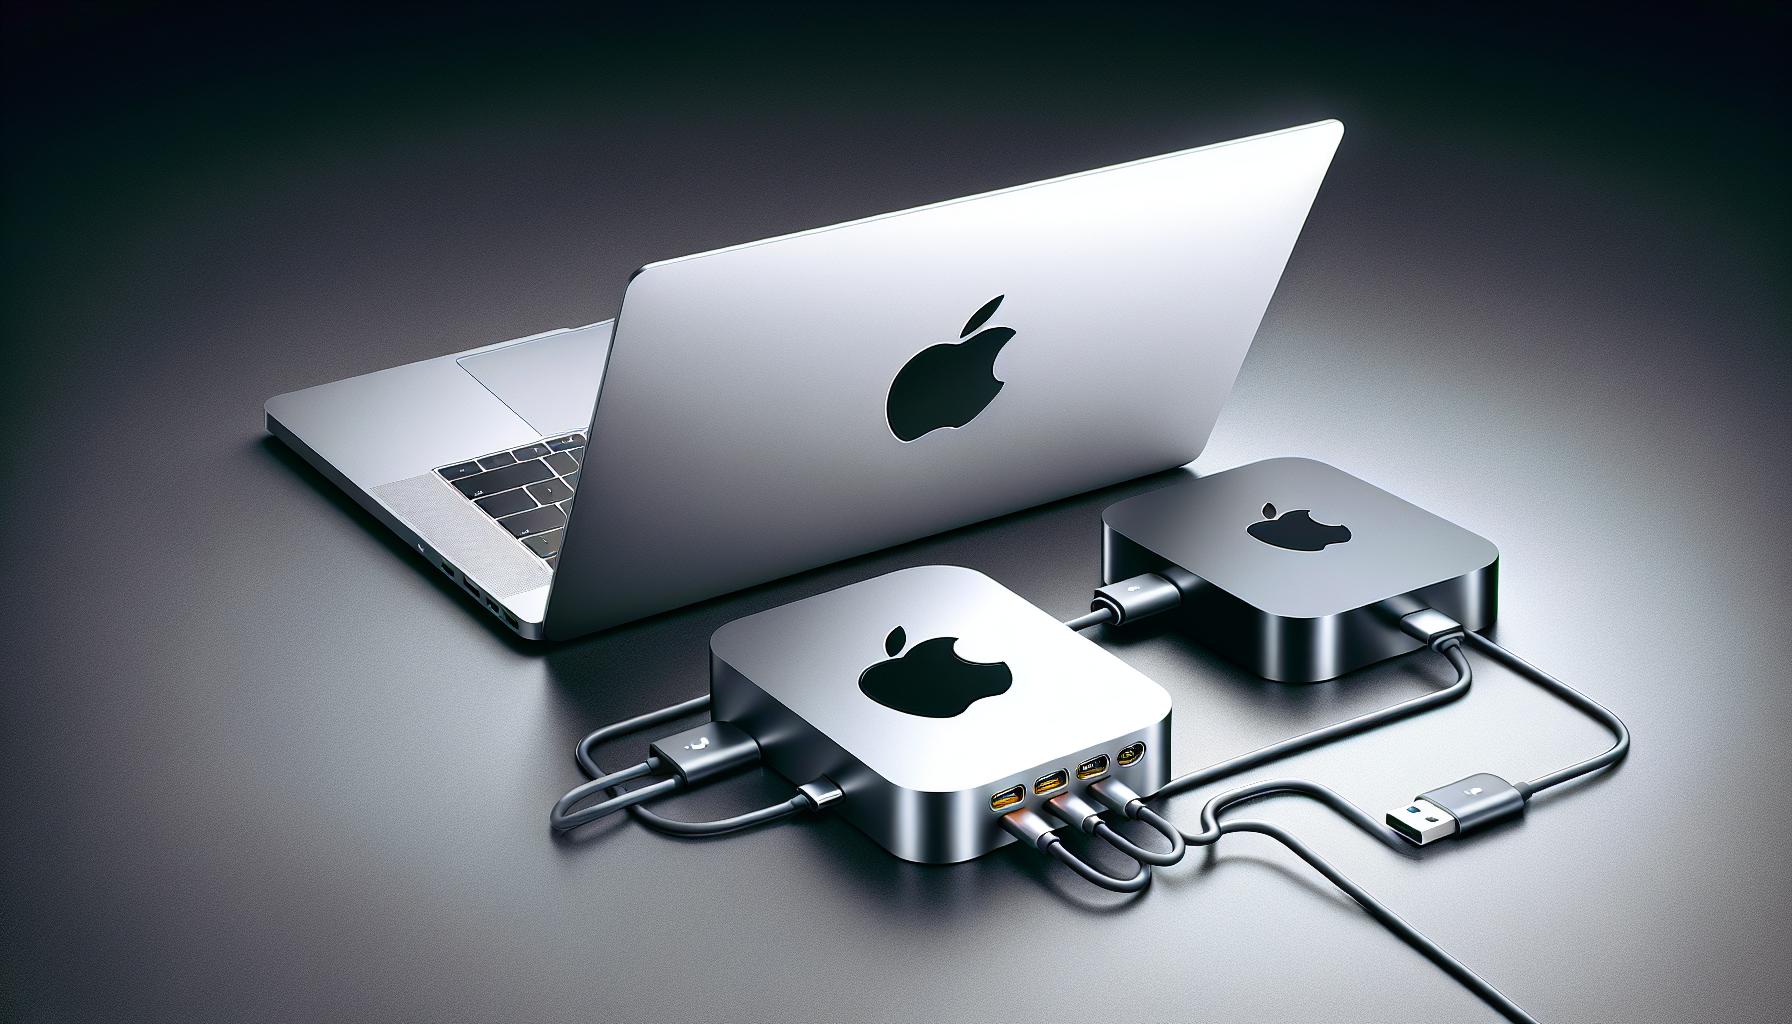
Before plunging into the connection process, the initial phase requires you to check if your devices are compatible. Not all MacBooks and Apple TVs can be teamed up, sounderstanding the compatibility is crucial.
The rule of thumb dictates that any MacBook produced after 2011 is generally compatible with all generations of Apple TV. Likewise, any Apple TV manufactured after that period should work fine with your MacBook. Now, if you're unsure about the production year of your MacBook or Apple TV, no need to fret. There are simple ways to find this information quickly.
For the MacBook, choose About This Mac from the Apple menu in the upper-left corner of your screen. Here, you'll find details about your MacBook, including the production year. As for the Apple TV, it may be beneficial to identify the model first by revisiting the Apple Support page. Here, you can match the model number with the corresponding image and description.
Do bear in mind that if your devices are not compatible, they won't connect seamlessly. The good news is, you can still overcome this hurdle with a few extra steps which we will be discussing in the following sections.
To make it easier, here's a simple compatibility table:
| MacBook | Apple TV |
|---|---|
| Produced after 2011 | All generations |
| Produced before 2011 | Might need additional steps |
As you decipher this information, understand that ensuring compatibility is the foundation of a successful device pairing. It's the prerequisite to the successive steps that will guide you to effortlessly connect your MacBook to your Apple TV. Hold onto this information and proceed with the next phases of carrying out the connection.
Step 2: Connect the MacBook and Apple TV

After determining the compatibility of your MacBook and Apple TV, it's time to establish a connection. Unfortunately, you can't just plug one into the other—Apple doesn't permit that direct cabled approach. Instead, you'll be using something called AirPlay.
AirPlay is Apple's wireless streaming technology. It lets you play content from your MacBook on your Apple TV. This includes music, videos, photos and even your MacBook's entire screen. Effectively using AirPlay will allow you to maximize your MacBook and Apple TV's capabilities.
Your first move is to ensure that both devices are on the same Wi-Fi network. If they're not, your MacBook won't be able to find your Apple TV or establish a connection.
- Click on the Wi-Fi icon in your MacBook's menu bar to check your network connection.
- Make sure your Apple TV is connected to the same Wi-Fi network. You can verify it by going to Settings > Network on your Apple TV.
Then, launch the AirPlay functionality on your MacBook.
- Click on the AirPlay icon (a rectangle with a triangle beneath it) which is usually located on the top right of your MacBook’s screen in the menu bar.
- A list of available devices will show up. Click on your Apple TV.
Congrats! You’ve just mirrored your MacBook to your Apple TV. You can now enjoy playing content from your MacBook on the larger screen of your Apple TV.
But wait, there's more! With your MacBook and Apple TV now connected, you can also use your Apple TV as a second display. This is awesome for multi-tasking or presenting information. Simply select "Use As Separate Display" from the AirPlay menu on your MacBook.
Finally, remember to regularly update your devices. Sometimes, connection issues arise because of outdated software. Make sure both your MacBook and Apple TV are running the latest versions of their respective operating systems to guarantee a smooth, seamless experience.
You've successfully made the connection, and the entire process should've taken only a few minutes.
Step 3: Configure the MacBook Display Settings
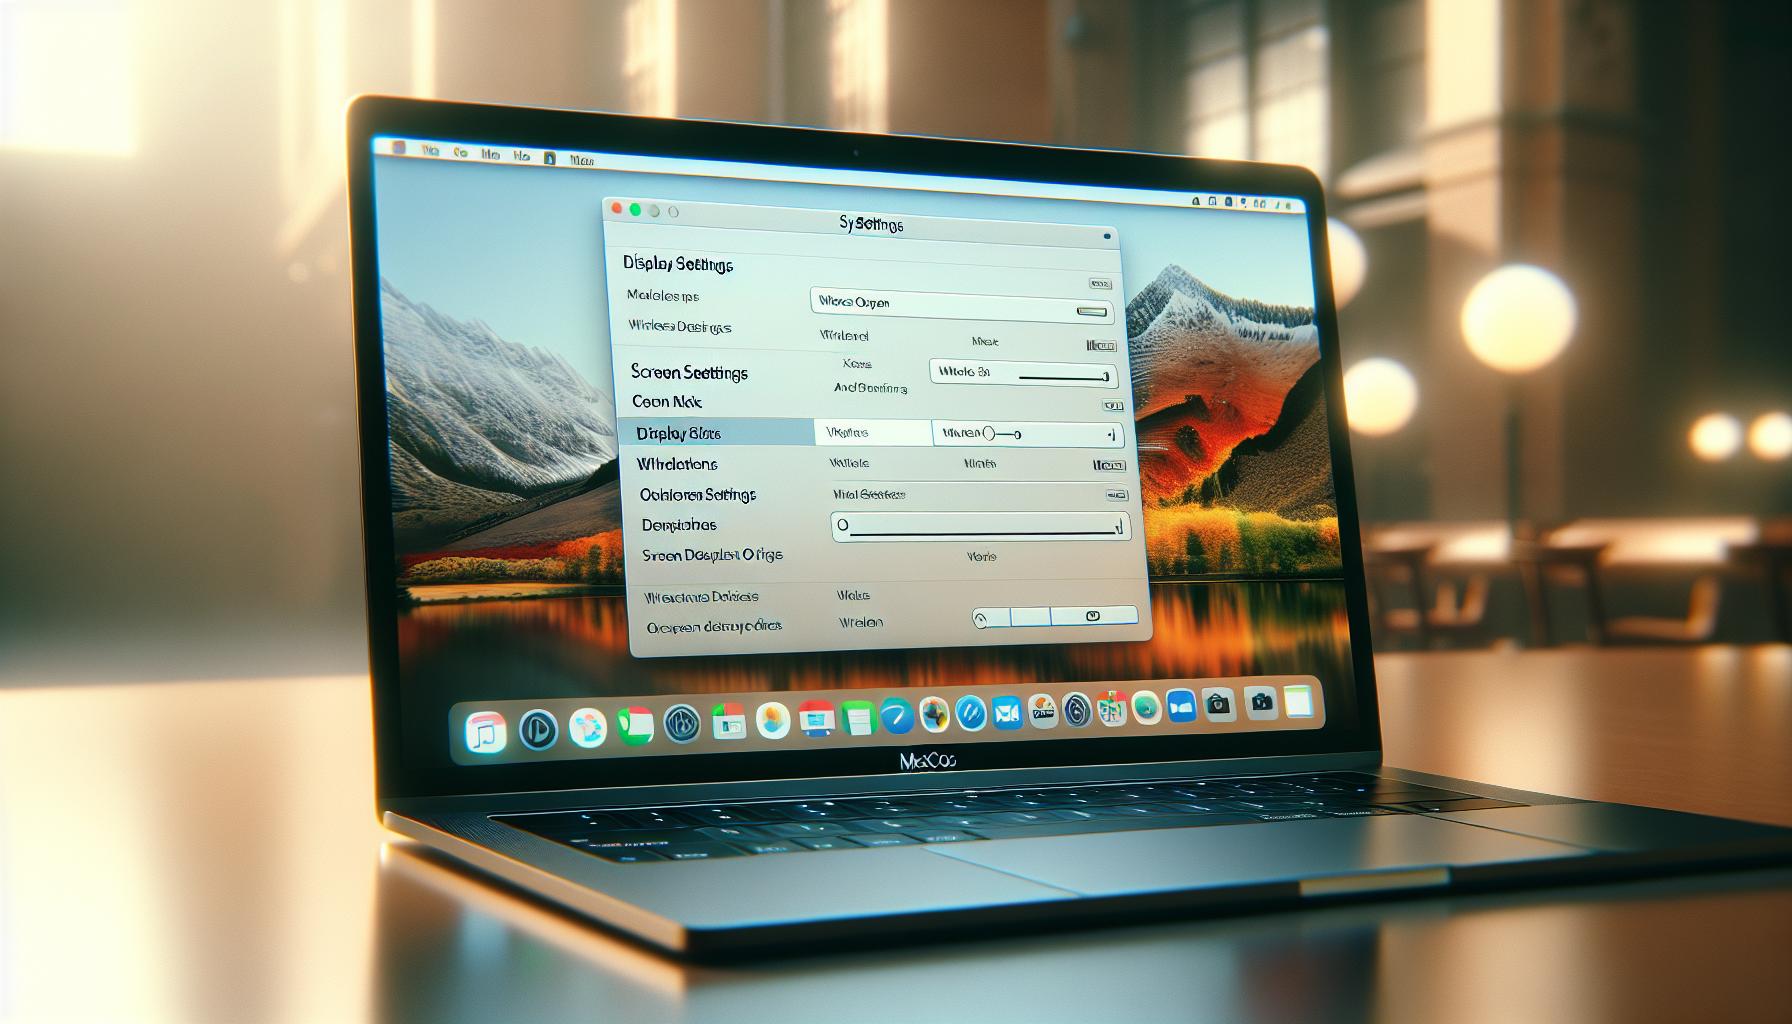
After pairing your MacBook and Apple TV, you're ready for step 3 of the process: configuring the MacBook display settings. This essential stage will allow you to customize and optimize your visual experience.
With AirPlay on, mirror your MacBook's display on your Apple TV screen. Here's how you can put this into play.
Go to the Apple Menu on the upper-left corner of your MacBook. Select System Preferences and then Displays.
You'll see an option named AirPlay Display at the bottom of the display preferences. Click on that dropdown menu, and you'll see your Apple TV's name as an option. Once you choose it, your MacBook screen will immediately mirror onto your Apple TV.
The mirrored display might not perfectly fit your TV screen. If that's the case, don't fret — MacBook allows you to easily adjust this. Go back to the Display Preferences and select the Overscan Compensation slider. With this tool, you can fine-tune the dimensions to ensure your MacBook screen aligns perfectly with your TV's display.
Here's another handy tip: using Apple TV as a secondary display. This gives you that additional screen space for multitasking. To enable this, select the "Use As Separate Display" option in the AirPlay Display menu.
Just remember that regular updates on your MacBook and Apple TV ensure a seamless mirroring experience. Now you can enjoy the full Mac experience on the big screen just the way you like it.
Step 4: Enable AirPlay on the Apple TV
Having prepared your MacBook and ensured your device compatibility, you're ready to move forward with the process. Next up is activating AirPlay on your Apple TV. Remember, AirPlay is crucial for screen mirroring; without it operative on both your MacBook and Apple TV, the devices won't sync.
Turn on your Apple TV and navigate to the Settings menu. Within the menu, you'll locate the AirPlay and HomeKit options. Selecting this will lead to the AirPlay Settings.
On the following screen you'll notice an option - AirPlay and Nearby Devices. Click on this and ensure you've set it to Everyone or Anyone on the same network. By doing so, you're allowing your MacBook to locate and connect to your Apple TV. It eliminates the need for a password, providing a seamless connection between two devices on the same network.
Just to be on the safe side, let's triple check your AirPlay. Exit out of the settings and your Apple TV home screen will greet you again. Swipe from the bottom of the remote, a control center with several options would pop out, select the AirPlay icon - it should show a checkmark to indicate that it's on.
A friendly reminder: regular updates are vital for both devices. They ensure you're advantageously utilizing the latest features as well as security upgrades, contributing overall to a smoother, safer screen-mirroring experience.
With AirPlay enabled on your Apple TV, you’re one step closer to achieving full connection with your MacBook. The subsequent discussions will guide you on the final steps of this process, which includes troubleshooting any potential issues that might come your way during this laptop-to-TV pairing journey.
Step 5: Mirroring or Extending the Display
Now that AirPlay's been enabled on your Apple TV, it's time to shift focus back to your MacBook. Your next move determines how the MacBook's display interacts with your Apple TV. You’ve got two choices: mirroring your display or extending your display.
In the mirroring mode, your MacBook's screen is an exact copy of your screen on Apple TV. It's perfect for presentations, demos, or sharing videos or photos with a larger group. Fear not, what you do on your MacBook will appear in real-time on the Apple TV.
On the other hand, extending the display treats your Apple TV as a separate screen. Imagine an extension of your MacBook’s workspace. It's the go-to choice for multitasking. Here's how you can make your selection.
First, let's start with mirroring. Look for the AirPlay icon on your MacBook's menu bar. It's shaped like a rectangle with a triangle at the bottom. If you can't spot it, double-check your MacBook and Apple TV connectivity. Once found, click the icon, then select 'Apple TV' from the drop-down list. Choose 'Mirror Built-in Display'. Voila! Your Apple TV now mirrors your MacBook's screen.
As for extending the display, follow the same steps to locate the AirPlay icon. Click and select 'Apple TV'. But this time, instead of choosing to mirror the display, select 'Use As Separate Display'. Kudos! Your immediate digital workspace has now expanded.
Remember to continually update your devices, ensuring top-notch connection quality and secure performance. Enjoying your Apple TV and MacBook together will become a seamless experience. Keep exploring.
Wrapping Up
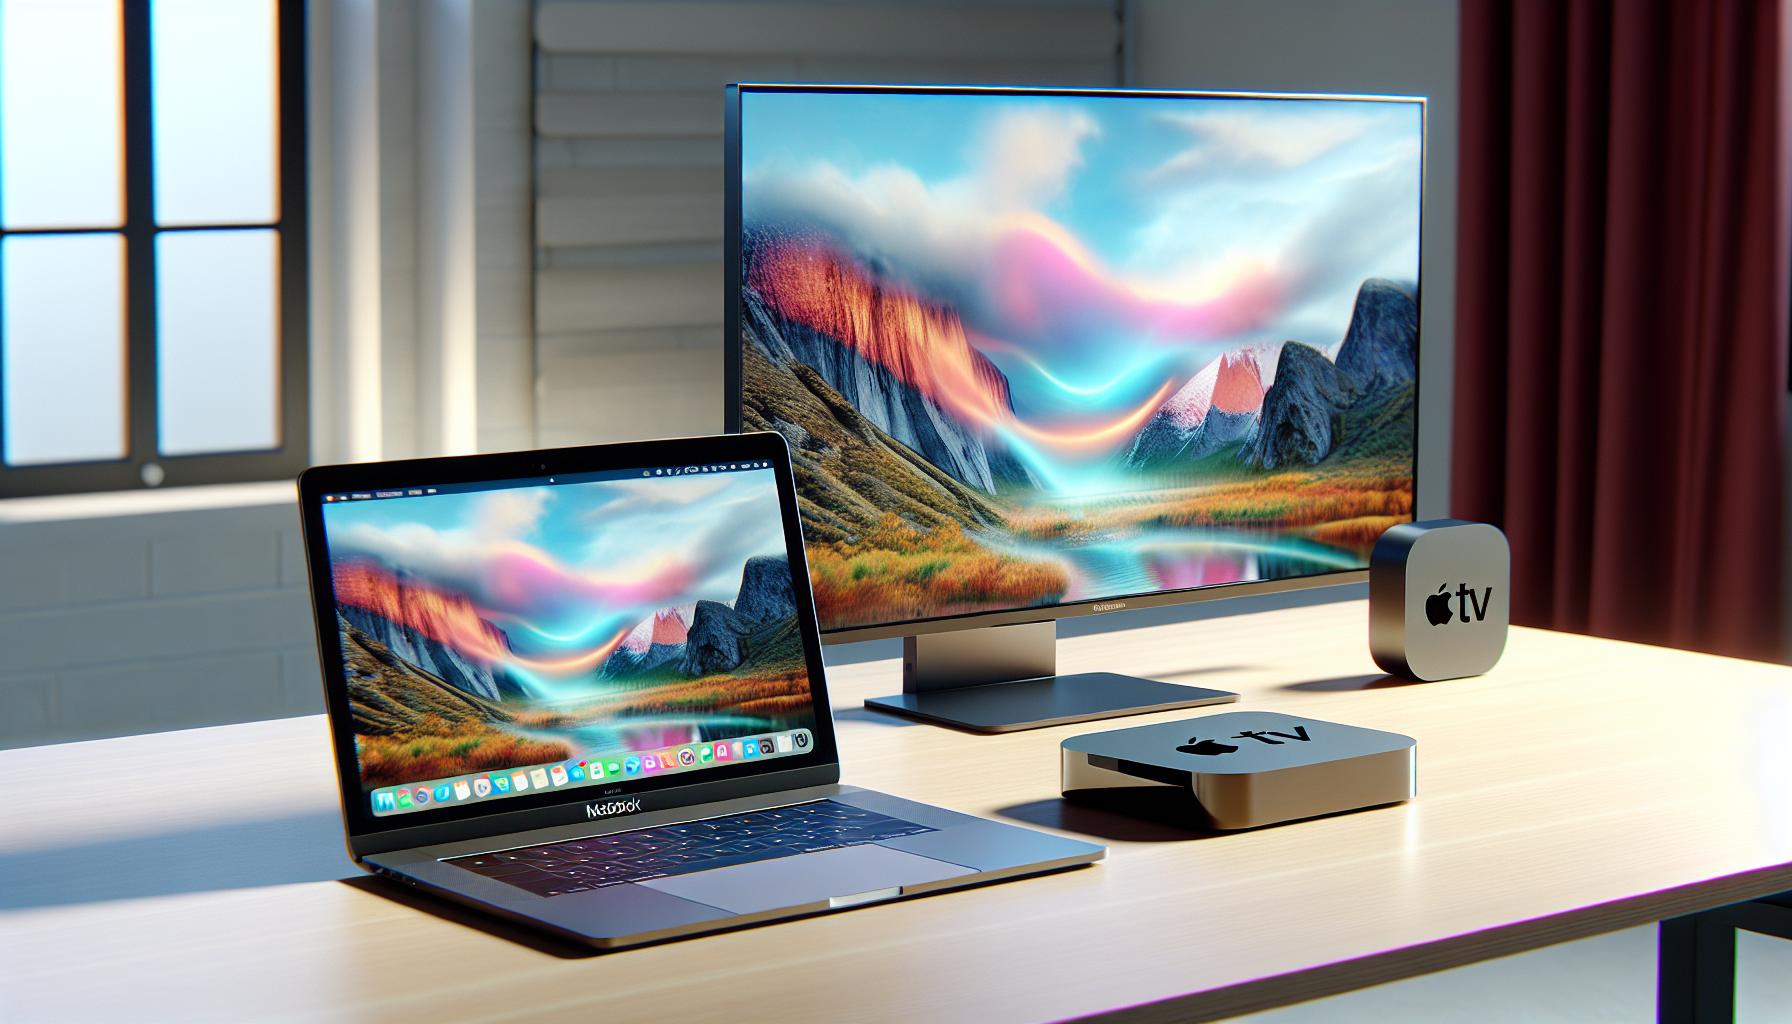
So far, you've made significant strides in connecting your MacBook to your Apple TV. By checking device compatibility and establishing a connection through AirPlay, you've taken the first steps towards a more integrated entertainment experience. Selecting between mirroring or extending the display was your next big leap, and performing this from the MacBook using the AirPlay icon marked a major milestone.
Understanding these steps equips you with the knowledge to benefit from using Apple devices in new ways. No matter whether it's for work presentations or enjoying your favorite series on the big screen, you're well on your way to reaping the full benefits.
Along your journey, the importance of keeping both devices up to date has been highlighted. This can't be emphasized enough. Regular updates not only optimize performance, they also ensure security. Regular security updates are invaluable, they'll provide preventative measures, mitigating potential risks. By staying up-to-date on software, you're not just maintaining your device's functionality. You're actively prolonging its lifespan.
Yet, the potential and possibilities don't stop here. In the next sections, we'll delve deeper into the nitty-gritty of optimizing your experience. We'll look at useful settings changes, explore additional features specific to your device models, and divulge tips on troubleshooting. Remember, the more you explore, the more seamless your experience becomes. Let's continue your journey, getting the most out of the wonderfully dynamic combination that's your MacBook and Apple TV.
Conclusion
You've made great strides in connecting your MacBook to your Apple TV. Remember, compatibility checks and using AirPlay are key steps. Choosing to mirror or extend your display can significantly impact your viewing experience, so make sure you've made the right selection. Don't forget the importance of keeping your devices updated to enhance performance and security. There's always more to learn and explore, such as tweaking settings, exploring device-specific features, and mastering troubleshooting tips. So keep experimenting and optimizing your experience. Connecting your MacBook to your Apple TV is just the beginning of a whole new world of possibilities.
1. How can I connect my MacBook to an Apple TV?
You can connect your MacBook to an Apple TV by checking device compatibility and establishing a connection through AirPlay. Make sure both devices have the latest updates for optimized performance.
2. How do I choose between mirroring or extending the display?
You can choose between mirroring or extending the display using the AirPlay icon on the MacBook. The process is well explained in the article.
3. Why are regular updates important for MacBook and Apple TV?
Regular updates are essential for both devices to achieve optimized performance and ensure security. It's highly recommended to always keep your devices updated.
4. What else can I explore to optimize my experience with MacBook and Apple TV?
There are other aspects to explore such as changing settings, exploring device-specific features, and troubleshooting tips to optimize your experience connecting MacBook and Apple TV. Please refer to the article for detailed information.
5. Are all MacBooks compatible with Apple TV?
Not all MacBooks are compatible with Apple TV. It is important to check the compatibility of your specific MacBook model with Apple TV before attempting to connect.
