So, you've just bought an Apple TV and you're ready to dive into a world of endless entertainment. But first, you need to connect it to your WiFi network. Don't worry, it's not as complicated as it might seem.
Apple has designed its products to be user-friendly, and the Apple TV is no exception. With just a few simple steps, you'll be streaming your favorite shows and movies in no time. This guide will walk you through the process, ensuring you're connected and ready to enjoy your Apple TV to the fullest.
Whether you're a tech novice or a seasoned pro, setting up your Apple TV with WiFi is a breeze. So let's get started, shall we?
How to Connect Apple TV to WiFi
Dealing with tech can often seem daunting but with Apple devices, it's typically a smooth experience. Journey with us as we unpack how to get your Apple TV up and running on your WiFi network. Don't worry, you don't need to be a tech whiz to understand and follow these steps. Simplicity is at the heart of Apple's design ethos.
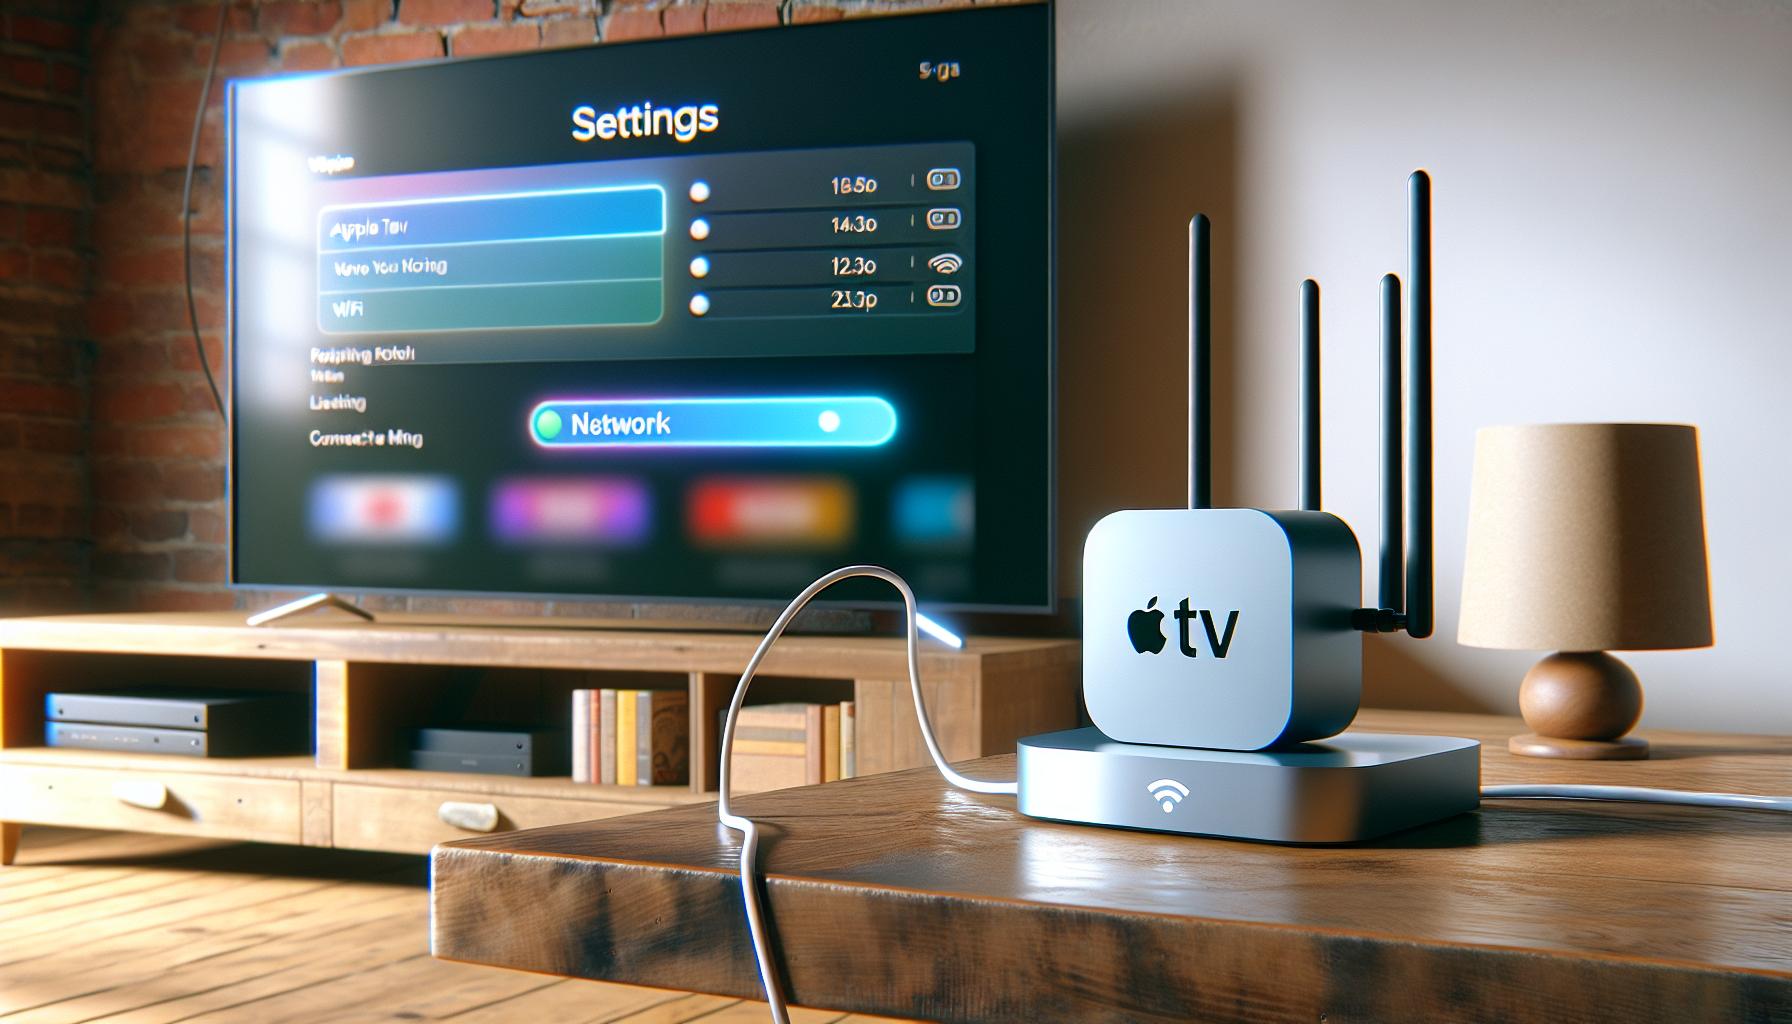
First off, make sure your Apple TV is powered on and properly connected to your television. Once that's secure, follow these steps to connect it to your WiFi network:
- Navigate to the Apple TV main menu.
- Scroll to and select the "Settings" option.
- From there, choose "Network".
- Then select "WiFi".
- If it's not already turned on, select "Turn WiFi on".
- From the list of available networks, select your WiFi network.
Then you'll be asked to enter your WiFi password. No worries if you've forgotten yours. It's usually found on the back of your router or within your internet service provider documentation. Once you've entered the correct password, select "Done" and you're all set!
Now you can enjoy your favorite shows, browse through exciting apps, and explore more of the Apple ecosystem right from your couch! Remember, a stable WiFi connection provides optimal Apple TV functionality. So, make sure your WiFi network isn't overly congested and limit interference from other electronic devices close by.
And hey, if you're having difficulty or any error messages pop up, don't panic. Apple's support service is always there to help you troubleshoot and resolve any issues. It's easy to reach out to them online or over the phone.
Step 1: Gather the Necessary Materials

While it's true that connecting your Apple TV to WiFi is a simple process, ensuring you have everything you need beforehand makes it even easier. Let's make sure you've got all the necessary materials. This step will ensure a smooth, uninterrupted process.
Firstly, you obviously need an Apple TV. Be it the latest Apple TV 4K variant or an older, 3rd generation model, they all operate on essentially the same connections. You also need a TV with an HDMI input. As long as your TV has this, you're golden – it doesn't have to be an Apple brand television.
Next on the essentials list, you'll need an HDMI cable. While an Apple TV comes with a power cord, an HDMI cable isn't included and will need to be supplied by you, the user. The HDMI cable is what sends the audio and video signals from the Apple TV to your television.
The fourth - and arguably crucial - material is a stable WiFi connection. Apple TV's are made to stream high-quality, high-definition content. So a good, strong WiFi signal, preferably at least 25 Mbps for 4K streaming, is crucial. If you're unsure of your WiFi speed, run a quick speed test before you start the process.
Lastly, don’t forget your Apple TV remote! Most of the nitty-gritty of the setup process can only be executed using it.
Here’s a quick recap of the essentials:
- Apple TV
- TV with HDMI input
- HDMI Cable
- Stable WiFi connection (Minimum 25 Mbps for 4K streaming)
- Remote
Step 2: Power on Your Apple TV

You've gathered your materials: an Apple TV, a TV with an HDMI input, an HDMI cable, a stable WiFi connection, and the Apple TV remote. With these at your disposal, you're ready to power on your Apple TV. But how do you do that?
Switch on your TV first, before starting up the Apple TV. Once your TV is up and running, take the HDMI cable and plug it into the appropriate port on your TV. You'll usually find this at the back or side of your TV. An important detail to remember – the HDMI port number. You will need this later.
Once you've connected your Apple TV to the TV using the HDMI cable, it's time to power on the Apple TV. This step is as easy as plugging in the power cord into the Apple TV and then into a power outlet. You'll know your Apple TV is on when you see a white light at the front of the Apple TV box.
At this stage, your TV might automatically switch over to the HDMI input your Apple TV is connected to. If not, you'll need to manually change the source or input channel on your TV to the corresponding HDMI port number. This is where remembering that HDMI port number comes in handy.
So how exactly do you do that? Every TV model is slightly different. On most, this can be done simply by pressing the 'Source' or 'Input' buttons on your TV remote until you find the correct HDMI port. Essentially, you want to see your Apple TV’s screen displayed on your TV.
You've now powered on your Apple TV and have it displayed on your TV. Now it's time to move to the next step – actually connecting your Apple TV to your WiFi network. As mentioned before, having a strong WiFi signal, preferably at least 25 Mbps for 4K streaming, is crucial for this process.
Stay tuned for more details on that process in the next section of this guide. Remember – you're not done yet, but you're making great progress.

With your Apple TV powered on and the correct HDMI source selected, the next crucial step in the process is navigating to the settings menu. But don't fret! The process is quite straightforward - even for those less tech-savvy among you. Your Apple TV remote is the primary tool you'll need for this step.
Start by pressing the Menu button on your Apple TV remote. This action will take you to the Home Screen. Here, you'll see a variety of options and features your Apple TV has to offer — ranging from popular streaming platforms such as Netflix and Hulu, to settings and more. Amidst the various icons, locate the one labeled "Settings".
Applying a clear, singular focus on Settings, click on it with your Apple TV remote. This action will open the Settings menu, the gateway to configuring your Apple TV to connect to your WiFi network. This menu is the command center for your Apple TV, where you can adjust various preferences and settings to fit your specific needs and tastes.
Navigating the Settings menu, specifically, isn't as daunting as it may initially seem. The menu is quite intuitive and user-friendly, with distinct categories and subsections clearly laid out. You'll find options for general settings, audio and video settings, network settings, and more.
It's in this menu that we'll progress onto the next step of connecting your Apple TV to your WiFi network. You're getting close! So, don't give up now. The next section will guide you through the process of selecting the appropriate network settings and successfully connecting to your WiFi network. You're on the brink of achieving your goal: unlocking a world of entertainment at your fingertips through your connected Apple TV.
In the meantime, rehearse what you've learned so far. Power on your Apple TV, select the correct HDMI source, and — as you have just learned — navigate to the Settings. Once you've got these steps down pat, you're ready for the next phase of the setup process.
Giving precision to these preliminary steps sure does pay off in the end, doesn't it? Ensuring your Apple TV is properly powered on and connected opens the door to a seamless, hassle-free user experience. So, stay with it, continue to follow along and soon, you'll have your Apple TV connected to your WiFi network in no time at all.
Step 4: Select the Network option

Great job, you're making excellent progress! You've powered on your Apple TV, set the right HDMI input channel on your TV, and now you've navigated to the settings menu. Let's delve into the specifics of connecting your Apple TV to your WiFi network.
In the Settings menu, there's an option labeled "Network" waiting for you. This is where you'll manage all the network-related functions of your device. Do you see it there, nestled between other options? Select it using your Apple TV remote. The "Network" option gives you access to all the WiFi settings.
Once you've clicked on the "Network" option, it'll lead you to a new screen. Here's a snapshot of what you'll see:
| Menu | Sub-Menu |
|---|---|
| Network | WiFi |
| Ethernet | |
| Configure IP | |
| Configure DNS | |
| Network Test |
You can use the Apple TV remote to easily navigate through these options. The interface is designed to be user-friendly and intuitive with distinct categories and subsections. However, for your present task, you'll need to focus on two specific options: "WiFi" and "Configure IP".
Moving right along with the process, you'll now want to tap on WiFi from those sub-menu options. Once there, a list of available networks shows up on your screen. From this list, simply select your WiFi network. After performing this action, you'll be asked to enter your WiFi network's password. Be careful to enter this password correctly, as typos can prevent you from successfully connecting your Apple TV to your WiFi.
Considering the possibility of connection issues, problems can arise when the WiFi signal is too weak or the network is congested. It's always good to ensure your Apple TV is within range of your WiFi router and that your WiFi router is performing optimally.
Now that we've thoroughly covered choosing the Network option and what follows, you're ready to move onto configuring your Apple TV with your specific network settings.
Step 5: Choose Your WiFi Network
Now that you're in the "Network" menu, your Apple TV will scan for available networks in its range. The names of the WiFi networks found will display in a list. Here's where the importance of having your WiFi network details becomes apparent. You're gonna need these details to identify your network from the list.
Remember, these WiFi names, also known as SSIDs, are case-sensitive. So, don't fret if you see multiple networks with similar names. You'll just pick the exact one that corresponds with your details. Your network might be password protected, and that's not a bad thing. It keeps your connection secure from unauthorized access. Let's break down what the selection and connection process generally looks like.
- Your Apple TV displays a list of detected WiFi networks.
- Identify and select your network from the list.
- If your network is password protected, a password field appears. Enter your WiFi password.
In the chance that you can't spot your network within the list or face a problem connecting:
- Check your WiFi router to ensure it's on and functioning.
- Confirm the Apple TV's proximity to the router. It needs to be within a decent range to maintain a good connection.
What if you make a mistake during the process, say, select the wrong network or botch your password? Well, it's simple to rectify. Navigate back to your Networks list and repeat the process. Easy, right? Selecting the right network is a crucial step in getting your Apple TV connected. It lays the groundwork for the actual connection, bringing you closer to streaming your favorite shows and movies.
Your Apple TV is smart. It remembers your network and password for future use, so you won't need to repeat these steps every time you power on your device. After successful connection, it automatically connects to your WiFi whenever it's in range. And there you have it. That's step five for connecting your Apple TV to your WiFi network, completed. Up next, we journey into the final steps of the process. Keep on reading to join us.
Step 6: Enter the WiFi Password
Once you've selected your WiFi network, Apple TV requests the password. It's at this point where you'll need to enter your WiFi password.
If you're unsure of your WiFi password, it's usually printed on your router. A strong WiFi password typically includes upper and lowercase letters, numbers, and special characters. It's a security measure designed to keep unwanted users off your network.
After you've entered your WiFi password, select the "Done" option. Looking on your Apple TV screen, you'll see the phrase "Connecting to [your network name]." This means your Apple TV is trying to establish a connection to your WiFi network.
It's worth noting that incorrect password entries are often the cause of connectivity issues. If your password is entered correctly and your Apple TV is still not connecting, you may want to double-check your password to ensure accuracy.
If connection issues persist, don't be tempted to throw your remote in frustration! There are some practical troubleshooting steps that we'll share shortly. For example, checking your router to ensure it's broadcasting WiFi, relocating your device away from obstructions, or resetting your device can possibly resolve the issue.
Your Apple TV should remember this password for future use, so you aren't required to painstakingly enter it every time you wish to connect. This is part of Apple's commitment to creating a user-friendly experience for its customers.
Step 7: Wait for the Connection

Once you've entered the WiFi password, your Apple TV will begin to connect to your selected wireless network. In this phase, it's all about playing the waiting game. While you sit back and wait, the Apple TV is essentially communicating with your WiFi network, establishing a secure connection.
Keep an eye on the screen during this step. The Apple TV interface will display on the screen if it can establish a connection to the WiFi network or not. If a connection is successfully established, you'll notice a tick next to the network's name you are connected.
Oftentimes the connection process is swift, but several factors can influence the speed at which your Apple TV links up with your WiFi network. Some of the factors include the strength of your WiFi signal, network congestion, and whether your Apple TV is within range. Thus, be patient and give the device a moment to connect.
Meanwhile, if you observe that despite waiting for a period of time, no successful connection is made, you may have to troubleshoot. Consider moving the Apple TV closer to your WiFi router, checking for interference from other devices, or restarting your router and Apple TV.
Remember, you don't have to re-enter your WiFi information when you restart your Apple TV. It's good at remembering networks and auto-connect whenever it detects them. This implies your Apple TV shouldn't need to connect more than once to your WiFi network, unless the network settings have changed.
Although waiting can be an uninteresting part of the process, it's necessary. Patience, in this case, is more than a virtue. It's a step towards ensuring that your Apple TV securely connects with your WiFi network to start streaming all your favorite shows and movies without interruption.
Buffering issues can become ancient history once you get your Apple TV successfully linked to your WiFi. It's all about taking these steps at your pace and carefully following the guidelines.
Soon you'll proceed to the next step in the process.
Conclusion
So, you've now got the knowledge to get your Apple TV hooked up to WiFi. It's not a daunting task, right? By following those easy steps, you'll be streaming your favorite shows in no time. Remember to have all the necessary materials on hand and navigate through the settings menu with ease. If you face any hiccups, don't worry - the troubleshooting tips are there for you. And the best part? Your Apple TV will remember your network and password for future use. So, here's to seamless streaming and endless entertainment with your Apple TV. Enjoy!
Frequently Asked Questions
What materials are needed to connect an Apple TV to a WiFi network?
To connect an Apple TV to a WiFi network, all you need is an Apple TV unit, a television with the right ports and a stable WiFi network.
How do I turn on an Apple TV and change the input channel?
To turn on Apple TV, you simply press any button on its remote control. Thereafter, using your TV remote, you can change the source or input channel to the one which Apple TV is connected.
Where is the "Network" option located on the Apple TV?
"Network" option can be found in the settings menu of the Apple TV. Once in settings, you can navigate to this option with the help of your Apple TV remote.
How long does it take for an Apple TV to connect to the WiFi network?
Typically, an Apple TV connects to the WiFi network almost instantly, but depending on the router and the strength of the WiFi, it might take a few seconds.
What to do if the Apple TV fails to establish a WiFi connection?
If the connection isn't successful, try rebooting the WiFi router or move the Apple TV closer to the router. Also, check for any possible interferences.
Will the Apple TV remember my WiFi password?
Yes, the Apple TV is designed to remember your WiFi network and password for future use. This means you won't need to re-enter the details every time you wish to connect.


