Ever wondered how to connect your Apple TV to WiFi using your phone? It's a breeze, and we'll show you how. This guide is designed to help you navigate the process, step by step.
You may be thinking, "Why would I need to do this?" Well, it's particularly handy when you've misplaced that tiny Apple TV remote or simply prefer using your phone. Let's dive into how you can turn your phone into the ultimate Apple TV controller.
Step 1: Check your Wi-Fi settings on your Apple TV
Before you start connecting your Apple TV to your Wi-Fi using your phone, it's crucial to first check the Wi-Fi settings on your Apple TV. This ensures your device is ready to accept the connection from your phone. You can do this by following these simple steps:
- Turn on your Apple TV.
- On your TV screen, go to the Apple TV main menu.
- Navigate to "Settings".
You find this option at the top of the main menu, typically represented by a gear icon.
4. Once you're in the settings menu, scroll down and select "Network".
The Network section gives you a comprehensive view of your Apple TV's current network settings. Here, you'll be able to see whether your device is already connected to Wi-Fi or a different network.
Now you're ready to ensure that the Wi-Fi connection is set up correctly on your Apple TV. You need to make sure the connection is secure and functioning reliably. While going through the network settings, pay attention to document any errors or unusual settings. You'll want to address these if they're hindering the Wi-Fi connection process.
In case your Apple TV is connected to the wrong network, you should use the "Forget this network" option. Simply navigate to the connected network's settings and select this option.
By understanding your Apple TV's current Wi-Fi setup, you're helping ensure a successful connection process with your phone later on. Remember, this is just the first step in using your phone to connect your Apple TV to Wi-Fi. The next sections will guide you through the process further.
Step 2: Open the Settings app on your Apple TV
The next step in syncing your Apple TV with your phone is rather straightforward. Before you can connect your devices, you need to open the Settings app on your Apple TV. While it may seem like a mundane task, it's crucial to the process and here's why.
Turning to the Settings app, you'll find a number of options to personalize, set up and manage your Apple TV. This application is inherently central to altering the system preferences on your device. It's crucial to ensure the desired setup, so that your device is ready to connect with your smartphone.
You should navigate to the Apple TV home screen. Typically, you'll see the Settings icon resembling a gear. Go ahead and click on it to launch the app. The simplicity of Apple's interface should guide you smoothly through the steps.
By opening the Settings app, you'll expose a range of configurations to fine-tune your user-facing experience. Among those configurations, you will find the network settings that play a pivotal role in connecting your Apple TV to WiFi using your phone.
At this stage, keep your smartphone handy. We are about to delve into the nuances of bridging these two devices in the upcoming section. Once you're in the network settings, you're all set to proceed to the next step in the journey: connecting your Apple TV to your smartphone.
To be certain, have a quick run-through. Go back to the home page, open the settings application and find the network settings. Nailed it? Great! John up for the coming sections about creating your very own Apple TV-smartphone duo.
Keep in mind that this process may vary slightly depending on the model of your Apple TV. Fear not, as the basic steps remain the same. Brace yourself as we dig deeper into making technology work for you in the simplest possible manner.
Once you've opened the Settings app and located the network settings, remember, there's no rush. You're a step closer to achieving your desirable Apple TV-smartphone setup. Await the next move with anticipation, as we continue laying down the roadmap ahead.
With the Settings app now open, it's time to steer the ship in the right direction. Don't forget, depending on your Apple TV model, you might see small differences in the overall interface. But rest assured, the principal steps will stay the same.
In your Settings menu, you'll see multiple options and it's your job to zero in on the right one: Network. You can simply scroll down using your Apple TV remote until you hit the gold. When you see the Network option, make sure you click on it to enter.
Navigating through the multiple settings may feel like treading on uncharted territories. But don't worry; with your phone right by your side, you're not alone in this digital journey. The journey might vary depending on your apply tv, but you have the right gear to handle inevitable variabilities. This Network setting holds the key to the next step of connecting your Apple TV to WiFi using your phone.
In the Network settings, you'll find a few options. They include your current connection status and options to change or update your network. This is where you will establish the connection with your phone. Bear in mind, the steps can vary a little depending on whether you're using iOS or Android. However, remember to be patient and pay careful attention to your selections. Your goal is well within sight and obtaining it is as satisfying as it sounds.
At this point, you have successfully navigated to the Network section in your Apple TV Settings. Stay tuned for the next step in this process: linking your phone to the Apple TV. This is a crucial yet a thoroughly rewarding task when done right. And with the right guide, there's no hurdle too high to overcome. So, be ready to move forward with the connection process, ensuring your Apple TV delivers the seamless streaming pleasure you've always wanted.
Step 4: Select Wi-Fi and choose your network
With the right avenues realized, you're getting to the real meat of the process - selecting your Wi-Fi and choosing your specific network. Prior to getting here, you've done the necessary groundwork on your phone and Apple TV. Your Apple TV is now ready to be connected, and your network is the key to marking that connection.
Starting at your Apple TV's main menu, tap on Settings. From the expansive list of settings, "Network" should be your choice. Here, you should find a list of options to tailor all things internet on your TV. Near the top, you'll spot Wi-Fi. Yes, that's your ticket. Click it!
A fresh screen presents itself, a screen that carries the weight of your internet options. Here, you'll find a compilation of networks, each eager to champion your Apple TV's online connection.
At this point, it's important to know what networks your device spots. Not all networks are created equal, and detection relies on several key factors. See for yourself:
| Network Factors | Key Information |
|---|---|
| Network Frequency | Some networks use different frequencies, either 2.4GHz or 5GHz. Apple TV can connect to both, but your phone needs to have the compatible frequency for successful pairing. |
| Network Name | Also known as the SSID, this is how your network identifies itself. If you do not see your network, ensure the name is correct on your other devices. |
| Network Security | Some networks come with additional layers of security which may require extra authentication steps. |
Keep an eye on these pointers as you proceed to couple your phone to Apple TV. Each step takes you closer to the streaming bliss you've anticipated.
Now that your phone is braced for connection, scroll through the list of networks available. Single out your network, the network relevant to your phone, and hit 'select'. A prompt may arise, asking for your Wi-Fi password. Don't fret. Plug it in. Apple TV does a fantastic job of keeping this information secure.
Step 5: Connect your phone to the same Wi-Fi network as your Apple TV
Having navigated the Network section and selected your preferred Wi-Fi on your Apple TV, the next critical step is connecting your phone to the same Wi-Fi network. This connection allows for seamless communication, ensuring a smooth and uninterrupted experience. Before tackling the connection process, however, you need to consider a few important factors.
Network Frequency
When connecting your phone, it's essential to ensure it's on the same frequency as your Apple TV. Common frequencies include either 2.4GHz or 5GHz.
Here's a markdown table highlighting the main differences between these two frequencies.
| Frequency | Pros | Cons |
|---|---|---|
| 2.4 GHz | Greater range | Slower speed |
| 5 GHz | Faster speed | Shorter range |
Picking the right network frequency largely depends on your usage needs. It's always wise to run through all the available options and select the one that best fits your specific requirements.
Network Name
Secondly, you should be aware of your Wi-Fi's network name, ethereal as the SSID. This name is crucial for identifying and selecting the correct network on your phone. It prevents accidental connection to an undesired network, especially in an environment with multiple Wi-Fi options.
Network Security
Finally, always remember the security aspect of your Wi-Fi network. You'll need to know your network's security type. Most commonly, these are WPA, WPA2, or WEP. Having this information is critical, especially if prompted to enter it while setting your connection.
With those points in mind, now it's time to proceed to the actual process of connecting your phone to the Wi-Fi network.
Step 6: Launch the Control Center on your iPhone
If you've set up Apple TV and selected the WiFi network, it's time to pair your Apple TV with your iPhone. This critical step involves launching the Control Center on your iPhone. Many users find this part straightforward, but if you're less adept at navigating Apple devices, don't worry.
If you've models like iPhone X or a more recent version, navigating your way to the control center is simple. Accessing the control center involves awaking your iPhone and then swiping down from the right upper corner of your screen.
For those of you with older iPhone models, like the iPhone 8 or previous versions, the process is slightly different. Wake your iPhone, then swipe up from the base of your screen.
The control center is tailor-made with a single purpose: providing quick access to various iPhone settings features, like brightness controls and access to AirDrop. It is also crucial in the context of connecting your Apple TV to WiFi using your iPhone.
Let's highlight the major differences between older and newer iPhone models for clarity:
| iPhone Models | Steps to open control center |
|---|---|
| iPhone X or newer | Swipe down from the right upper corner of your screen. |
| iPhone 8 or older | Swipe up from the base of your screen. |
Once you're in the control center, you're one step closer to casting your iPhone screen onto your Apple TV and finally enjoying your favorite shows on the big screen.
In the following section, we'll guide you through the next stages to finalize the connection of your Apple TV to your WiFi network using your iPhone.
Now that you've successfully accessed the Control Center, let's move to the next key step. You'll find a button labeled as Screen Mirroring. This feature is your golden key to establish an important link between your iPhone and Apple TV.
Screen Mirroring is an iOS feature that lets you duplicate your iPhone's screen on your Apple TV wirelessly. This feature is instrumental in getting your Apple TV connected to the WiFi using your iPhone. You may have used Screen Mirroring previously for presentations or binge-watching on a larger screen. Today, you'll use it for a different but equally essential purpose.
To tap on this option, you'll follow these steps:
- Swipe down to open the Control Center
- Find the Screen Mirroring button. It's generally within the first row of options, showing an icon with two overlaid rectangles.
- Tap the Screen Mirroring button, and you'll land on a new screen titled Screen Mirroring.
On the Screen Mirroring page, you'll notice the list of available devices. Recall the name of your Apple TV since it's the device you're seeking to connect with. If your Apple TV is turned on and within range, it should appear in this list.
However, it's important to stress that both your iPhone and Apple TV should be on the same WiFi network for this process to work. If they're on different networks, you won't see your Apple TV in the list—which, in turn, means you can't proceed with this method of connection. Make sure both devices are hooked up to the same network before you proceed.
Next, you'll be selecting your Apple TV from the available devices to get closer to successfully linking your devices together. Don't feel overwhelmed—you're making fantastic headway and are nearly there!
In the next section, we continue on this technologic journey and delve into establishing a connection with your Apple TV using your iPhone's WiFi.
Step 8: Choose your Apple TV from the list
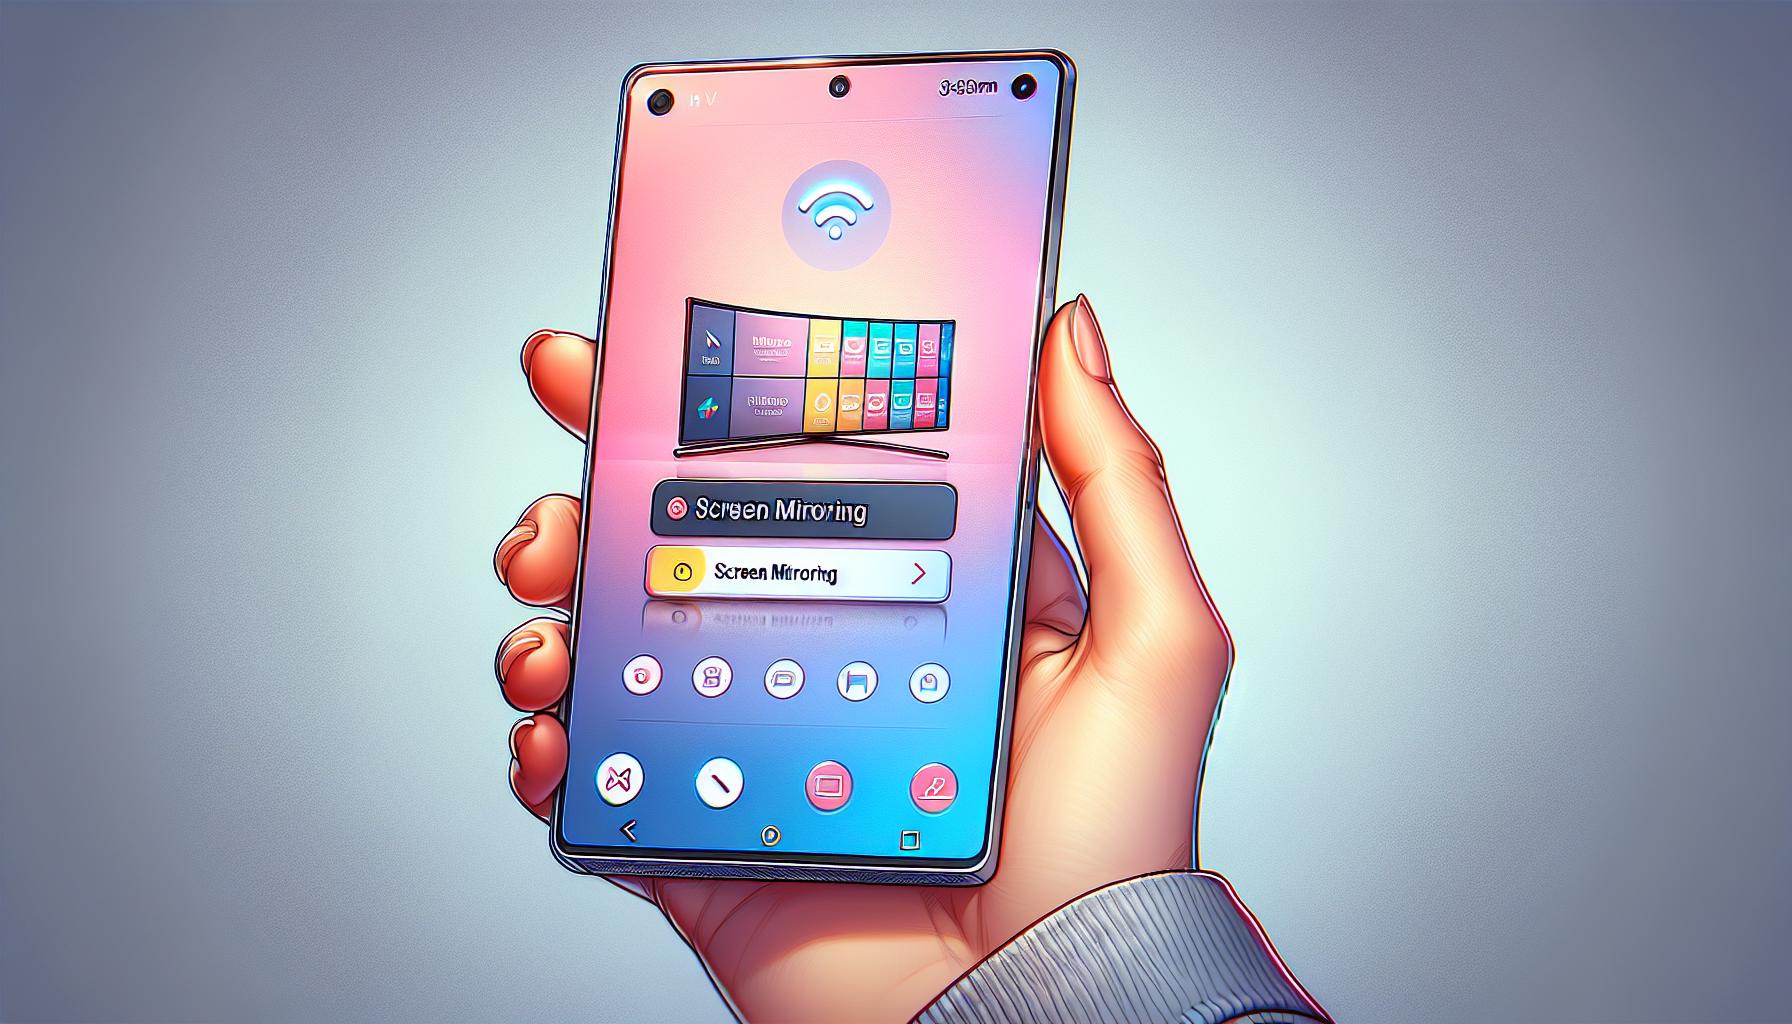
As you press Screen Mirroring, your iPhone will search for available devices in proximity. You will now see the list of devices that are capable of accepting a Screen Mirroring request. It's essential to remember that your Apple TV must be on for your iPhone to find it. If you can't find your Apple TV in the list, you might have to restart it or check its WiFi connection settings.
The device list is typically sorted by proximity with the closest devices appearing at the top. Once you see your Apple TV in the list, simply tap on it. It's that straightforward. Do take note that Apple TV appears on your device list with the name you gave it during the setup process.
After you've tapped your Apple TV, the Screen Mirroring process will start and your iPhone's screen will get duplicated on your TV screen. The time it takes to establish this connection can vary. Sometimes it happens instantly, sometimes it might take a few seconds. But don't worry; it's normal.
you're effectively using your iPhone's WiFi to connect to your Apple TV. You'll be able to control various functions of your Apple TV, right from your iPhone in a seamless way. This is the beauty of Screen Mirroring and why it's an integral part of this process.
Moreover, while this connection is active, you can use your iPhone for other tasks without interrupting the connection. It's noteworthy that despite acting as a bridge to connect your Apple TV to the WiFi, your iPhone's battery consumption won't skyrocket. This is thanks to the intelligent design of Apple's ecosystem where devices work together optimally without draining additional energy.
This feature isn't just useful for connecting your device to WiFi: it's a fantastic tool for playing games, sharing vacation photos with friends and family, or giving a business presentation. The possibilities are almost endless.
Now that your Apple TV is connected to your iPhone's WiFi, it's time to explore and enjoy the host of features it offers to enhance your multimedia consumption experience.
Conclusion
So now you've got the know-how to connect your Apple TV to WiFi using your iPhone. Remember, it's all about accessing the Control Center, tapping on Screen Mirroring, and making sure both devices are on the same network. It's a straightforward process that not only helps you get online but also opens up a world of possibilities. From playing games to sharing photos, Screen Mirroring is a game-changer. Don't worry if the connection takes a bit of time, that's normal. With this skill under your belt, you'll be able to take full advantage of your Apple TV, controlling it from your iPhone and even multitasking without interruption. So go ahead, give it a try and unlock the full potential of your Apple TV.
How do I connect my Apple TV to WiFi using my iPhone?
You can connect your Apple TV to WiFi using your iPhone through a feature called Screen Mirroring. Start by launching the Control Center on your iPhone and tap on the Screen Mirroring button. Ensure both the iPhone and Apple TV are on the same WiFi network and select your Apple TV from the list of available devices.
Is accessing the Control Center on the iPhone necessary?
Yes, accessing the Control Center on your iPhone is an essential step since the Screen Mirroring button, which you need to connect the Apple TV, is located there.
The Screen Mirroring button can be located in the Control Center of your iPhone. The process to access the Control Center varies slightly depending on the iPhone model, but it typically involves swiping up from the bottom of the screen or down from the top-right corner.
What happens after I select my Apple TV from the list?
Once you select your Apple TV from the list of available devices, the Screen Mirroring process begins. Your iPhone's screen will be mirrored on your Apple TV and you'll be able to control several functions of the TV.
Can I use my iPhone while the TV is mirroring it?
Yes, even while Screen Mirroring, you can perform other tasks on your iPhone without interrupting the connection.
Is Screen Mirroring useful for activities other than connecting to WiFi?
Absolutely, Screen Mirroring can be used for several activities such as playing games, sharing photos and even giving presentations, making it a versatile tool.

