Ever felt the urge to personalize your Apple TV by changing its name? You're not alone. Many Apple TV users prefer to customize their devices to reflect their unique tastes and preferences. In this guide, we'll walk you through the simple steps to rename your Apple TV.
Renaming your Apple TV not only adds a personal touch, but it's also practical, especially if you have multiple Apple devices at home. A distinct name makes it easier to identify your Apple TV when you're trying to connect or share content. So, let's dive in and learn how you can change the name of your Apple TV with ease.
Reasons to change the name of your Apple TV
There are numerous reasons why you might want to rename your Apple TV. It's not just about personalizing your device. In certain situations, something as simple as a name change can make a world of difference.
Consider a scenario where you have multiple Apple devices at your home. The devices - iPhones, Macs, Apple watches, and yes, your TV - all are probably recognized by a default name assigned by Apple. With this setting, when you're trying to Airplay some media from your iPhone to your TV, you'll spend unnecessary time figuring out which device to send it to. To simply say, it's unnecessarily confusing navigational nightmare.
Now let's think about this scenario with uniquely named devices, especially your Apple TV. Less confusion due to device identification means less hassle. Your streaming experience is smoother, and you save precious minutes.
Households with multiple Apple TVs benefit tremendously from renaming their devices. For example, you would probably find it significantly easier if you knew whether you were streaming to the "Living Room TV" or the "Bedroom TV". This simple step can help you keep your devices and their locations sorted.
Changing the name can also be a practical choice for easy identification during troubleshooting. If there is an issue with your network or device, renamed devices can be easily identified. This makes rectifying any problems less challenging.
Do you see the pattern here? Clearer navigation, smoother streaming experiences, better organization, and easier troubleshooting - all with a simple tweak of your device's name. It's well worth your time to revisit the name your Apple TV goes by. In the next section, we'll guide you through the simple process of how to do it.

Before you change anything, first you need to navigate your way to the Apple TV's settings menu. This task is remarkably straightforward. You'll spend no more than a couple of minutes locating the menu intended for your use.
Fire up your Apple TV. Take your Apple TV remote, aim it at your screen, and press the "Menu" button. This brings your Apple TV back to the main screen – if it isn't there already. Here you'll spot the icon labelled "Settings".
Spot the gear icon. It's tough to miss this one. With a unique gear symbol, the Settings icon stands out on your Apple TV home screen. You're looking for the icon situated towards the upper right on your screen.
Navigate your way to this icon. Use the trackpad on the remote to swipe left, right, up, or down. You'll see the icon highlighted once you've selected it.
Once the settings icon is highlighted, simply click the touch surface on your Apple TV remote. As soon as you press, a list should appear on your screen. This contains the many different settings you can adjust on your Apple TV.
You're now within the settings menu of your Apple TV. It's time to go on to the next step where we will discuss how to change your Apple TV name. Sit tight and keep your remote close, we're nearly there.
Step 2: Selecting the "General" tab

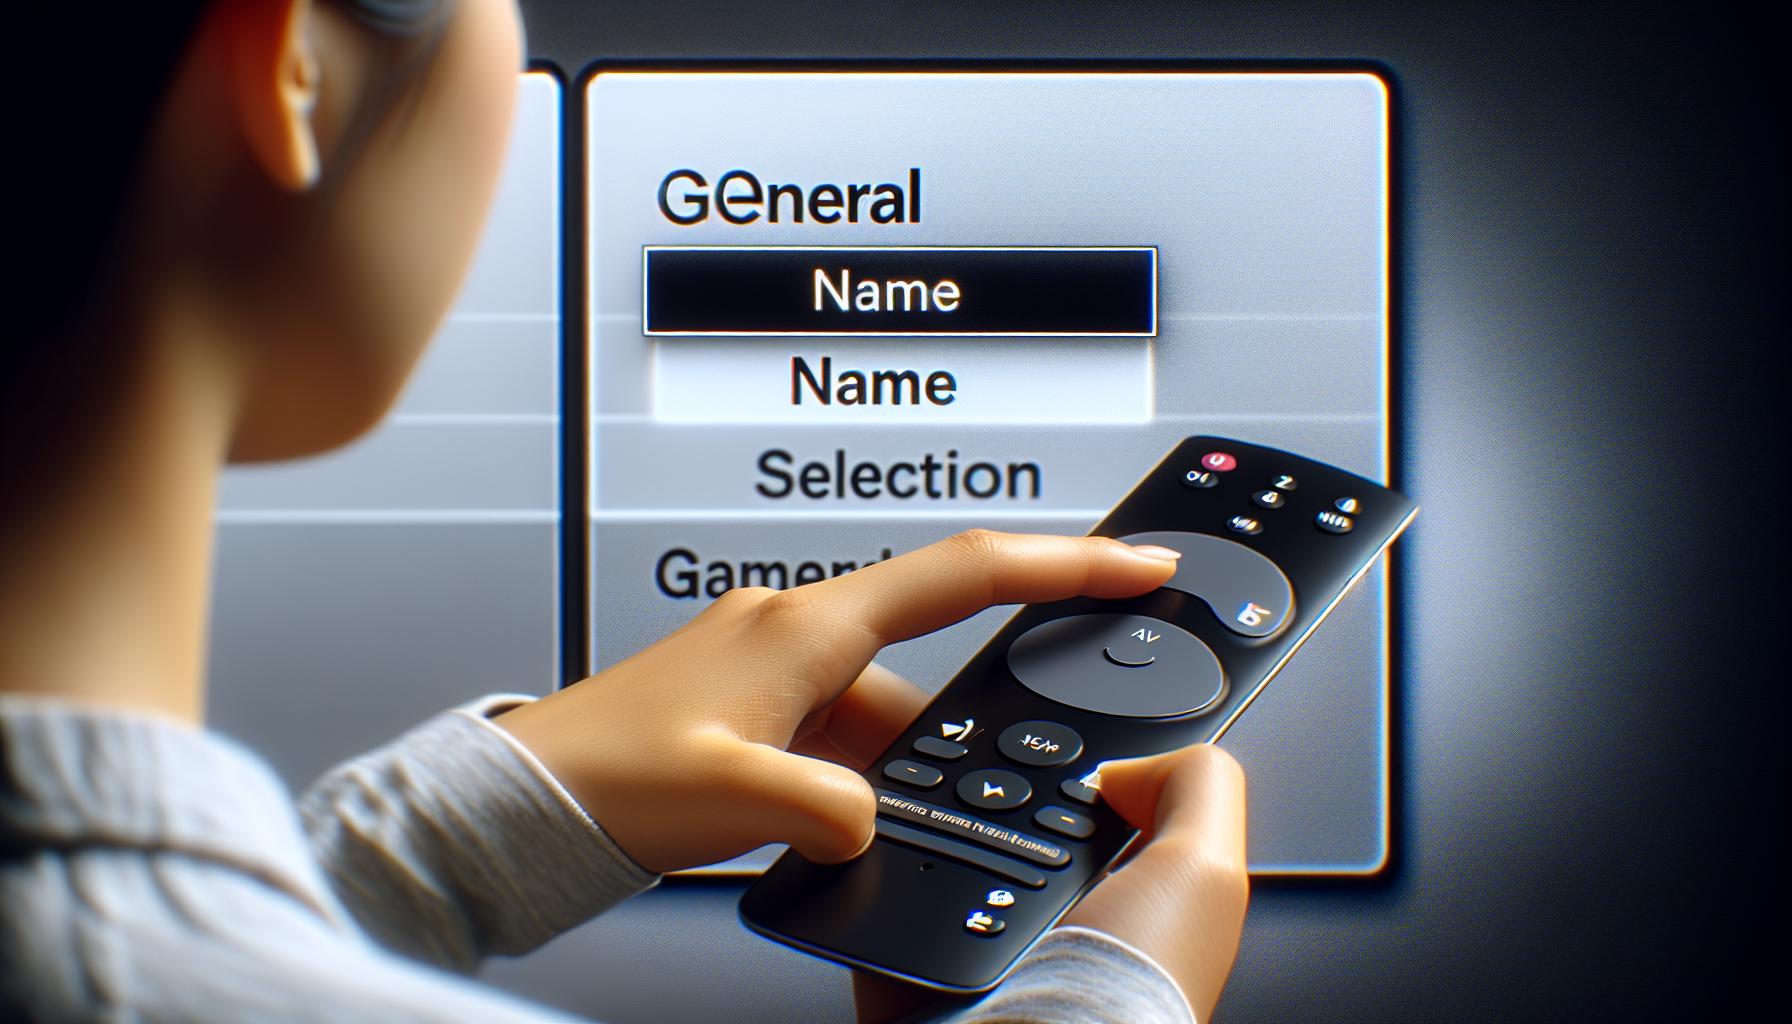
Now that you've navigated your way to the settings menu, it's time to drill down into specifics. Your next stop is the "General" tab. This is the control hub for most of your device's settings - everything from language preference to network connection. To find the "General" tab, look on the left side of your screen. It’s usually located just below the Apple ID section.
Select it by pressing the touchpad on your remote. This will lead you to various options for adjusting the settings of your Apple TV. Remember, it's important to take your time and ensure you're making the right selections as each change can affect your overall user experience.
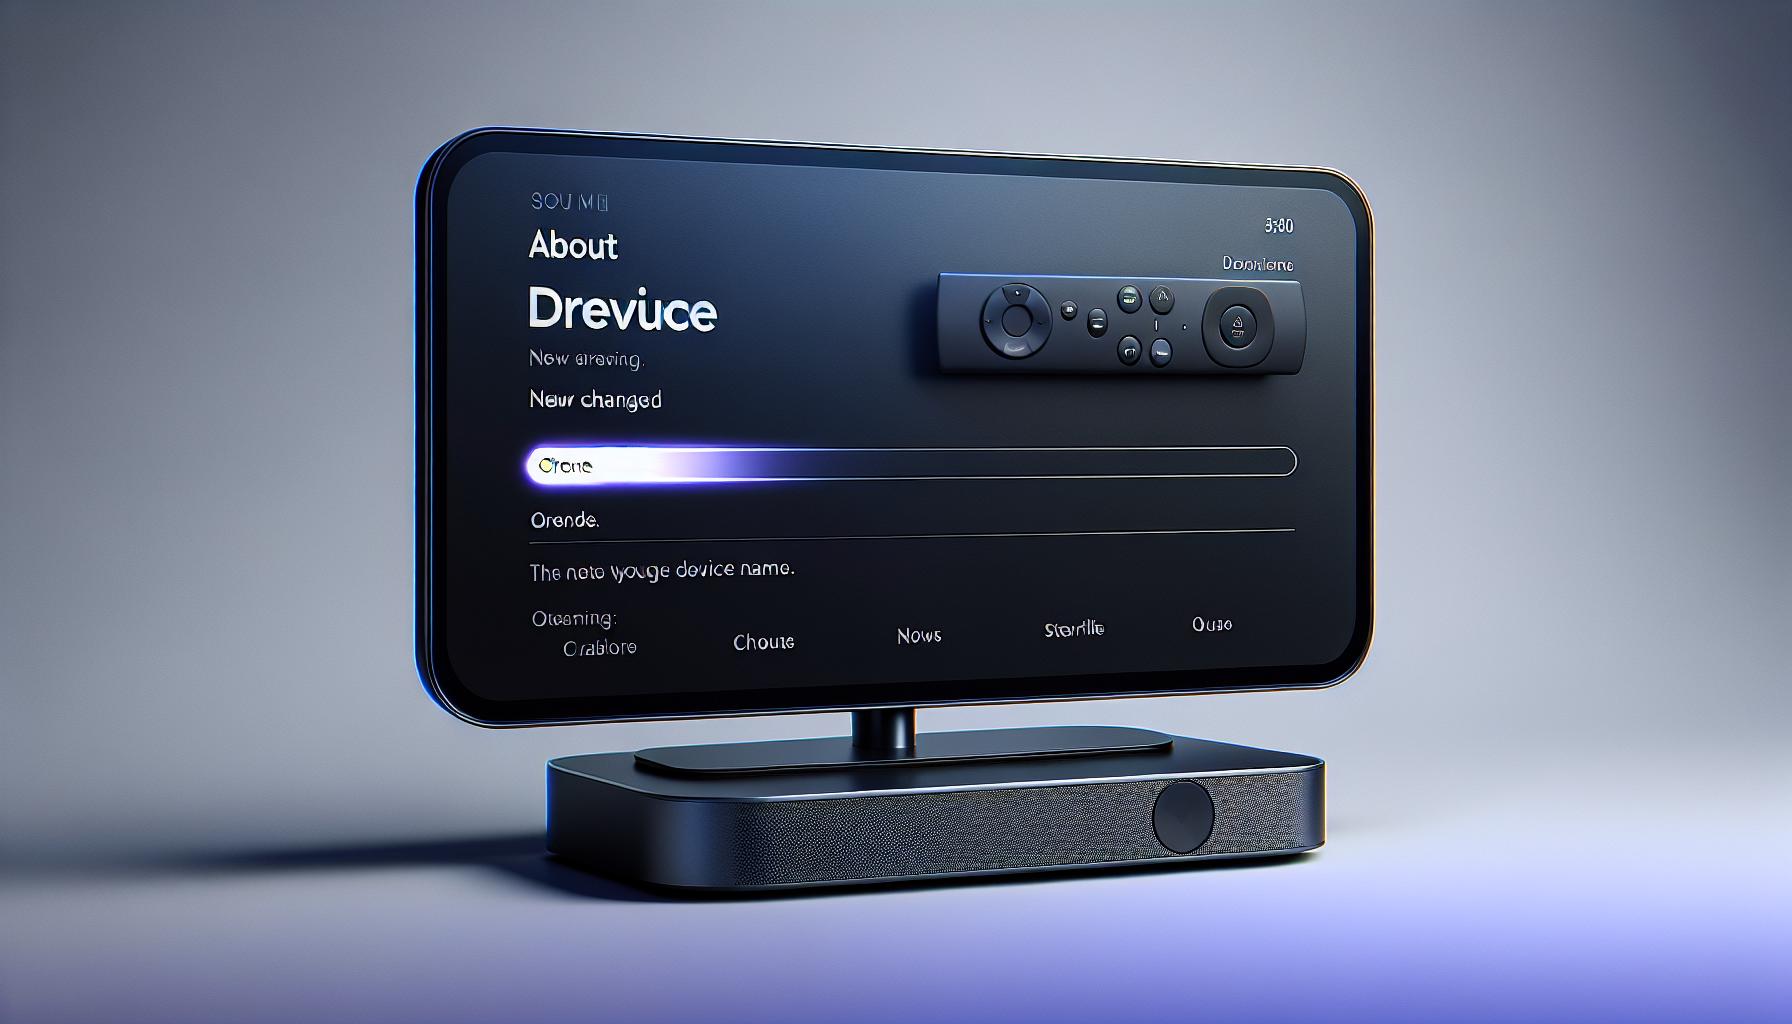
Alright, so you're in the "General" tab. You'll be presented with a whole slew of settings you can adjust. But don't let the options sidetrack you, stay focused. What you're looking for is buried under the "About" section. This section houses all the information about your Apple TV such as model, software version, network, and your Apple TV's name - which you're here to change.
Step 3: Renaming your Apple TV
Now that you've navigated your way to the "About" section under the "General" tab, you're ready for the crux: renaming your Apple TV. Don't rush it. Remember: your choices impact your user experience.
Firstly, locate the "Name" option. It's typically the first item in the "About" section. Use your Apple TV remote to highlight this option. Once you've done that, click the Touch Surface or press "Select" to enter the name-editing mode.
But what's in a name? Well, a lot. Especially when you've got multiple Apple devices at home. You want to choose a name that's easy to remember, unique to your Apple TV, and yet, identifying. That way, when you're looking to AirPlay some content, you know exactly which device to target. So, put some thought into this.
In the name-editing mode, type in your chosen name. The on-screen keyboard of your Apple TV should be on display. Use the Apple TV remote to navigate to each character of your new name, clicking the Touch Surface or "Select" when you've highlighted the correct one.
If a mistake slips by, don't sweat it. That's what the "Delete" key is for. Find it, often represented by an arrow icon pointed left, and use it to erase the misstep. Then continue typing.
A helpful feature, the AutoFill option might also make an appearance. It's a time-saver when there are existing device names similar to what you're typing. When the AutoFill option shows up, you can choose to ignore it or use it to complete your input.
Once your new name appears correctly on screen, you'll want to save it. Look for a "Done" option, often found in the corner, or "Submit" option, depending on your model. Navigate to it and click. Voilà, your Apple TV name has changed.
Take a moment to return to the "About" page. Your new name should be proudly displayed at the top.
Step 4: Confirming the new name

After tapping the Done button on your Apple TV remote, you'll see a toast notification at the top of the screen. This notification confirms that your Apple TV has successfully registered the newly entered name. At this point, you're not only halfway done with the process but have also achieved a crucial step.
Let's delve into more details. The screen will close and redirect you back to the "About" section. Your newly chosen name should now be displayed at the top of this page. This is a critical indication that the change has been made successfully. The name appearing here will be visible to all devices looking to connect to your Apple TV.
While it may seem discreet, renaming your Apple TV plays an essential part in making it stand out from other devices on the same network. It saves you time and anxiety when connecting devices to the right Apple TV. Especially in a multi-Apple TV environment, recognizing your device has been made supremely easy.
Here comes the part you might find a tad bit challenging - verifying that the changed name has been applied across all systems. Go ahead, navigate to any other device that has previous communications established with your Apple TV. It could be an iPhone, MacBook, or even an iPad. You should see the new name pop up in the list of devices ready for pairing or casting.
Let's imagine, for a moment, you don't see the new name on your devices immediately. No need to panic. Just ensure that you connect your Apple TV and your other device to the same Wi-Fi network. Moreover, they may require a few moments to register the new name. So, give it a bit of time.
The beauty of this process lies in its simplicity and definitive validation. Once you see the new name in other devices, you'll be certain that the desired change has taken place seamlessly. There's no better place to see the fruits of your efforts, is there?
Step 5: Verifying the name change
Once you've given your Apple TV a fresh identity, it's time to ensure that the change has taken effect properly. This stage is as important as the renaming process itself. Remember, a missed step could lead to confusion in a multi-Apple TV environment.
You'll start by returning to the main Settings menu. Here, you'll see the updated name at the top of the screen showcasing the successful update.
Suppose you don't see the changed name right away. In that case, you might need to restart your Apple TV for your update to register. Don't worry, a restart won't affect your settings. It is just a routine that electronic devices follow to get their software in sync.
- To restart your Apple TV, just navigate to Settings, then click on System and finally choose Restart. After a minute, your Apple TV should boot up with the newest name popping right on your screen.
- In case you still do not see the updated name, don't panic. This might simply mean that the name wasn't saved correctly during the renaming stage. If that's the case, you'd need to repeat the renaming process.
Another important step while you're at this is making sure that your change is reflected across all your connected devices, such as your iPhone, iPad, or Mac. Info syncing between devices takes a bit of time, so be patient.
It's also worth noting that you can manually trigger this sync by signing out of your Apple ID on your connected device and signing back in again. Here's how:
- On your device (e.g., iPhone), go to Settings.
- Click on your Apple ID at the top.
- Scroll down to the bottom, then click on Sign Out.
- Once you're signed out, click on Sign In and enter your Apple ID credentials.
If you're operating multiple TVs, it'd be helpful to navigate through each and confirm your Apple TV's new identity. It makes for a smoother user experience while flipping between TVs.
In the end, learning how to change the name of an Apple TV is straightforward and shouldn't take more than a few minutes. But verifying is just as significant. Take your time and ensure the change is registered properly.
Conclusion
You've now got the know-how to rename your Apple TV. It's a straightforward process, right from accessing the settings to confirming the name change. Remember, it's not just about changing the name, but also making sure it's unique and easily identifiable in a sea of Apple devices. Don't forget to validate the change across all your devices. If you run into any hitches, restarting your Apple TV can do the trick. So go ahead, give your Apple TV a new identity and enjoy the convenience that comes with it. After all, it's all about making your digital experience as smooth as possible.
How can I change the name of my Apple TV?
In your Apple TV settings, navigate to the "General" tab. From there, select "About" and locate the "Name" option. Select it and input your chosen name using the on-screen keyboard, then confirm the change.
What should I consider when renaming my Apple TV?
Choose a name that makes your Apple TV distinct and easily recognizable, especially in an environment with multiple Apple TVs. A good name will ensure you can identify your device quickly.
The name change didn't reflect on my Apple TV, what should I do?
If your Apple TV's name hasn't updated, you may need to restart the device. This is a simple process explained in the article, starting with selecting "Settings" then "System" and finally "Restart."
Will the name change reflect on all connected devices?
The name change should automatically update across all connected devices. However, if it doesn't, the article provides steps on how to manually trigger this synchronization.
How can I confirm the name change on my Apple TV?
To verify the new name, simply navigate back to the "About" section under "General" in settings. Here, you should see the updated name. If not, repeat the renaming process and ensure you confirm the change.


