Ever found yourself questioning how to cancel subscriptions on your iPhone? You're not alone. It's a common query among users who've subscribed to services via their Apple devices. Whether it's an unused app subscription or a recurring service fee you no longer need, it's essential to know how to unchain yourself.
Apple makes it relatively simple to manage subscriptions, but the process isn't exactly obvious. It's hidden in settings, and if you don't know where to look, you might find yourself paying for something you don't use. But don't worry, we're here to guide you through every step.
Why Cancel Subscriptions on iPhone
When you're evaluating your monthly expenditures, it's essential not to overlook what might seem like insignificant costs - your iPhone app subscriptions. They might seem small, but these subscriptions can quickly add up, becoming a substantial drain on your finances. Despite Apple's sleek design and intuitive user interface, it's not always apparent how to handle subscriptions, leaving users paying for services they no longer need or use.
The convenience of subscriptions can often lead to complacency. It's easy to sign up for a new app or service with just a quick biometric or passcode verification, and before you know it, you've got a plethora of monthly fees adding up. You might not even use some of these services after the initial trial period, but auto-renewal means you're still paying. Recognizing and canceling unnecessary subscriptions is a necessary budgeting step.
Moreover, it's crucial for your digital security. Canceling subscriptions reduces potential gateways for hackers. The fewer services with your card or bank details, the lower your risk of becoming a victim of cyber crime. You don't want unused subscriptions to become unattended digital doors for hackers, do you?
Lastly, if you switch from iPhone to another phone, you might not be able to access or even remember all the subscriptions you signed up for via your iPhone. The best practice here's to cancel any subscriptions that you're not actively using.
Navigating the cancellation process isn't as daunting as it might seem at first glance. Apple has designed its software to be user-friendly, and canceling subscriptions is no exception. With a few simple steps, you can declutter your app portfolio, save money, and safeguard your digital information.
Stay tuned with us as we take you through the step-by-step guide on how to cancel subscriptions on your iPhone.
Step 1: Accessing Settings

Time to dive into the nitty-gritty of canceling those subscriptions. The first thing you need to do is navigate your way to the settings of your iPhone.
Unlock your iPhone and find your home screen. This is your starting point. Notice near the bottom, there's an icon labeled Settings. The icon is gray with a set of gears on it. Don't confuse it with similar icons - it's the one labeled Settings.
Tap it and launch.
Congrats! You've successfully opened your iPhone's settings. This may seem like a simple step, but it's crucial. It's from here on out that things will start to pick up.
Looking at your Settings screen might seem overwhelming at first. Don't worry - it's less complex than it appears. Take a moment to familiarize yourself with this area of your iPhone. It's here that you control everything: your privacy, your notifications, the works.
Step 2: Finding Subscriptions

Once you've navigated your way through your iPhone settings, you'll find yourself at a crossroads. Here's where the real action begins. To avoid unnecessary costs and protect your privacy, it's important to pinpoint where the subscriptions section is located.
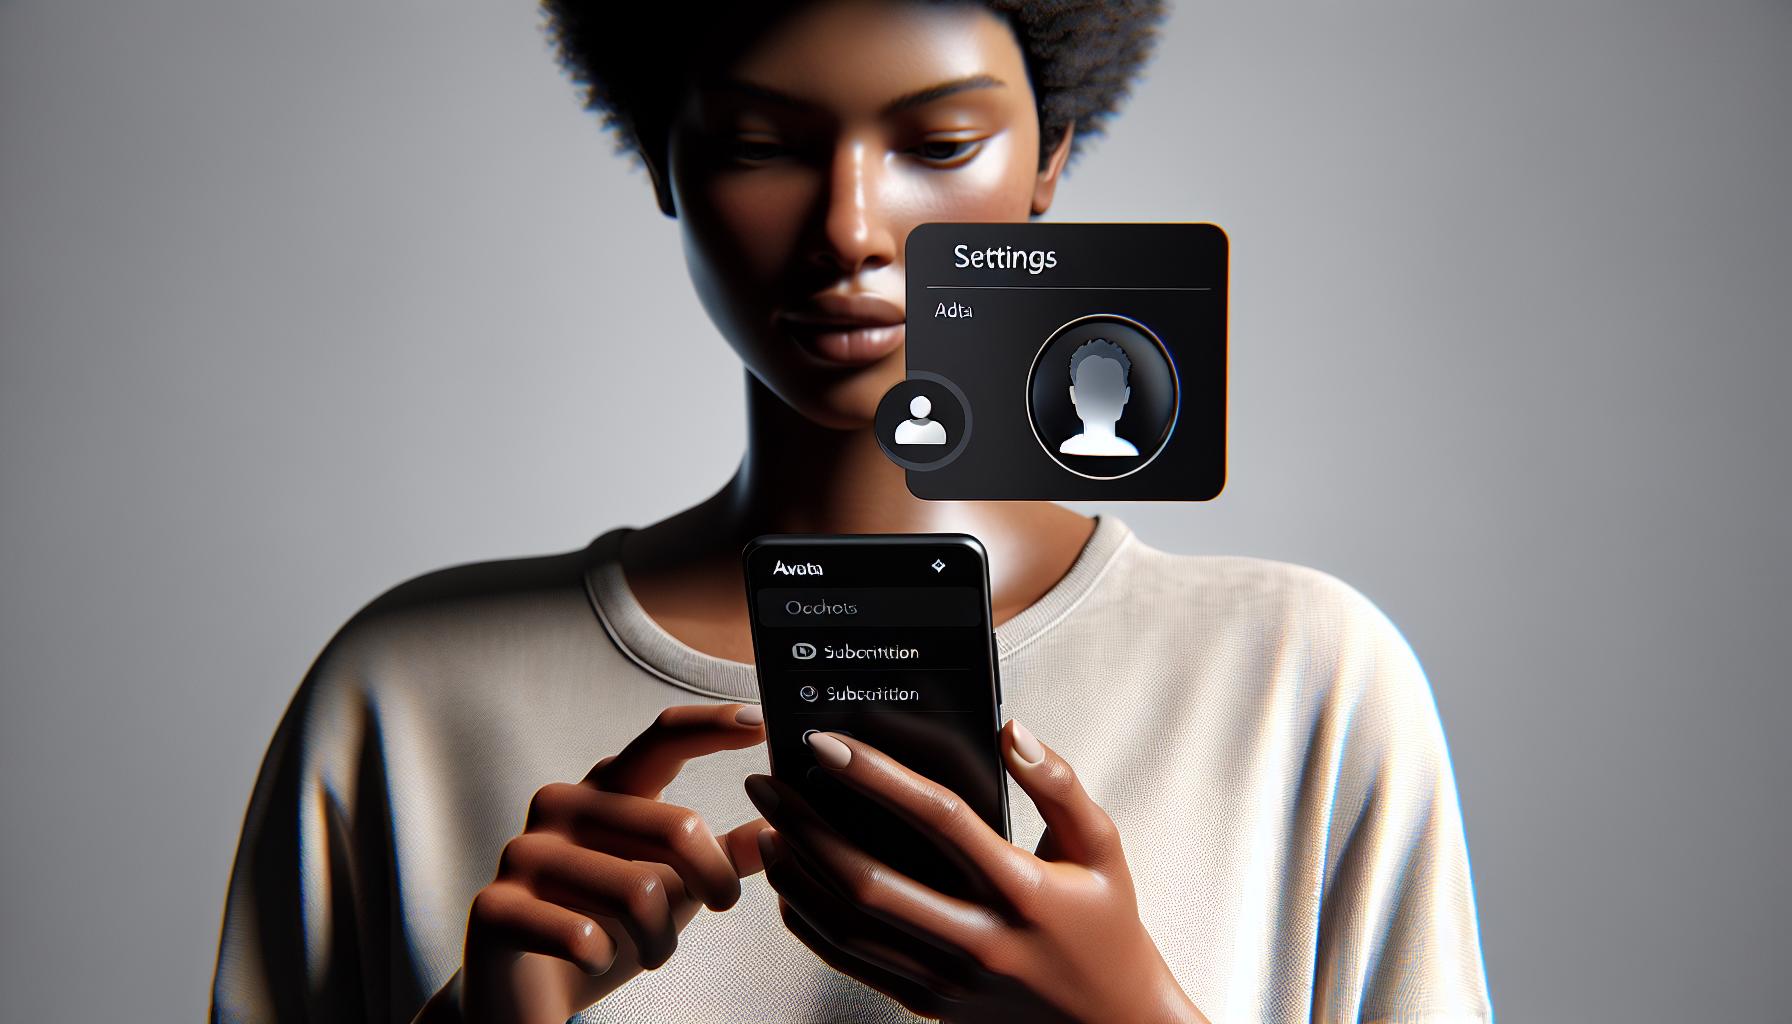
Start your search by tapping the large, bold avatar of yourself - it's right at the top of the main Settings screen. Consider it as your digital mini-me. It's here that you'll find the door to the world of subscriptions. So, proceed by clicking on this avatar.
Next, you'll land on the spots labeled as Apple ID, iCloud, and Media & Purchases. This area isn’t as daunting as it looks. Click on it. Now, what you're met with is a list of options galore; everything from iCloud to Game Center.
However, your focus should remain singular: Subscriptions. Don't be sidetracked by the multitude of other options. Venturing into other menu choices could change settings you didn't mean to alter. That's not what we're here for today. So keep your eyes peeled for a tab including the spell-out of “Subscriptions”.
Once you've located it, don't hesitate. Tap it once again. You might feel a sense of accomplishment - and rightfully so! However, don't celebrate just yet. Locating your subscriptions on your iPhone is one thing - managing them is another.
And that, dear reader, is what our next installment is all about. So, continue reading to find out more on exactly how to tackle the next part of the process: managing those pesky subscriptions.
Remember, the power to manage your subscriptions is at your fingertips - literally! It's all about knowing your way around, staying on course, and not being intimidated by the variety of options confronting you. You've already made a good start and are well-equipped to deal with every twist and turn that could possibly come your way. So, let's continue.
Step 3: Selecting Subscription to Cancel

You've logged onto your iPhone, you've navigated through your settings, and you've identified the elusive subscriptions tab—now it's time to take action. Pay close attention as it's crucial to follow these steps correctly to avoid any unwanted financial implications. Let's delve into how to select a subscription to cancel.
By now, you should have landed on a screen that displays all your active and expired subscriptions. If you’ve got just a couple of subscriptions, this step will be a breeze. However, if you're juggling multiple subscriptions, you might find the list somewhat overwhelming. In typical iPhone fashion, your subscriptions will be neatly organized in alphabetical order.
To make your mission simpler, start by scrolling down the list until you find the subscription you wish to cancel. You'll see the name of the app or service, next to it, you'll note its renewal date - keep this in mind as it's good practice to be aware of this information.
Once you’ve found the desired subscription, all you need to do is click on it. This will lead you to a more detailed page about that particular subscription. Here you will see comprehensive information such as:
- The cost of the subscription
- The date you subscribed
- The renewal date
- The terms and conditions
It’s easy to rush through this step, but it is wise to take a moment to review these details. The information will give you a good understanding of what you've signed up for, and most importantly, what you're about to cancel.
Step 4: Confirming Cancellation
You've scrolled, selected, and reviewed. Now, it's time to act. Confirming cancellation is a critical step in the process. It's the final stage before finalization, giving you one last chance to reconsider. Let's walk through it.
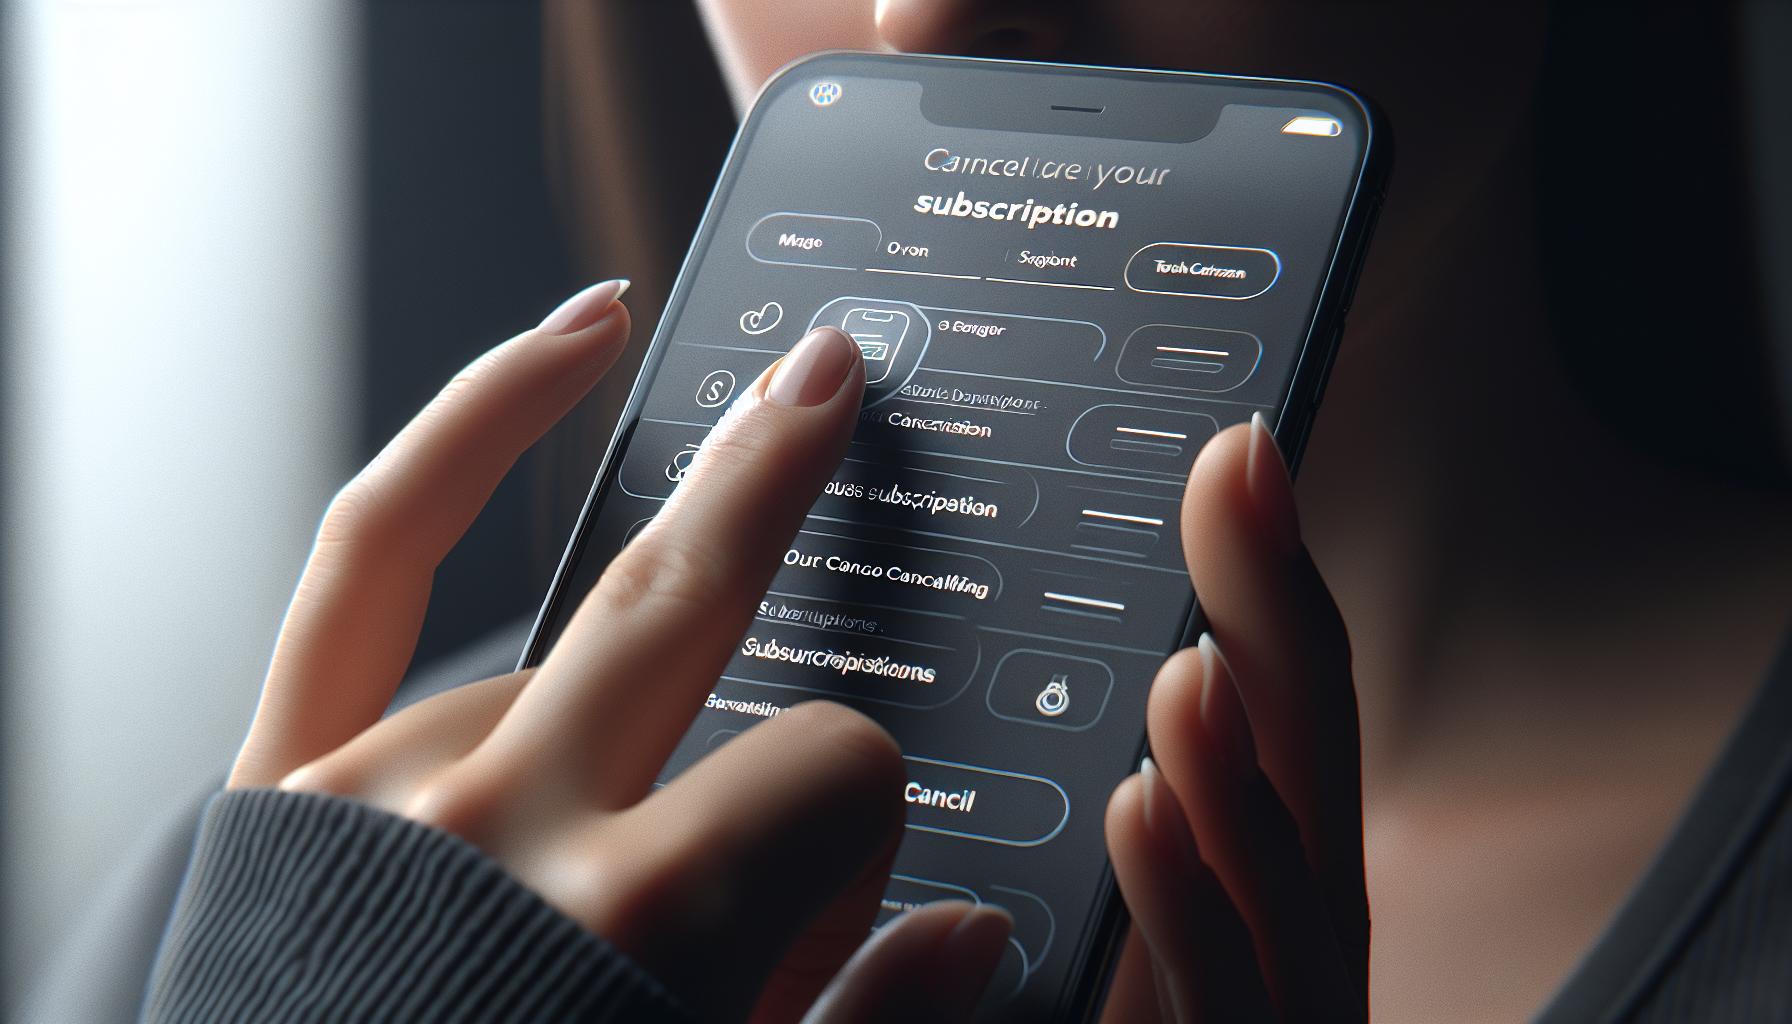
When you're all set to cancel your subscription, seek out the "Cancel Subscription" button, typically found at the bottom of your subscription details page. It's important to check twice and click once. Verify if it's really the subscription you want to cancel before proceeding.
Once you click "Cancel Subscription", a message will pop-up most likely, seeking to confirm your action. This message also serves as a reminder, detailing the perks and services you'll lose access to upon cancellation. Read through this message carefully. Often, important insights are buried in these alerts.
- For instance, it may tell you the exact date when your cancellation will take effect.
- It could also inform you about any remaining balance they may or may not refund.
Next, you'll need to hit "Confirm" to finalize the cancellation. If you're hesitant about your decision, you can always tap "Back" and review the services again.
You've made the final decision. Your subscription cancellation is processing, and soon it'll be completed. Keep in mind, many apps give you access to the subscribed service till your billing cycle's end, even when you've cancelled. This means you get to enjoy the perks a bit longer. Listen out for a confirmation email or notification from the app or service provider, this can take anywhere from a few minutes to a few days.
+++
Every user's journey may vary slightly, depending on the app or service. But, the cancellation process remains largely the same across all platforms. Always, remember each step matters, and missing out can lead you back to square one. And, who wants to start over? So, tread carefully in your path to cancellation.
What Happens After Canceling Subscriptions
So, you've successfully canceled your iPhone subscriptions. But, what happens next?
Once you've canceled an iPhone app subscription, there might be a period of time until the end of the current billing cycle when you can still access the service. This time can be thought of as a grace period that the developer gives you to continue using the service after you’ve initiated a cancellation.
During this period, enjoy the app's benefits to the last day of your current billing cycle. Afterward, you won't be able to use premium features or content that come with the subscription.
Remember, repercussions can come from unintentional cancellations, especially if you weren't fully aware of the terms and conditions. You might not be eligible for a refund if the subscription service doesn't offer one after cancellation. It's always better to check these details beforehand.
Lastly, canceling a subscription does not delete your account or data with the app. Although you won't be charged anymore, your profile, preferences, and data might still exist on the app. If you want your information deleted, you'll need to contact the app's support or delete your account within the app.
So, while canceling a subscription on your iPhone is generally a simple process, understanding what happens afterward is crucial. The 'grace period', terms and conditions of cancellations, possible repercussions, and the data retention policies all play a role in your experience after cancellation. It's always best to be prepared and know exactly what you're getting and what you're giving up when you cancel a subscription on your iPhone.
Conclusion
So, you've navigated the ins and outs of canceling subscriptions on your iPhone. Remember, it's crucial to confirm your cancellation to ensure it's processed correctly. Be aware that you might still have access to your subscribed services until the end of the billing cycle. Be mindful of the potential fallout from unintentional cancellations and always check the terms and conditions. Don't forget, canceling doesn't delete your account or data. If you need that done, reach out to the app's support or delete your account within the app. Understanding what happens post-cancellation is key. Be ready for the consequences and you'll be able to manage your subscriptions like a pro.
What steps are explained in the article for canceling subscriptions on an iPhone?
The article explains the procedure involved in canceling subscriptions on an iPhone. This includes confirming the cancellation before finalizing it. It is important to follow each step carefully to avoid any issues.
What happens after canceling subscriptions on an iPhone?
Once you cancel a subscription on an iPhone, you may still have access to the subscribed service until the end of the billing cycle. After that, you won't be able to use premium features or content.
Will my account or data be deleted when I cancel a subscription?
No, canceling a subscription on an iPhone does not delete your account or data with the app. For data deletion, you would need to contact the app's support or manually delete your account within the app.
Are there any possible repercussions of unintentional cancellations?
Unintentional cancellations could have repercussions based on the terms and conditions of the app. It's advisable to fully understand these terms before proceeding with the cancellation.
What should I be aware of after canceling a subscription?
After canceling a subscription, remember that there may be a grace period in which you can still access the service. Be prepared to lose premium features or content when the billing cycle ends. Always double-check the terms and conditions for potential consequences.


