So, you've been enjoying Apple TV+ on your iPhone but now you're ready to call it quits. Maybe it's not quite your cup of tea, or perhaps you're looking to cut down on your digital subscriptions. Whatever your reasons, you're in the right place to find out how to cancel Apple TV+ on your iPhone.
In this guide, we'll walk you through the process step-by-step. It's easier than you might think and you'll have your subscription cancelled in no time. So, buckle up and let's dive right into the process.
Step 1: Open the Settings app on your iPhone
Let's introduce the first step on how to cancel your Apple TV+ subscription on an iPhone. The first step is incredibly simple - open the Settings app on your iPhone. Remember, this process is just as easy as pie so there's no need to break out in a cold sweat.
You'll spot the Settings app on your iPhone's home screen. It's the one with a gray icon displaying gears. Don't overlook this vital step, as the Settings app acts as the entry to a variety of customization preferences and functionalities - Apple TV+ subscription management being one of them.
Once you've located the app, tap on the icon. Immediately, you'll witness a list of menus. It might seem a bit overwhelming due to the array of features and options, but fret not! For this particular endeavor, you're specifically focused on a single task: cancelling the Apple TV+ subscription.
Stay tuned for further steps. The Settings app is your gateway to regain control of what you want and don't want. It offers you a host of controls, right at your fingertips. Within a few taps, you'll be able to manage your Apple TV+ subscription. After all, who believes in keeping unwanted subscriptions? Not you!
As you have maneuvered your way into the Settings realm, get ready to delve deeper into the next steps. Navigating through the vast options will become easier as we progress. And soon enough, you'll have mastered the art of managing and cancelling subscriptions on your iPhone. All it takes is a bit of patience and attention to details presented in these steps. Onwards, to freeing up your device from subscriptions that you no longer require!
Remember this first step - it's the opening act to a host of changes you can make to customize your digital experiences.
Let's press forward, with the aim to make your iPhone experience exactly how you want it to be - one free of an unwanted Apple TV+ subscription. The journey continues in the following segments. Sit tight, we're just getting started.
Step 2: Tap on your Apple ID at the top of the screen

This second step is crucial. It's the bridge connecting you to your iPhone's full capabilities. It enables you to control the preferences, settings, and subscriptions tethered to your Apple ID. Tapping on your Apple ID on the iPhone provides you with a path that directs you to the world of options.
After you've opened the Settings app, you will find your Apple ID right at the top of your screen. It's not that tough to spot; it usually has your name and picture on it. So your Apple ID on your iPhone is pretty much a one-tap journey, and it's your ticket to complete control over your Apple TV+ subscription.
You might wonder, "Why do I need to tap on my Apple ID? What's the big deal?" Well, your Apple ID is the key to your Apple universe. It contains information about your subscriptions, purchases, iCloud storage, and much more. This includes your Apple TV+ subscription. With this in mind, you can envisage how important this step can be.
Despite its importance, tapping on your Apple ID shouldn't intimidate you. The menu might be packed with choices, but remember one thing: You're in control. And you're notably closer to managing that Apple TV+ subscription that has possibly been aching your digital freedom.
Carving out your digital experience on your iPhone becomes natural once you've undertaken this step. It not only makes you familiar with your iPhone's functionality, but it also paves the way for a more fluent Apple experience. So are you ready for the next step? Don't worry! It gets straightforward from here.
Step 3: Select the Subscriptions option
Now that you've navigated your way through your Apple ID menu options and familiarized yourself with the layout, you're ready to get even closer to the heart of the matter. In the third crucial step of our "How to Cancel Apple TV+ on iPhone" walkthrough, you're going to select the Subscriptions option.
On the Apple ID screen, you'll see a list of options related to your account. Look for the option that reads Subscriptions. It's typically located near the middle of the list, nestled between iCloud and Media & Purchases. You're just one tap away from a detailed overview of all of your active subscriptions.
Upon locating Subscriptions, all you have to do next is tap on it, and voila! You'll be able to see all active subscriptions tied to your Apple ID. From Apple Music to iCloud storage, and of course, Apple TV+. Each one, neatly laid out, providing you with key details such as cost and renewal date.
At this point, you're only a few taps away from cancelling your Apple TV+ service. Now, it's worth mentioning that after following these steps, don't be surprised if you see subscriptions that you don't recall signing up for. If that's the case, those sneaky auto-renewal services might have caught you off guard. But don't worry, you're about to reclaim control of your subscriptions, starting with your Apple TV+.
You are fully equipped to proceed deeper into managing your Apple TV+ subscription. Stay tuned as we continue with this detailed walkthrough. You're doing great, and in the next section, we're escalating to the final step.
Step 4: Find and tap on the Apple TV+ subscription
Now that you’ve navigated the labyrinth of your iPhone's settings and you've accessed the Subscriptions section, you're just a few taps away from cancelling that pesky Apple TV+ subscription.
From the list of subscriptions linked to your Apple ID, you'll need to find and tap on the Apple TV+.
The subscriptions are generally listed alphabetically, so Apple TV+ likely appears towards the top. If you're having trouble, remember that the search function in the top right corner is there to help you out. It's a nifty feature that can quickly lead you to the needed subscription.
Once you've located the Apple TV+ option, don’t hesitate. Tap on it. By doing so, you'll be able to see the details of it: how much you're paying each month, when you started the subscription, when it will renew next, and the options available for you to manage the subscription.
Don't feel rushed while examining these details. It's critical to understand what you're dealing with before you make any major changes. If you want to remember the cost or any information about the subscription, consider taking a screenshot or jotting it down somewhere. Once you cancel the subscription, you won't be able to access this information as easily anymore.
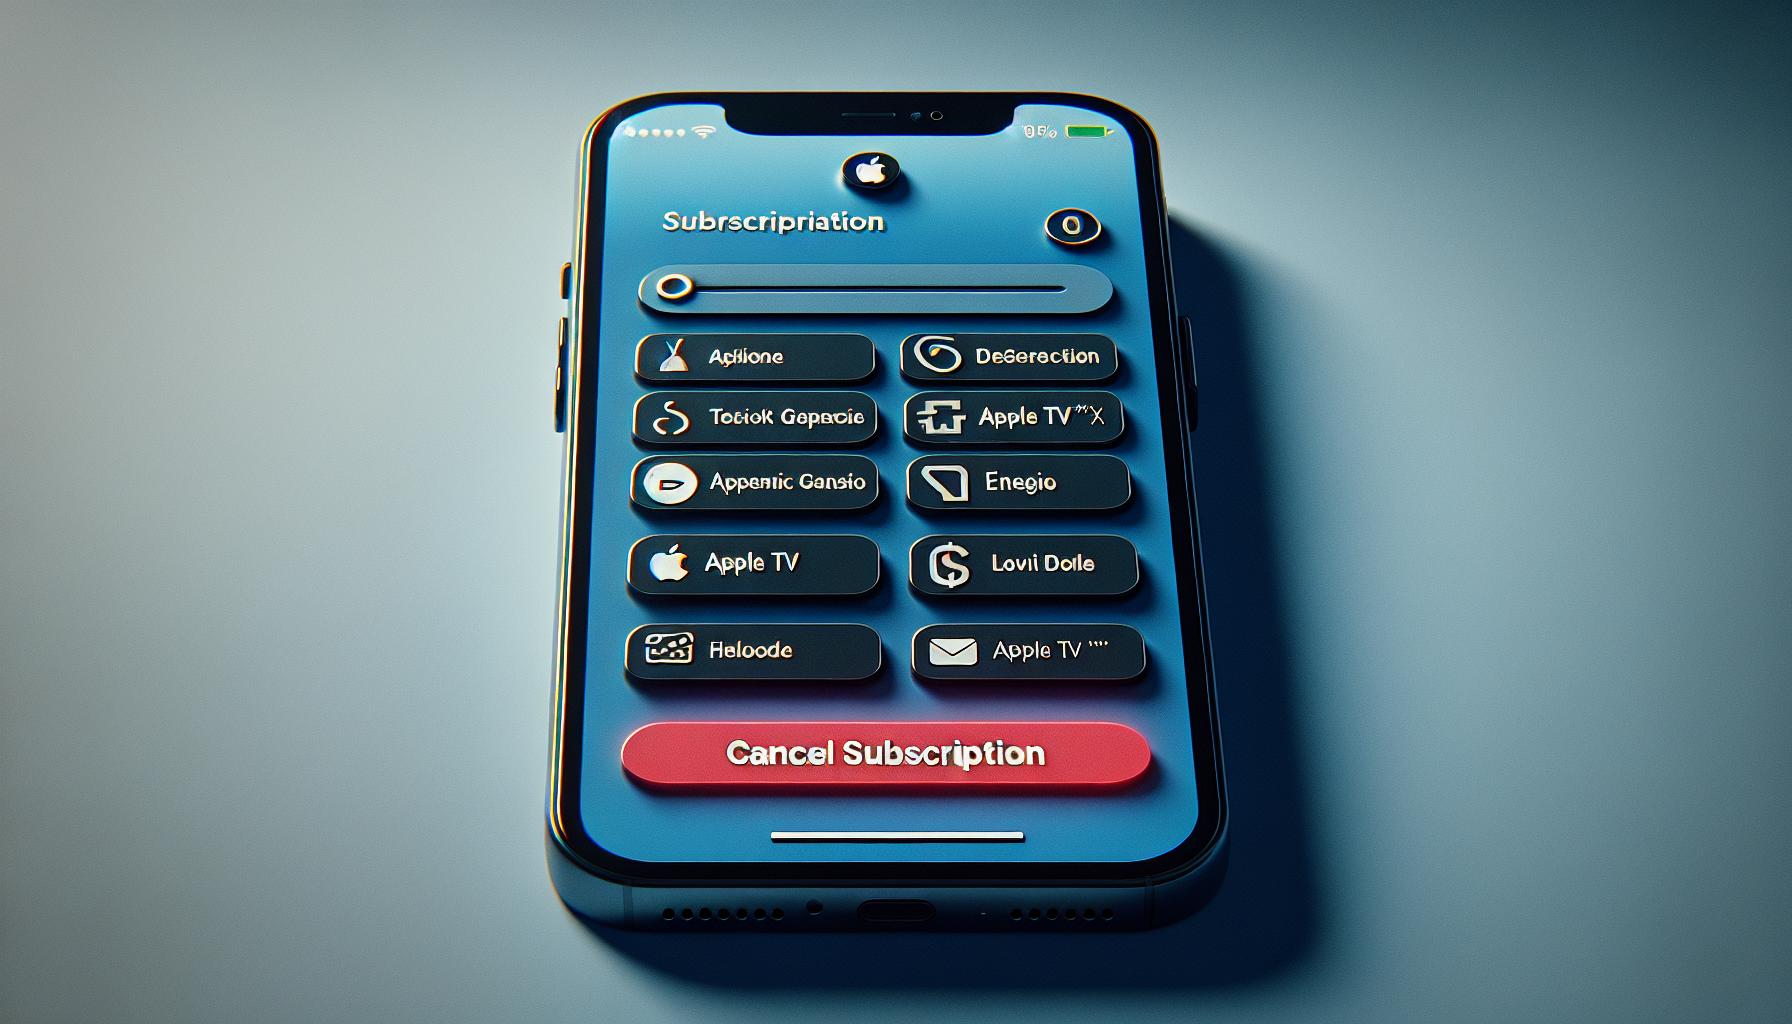
Step 5: Choose the Cancel Subscription option

Now that you've found your Apple TV+ subscription in the list, you're one step closer to claiming control over your active subscriptions. This part of the process is straightforward, but it's always important to double-check before you proceed.
Look for the Cancel Subscription option. This is typically located towards the bottom of the subscription page. It's crucial to note that the Cancel Subscription button is in red, making it impossible to miss. Tap on this option, signaling your intent to cancel your Apple TV+ subscription.
Upon tapping, a confirmation screen will pop up on your device. This screen will give you one last chance to reconsider your decision. It'll display the date your subscription will officially end, allowing you to make an informed decision. This cutoff date creates an opportunity to squeeze in a few more viewing days before you finally say goodbye to Apple TV+. Remember, Apple will not refund anything, even if you've barely used the service in the current billing cycle.
At this stage, you're given two choices. You can opt to Cancel Subscription or back out and keep Apple TV+ alive by selecting Not Now. So, depending on your decision, you can go ahead to tap on the desired button.
Conclusion
You've now mastered how to cancel your Apple TV+ subscription on your iPhone. Remember, it's crucial to double-check before hitting that red "Cancel Subscription" button. It's not a decision to be taken lightly. But rest assured, if you choose to proceed, a confirmation screen will appear, providing you with one final chance to change your mind. It'll also show you the exact date your subscription will cease. So, whether you're looking to cut costs or simply want to declutter your digital life, you now have the knowledge at your fingertips. Remember, the power is always in your hands - to cancel or to keep.
Frequently Asked Questions
How do I cancel an Apple TV+ subscription on my iPhone?
First, find the Apple TV+ subscription in your list of subscriptions. Choose the "Cancel Subscription" option. A confirmation screen will pop up – this is your final chance to change your mind. The date your subscription will officially end will also be displayed.
The 'Cancel Subscription' button will be prominently displayed in red when you select your Apple TV+ subscription from your list of subscriptions.
Will I get a chance to reconsider ending the subscription?
Yes, a confirmation screen will pop up after you hit the 'Cancel Subscription' button. It gives you the opportunity to either end the subscription or keep it. If you don't want to cancel, select 'Not Now.'
What will I see on the cancellation screen?
The cancellation screen will display a confirmation message and the date your subscription will officially end. You'll also be given the options to cancel the subscription or keep it by choosing 'Not Now.'


