So, you've got yourself a shiny new Apple TV and can't wait to get it up and running on your Mac. You're in the right place. Authorizing your Apple TV on your Mac isn't as complicated as you might think.
In fact, it's a pretty straightforward process. With just a few clicks here and there, you'll have your favorite shows, movies, and music streaming from your Mac to your Apple TV in no time. Let's get started, shall we?
What is Apple TV?
As you delve deeper into the world of Apple products, you're bound to cross paths with Apple TV. But what exactly is it?
In essence, Apple TV is a digital media player and a micro console. Developed and sold by Apple Inc., this small network appliance is designed to play digital content from iTunes Store, Hulu, Netflix, Amazon Prime, and other similar services directly on a television set.
Apple TV can be perceived as a bridge. It connects your digital world, that's housed in your Mac or iCloud, to your TV. You don't need to huddle around your laptop or squint at your iPhone to watch your favorite shows or movies. With Apple TV, you enjoy them on the big screen, directly from the comfort of your couch.
Apple TV's functionality doesn't stop at streaming your favorite movies and TV shows. It broadens your home entertainment by also offering:
- Music playback from your iTunes library
- Photo viewing from your iCloud
- Gaming through the App Store
- Real-time streaming of your Mac or iPhone screen to your TV
This gadget offers a whole new dimension of entertainment, which is visually and auditory enhanced. Apple TV provides a seamless, user-friendly experience, tailored to satisfy your entertainment needs. Yet, the cherry on top is its simple and straightforward setup process.
In the next section, we'll guide you through that very process, showing you how to authorize Apple TV on your Mac. It's an uncomplicated procedure that helps you elevate your digital entertainment to the next level. The setup process is achievable with a few clicks, and you'll be streaming your favorite content on the big screen in no time.
It's fundamental to understand the benefits of authorizing Apple TV on your Mac. It's not just a security protocol but a gateway to an elevated entertainment experience. So why exactly should you authorize?
Above all, when you authorize Apple TV on your Mac, you're drawing a bridge between both gadgets. This interconnection allows for seamless access and sharing of content - be it movies, music, pictures, or games - stored on your Mac. This easy sharing means, you don't have to make separate purchases on Apple TV if you've already done so on your Mac. A significant upside for your wallet, wouldn't you agree?
An authorized setup opens up an avenue to enjoy your purchased iTunes content on a larger screen. Not to downplay the comfort of watching movies on your laptop, but it's a lot more enjoyable to watch on your TV screen. It brings the cinema experience right in your living room. Plus, synchronization across devices means you will be able to start off a movie on your Mac and pick it up right from where you left, on your TV.
Let's not forget the convenience of real-time streaming from your Mac to the Apple TV. Say, you're binge-watching your favorite series without persistent ad interruptions. It's a luxury, really.
And, if you're a gamer, your gaming experience can have a 180° upgrade. Get rid of the confining limits of your Mac's screen. You can play games on your TV using your iPhone as a controller. It's the cross-device integration that's going to improve the immersive experience.
Authorizing your Apple TV on Mac is a step forward towards a richer, more integrated entertainment regimen. Take time to understand the process and explore the far-reaching benefits. It's easier than it sounds; a small step towards setting up that fancy home theater you're dreaming of.
Step 1: Ensure the compatibility of your Mac and Apple TV
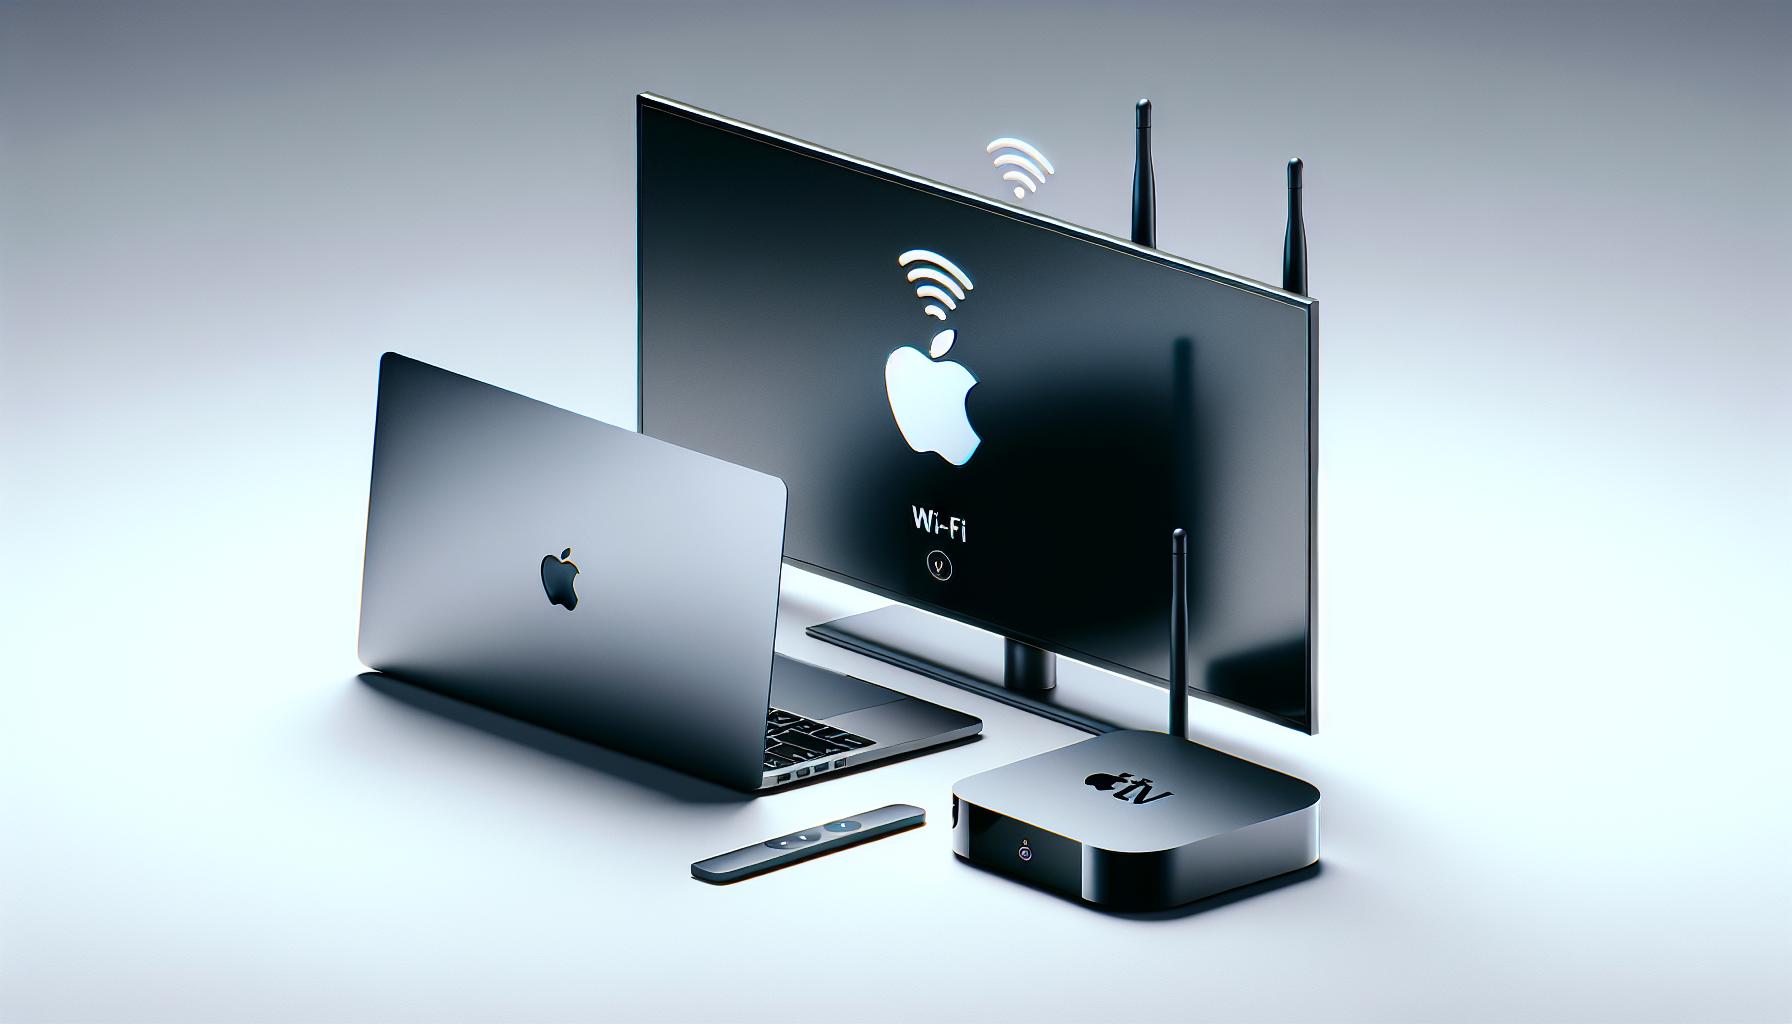
Before diving in, it's crucial to verify that your Mac and Apple TV can work together harmoniously. The compatibility of these devices significantly influences the success of the authorization process - ensuring this will save yo a heap of potential trouble down the line.
First things first. Check the software versions of your devices. You need a Mac running macOS Catalina or later to directly project content to Apple TV. Meanwhile, your Apple TV needs to have tvOS 13.2 or later. You can quickly find these details in the System Preferences - Software Update on your Mac and in the Settings - General - About on your Apple TV.
| Device | Software Version | | ------- | ------- | | Mac | macOS Catalina or later | | Apple TV | tvOS 13.2 or later |Secondly, take note of the hardware requirements. While most modern devices will do the trick, some older models may not be up to the task. Your Mac must support AirPlay, a feature that's built into the macOS to stream audio and video content from your Mac to your Apple TV.
As a rule of thumb, here's a list of Macs that integrate AirPlay:
- iMac (2011 or later)
- Mac mini (2011 or later)
- MacBook Air (2011 or later)
- MacBook Pro (2011 or later)
- Mac Pro (2013 or later)
Last but not least, keep in mind that both devices need to be connected to the same Wi-Fi network. This connection allows your Mac and Apple TV to communicate, enabling seamless streaming and sharing of content.
In the sections that follow, we will take you through the actual steps involved in the authorization process. It will prove to be a very smooth journey especially now that you are equipped with all the compatibility information. If you've encountered any issues or uncertainties when checking your system's status, it might be beneficial seeking technical help before proceeding further - ensuring a smooth, interruption-free authorization process.
Step 2: Connect your Apple TV to your Mac

Now that you've checked the compatibility of your devices, it's time to make the connection. This step is crucial in setting up your Apple TV on your Mac. You want to ensure that both your devices are on the same Wi-Fi network. If they aren't, your Apple TV won't be able to interact with your Mac.
To begin, turn on your Apple TV. Navigate to the Settings using your Apple TV remote. Under the Network section, select Wi-Fi. Here you'll find a list of available networks. Choose the Wi-Fi network that your Mac is connected to.
Some might find a wired connection more stable. If you can, consider connecting your Apple TV to your Mac via Ethernet. This requires an Ethernet cable and your devices need to be close to each other. To do this, plug one end of the cable into your Apple TV and the other end into your Mac.
You might be thinking, "how can I tell if my devices are connected?" It's pretty simple. Your Apple TV should display a tick mark next to the name of your Wi-Fi network in the settings. The more bars that are filled in white, the stronger your connection.
What if you're experiencing trouble making the connection? It's a common issue and there's no need to panic. You might want to try restarting your Mac and Apple TV or disconnect and reconnect your Ethernet cable if you're using a wired connection. If these troubleshooting steps don't work, you might want to contact Apple Support or check out Apple's online support guides.
Remember, this process is just the beginning of getting your Apple TV authorized on your Mac. After establishing a secure connection, you still need to carry out some additional steps to finish the process. Don't worry, we are here to guide you throughout the journey. Up next, we will discuss how to sign in with your Apple ID on your Apple TV.
Step 3: Open iTunes on your Mac and sign in
This phase of the setup process is where you'll sign in to iTunes on your Mac. The sign-in provides access to your media and enables you to authorize the connection between your Apple TV and Mac.
It's essential to have your Apple ID and password ready. Your Apple ID is the gateway to all Apple services, including iTunes. If you're uncertain about your Apple ID or password, you can retrieve it from Apple's account recovery.
Here's a simplified way to open iTunes and Sign in on your Mac:
- Click on the Dock (the bar at the bottom of your Mac screen), and locate the iTunes app.
- If iTunes isn't in the Dock, you'll find it under Applications in the Finder.
- After opening iTunes, navigate to the menu bar at the top and click on "Account".
- A drop-down menu will appear. Click on the option that reads "Sign in".
- Enter your Apple ID and Password then click "Sign in".
Remember, it's crucial to sign in with the same Apple ID you intend to use on your Apple TV. This synergizes the ecosystem, allowing all your media and purchases to be accessible across all your Apple devices.
If you run into any difficulties while signing in to iTunes, don't hesitate to use Apple's support network. On there, you'll find a wealth of information to aid your troubleshooting efforts.
Step 4: Authorize your Apple TV in iTunes
Having successfully signed in, you're now just a few steps away from authorizing your Apple TV in iTunes. It's significant to note that this step is paramount to ensure that your media and purchases can be accessed across both devices.
Next, navigate to the "Accounts" tab. Don't worry if you can't find it. It's located right in the menu bar of iTunes. Once you've clicked on Accounts, a drop-down menu will appear. From this menu, choose "Authorizations". This selection is straightforward, isn't it?
Now you're in the authorizations menu, find and click on "Authorize This Computer". It's usually the first option that you'll see. Make sure you click on it. You might've guessed it, but this is where we begin the actual authorization of your device.
A pop-up window will emerge asking for your Apple ID and Password. It's the same pair of credentials you used earlier for signing in. Make sure you input these correctly to prevent any possible authorization errors. After filling out the necessary details, hit the "Authorize" button. There, you're almost done authorizing!
Please stand by as iTunes processes your authorization. It's essential that you let iTunes complete the process without disrupting it. This may take a few minutes, so don't be impatient. Remember, hasty actions can cause issues.
A message will appear on your screen confirming that your Apple TV has been authorized once iTunes completes the process. The message should read something like "This computer is already authorized". Seeing this message means that you've correctly followed the steps and your Apple TV is now authorized on your Mac in iTunes.
It's important to remember the number of devices you have authorized. Apple permits up to five authorizations per Apple ID. But don't fret, if you've reached your limit, de-authorizing a device is just as straightforward as the steps we've gone through.
So, you're experiencing troubles or inconsistencies? No need for panic. Apple's robust support network is always ready to assist. They'll help you troubleshoot any issues that you may be encountering with the authorization process.
Step 5: Start streaming from your Mac to Apple TV

You've made it to the crucial part. Start streaming. Now that you've authorized your Apple TV in iTunes, it's time to click 'OK' and close the Accounts tab. Return to the main iTunes window, and your Apple TV should be listed under 'Devices' in the left sidebar. That's your sign, you're all set to start streaming content from your Mac to your Apple TV.
Make sure both your Mac and Apple TV are connected to the same WiFi network. This is absolutely essential for a successful streaming experience. Now, go to the iTunes 'Library'. Here you'll see a broad array of choices ranging from Music, Movies, TV Shows, and more. Choose what you want to stream. Click on it. Let's say it's your music playlist. You click on 'Music'.
Head over to the desired playlist. See the bottom right corner of the iTunes window? There's a 'Devices' button sitting. Click it. A list of available devices will pop up. Find your Apple TV and click on its name. Bravo! You're now streaming to your Apple TV.
To confirm everything's working as expected, look at your TV screen. You should be able to see what's playing on your Mac, right there on your Apple TV. Enjoy the experience of media engagement like never before, right from the confines of your room. With your Apple TV correctly set up and authorized on your Mac, the world of entertainment is just a click away.
Please ensure not to disconnect your Apple TV or Mac during the entire process. Any disruption might lead to cancellation or unsuccessful streaming. If you notice any problems, don't hesitate to return to the previous steps and check if you missed something. The cool part - you can authorize up to five Apple TVs on your Mac.
Reach out to Apple Support and they'll be there to provide you help at any step of the process. Their devoted team is always on hand to make this an easy transition for you. Apple brings more convenience and simplicity in its user's lives; this process is no different.
Conclusion
You've now got a firm grasp on how to authorize Apple TV on your Mac. Remember, it's crucial to verify device compatibility before you start. Don't forget, you can authorize up to five Apple TVs on a single Mac, opening up a world of streaming possibilities. Should you run into any roadblocks, Apple Support is always there to lend a helping hand. Now that you're equipped with this knowledge, you're ready to start streaming your favorite content from your Mac to your Apple TV. Enjoy your new, seamless streaming experience!
To authorize Apple TV on a Mac, first ensure device compatibility. Then, through iTunes, you can authorize the Apple TV. It's important not to disconnect the devices during the process.
What is the purpose of the fifth step in the guide?
The fifth step instructs how to begin streaming from the Mac to the Apple TV. You'll navigate to your iTunes library, select the content you want to stream, and choose Apple TV as your streaming device.
Yes, you can authorize up to five Apple TVs on one Mac. Ensure that all devices are compatible before beginning the authorization process.
If I run into problems, where can I seek help?
If you encounter any issues while authorizing your Apple TV on a Mac, Apple Support provides troubleshooting assistance. Their support team is ready to help resolve your issues.

