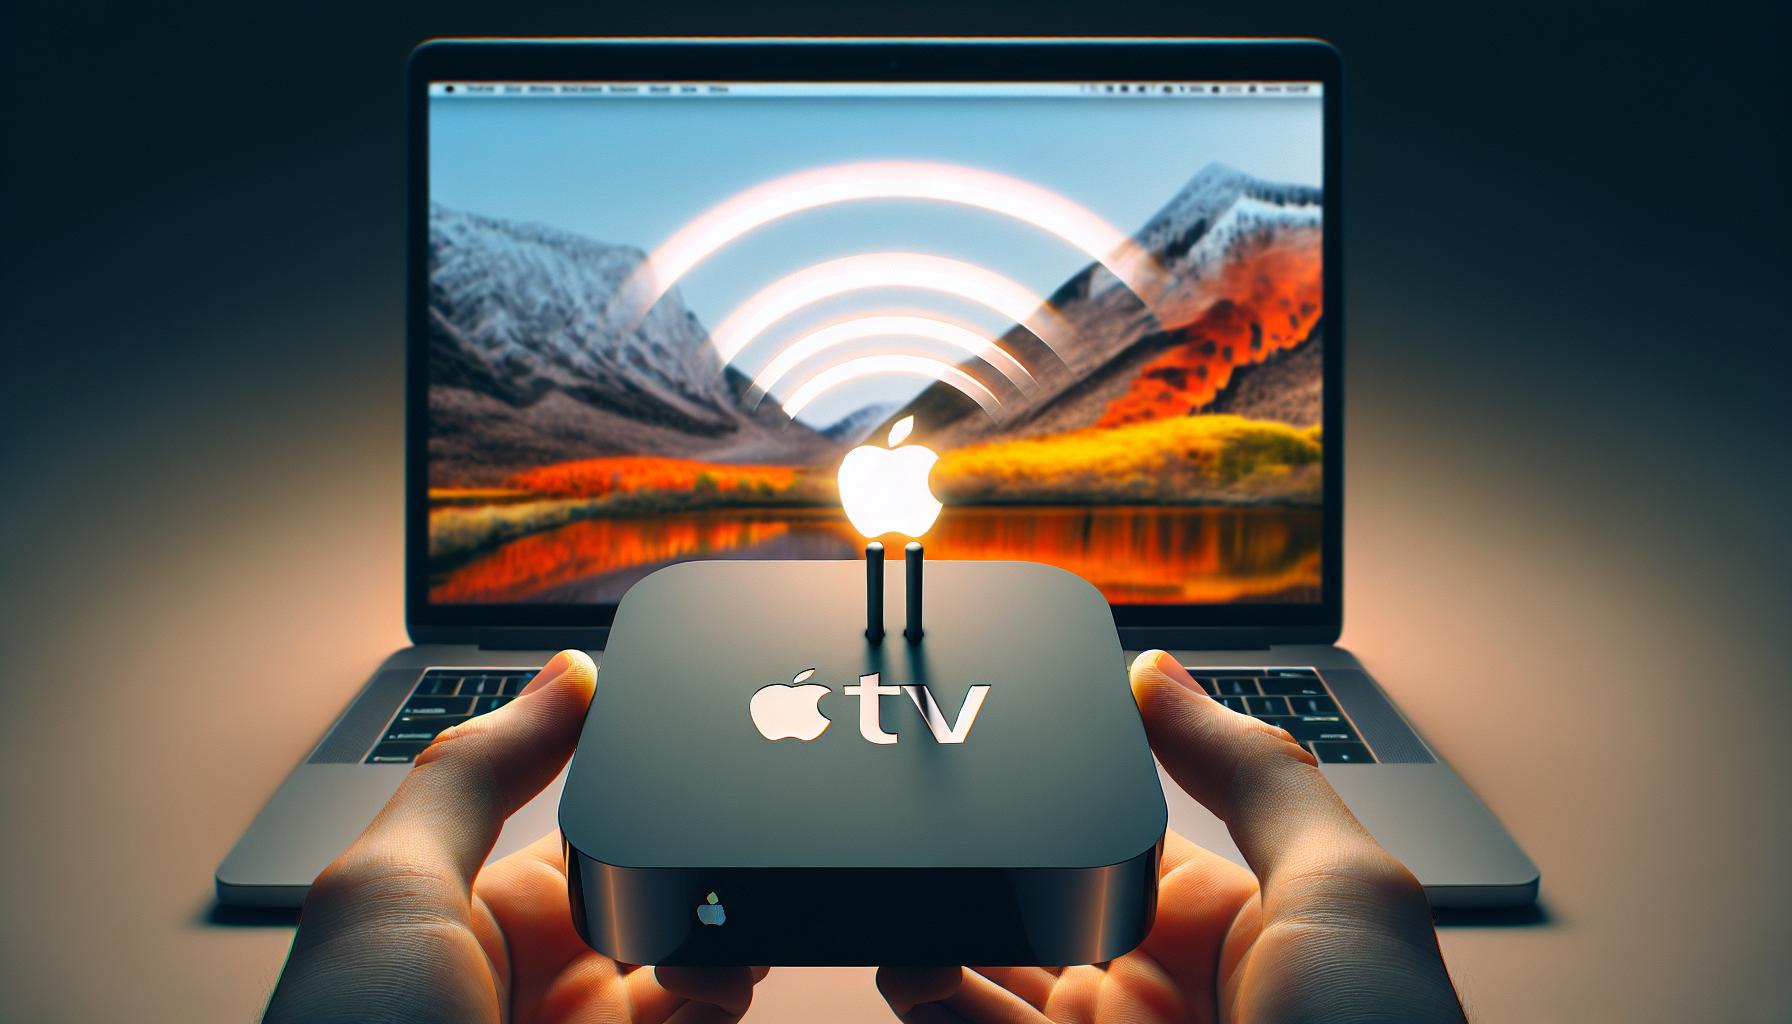
Ever wondered how to get your MacBook's screen up on your big screen TV? You're not alone. With Apple's AirPlay feature, it's easier than you might think. This nifty tool lets you mirror or extend your MacBook's display onto your Apple TV, making it perfect for presentations, movie nights, or just browsing the web on a larger scale.
You don't need to be a tech whiz to use AirPlay. In fact, you'll be surprised at how straightforward the process is. Whether you're using it for work or play, knowing how to AirPlay from your MacBook to your Apple TV can transform your viewing experience. Stay tuned as we guide you through the process step by step.
Setting up AirPlay on your MacBook
Getting Apple's AirPlay up and running on your MacBook doesn't have to be difficult. In fact, it's a relatively straightforward process. You'll be able to use it to mirror or extend your laptop's display onto your Apple TV in no time.
First and foremost, make sure your MacBook and Apple TV are on the same Wi-Fi network. This is an essential part of the process. If they're not on the same network, the devices won't be able to communicate with each other. To check this, click the Wi-Fi icon on the top right corner of your MacBook screen and ensure it's connected to the same network as your Apple TV.
Next, you want to activate the AirPlay feature on your MacBook. To do this, click the AirPlay icon in your menu bar. You'll find it located next to the Wi-Fi indicator. If it's not there, go to System Preferences > Displays and check the box that says "Show mirroring options in the menu bar when available".
Once AirPlay is activated, your MacBook will automatically scan for compatible devices. Select your Apple TV from the list of detected devices. Now your MacBook's screen should be mirrored on your Apple TV.
If you want to use your Apple TV as a second monitor, you can choose the 'use as separate display' option. This allows you to drag windows from your MacBook to the Apple TV, essentially using it as an extended display.
Between these steps, you should be able to experience the ease and utility of Apple's AirPlay feature. From hosting a movie night to delivering a presentation, the benefits of this tech are numerous. Now, we delve even deeper into maximizing the AirPlay feature for your needs.
Connecting your MacBook to your Apple TV

After you've made sure that your MacBook and Apple TV are on the same Wi-Fi network, it's time to connect them using AirPlay. Here's what you need to do:
- On your MacBook, click on the AirPlay icon in the menu bar. It's found at the top of your screen and looks like a rectangle with an upward pointing triangle at the bottom.
- In the drop-down menu that appears, you'll see a list of available devices. Choose your Apple TV from this list.
Once you've chosen your Apple TV, two display options become available to you.
- Mirror Built-In Display: This option mirrors your MacBook display on your Apple TV. Whatever is on your MacBook's screen will be displayed on your Apple TV. This is the ideal choice for movie nights or presentations.
- Use As Separate Display: Here, your Apple TV acts as a second monitor. You can move different windows to it, effectively giving you more screen space. This is perfect for multitasking or for when you need extra workspace.
Playing your favorite content from your MacBook to your Apple TV is just a click away. Whether it's for entertainment, work, or a mix of both, Apple's AirPlay is a technology that enhances the way you use your devices. It's important to remember, though, that AirPlay's performance is highly dependent on the strength of your Wi-Fi network. The better the signal, the smoother your AirPlay experience will be.
Do you face any issues? Don't worry. You can troubleshoot common AirPlay problems easily. Often, it's as simple as ensuring your devices are updated to the latest software version or restarting your Wi-Fi router.
Stay tuned for more tips and techniques to help you get the most out of your Apple products. With a little bit of knowledge and the right steps, you can turn your devices into powerful tools that work seamlessly together.
Using AirPlay to mirror your MacBook's screen
You've learned how to set up AirPlay and checked for a strong Wi-Fi network. Now, let's take the next step. With AirPlay, mirroring your MacBook's screen to your Apple TV is as easy as pie.
Mirroring your screen is a fabulous way of sharing exactly what's displayed on your MacBook's screen. It's perfect for presentation, gaming, and even streaming content. Follow these easy steps to mirror your MacBook's screen:
- Click on the AirPlay icon in your MacBook's menu bar. If you can't find it, try looking under the Screen Mirroring option.
- A list of available devices will show up. Select Apple TV from that list. You're almost there!
Just like that, your MacBook's entire content is now mirrored on the big screen.
What if you encounter lagging issues or dropped connections? Your Wi-Fi strength plays a pivotal role, so always ensure it's up to snuff.
What about using your Apple TV as a second monitor, though? Well, instead of simply mirroring, you can actually extend your desktop to the Apple TV to maximize productivity. This feature provides more screen real estate for work or play. To do this:
- Click on the AirPlay icon in the menu bar.
- Select Apple TV, and then choose the Use As Separate Display option.
By following these steps, you've unlocked a whole new realm of possibilities. Whether it's for work, play, or sheer entertainment, AirPlay does indeed elevate your MacBook-user experience. The optimal performance of AirPlay depends on the Wi-Fi network strength so always stay connected to a robust network. For any common AirPlay problems, don't hesitate to troubleshoot.
Using AirPlay to extend your MacBook's display
Imagine the possibilities; increased screen real estate is a click away. Making use of Apple's AirPlay feature to extend your MacBook's display to an Apple TV provides an elevated multi-tasking and media consumption experience.
To set up, while you're sat in front of your MacBook, everything begins in the Menu Bar. Look for a rectangle intersected by a triangle at the bottom. That's the AirPlay icon. Click it and witness your available devices populate in a dropdown list. Do you see your Apple TV in the list? Select it. If your MacBook and Apple TV are not on the same Wi-Fi network though, it won't appear. That's crucial.
Selecting "Use As Separate Display" from the AirPlay display menu is your next step. This function gives you the flexibility to work with different apps or documents, on each screen simultaneously. Work on one, stream on the other- how convenient!
While navigating both screens, your cursor glides smoothly across. This is a testament to the robust performance of AirPlay, which is highly dependent on the quality and strength of your Wi-Fi network. Now, mirror mode is great, but "using as a separate display" fulfills the true power of extended real estate.
Your MacBook display on your Apple TV brings a new dimension to your work and entertainment experience. But remember, it's not just about more screen space – there are limitless possibilities with the various forms of content you can run. You've got a full-blown media center or a presentation tool, right at your fingertips. The potential methods of utilizing this setup continue to grow.
If you encounter any issues during the process, consult Apple's assistance services or drop by any Apple Store. They'll sort it out in no time. While there might be minor issues depending on the Wi-Fi connection, the rewards you reap from extending your display far outweigh them.
Mastering this function, you're not just extending your MacBook's display- you're extending your productivity, your creativity, and your view to unlimited entertainment. That's the promise of using AirPlay to bridge the gap between your MacBook and Apple TV. No conclusion required, because your exploration of this spacious tech universe has just begun.
Troubleshooting common AirPlay issues

Don't let minor glitches interrupt your AirPlay experience. A variety of hindrances can occur, but rest easy knowing there's probably a quick fix for most of them. Here's a rundown of common problems and their potential solutions.
AirPlay Won't Connect
The most common issue you might encounter is that your MacBook simply refuses to connect to the Apple TV via AirPlay. The remedy might be as easy as verifying that both devices are on the same Wi-Fi network. If not, retry after connecting them to the same network.
Spotty or Lagging Connection
Experiencing lags or breaks in connection? The culprit could be the strength of your Wi-Fi signal. Remember, AirPlay is highly dependent on Wi-Fi strength. Check your router and Wi-Fi signal. Try repositioning your router for better signal strength or close unnecessary applications to free up bandwidth.
No Audio during AirPlay
Can’t hear any audio while streaming via AirPlay? Make sure that the volume on both the MacBook and Apple TV is adequately adjusted. If still unresolved, try disconnecting and reconnecting AirPlay.
Streaming stops midway
AirPlay stops broadcasting midway? Ensure that your MacBook isn't going into sleep mode. Your MacBook staying awake is mandatory for continuous streaming.
Armed with these troubleshooting tips, you can navigate potential obstacles and enjoy a seamless AirPlay experience. But what's more exciting? Imagine utilizing your Apple TV not just as a mirrored display, but also as a second monitor. It's time to discover the how-tos and perks of this setup in the next section.
Conclusion
You're now equipped with the knowledge to effectively use AirPlay from your MacBook to your Apple TV. Remember, always ensure both devices are connected to the same Wi-Fi network. Follow the steps outlined and you'll be mirroring or extending your display in no time. If you encounter any hiccups, refer back to the troubleshooting tips. Don't forget about the potential of using your Apple TV as a second monitor. It's a fantastic way to enhance your productivity or entertainment experience. So go ahead, explore this feature and make the most of your Apple devices. Happy streaming!
How do I set up Apple's AirPlay on my MacBook?
To set up Apple's AirPlay, ensure your MacBook and Apple TV are on the same Wi-Fi network. Locate the AirPlay logo on your MacBook, select it, and choose your Apple TV as the mirrored or extended display.
Why am I experiencing connection issues with AirPlay?
Connection problems with AirPlay often result from discrepancies in the Wi-Fi network. Make sure both your MacBook and Apple TV are connected to the same network.
What could cause spotty or lagging connection with AirPlay?
Spotty or lagging AirPlay connection may be due to a weak Wi-Fi signal or overcrowded network. You may need to move closer to your router or reduce traffic on your network.
Why is there no audio while using AirPlay?
Audio issues with AirPlay may be resolved by checking the audio output settings on your MacBook. Ensure your Apple TV is selected as the audio output device.
What can I do to prevent streaming interruptions with AirPlay?
Streaming interruptions can be minimized by ensuring strong Wi-Fi connectivity and reduced network traffic while using AirPlay.
Can I use my Apple TV as a second monitor?
Yes, Apple TV can be used as a second monitor. Simply select 'extended display' rather than 'mirrored display' while setting up AirPlay on your MacBook. This allows you to use the TV as an additional workspace.


