Difficulty: Easy
Duration: 5 minutes
What you'll need: Apple TV, Peacock subscription
- Adding a peacock app to an Apple TV can be done with a few simple steps.
- Learning how to add peacock to Apple TV can help someone to access a wide range of movies, TV shows, and other content.
- "You'll learn how to add the Peacock app to your Apple TV in this article!"
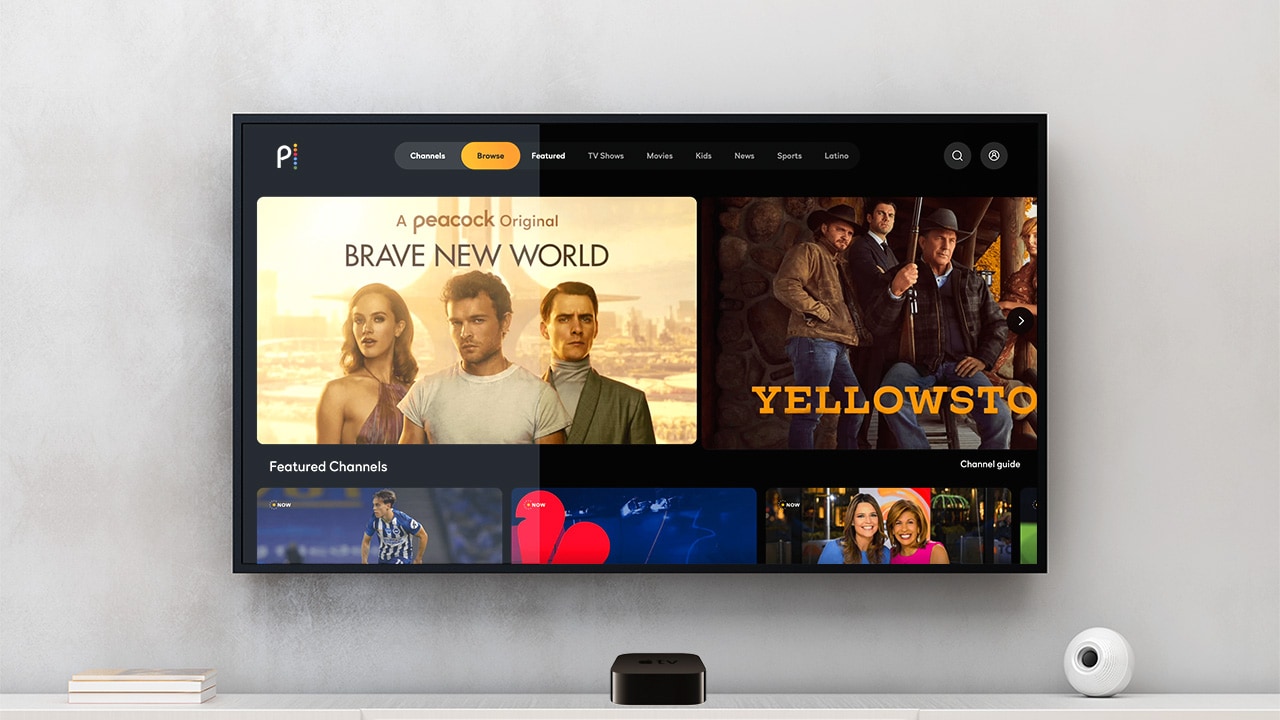
Welcome to the guide on how to add peacock to Apple TV! Peacock is a streaming service from NBCUniversal that offers a wide variety of content, including movies, TV shows, live sports, and more. With the addition of Peacock to Apple TV, you can now watch your favorite shows and movies on the big screen. In this guide, we'll walk you through the steps of adding Peacock to your Apple TV, so you can start streaming right away. We'll also provide some tips on how to get the most out of the service. So let's get started!
How to add Peacock to Apple TV
Adding a Peacock app to your Apple TV is easy and free. Simply open the App Store on your Apple TV, search for the Peacock app, and click the Install button to add it to your device. Once installed, you can log in to your Peacock account and start streaming your favorite shows and movies.
- Connect your Apple TV to your TV and power source.
- Open the App Store on your Apple TV.
- Search for the Peacock app.
- Select the Peacock app.
- Click the Get button.
- Wait for the Peacock app to download and install.
- Open the Peacock app.
- Sign in with your Peacock account.
Our takeaway
Adding a peacock to your Apple TV can be a fun and creative way to bring some life to your living room. With the peacock app, you can access a variety of movies, shows, and live sports events that you can enjoy with friends and family. The peacock app also offers a variety of streaming options, so you can watch what you want, when you want. With the addition of the peacock app, you can make your Apple TV experience even more enjoyable. Now that you know how to add peacock to your Apple TV, you can start streaming your favorite shows and movies. Whether you’re looking for a movie night with friends or a way to stay entertained during a long day, the peacock app has you covered. So, grab your popcorn, settle in, and enjoy the show!
FAQs
What type of Apple TV do I need to add peacock?
To add the Peacock app to your Apple TV, you will need an Apple TV 4K or Apple TV HD running tvOS 12.0 or later.
How do I access the peacock app on my Apple TV?
To access the Peacock app on your Apple TV, you will need an Apple TV 4K or Apple TV HD. Once you have the appropriate Apple TV, you can simply search for Peacock in the App Store and download the app.
Is there a cost associated with adding peacock to my Apple TV?
No, there is no cost associated with adding the peacock app to your Apple TV.
Are there any special features available when I add peacock to my Apple TV?
Yes, when you add the Peacock app to your Apple TV, you will have access to a variety of special features, including the ability to watch Peacock Originals, live sports and news, and access to a library of movies and TV shows. Additionally, you can use the X-Ray feature to get more information about the shows and movies you are watching, as well as access to the Peacock Channels feature, which allows you to watch curated content from a variety of different genres.
Are there any restrictions on the content that I can access with peacock on my Apple TV?
Yes, there are restrictions on the content you can access with the Peacock app on your Apple TV. The content available to you will depend on your subscription plan, as well as your geographic location. Some content may not be available in all areas.


