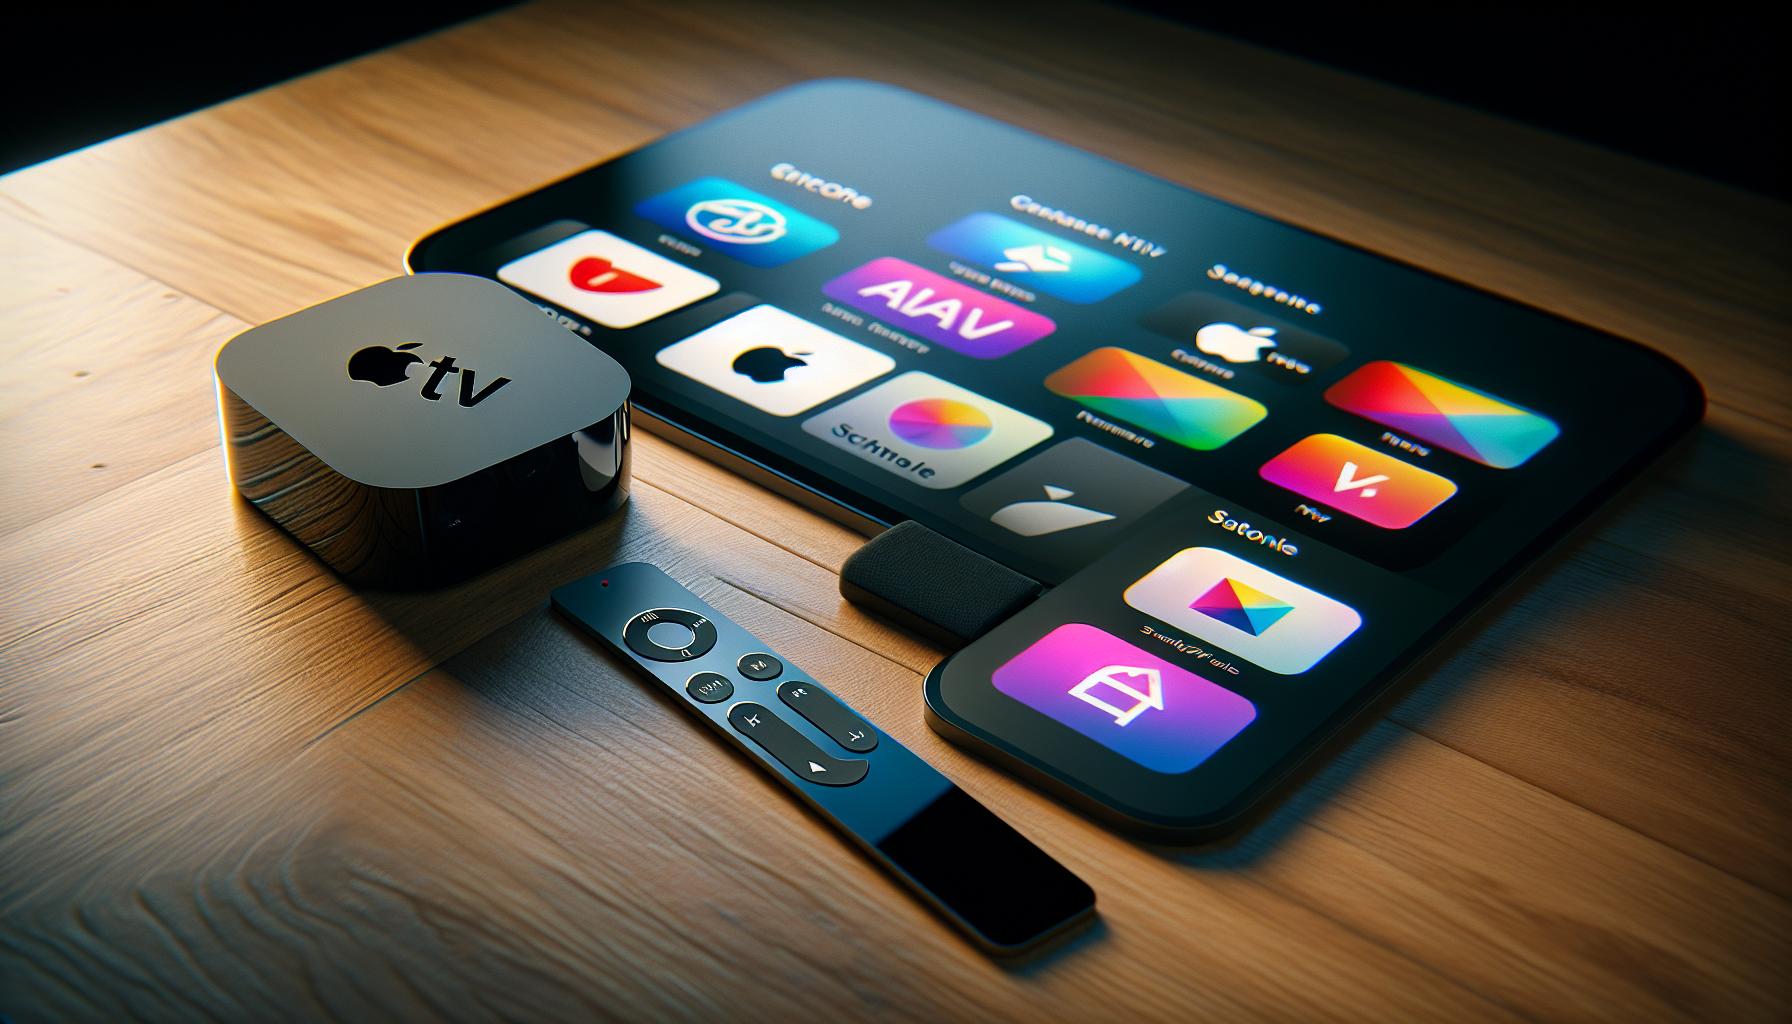
If you're new to the world of Apple TV, you might be wondering how to add more channels to your lineup. It's a simple process, but it can seem daunting if you're not familiar with the system. Don't worry, you're not alone.
We're here to guide you through the process, step by step. You'll be adding channels to your Apple TV in no time. Whether you're a sports fanatic, a movie buff, or a news junkie, you'll find all the channels you need to satisfy your viewing desires.
So, sit back, grab your Apple TV remote, and get ready to expand your viewing options. It's time to unlock the full potential of your Apple TV.
Overview of Apple TV Channels
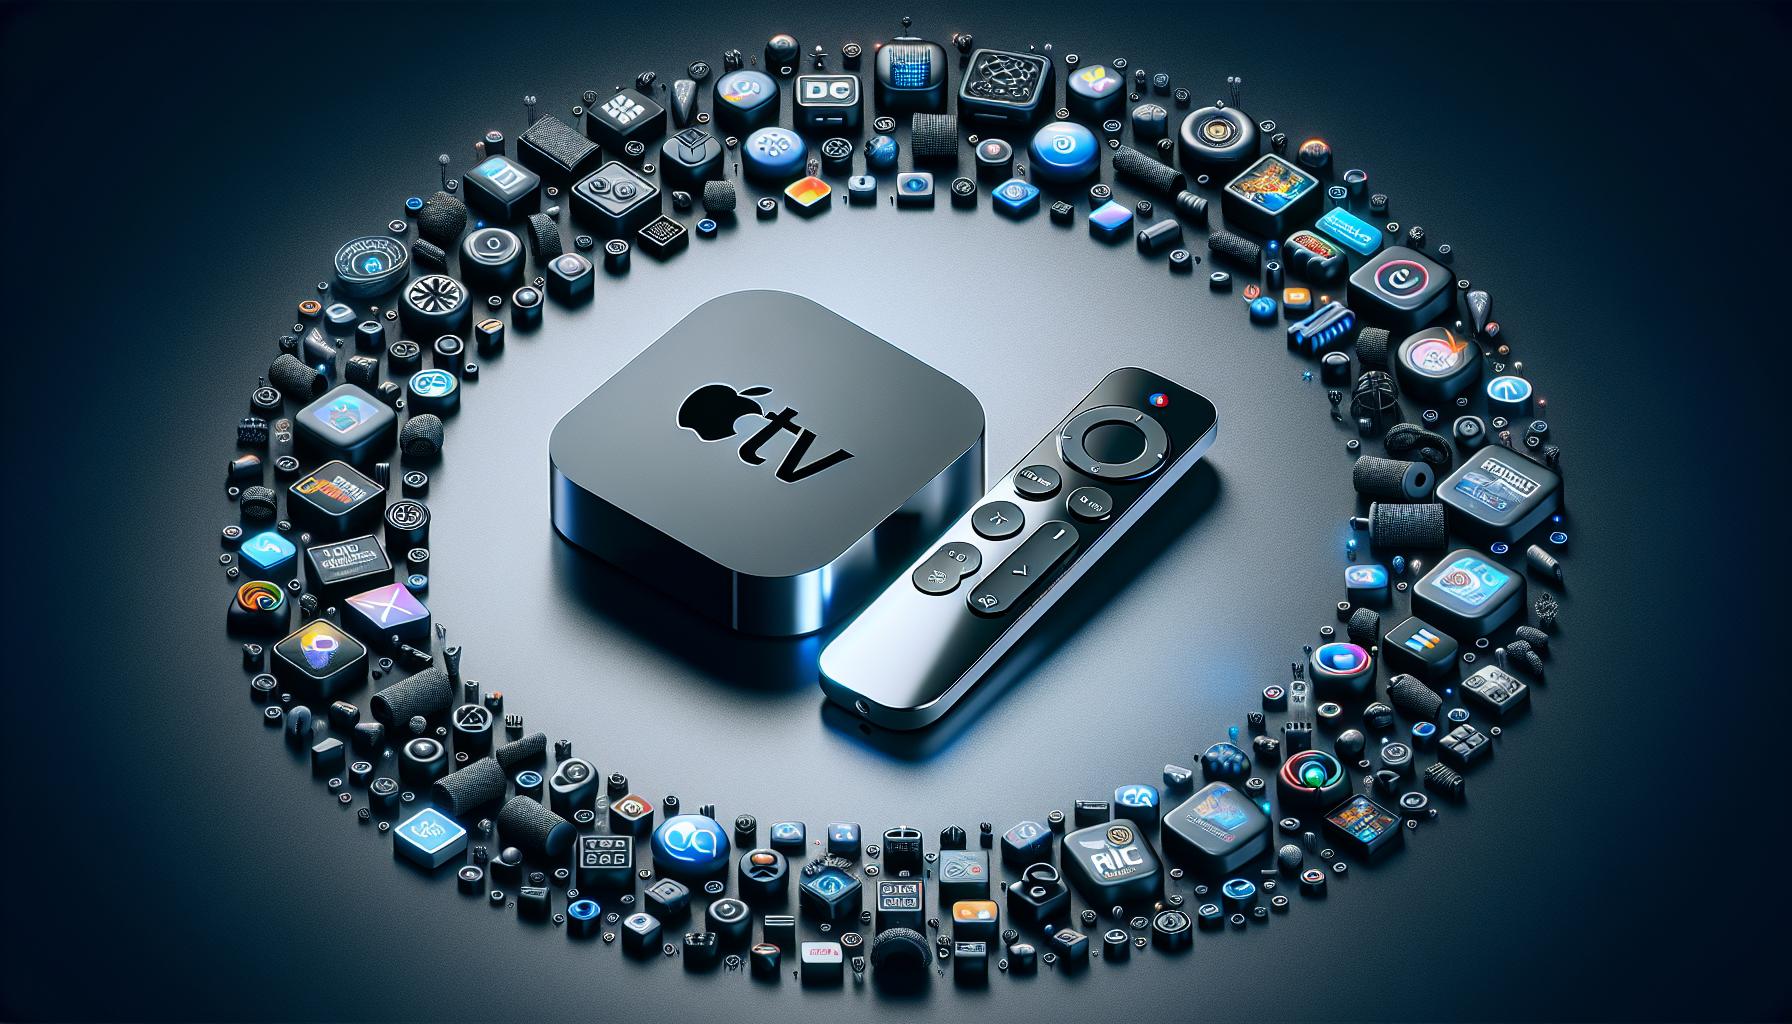
Before diving into the process of adding channels, knowing your options makes it easier. Apple TV channels are aplenty and span a wide array of categories. Whether you're a sports enthusiast, news junkie, movie buff or a TV series aficionado, there's something for everyone.
Premium Channels offer a host of diverse, high-quality content. For instance:
- HBO Max provides access to a massive library encompassing all of HBO’s series, Warner Bros. movies, and more.
- Showtime lets you stream award-winning original series, movies, sports, and documentaries.
- Starz features a vast collection of hit movies, full downloads and original series.
However, premium channels typically require a subscription fee.
For those less inclined to split their spending, there's a heap of free channels available. These include Tubi, Pluto TV and Crackle among others. These channels provide a mix of popular, classic and indie movies, TV shows, and even live news.
Apple TV also offers themed channels such as:
- ESPN for sports enthusiasts
- National Geographic for documentary lovers
- Nick Jr. for kid-friendly programming
A quick run-through of these options gives you a snapshot of what's possible with Apple TV. The beauty of Apple TV is its flexibility, catering to various appetites and budgets. Ready to explore and add new channels to your lineup? Prepare your Apple TV remote for the next step in this guide.
Step 1: Accessing the App Store on Apple TV
To enrich your viewing experience on Apple TV, you'll first need to access the App Store. It's where you'll find all the channel apps – be it premium ones like HBO Max, Showtime, Starz, or free ones like Tubi, Pluto TV, and Crackle. Not to forget the themed channels like ESPN, National Geographic, and Nick Jr. So here's how you get there.
First, switch on your Apple TV. Ensure your device is hooked up to a stable internet connection. Note: the signal's strength is vital. A slow or interrupted connection will affect your experience with App Store and channel apps.
Once your device is powered up, navigate to the main menu. Here, you'll find a list of pre-installed apps. Among them, you'll spot the blue-colored 'App Store' icon. It's generally located at the top of your screen. It's a recognizable symbol— a simple A made of small sticks.
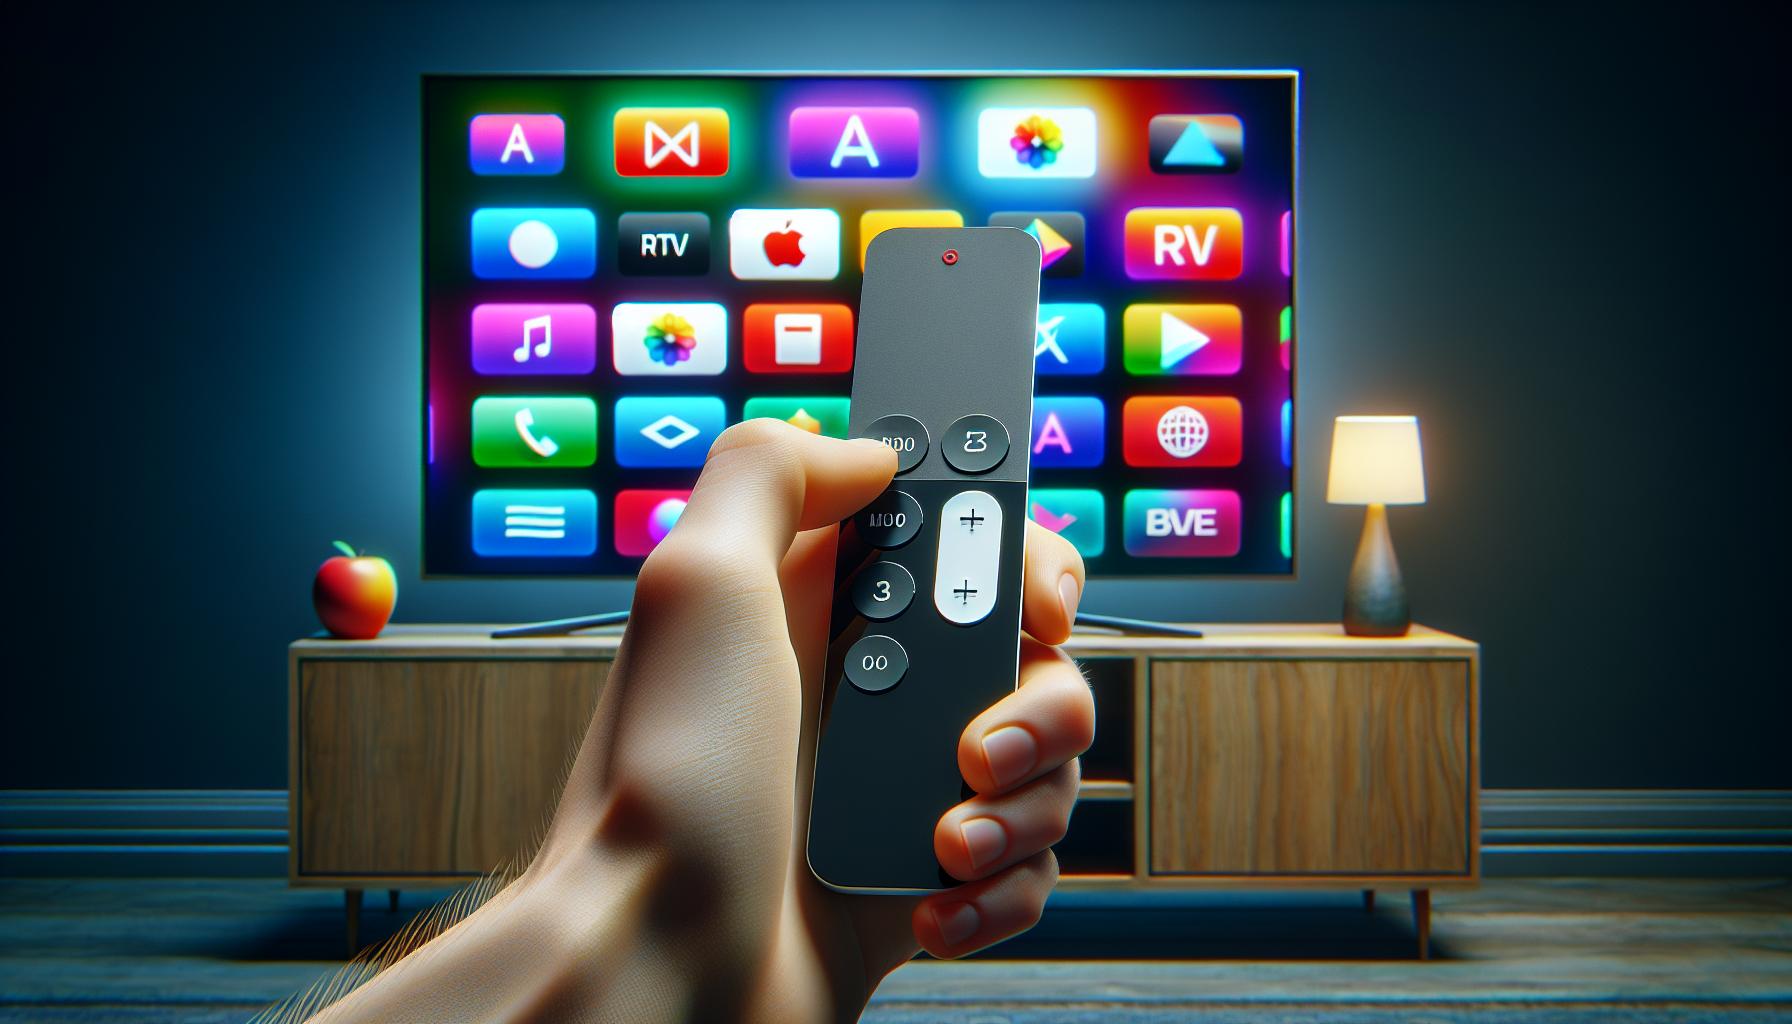
Use your Apple TV remote to scroll to the App Store icon. Now, to open the App Store, press the ‘Select’ button on your remote. If you have a newer model remote, you might need to click the touchpad instead. Remember, the Select button or touchpad is what you'll mostly use to choose and download your desired channel apps.
As you enter the App Store, you'll see a host of different apps displayed. From games to entertainment to fitness apps – it's your one-stop-shop for all things Apple TV. However, you're here for channel applications.
Step 2: Searching for Channels
Once you've pulled up the App Store on your Apple TV, your next task is to look for the channel apps you desire. Searching has never been easier with Apple's user-friendly interface.
First, locate and select the Magnifying Glass icon at the top of the App Store to access the search feature. As you navigate, notice the responsive nature of the Apple TV remote. You'll find using the touch surface to type or swipe through options a streamlined experience.
Start typing the name of the channel app you're looking for using the on-screen keyboard. The search engine is swift and will immediately start showing suggestions based on popular searches and your personal preferences. Make use of these real-time search suggestions. They can save you keystrokes and even lead you to discover additional channels that might pique your interest.
It's important to keep in mind not all channel apps make it to the top of the search suggestion list. Use specific keywords to filter out unneeded options.
Additionally, you can use Apple TV's Voice Search feature. Just press and hold the Siri button on your Apple TV remote, then speak clearly the name of the channel app you want. This function can speed up the search process, especially when dealing with longer or more complex names.
By following these steps, you can efficiently track down and add the channels that align with your viewing preferences. Whether it's premium channels like HBO Max, Showtime, and Starz, free channels like Tubi, Pluto TV, Crackle, or themed channels like ESPN, National Geographic, and Nick Jr., your options are diverse on Apple TV.
Consider referring back to this part of the guide if you happen to add another channel app in the future. Getting familiar with the search process will make it easier every time.
But let's not jump ahead. Right now, it's all about using the search function to find your wanted channel apps. We're still in the middle of the guide,
and how to download and install channel apps is a different journey entirely. You'll need to follow the next steps in the guide to get those channels up and viewing on your Apple TV.
Step 3: Installing Channels
Continuing from our discussion on how to find channels, let's move forward to understand how to install them. Once you've searched for and found the desired channel app, it's time to add it to your Apple TV lineup. Don't worry, it's easy, and you'll get the hang of it fast.
Firstly, select the channel app that you want to install. Aim for the channel's icon with your Apple TV remote's touchpad and click to open its detailed information page. Here, you'll see more specifics about the channel, including a description, screenshots, ratings, and reviews. Take a quick look to check if it's the channel you intended to select.
Secondly, look for the Get button; it's usually bright blue. If it's a free channel app, the button will simply say 'Get'. However, it will display the price for paid channels. Don't worry about accidentally spending money, as you'll need to confirm the purchase before any transactions occur.
Click the Get button. This should begin the download process, which usually doesn't take very long. A loading circle will replace the Get button, and you'll soon see an Open button when it's complete. It's worth mentioning that if you've downloaded the app before, the iCloud icon will appear instead of the Get button, but the process remains identical.
Remember, certain channels require a subscription, and just downloading the app won't give you access to its content. In such cases, you'll have to log in with your subscription details. It's a one-time process for each paid channel.
As you navigate and learn, utilize this Step 3: Installing Channels guide whenever you decide to add more apps to your Apple TV. It might seem a bit confusing initially, but familiarity will soon clarify the steps. Happy viewing!
Stay tuned for the next section where further details will be unfolded about using these channels on your Apple TV.
Step 4: Managing and Organizing Channels

After taking the steps to add channels on your Apple TV, you'll want to keep those apps organized so that you can access your favorite content swiftly. You can rearrange the channels into an order that makes the most sense to you as per your viewing needs.
To start with, you've to highlight the app you want to move. Globally, there are two common ways to do so:
- Directly using the Touch area on your Apple TV remote, swipe to select the app.
- If you're using an IR remote, press the directional buttons to approach the channel app.
To arrange the apps, use your Siri Remote touchpad or the traditional Apple TV Remote. Press and hold on the Touch area until the app begins to jiggle, much like the way apps do when you rearrange them on an iPad or an iPhone. Once the apps are in jiggle mode, you can swipe with your finger to move the selected app anywhere you prefer in your Apple TV interface. Press the Touch area once again to finish the process.
Another important aspect of managing channels is to remove any unwanted apps. To do this, select the jiggling channel app and press the Play/Pause button, then select Delete. This will remove the app but remember, it'll also rid your Apple TV of any associated data.
Most importantly, if you're struggling with too many channels on your screen, instead of continuously swiping left and right, consider using the Home Screen folders. Just drag one app over another to create the folder. Naming them, such as "News," "Sports," or "Kids," can help keep your entertainment hub organized effectively.
Continuing on with this comprehensive guide, let's explore some of the features that can enhance your Apple TV experience. This includes using Siri to find your favorite shows or movies, setting parental controls, and more.
Conclusion
You've now mastered the art of adding, organizing, and managing channels on your Apple TV. You've learned how to navigate the App Store to find your favorite channels and how to install them. You've also discovered how to keep your Apple TV home screen tidy by rearranging and deleting apps. Plus, you're ready to dive into the extra features that'll elevate your Apple TV experience, like using Siri and setting parental controls. So, go ahead and make the most of your Apple TV. The power to customize your viewing experience is in your hands. Enjoy the endless entertainment possibilities that await!
Frequently Asked Questions
What channels are available on Apple TV?
The article offers a comprehensive guide to understanding the myriad channels available on Apple TV. The range of channels can be found in the channel store, and include offerings across popular genres and interests.
How can I find and install channel apps on Apple TV?
The App Store on your Apple TV houses all available channel apps. Just use the 'search' function to find your desired channel, click on the application, and follow the on-screen instructions to install.
How do I manage and organize my channels?
Apple TV lets you manage your channels easily. You can rearrange the apps, delete any that you don't want, and use home screen folders for smoother navigation.
What additional features does Apple TV offer?
Besides a vast range of channels and easy-to-use navigation, Apple TV offers extra features to improve your viewing experience. This includes using Siri for voice commands and setting up parental controls to manage the content for children.
