So you've got your Roku device all set up and you're itching to dive into the world of Apple TV. You're in the right place! In this guide, we'll show you how to add Apple TV to your Roku in a few simple steps.
It's not as complicated as it might seem. In fact, Roku's user-friendly interface makes the process pretty straightforward. Whether you're a tech newbie or a seasoned pro, you'll have Apple TV on your Roku in no time.
Stay tuned and we'll walk you through the process, ensuring you get the most out of your Roku device. Let's get started, shall we?
Why Add Apple TV to Roku?
Perhaps you're pondering, why add Apple TV to Roku? There are indeed several key benefits that warrant consideration. Here, we'll focus on three significant ones: expanded accessibility, enhanced entertainment, and cost-effectiveness.
Expanded Accessibility
One of the major perks of adding Apple TV to your Roku device relates to the ease of access it provides. Think about it. You've got a world of content at your fingertips with Roku. Now imagine multiplying that by adding Apple TV into the mix. This expansion grants you access to exclusive Apple Originals from Apple TV+. So, if you're already invested in the Apple ecosystem, you won't have to miss out on any of your favorite Apple content when using Roku.
Enhanced Entertainment
The integration of Apple TV with Roku will undoubtedly turbocharge your entertainment experience. By having more sources of content, your entertainment choices substantially increase. Love watching movies? You'll get to enjoy a broader range from different platforms. A series enthusiast? You'll have more series to binge-watch from various networks. Thus, your Roku becomes a one-stop-shop for all your entertainment needs.
Cost-Effectiveness
In a time when everyone's looking to get more value for their money, adding Apple TV to Roku also presents the chance to be more cost-effective. Getting a separate Apple TV device could set you back hundreds of dollars, but adding it to Roku is a free, simple process. Plus, with Apple TV on Roku, you'll be able to manage your favorite Apple subscriptions right from your Roku device without needing to buy new hardware.
It's clear that adding Apple TV to Roku can give you a more enriching, economical, and accessible entertainment experience. Not to mention the convenience it offers. Stay tuned, as in the upcoming section, you'll learn exactly how to add Apple TV to your Roku in simple, easy-to-follow steps.
Step 1: Check for Compatibility

Before you dive headfirst into the task of adding Apple TV to your Roku, it's key to ensure compatibility. After all, not all Roku models will support Apple TV. Here's how you find it out:
1. Check Your Roku Model
Firstly, identify your Roku model. Locate it by going to Settings > System > About. If you've got a Roku Express (3900 series), Roku Premiere (3920 series), Roku Streaming Stick+ (3810 series), or any Roku TV, you're in the clear. Your device is all set to support Apple TV.
2. Make Sure It's Updated
Next, guarantee your Roku has an updated software system. To check this, navigate to Settings > System > System Update > Check Now. If a new update is available, your Roku device will download and install it automatically.
3. Check Your Apple TV Version
Lastly, ascertain whether your Apple TV app version is 1.1 or higher. If it is, you're ready to get Apple TV up and running on your Roku device.
These are the first vital steps to take in your quest to expand the entertainment options available to you. Remember, adding Apple TV to Roku not only maximizes accessibility but also gives you a cost-effective solution. This way, you don't have to purchase a separate Apple TV device.
Now that you've ensured a compatible pairing between Apple TV and Roku, let's move on to the process of adding the application to your Roku device. Rest assured, it's simpler than you might think.
Step 2: Access the Roku Channel Store

Moving forward, you need to get into the heart of the Roku system — the Roku Channel Store. This is the space where you'll find all available streaming services. And yes, this does include Apple TV.
Not sure where to locate the channel store? It's right on the Roku home screen. Scroll down and you'll find it. This easy-to-find digital marketplace is one of Roku's standout features.
Once you have the Channel Store opened, you'll see a variety of categories. Each category houses multiple streaming services. From movies, TV shows, news, sports, to kids' entertainment — there's something for everyone.
One of the vital highlights inside the Roku Channel Store is the Top Free section. Unique to Roku, it showcases all of the free-to-watch content across various channels. But for now, let's focus on your specific goal — adding Apple TV.
Navigate to the search function in the Channel Store. It's an incredibly user-friendly feature. You no longer need to scroll through hundreds of apps. Simply type 'Apple TV' into the search bar, and Roku's intelligent search system will do the rest of the work, bringing up the Apple TV app.
At this stage of the process, you're just a few clicks away from adding Apple TV to your Roku device. You've navigated the Channel Store, found the Apple TV app, and are ready to proceed. Your journey to expanding your entertainment options isn't over yet, though. There's more for you to learn and discover in the coming steps.
Stay tuned if you're eager to embrace the cost-effective solution of integrating Apple TV with your Roku device, without the need for any other devices. Remain curious, excited, and ready for what's to come next.
Step 3: Search for Apple TV
Now that you've made your way to the Roku Channel Store, it's time to dive headfirst into the search for Apple TV. This step isn't too tricky, but it's essential not to navigate away before locating and clicking on the Apple TV app.
To search for Apple TV, pull out your Roku remote and start typing. It's important to type accurately because the Roku system uses an automated search feature as you type. You'll notice the search results are dynamic. They'll begin popping up and adjusting even with the first few letters you input. Focus on "Apple TV."
Be mindful that you're looking for the official Apple TV app by Apple Inc. Subpar, counterfeit apps might also show up in the search results, so you've got to stay vigilant.
As you type in 'Apple TV', the official app will appear as an option. It's usually among the first few results. It's best not to mistake it with Apple TV+, which is a subscription-based video-on-demand service. Apple TV app is a gateway for your existing and potential subscriptions, including Apple TV+.
By now, you've arrived at the crucial part of adding Apple TV to your Roku device. Don't worry if you're feeling a bit overwhelmed. We've all been there. It's a learning curve for even the most tech-savvy among us. You're on your way to expanding your entertainment options before you can imagine. Stay tuned for the next exciting step in this adventure. Don't lull into the comfort zone just yet.
Step 4: Install the Apple TV Channel
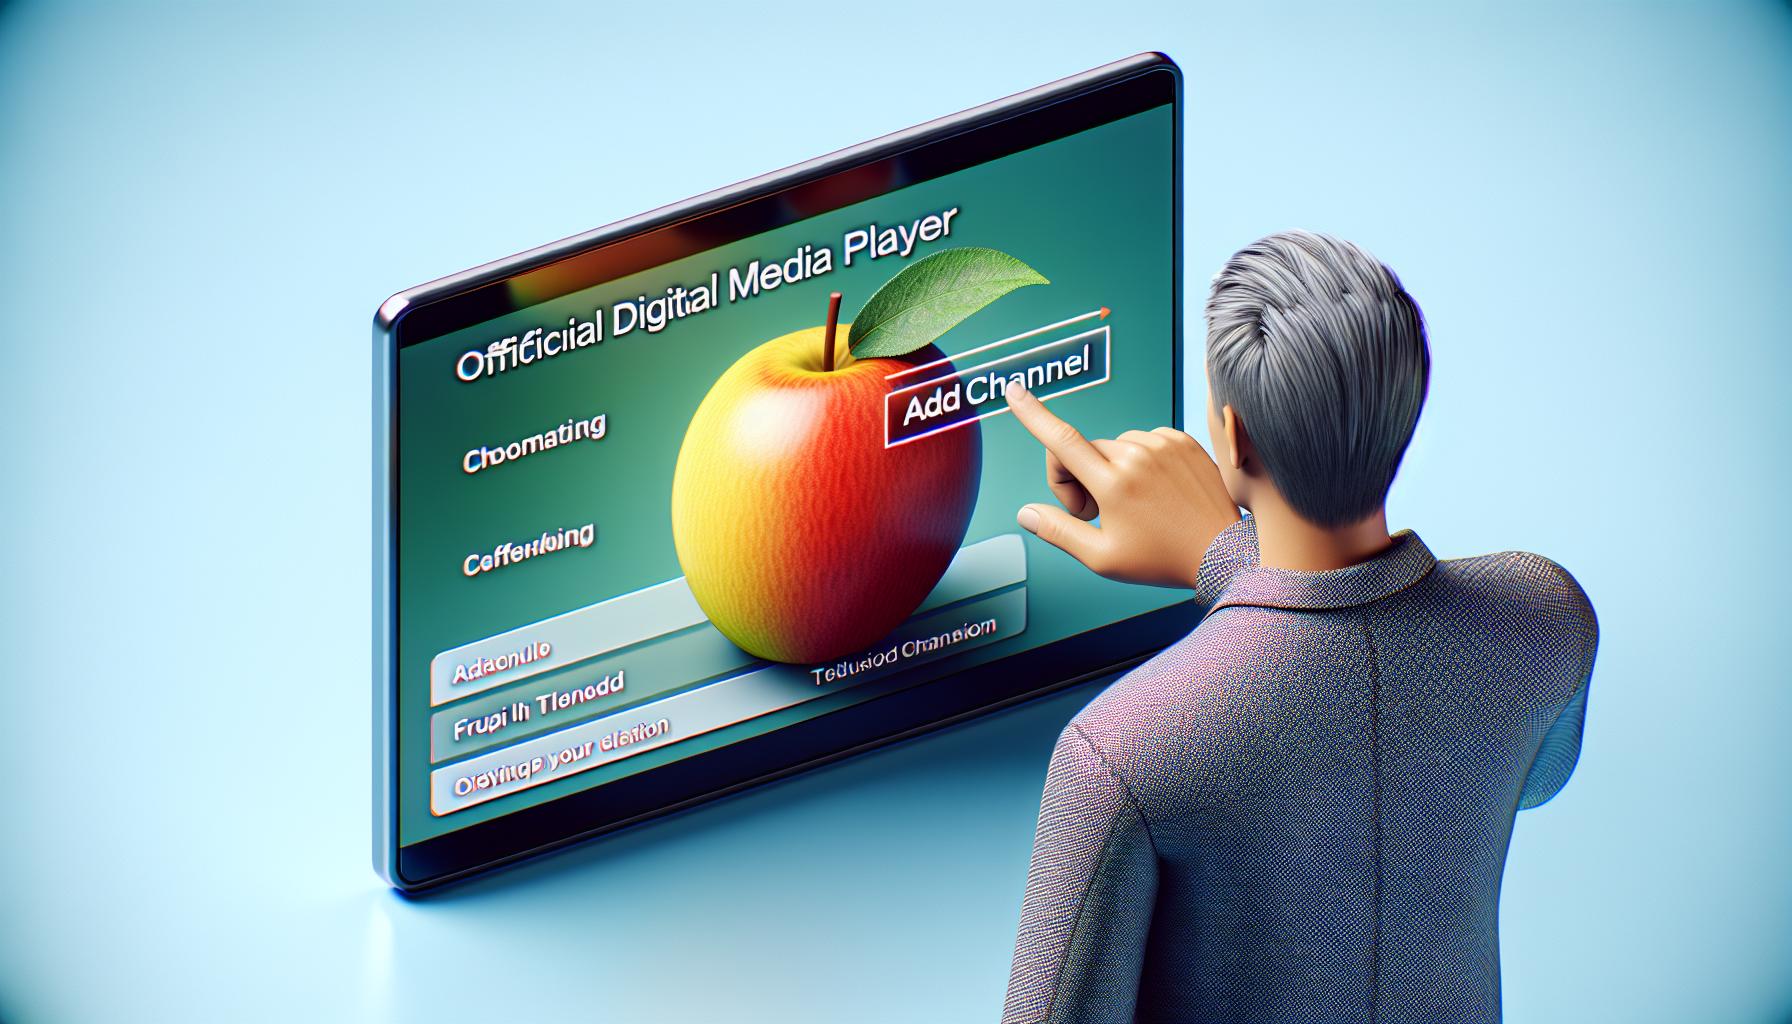
After searching for the official Apple TV channel in the Roku Channel Store, the next phase of the process is installation. To install the Apple TV channel, you'll need to follow the on-screen prompts.
To begin, select the desired Apple TV application from the multitude of options. Be sure to choose the official Apple TV channel - there can be counterfeit applications appearing quite similar. The official application usually ranks at the top of the search results.
Once selected, take a moment to verify details of the Apple TV channel including ratings, last update, and publisher information. After confirmation, proceed with the installation by pressing the 'Add Channel' button. Roku will then initiate the downloading and installation process, which usually takes a few minutes.
During this process, you might come across a Roku pin requirement. Don't worry - it's part of Roku's preventative measures against unintended purchases or downloads. Simply enter the Roku pin associated with your account, then the Apple TV channel installation will resume.
After successful installation, the Apple TV channel will appear in the last row of your 'Home' screen -
"Channels." This part is necessary to set the channel at a specific position for easy access.
To do so, navigate to your channel list on your home screen and highlight the Apple TV channel. Press the * button on your remote, choose the 'Move channel' option, and set your new channel's position according to your preference.
Remember, adding Apple TV to your Roku enhances your entertainment choices phenomenally. It blurs the boundaries between your existing Roku service and the extensive content library of Apple TV, giving you a high-quality viewing experience without needing to purchase a separate Apple TV device. This not only saves you money but also keeps your entertainment setup simple and streamlined.
Step 5: Sign in with Your Apple ID
After the Apple TV channel has been successfully installed on your Roku and you've set it to your preferred position on the homepage - it's time to sign in with your Apple ID. This step is crucial to unlock the full range of entertainment options that Apple TV offers on Roku.
For the uninitiated, your Apple ID is the account you use to access all Apple services, including Apple TV. If you're an existing Apple user you probably already have one. Don't worry though if you don't, creating an Apple ID is simple and free.
How to Sign In
From the Roku home screen navigate to the Apple TV channel that you've just added. Open it and you'll most likely be greeted with a Sign In prompt. At this point, enter your Apple ID and password.
Are you worried about the security of your information when signing in? Remember, Apple's known for prioritizing user security and privacy.
Doesn't remember your Apple ID or password? You can easily retrieve this information from the Apple's official ID recovery website.
If You Don't Have an Apple ID
If you stumble upon this article and you don't have an Apple ID, don't fret. You can make one quickly at Apple's official website.
Please note that creating an Apple ID will require you to verify your email address so make sure you have access to a valid email account. Once all that's done, the world of Apple TV awaits on your Roku device!
It's essential to note that not all Apple TV features will be available before you sign in with your Apple ID. Hence ensure you don't skip this step. By signing in, you're getting access to your purchased movies and shows, any music and podcast subscriptions, plus the ability to use Apple TV’s exclusive content.
Stay tuned to find out more about using the Apple TV app on Roku after signing in.
Step 6: Enjoy Apple TV on Roku

After you've successfully signed in with your Apple ID, you're all set to start enjoying Apple TV on your Roku device. Isn't the convenience of merging these two platforms remarkable? Now, you've unlocked a treasure trove of entertainment offerings from two worlds with just a few steps.
With Apple TV at your fingertips, you'll notice an extensive menu of options to explore. It'll include your iTunes purchases, Apple TV+ subscriptions, and other Apple services. Apple knows its audience well and doesn't disappoint when it comes to options. Whether it's a critically acclaimed original series from Apple TV+, a favorite movie you've purchased through iTunes, or an interesting web series you've discovered, there's something for everyone.
On the flip side, you might feel a little overwhelmed by the options. But don't worry, navigating through the Apple TV interface is pretty straightforward. You'll have an options bar at the top of your screen that groups everything into categories. Explore this menu, and you'll soon become a whiz at handling Apple TV on Roku.
What if your desired Apple content isn't on your Apple TV on Roku yet? No problem, because we've got you covered! You can make new purchases or subscribe directly from your Roku device. Using the Apple TV app, head over to either the Movies or the TV Shows section and select the content that sparks your interest. After clicking, it'll prompt you to confirm your purchase with your Apple ID and voila! Your chosen content starts streaming straight away.
Just keep in mind that adding subscriptions through the Roku device might lead to additional billing methods, as you'll be navigating through Roku's ecosystem. Enjoy this new hybrid world of Apple TV and Roku, however. You've made a smart move and now you're on your way to getting a taste of all it has to offer. Doesn't it feel great when technology works in your favor?
Rest assured, our conversation here doesn't mark an end! We're committed to helping simplify your life by guiding you through every step in this tech-savvy journey. So stick with us.
Conclusion
So, you've now learned how to add Apple TV to your Roku device. It's a savvy move that not only broadens your entertainment horizons but also saves you from buying an extra gadget. Once you've ensured compatibility and signed in with your Apple ID, you're all set to explore a world of content. From your iTunes purchases to Apple TV+ subscriptions, it's all at your fingertips. The interface is user-friendly, and even allows you to make new purchases or subscriptions directly. But remember, this could mean different billing methods. That's why it's crucial to stay informed and keep reading our articles for more tips and tricks. You're now one step closer to maximizing your Roku device's potential. Enjoy your enhanced viewing experience!
Can you add Apple TV to any Roku device?
Not every Roku device will support Apple TV. It's crucial to check the compatibility between your Roku model, its software system, and the version of the Apple TV app you intend to use.
Why is connecting Apple TV to Roku beneficial?
Adding Apple TV to your Roku device offers a wider variety of entertainment options. It also offers a cost-effective solution compared to purchasing a separate Apple TV device.
Can you access your iTunes purchases and Apple TV+ subscriptions on Roku?
After installing Apple TV and signing in with your Apple ID, you can access your iTunes purchases, your Apple TV+ subscriptions, and other Apple services on your Roku device.
The Apple TV interface is straightforward to navigate on a Roku device. You can also make new purchases or subscribe to Apple services directly from your Roku device.
Will there be additional charges for subscriptions added through Roku?
Adding subscriptions through the Roku device might lead to additional billing methods. It's advisable to check the billing details before purchasing.
