So, you've just got your hands on a brand-new iPhone. Exciting, isn't it? But before you dive into exploring all its cool features, there's one crucial step you need to tackle first - activating your iPhone.
Don't worry, it's not as daunting as it sounds. In fact, it's a straightforward process that you can easily handle, even if you're not particularly tech-savvy. We're here to guide you through it, step by step, ensuring you can start enjoying your new iPhone as quickly as possible.
Why Activation is Important
Before you jump into the activation process, it's key to understand why activation of your new iPhone is essential. For one, an unactivated iPhone is pretty much a pricey paperweight. You can't access any features or applications until it's activated. Not only will activation enable you to make calls and send texts, but it also lets you access the vast universe of apps and services that make an iPhone such a powerful device.
You've probably put a significant chunk of your hard-earned money into purchasing your new iPhone. Activation is the final step that unlocks all that potential and value. Without activation, you're missing out on the full range of capabilities that your iPhone offers.
Emails, music, photographs, social media — these all come alive once your phone is activated. It provides a seamless link to your digital life, keeping you connected with the world. Moreover, your iPhone stores a lot of sensitive data, including contacts, calendars and payment information. Activation sets up your Apple ID and iCloud, safeguarding your information with Apple's robust security measures.
Sure, the activation process can seem a tad intimidating. Still, it's a necessary part of setting up your new iPhone, and the great news is it's not as hard as it might first appear. So, let's continue our journey to make your new device ready for use. After all, why should you wait any longer to start enjoying the fantastic features your iPhone offers?
In our next section, "Easy Steps to Activate Your iPhone," we'll delve into the straightforward process that will help you get the most out of your new iPhone. By following these steps, you'll have your new device up and running in no time. No guesswork, no waste of time or resources, just clear-cut guidelines that will enable you to get started with your new iPhone.
Steps to Activate your New iPhone

Right out of the box, a new iPhone is merely a piece of beautifully crafted hardware. It's the activation process that breathes life into it, unlocking an array of functionalities. Without activation, it remains dormant - no calls, no texts, no apps. So, let's get you through the easy steps of activating your shiny new iPhone.
First up, power on your device. It's just a quick press and hold of the side button till the Apple logo appears. Once your device boots up, you'll see the iconic "Hello" screen. Swipe up from the bottom of the screen or press the home button (for models with a button) to begin.
Language selection is the next step. You'll see a list of languages. Simply select the one that you're most comfortable with by tapping on it. Next, choose your country or region from the given list. Remember, it's key to select the correct region for accurate localization services and app store choices.
Connect to a Wi-Fi network. Keep your Wi-Fi password handy, select the name of your network, tap on it, and enter the password. If you're using mobile data, select 'Use Cellular Connection'.
The next phase involves data and privacy. You'll come across a screen displaying a message about Data & Privacy. Know that it does not require any action apart from hitting the 'Continue' button.
Here on, 'Face ID' or 'Touch ID' sets up, depending on your iPhone model. You can choose to set up now or opt to do it later in Settings. If you decide to move ahead with the set-up, just follow the on-screen instructions.
The final steps revolve around restoring or transferring your data. If you're a first-time Apple user, select 'Set Up as New iPhone'. However, if you're switching from an old device, you can choose to restore your apps and data.
- For previous iPhone users, there's iCloud and iTunes backup options. Select the relevant source and sign in with your Apple ID to restore.
- For Android switchers, tap on 'Move Data from Android'.
Sign in with your Apple ID to enjoy the seamless iOS experience. If you don’t have one, no worries. You can create a new one right there. Activation might need a few minutes but stick to the process and enter the verification code sent to your email.
Step 1: Power On your iPhone
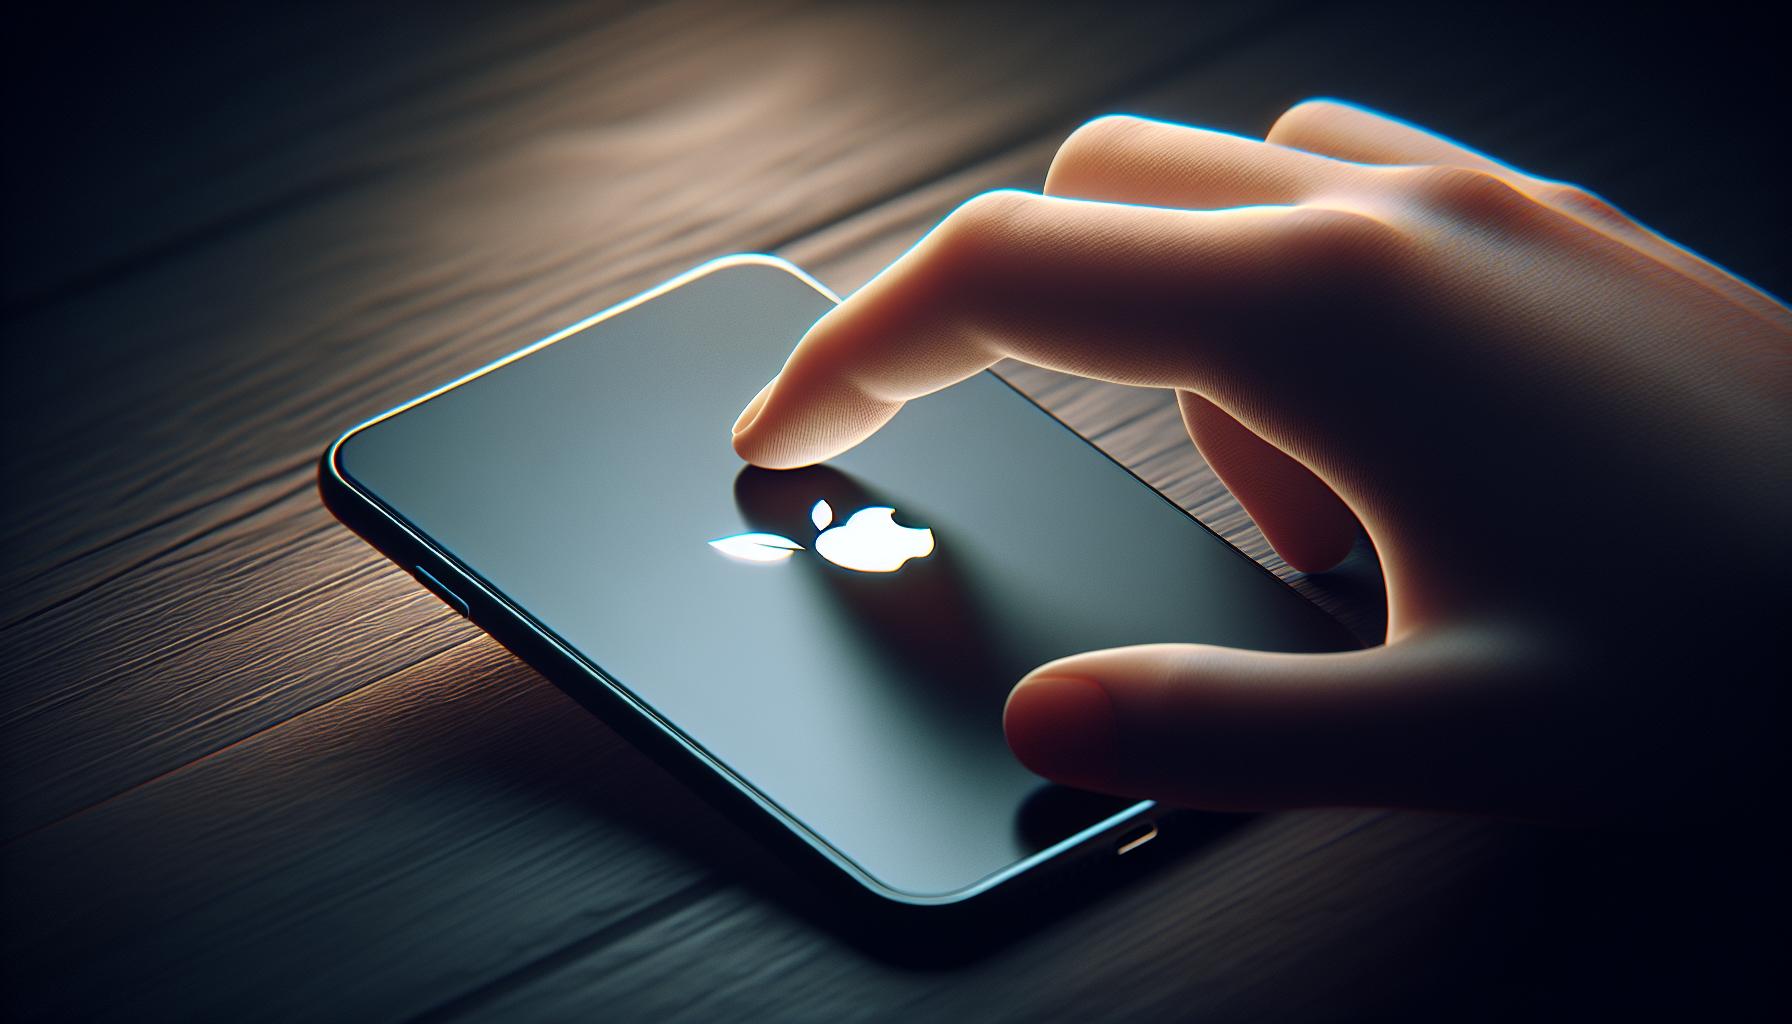
Activating your new iPhone begins with the most basic step - switching it on. Now you might think it's as simple as pressing a button - you're not wrong. But, there's a particular button. It's the one on the top right-side of your device. Press and hold the power button until you see the Apple logo appear on your screen. Once you spot the logo, release the button.
Now that your iPhone is up and running, it's time to get a bit acquainted with it. Your iPhone, in its virgin state, is yet to unleash its full potential. At this stage, it's a blank canvas awaiting your touch to come alive, and that's what makes the activation process so important. It helps you transform your iPhone from a shiny, sleek gadget into a personalized technological marvel.
If it's your first Apple device, it could feel like stepping onto an alien land. Don't worry! You're about to engage in a fairly smooth process. As you proceed with the activation, your iPhone will guide you through its world. It'll ask you a set of simple questions, enabling you to set preferences and customize your iPhone experience.
Navigating through the initial setup could be challenging if you're not sure what to expect. But remember, you're not alone in this. Millions of iPhone users worldwide have walked this path before. It's a well-trodden trail, and with a step-by-step guide in hand, you should find the journey quite manageable.
Ahead are more steps to be taken on your way to full activation. With patience, attention to detail, and quite a bit of excitement, you'll soon transform your new iPhone into a powerful asset. Let's proceed towards unlocking the wonders that await you!
Remember, each step is crucial, so tackle them one at a time. The road to unlocking your iPhone's potential is unfolding. Let's move forward.
Step 2: Connect to Wi-Fi or Cellular Network

Once you've booted up your new iPhone and selected your preferred language and region, it's time to establish a network connection. By connecting to internet, you enable your iPhone to communicate with Apple's servers. This step is crucial for completing your iPhone's initial setup process.
To get started, you'll see a screen that will ask you to choose a Wi-Fi network. You can use either Wi-Fi or cellular data for activation. If no Wi-Fi networks are available, switch on cellular data. But remember, you may encounter network charges if you use cellular data.
Just tap on the Wi-Fi network you want to connect to. Enter the Wi-Fi password when prompted. In case you're using cellular data, ensure you have a good network signal for smooth operation.
When you're successfully connected to a network, your iPhone will move on to the next part of the activation process.
At this stage, it's worth mentioning that setting up an iPhone without a SIM card is possible, but not typical, since most iPhone features require cellular services.
Here's the simple summary of needed actions in this step:
- Choose the Wi-Fi or cellular data
- Connect your iPhone to your chosen network
- If prompted, enter the password for Wi-Fi
Step 3: Set Up Touch ID or Face ID

Moving onto the following, yet integral part of your iPhone activation journey: setting up Touch ID or Face ID. Let's unpack this together and you'll see, it's not as daunting as it might initially appear.
In our hyper-digitized world, securing your device from unwanted access holds paramount importance. That's why Apple introduced innovative security features like the Touch ID and the more recent Face ID. These secure ways of unlocking your phone streamline your user experience while prioritizing your privacy.
Each option comes with its benefits. Touch ID, the fingerprint identity sensor, is quick, efficient, and doesn’t require you to look at the device. The biometric data is encrypted and securely stored, protecting your device from unauthorized users.
On the flip side, Face ID is a facial recognition scanner. It's easy to use, just look at your phone and voila! Perfect for when you're wearing gloves or your hands are wet. Besides, it's considered even more secure than Touch ID, making it the hero of data security.
Determining which one to use depends on your iPhone model. Newer models, like the iPhone X or later, will have Face ID. Older ones, like the iPhone 8 and before, use Touch ID. For ones in-between, you may get an option.
Starting with Touch ID: go to Settings > Touch ID & Passcode. You'll be prompted to enroll a finger. Simply follow the instructions on the screen.
For Face ID: Head to Settings > Face ID & Passcode. Frame your face in the camera and follow the instructions. Make sure you're in a well-lit room and don't have anything covering your face.
Once set up, you can unlock your iPhone, authorize purchases, and sign in to your apps with just a glance or touch. It's an efficient and secure way of validating your identity.
Step 4: Sign in with Apple ID

After setting up your security features, you'll now sign in with your Apple ID. This key step enables you to tap into an array of Apple's cloud-based services.
Though it might seem tedious, signing in to your Apple ID has multiple benefits. First, it allows you to download apps from the App Store. Secondly, it helps you to use iMessage, FaceTime, and iCloud. Lastly, it assists in preventing theft through the Find My iPhone app. To put it simply, your Apple ID lets you make the most of an iPhone's capabilities.
If you don't have an Apple ID yet, don't worry. It's quick and simple to create one.
Creating an Apple ID
Creating an Apple ID is a crucial step during the iPhone activation process. Your iPhone will prompt you to enter your Apple ID and password. If you've forgotten your Apple ID or password or you don't have one, just tap on the 'Forgot password?' or 'Don't have an Apple ID?' link respectively.
To create a new Apple ID, you'll just need to provide some basic information. This includes:
- Your full name
- Your email address (this will be your new Apple ID)
- A strong, unique password
- A few security questions for account recovery
After entering these details, you'll need to agree to Apple's terms and conditions. Click 'Agree' and you'll be good to go.
Remember, if you're reusing an old Apple ID, all of your previous purchases and data will synchronize to your new iPhone. However, syncing to a new Apple ID will also create a new, fresh iCloud account. Weigh the pros and cons before deciding—which might depend on whether you want a clean slate, or you need your old data.
Let's move on to the next step of getting your iPhone up and running; step 5: Setting up Siri and other services. As you'll find out, these additional services further enhance your iPhone experience.
Step 5: Restore from Backup or Set Up as New
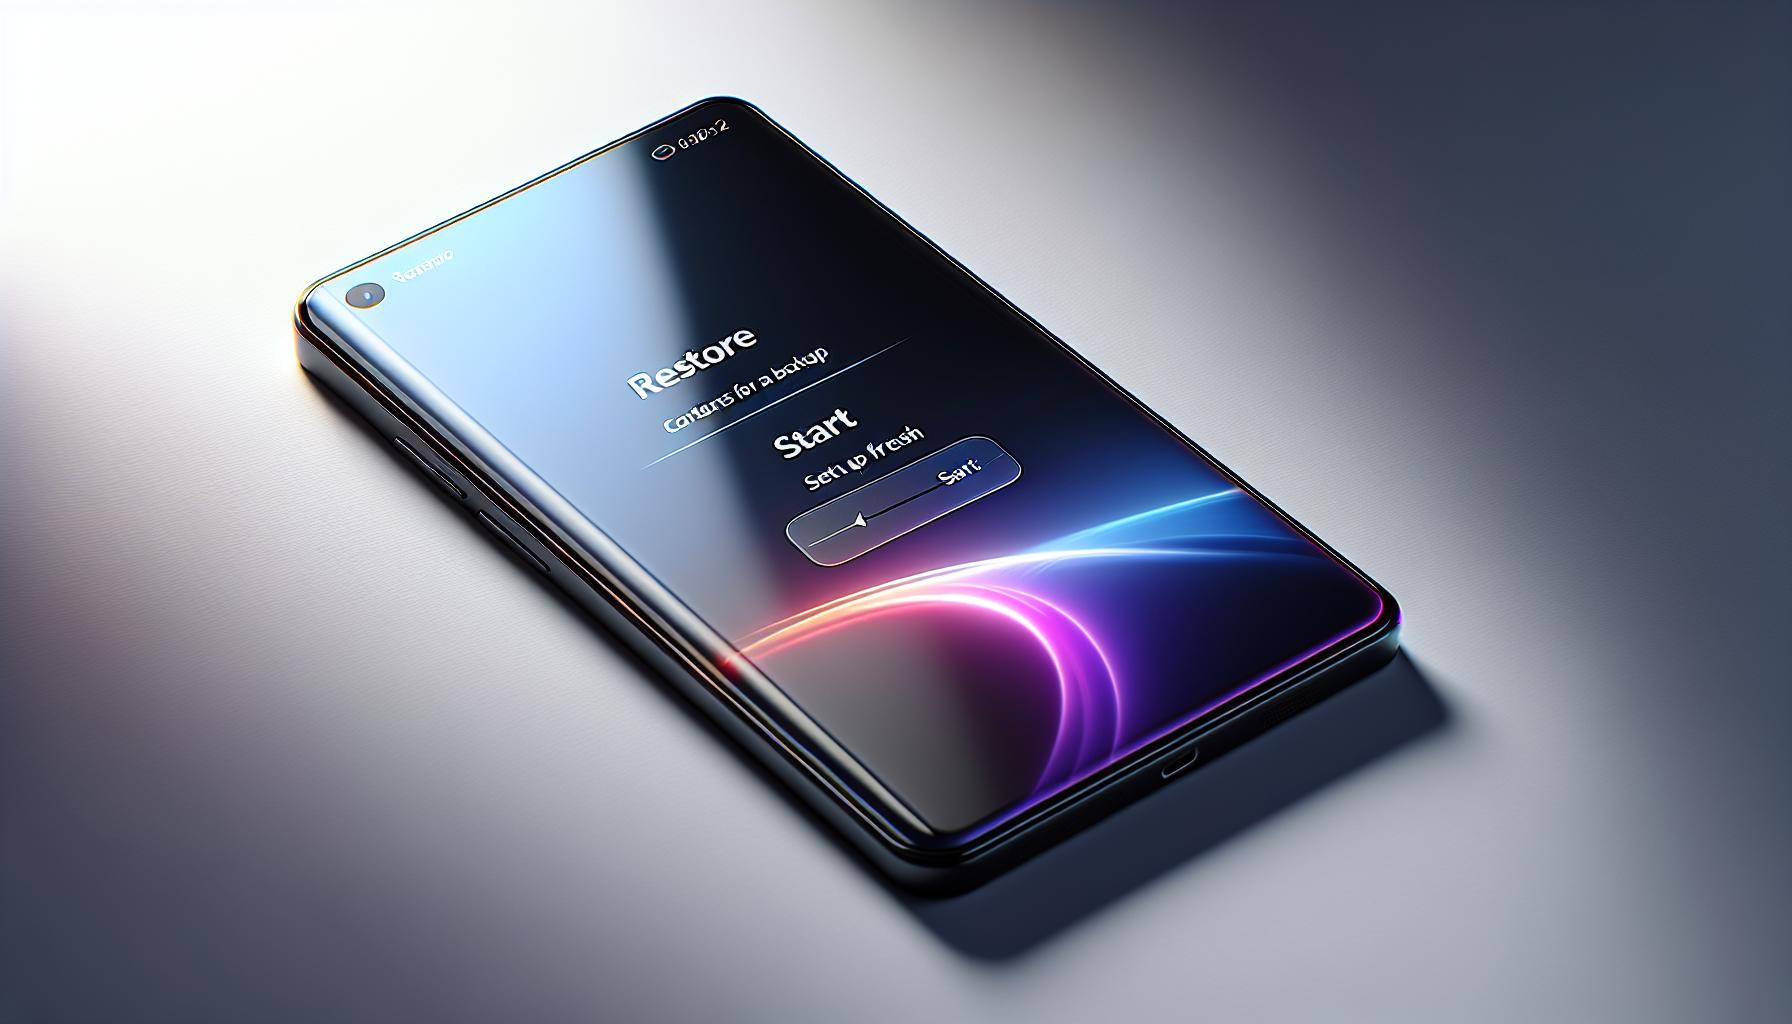
In the journey of activating your new iPhone, you'll come to a fork in the road. Down one path, a brand new fresh install awaits. It's a clean slate offering the perfect chance to declutter. Down the other path, your old life, replete with apps, photos, and music - it's as if you never left. Should you restore from a backup or set up as new? Only you can make that decision.
The Pros and Cons
Restoring from backup is like moving into a furnished home. Your iPhone springs back to life, replete with all your previous customized settings, content, and apps. It's the swift way to get up and running quickly, yet, beware. Legacy issues from your old device or unwanted clutter might slow your new iPhone down.
Setting up as new is like building your house from the ground up. It takes more time and effort, but it's a sure-fire way to ensure a clean, optimized device. This path offers the chance to scrutinize every app before it finds a home on your iPhone.
Here's How to Do It
If you're restoring from an iCloud Backup, ensure that you're connected to Wi-Fi, then select Restore from iCloud Backup, sign in, and choose a backup.
If you're restoring from an iTunes Backup, connect your iPhone to the computer where you saved your backup, select Restore from iTunes backup and pick the right one.
If you prefer starting fresh, when asked to restore or set up as new, simply pick Set up as new iPhone.
That's the essence of activating a new iPhone. Now onto the next.
Step 6: Enable Siri
After successfully walking through the process of setting your new iPhone, it's now time to enable Siri. Siri, Apple's personal voice-activated assistant, is a potent tool for making your iPhone usage effortless and enjoyable.
Siri is more than just a digital assistant - it has the potential to revolutionize your iPhone experience. From sending texts and setting reminders to providing recommendations and answering your queries, Siri does it all for you. And more importantly, it does it without requiring any need for you to type or touch your iPhone.
Turn on Siri during your setup process if you'd like to use this feature. You'll be asked if you wish to use Siri when you set up your device. If you missed that step or chose not to enable Siri at that point, worry not! You still have the option to enable Siri. Just go to your iPhone Settings, tap on the Siri & Search option, and switch on the Listen for "Hey Siri" switch. Siri is now ready to assist you!
Here's the process of enabling Siri in a nutshell:
- Open your iPhone's Settings.
- Scroll down and tap on Siri & Search.
- Turn on the Listen for "Hey Siri" switch.
By enabling Siri, you're stepping into a world of new possibilities. Imagine being in the kitchen with your hands busy kneading dough. If you need to set a timer, you don't have to wash your hands, touch your iPhone, set a timer, and return to your kneading. Just say, "Hey Siri, set a timer for 10 minutes," and your work is done.
Step 7: Set Up Apple Pay
Once Siri's activated, your next move in your iPhone's setup process is to set up Apple Pay. It's a seamless, secure, and fast way to make payments using your iPhone. Not only will it let you pay at many retail stores, you can also use it for in-app purchases and quick checkouts in online shopping, without having to re-enter your card details.
You might wonder about the security of your card details in this digital wallet. Rest assured, Apple stresses that your card details aren't stored on your device or on their servers. When you make a purchase, Apple Pay uses a device-specific number along with a unique transaction code. So, if you lose your phone, you don't lose control over your bank account.
So, how do you set it up? Let's guide you through this step-by-step:
Adding Your First Card into Apple Pay
- Open the Wallet app, available on your Home screen.
- Tap the + button in the top-right corner of the screen.
- Follow the prompts: Scan your card with the camera, input CVV, and accept the terms and conditions.
Verification Process
Different banks have different verification methods – some require a phone call, others a text message, or an email. Follow the bank's instructions to verify your card.
With this, you have set up your Apple Pay. But remember, if you don't want to use Apple Pay or wish to add cards later, you can skip this stage and move forward. You can always go back and set it up later in the Wallet app.
The next topic to be covered in this guide details how to set up 'Hey Siri,' so your digital assistant responds when you call out to her. Your journey to mastering your new iPhone continues.
Step 8: Review Settings and Privacy Options
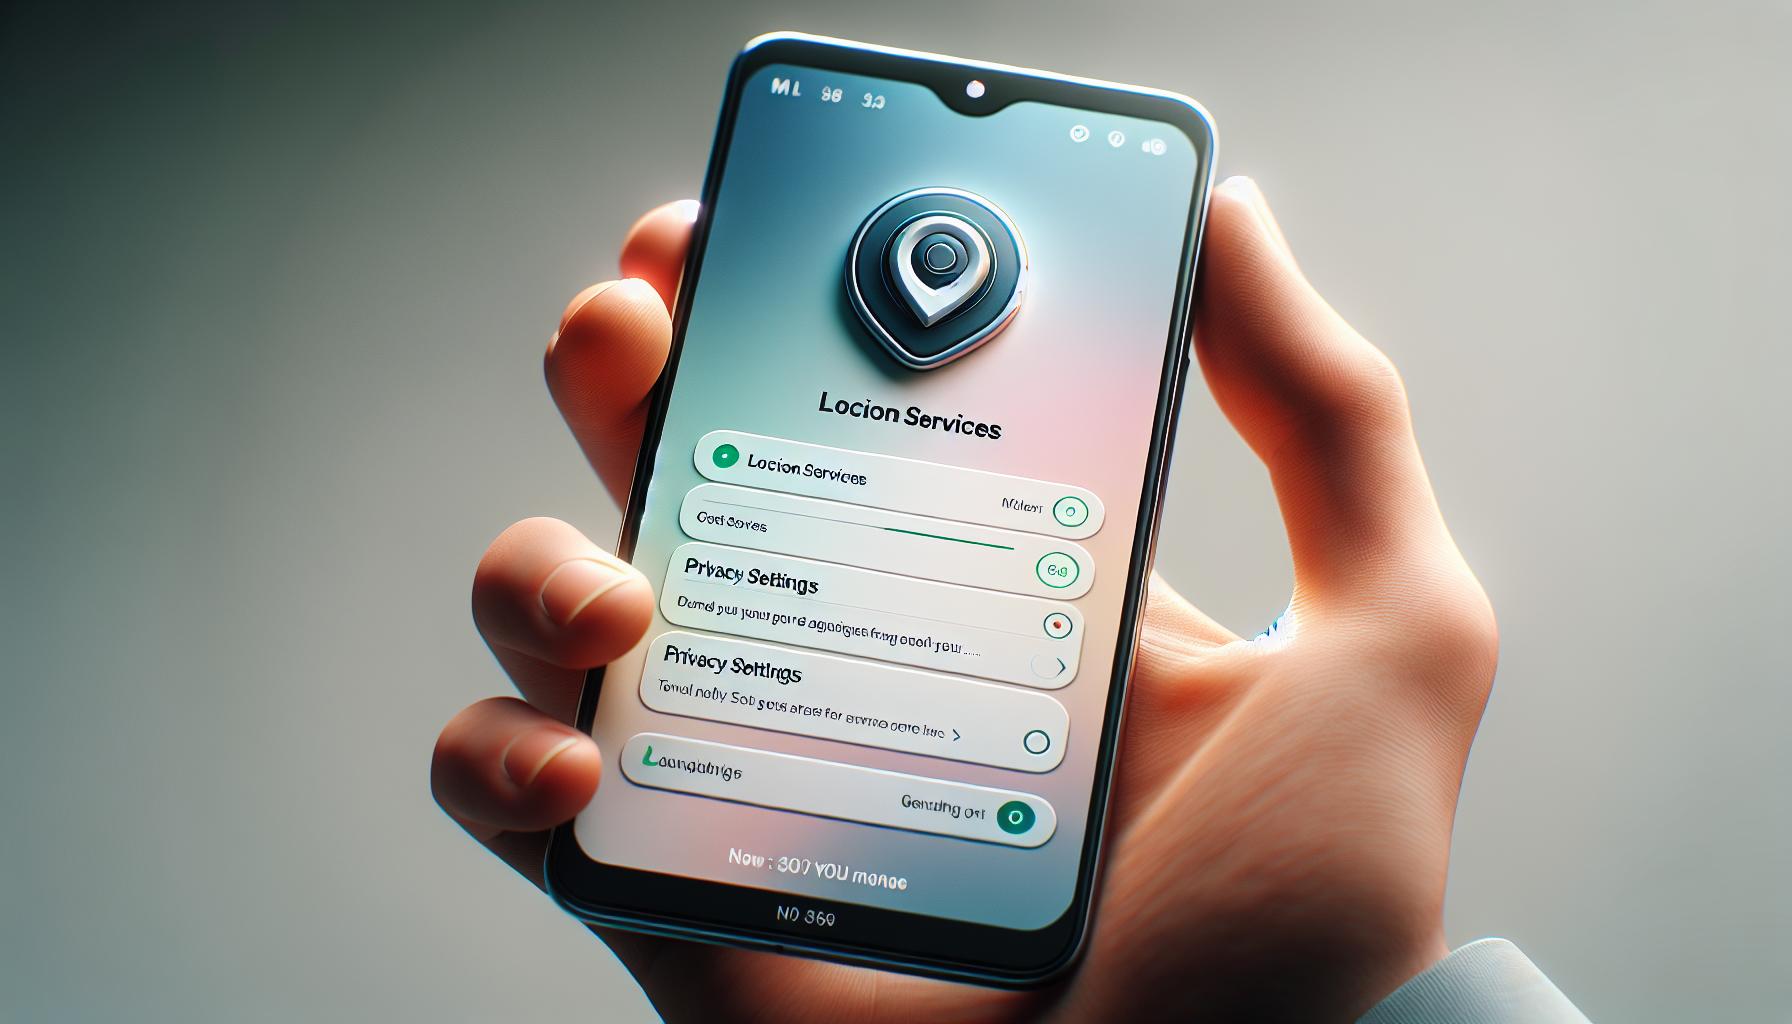
Moving along, Settings and Privacy Options are up next for you to tackle. This is a critical step where you'll determine how your iPhone interacts with your personal data and the surrounding digital environment.
During this part of the setup, you'll encounter Location Services. An integral part of many apps on your iPhone, Location Services allows applications to utilize your geographic location to provide more relevant services. For instance, your weather app uses your location to give you accurate forecasts, and maps use it to guide you efficiently. Opting to 'Turn on Location Services' will enable these added features.
At the same time, it's crucial to remember that using Location Services may impact your battery life and will share your location data with the respective applications. It's all about finding the balance that suits your personal needs and comfort with sharing information.
Next, you'll come to the Analytics & Improvements options. Here, you'll decide if you want to share your iPhone usage and diagnostic data with Apple to help them improve their products and services. Participating in this is optional and can be adjusted in your settings at any time.
Lastly, you'll see App Updates. This setting determines how your device manages updates to applications installed on your iPhone. You can choose to have them automatically installed as they become available or if you'd prefer to manually approve each update.
Understanding and correctly configuring these elements will significantly benefit your iPhone experience. Remember, these steps aren't locked in stone, so don't hesitate to revisit and adapt them as your needs evolve.
Conclusion
It's clear that setting up your new iPhone involves more than just turning it on. You've learned the importance of reviewing settings and privacy options, especially when it comes to Location Services. You've seen how it affects battery life and the data shared with apps. You've also explored Analytics & Improvements and the choice to share usage data with Apple. And let's not forget about App Updates. You now know how this setting manages updates to your installed apps. So, it's not just about activating your new iPhone, it's about tailoring it to your needs for an optimal experience. Armed with this knowledge, you're ready to make the most of your new device.
Frequently Asked Questions
Q1: Why are settings and privacy options important during iPhone setup?
Understanding and customizing settings and privacy options during iPhone setup process help you manage how applications use your phone's features. This is critical for optimal performance and privacy.
Q2: What are Location Services?
Location Services is a feature that allows applications on your iPhone to use your geographic location. This aids in providing services that are relevant to your current position.
Q3: What are the consequences of using Location Services?
Using Location Services can have an impact on your device's battery life and it allows applications to access your location data, which can pose privacy issues.
Q4: What is meant by Analytics & Improvements?
Analytics & Improvements is a setting that gives you the option to share your iPhone usage and diagnostic data with Apple. This can help improve product and service offerings.
Q5: How are app updates managed on an iPhone?
App updates on an iPhone are managed through the App Updates setting. This setting allows you to determine how your installed applications receive updates. Regular updates ensure your apps stay secure and function well.


